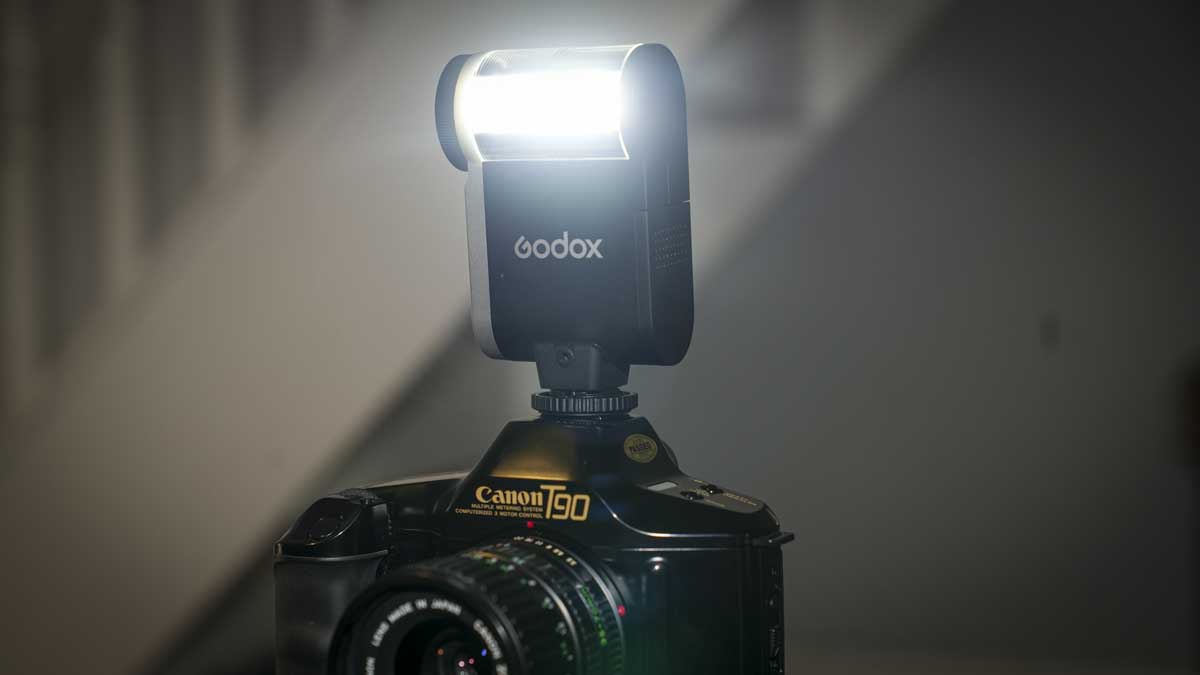
If you want that retro flash style, then the IA32 with its rotating flash head is absolutely what you need.
Retro-style flashes are definitely in fashion at present, and the Godox IA32 builds on the functionality and complexity of models like the ultra-small IM30 that I looked at back in December 2024.
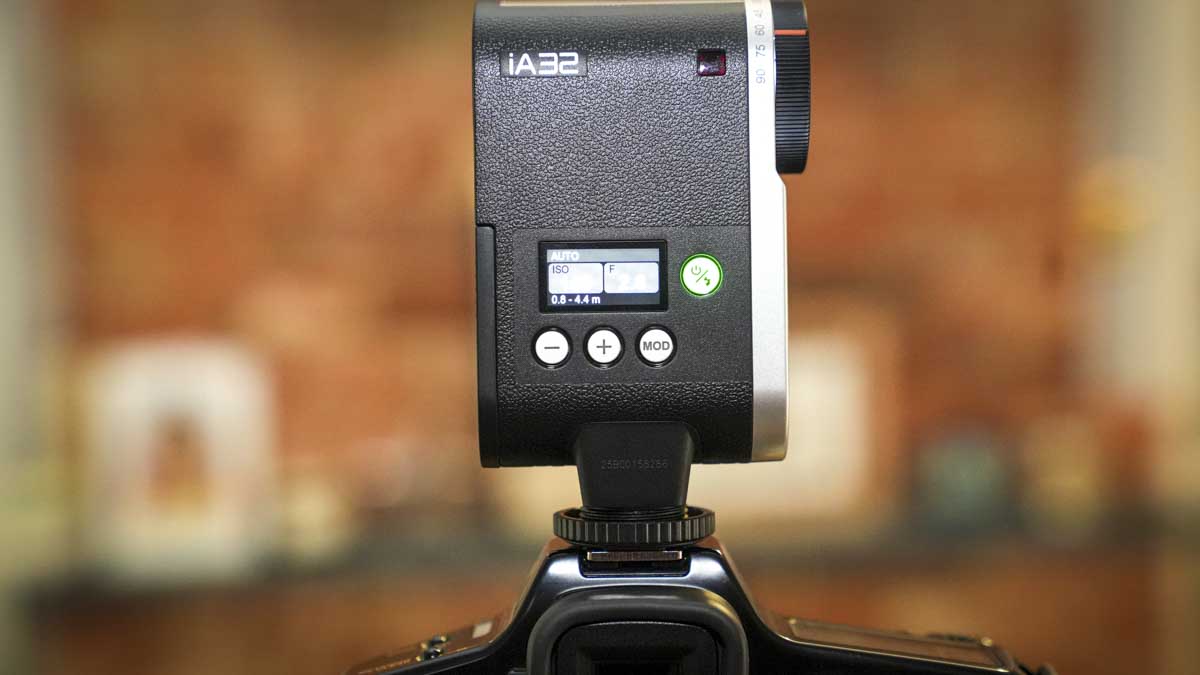
Again, the use of the iA32 flash is as simple as the IM30; however, with the additional height afforded by the battery compartment, it now means that if you’re using a longer lens on your camera, the illumination will easily project over the lens to your subject, avoiding any flash shadow.
While the Godox IA32 remains simple, it has a few additional features that not only increase its usability but also expand on the type of camera that it can be used with.
Firstly, for any hot shoe camera, there is the direct hot shoe contact on the base, so you simply slot it in, as the fit is universal, although I did find some issues with fitting it to some of the latest Canon cameras that seem to have a slightly shallower hot shoe than everyone else.
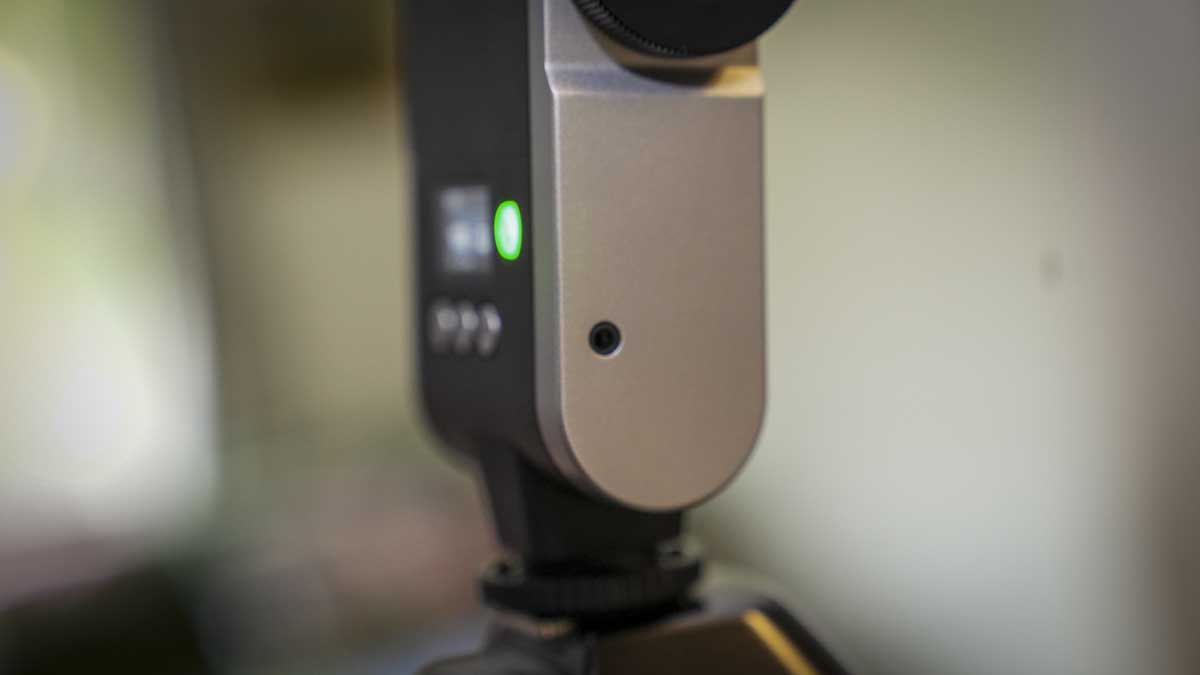
If you’re using a film camera, then there’s a traditional sync cable slot on the side to plug directly. What’s more, there’s a small optical sensor, so if you want to put this into slave mode, then you can. Essentially, this means that if your camera has an onboard flash but you still want some more advanced techniques, then this small flash will enable you to do that.
Alongside all the usual basic flash options, the thing that marks out the IA32 from other flashes is the rotating head that’s integrated into the slim design of the flash, and this is controlled by a dial that rotates the head rather than tilting, enabling the flash to retain its profile. This enables you to adjust the tilt from -7º all the way through to 90°, so if you need to bounce the light, then that is perfectly possible.
When it comes to flash power, it is rather limited but absolutely fine for close-up portrait and still life work, and obviously, being a primarily manual device, although there is an auto option, there’s plenty of adjustment in third-stop increments from full power all the way down to 1/28 power, giving you a good amount of flexibility.
The idea behind the Godox IA32 is simplicity, and it certainly does that, but over the likes of the IM30, which is extremely basic, the additional height and rotating head just give you a little bit more flexibility over the style of your flash work, enabling you to get the retro flash look. If you want something cheap and simple to use, then the Godox IA32 is an absolutely superb option, especially if you’re using longer lenses for portrait work.
What is the Godox IA32?
The Godox IA32 is a simple hot shoe flash that can work on multiple different camera systems and uses the ISO standard shoe and contact to trigger when the shutter button of the camera is pressed.
It follows a tried-and-tested design that was commonly seen in traditional flashes, with a taller flat body and rotating flash head. This enables you to adjust from -7° to 90°, essentially enabling you to capture retro-style portraits as well as more complex lighting uses, such as bouncing the light off the ceiling.
When it comes to compatibility, it’ll work with almost any camera system, although I did find an issue with fitting it to the Canon R50, which seems to have a shallower hot shoe than most, but most of the latest Nikon, Sony, and Fuji cameras fitted with absolutely no issue whatsoever.
One of the interesting things about this is that whilst it is predominantly manual, and I would imagine that’s how most people use it, there’s also a hidden auto mode. This enables you to set the ISO and aperture, and then the power level will be adjusted. Likewise, if you want more control, then by default it is set to manual, and you can adjust the power from 1/1 to 1/128, which gives you plenty of flexibility.
The IA32 is aimed at retro-style photographers who want a little bit more from the flash, but don’t want to go up to a full strobe system. It offers a compact unit that runs on 2AA batteries, features slave, manual, auto, and an adjustable tilt on the flash head, as well as a traditional sync cable port if you want to connect it up to older film cameras.
Specification
- Battery:: Two AA NiMH (recommended) or LR6 alkaline batteries
- Flash Modes:: M mode / AUTO mode
- Guide Number:: Approx. GN15 (ISO100, metres)
- Full-power Flashes:: Approx. 490 (with rechargeable batteries)
- Recycle Time:: Approx. 2.5 s (at full power)
- Power Levels:: 8 steps (1/128 to 1/1, 1/3-stop increments)
- Optical Trigger:: S1/S2 (M mode only)
- Operating Temp:: -10°C to +50°C
- Dimensions:: 65 × 115 × 35 mm
- Weight:: 117 g (without batteries)
Build and Handling
Like many retro flashes of this type, the Godox IA32 retains a good compact size, measuring 76 × 135 × 49 mm and weighing 117 g, although the weight of the 2AA batteries will add slightly to that depending on the type you use.
Godox has really kept the design and handling of this flash exceptionally simple, so for power, it utilises two standard AA batteries, which can be purchased from almost any shop. These are slotted into the compartment on the side of the unit. Once installed, you can push the power button, which will be ready to flash in about three seconds.
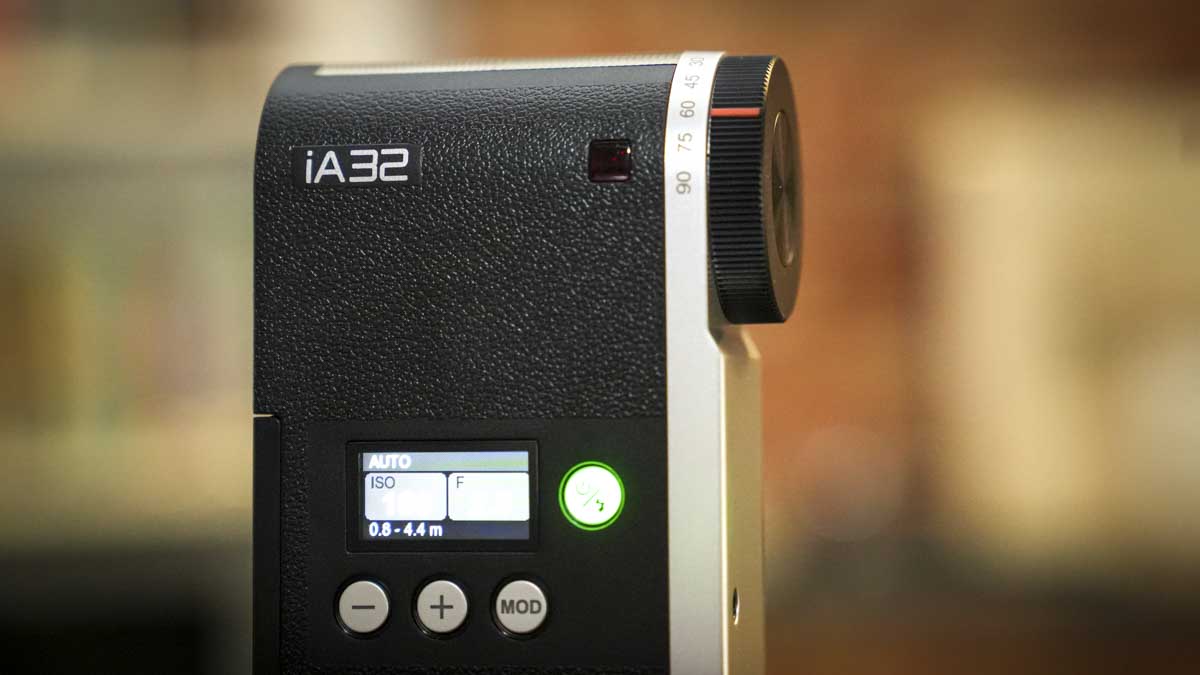
To go through the different modes of the flash simply requires pushing the mode button, manual, slave one (S1), slave two (S2), and if you hold the button for a couple of seconds, it will switch you over to automatic. All the modes and settings for those modes are highlighted on the small backlit LCD, and using the other button is quick and easy to navigate through all the options. Essentially, it’s a carousel menu system, so you just click the buttons until you get to the option you want. If you miss it, you have to click through until you get to that section again, but aren’t that many options’s not too much of an issue.
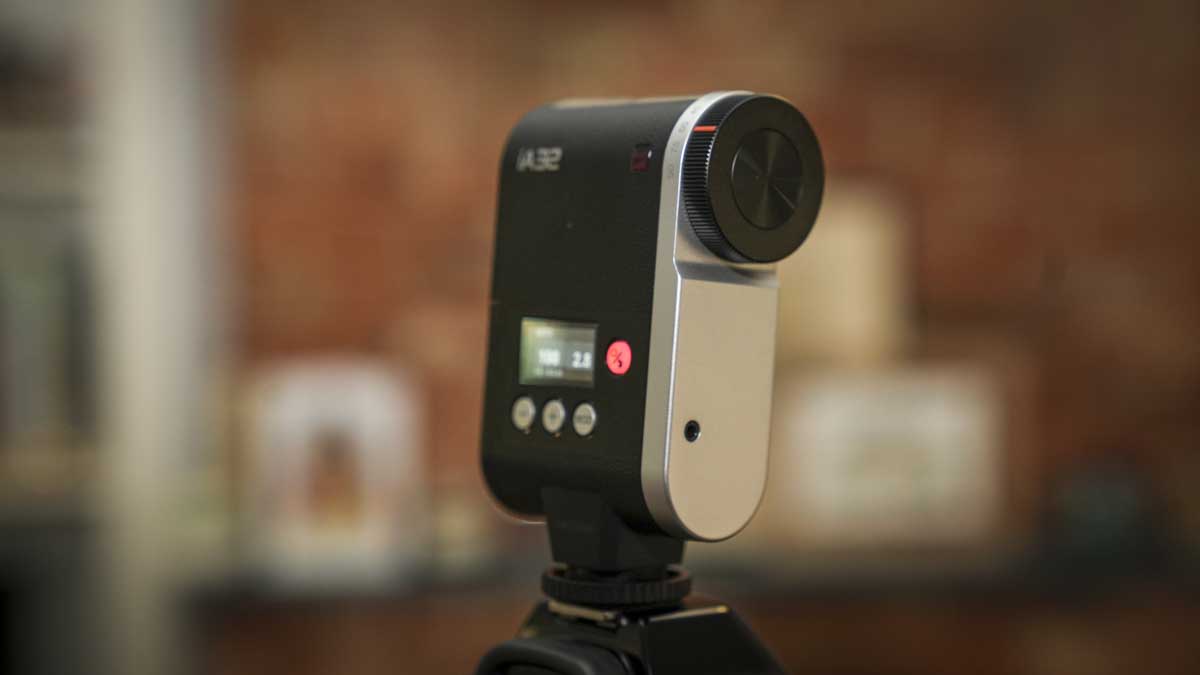
When the flash is slotted into the hot shoe of the camera, it actually feels nicely balanced. At only 117 g it doesn’t add a great deal of weight whatever size your camera is, and the fact that it’s got that extra height with its slim design just means that if you are using a longer 50 mm or 85 mm lens to take portraits, then the throw of light over the end of the lens is just that much better than some of the smaller compact flashes like the IM30 that I looked at last year.
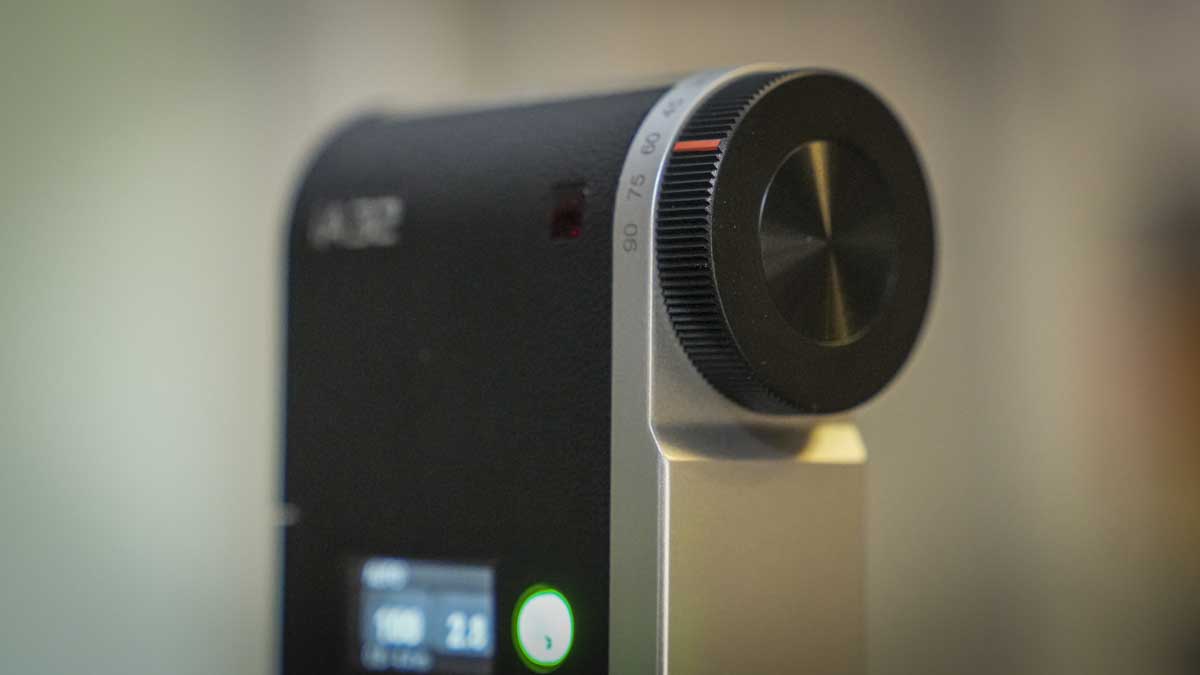
One of the great things about this flash was the fact you’ve got the swivel or tilting head that you see on larger flash units, but here it’s actually built into the body of the flash with a dial on the side which rotates it from -7° all the way up to 90°, so essentially pointing just below a subject if you fire the flash head-on and almost vertically if you tilt it to its full 90°.
Alongside the standard features, there’s also the slave sensor on the top, which works exceptionally well. If you do want to use this as the secondary flash, there’s also a sync port on the side which will connect into older cameras as well as flash triggers if you want to go down that route. Then, when you switch to that hidden Auto mode, the small light meter sensor on the front of the flash comes into play. For something which is relatively simple, there’s quite a lot to it, and it obviously has plenty of flexibility for what is essentially a very basic flash.
Features
It’s worth keeping in mind that when it comes to features, the Godox IA32, despite being a simple hot shoe flash, actually has a few more options for how it’s triggered compared with many flashes of its type. The first is the standard single-contact hot shoe, which means it’s compatible with most camera models as long as they have a hot shoe on top, it then has an optical slave and sync socket.
When it comes to the physical design, it’s flat and slimline, there’s no articulating flash head on top as you would see with larger units. Instead, the head is mounted on a rotating section at the top of the unit, which makes it extremely small and compact. This rotating unit enables you to tilt the flash from -7° to 90°, giving you plenty of flexibility over how the flash is used and how you illuminate your subject, whether that’s direct to give that real retro look or whether you do something a little bit more professional by bouncing off the ceiling.
Another feature that this flash offers, which is surprising for a unit which is outwardly so simple, is that, alongside the manual mode, there’s also an auto mode, although don’t mistake this for an advanced TTL option. This auto setting enables you to set the ISO and aperture, and then it will automatically adjust the flash power as needed by using the auto light meter on the front of the unit – you also need to take into consideration the distance, but I’ll come onto that in the performance section.
When it comes to manual adjustment, there are eight power levels ranging from full power, which offers a guide number of 15, to 1/128 power with third-stop increments in between.
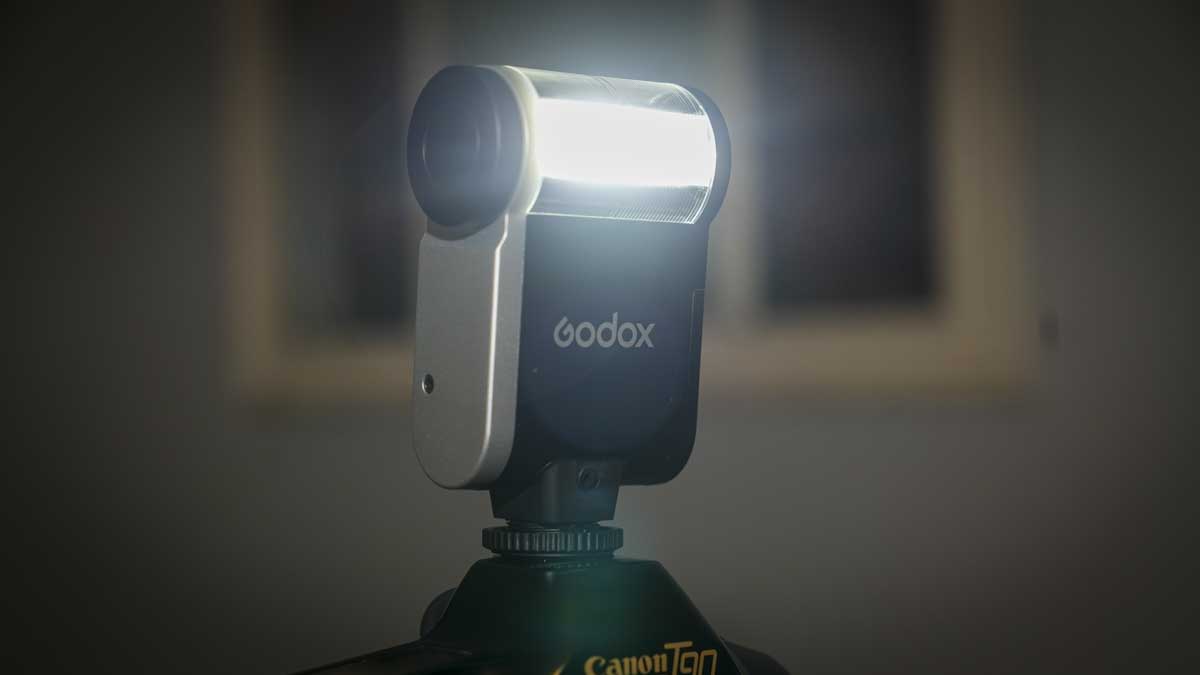
Really harking back to traditional flashes is the fact that it’s powered by 2AA batteries with about a 2.5-second recycle time from full power flashes. Using standard batteries, you get about 490 flashes at full power, although, through this test, I used rechargeables, and the number of full-power flashes was slightly less than this amount.
There are quite a few features on the flash which are hidden away, and you really only become aware of them as you start to use it. The first is the fact that there is an optical sensor, so if you want to use this as a slave unit, then that is perfectly possible. There’s also a 2.5 mm sync, so you can connect it up to traditional film cameras or flash triggers, which is slightly unusual for a flash that on the outside seems so simple.
Performance
Getting started with the Godox IA32 is simple enough: just pop open the side door, insert 2AA batteries, secure it closed, and then pop the flash onto your hot shoe. As I mentioned earlier in the review, I did find that with some Canon cameras, the hot shoe was just too shallow to take this, or for that matter any standard flashgun, but the fit on the Canon’s doesn’t seem to be consistent, fitting on some and not on others, so it’s well worth checking compatibility prior to buying.
However, when I tried it on almost every other camera, other than the Canon EOS R50, it fitted perfectly, and then it was only a case of pushing down the shutter, and the flash would fire.
Using basic manual flash operation is extremely easy. All you need to do is adjust the power on the back, set the camera’s exposure settings, and take a shot. Adjusting the power of the flash using the simple buttons on the back is exceptionally easy.
What adds a little bit more performance to this flash over other simple manual flashes is the fact that the additional height reaches over longer lenses, so you avoid any shadow cast by the lens. But the main feature of this flash is the fact that you can rotate the flash head from -7° to 90°, which is extremely useful if you want to create retro-style portraits with a direct flash, or prefer something a little bit more modern by bouncing the flash off the ceiling. It’s actually quite surprising how versatile this type of flat head can be for its compact size and comparatively cheap price.
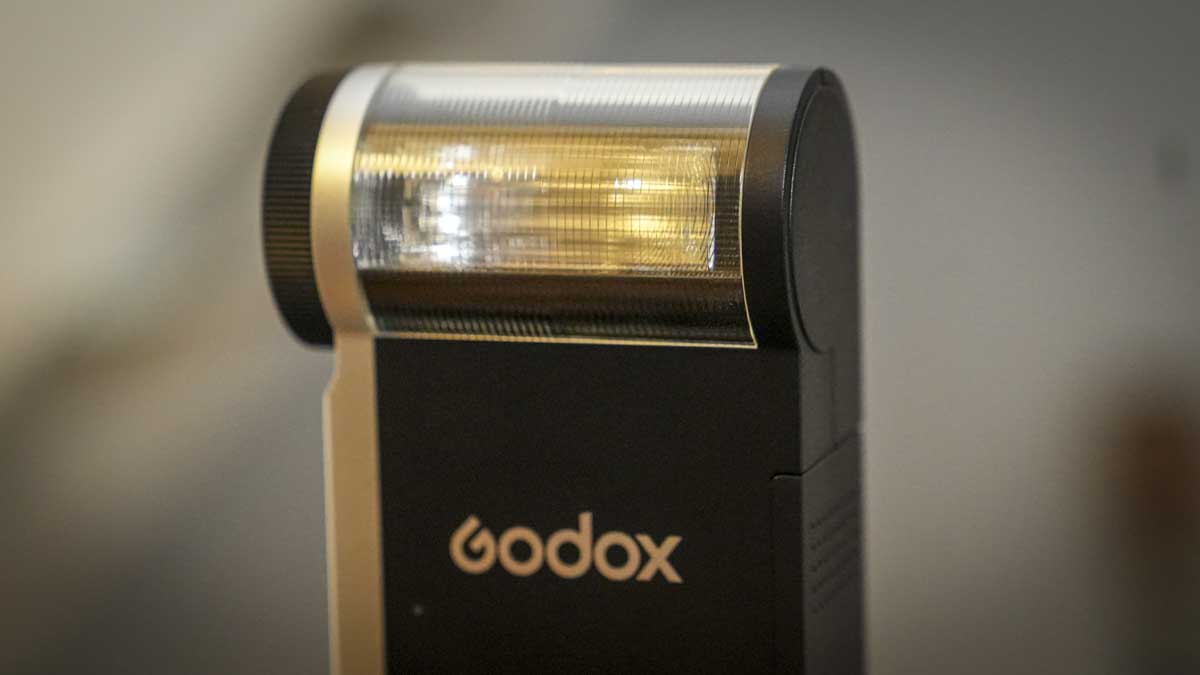
The build quality is a little bit plasticky, but that falls in line with the retro look and feel. The fact that it’s got a 2.5 mm sync port on the side enables you to connect with more traditional flash setups. If you have a wireless trigger, then you can hardwire that directly into the flash, so that you can use it as a very compact off-camera flash.
It also features an optical sensor, so if you want to use this as a slave, then you can. As is normal, there are two slave options, slave one is the more traditional and will fire as soon as it detects another flash firing; the second mode is designed to get over any pre-flash triggering, so if your main flash has a pre-flash to avoid red-eye, it’ll ignore that and only fire on the secondary flash.
In both S1 and S2 modes, the flash works exceptionally well and seems to have decent sensitivity, which means that it could be placed around the subject with a good hit rate when triggered by the primary, which in this case was the V1 100.
Through the test, I used the flash with XTAR XRL4Pro AA batteries and was really impressed by the performance of the batteries themselves, but also by the flash, getting well over 300 full-power flashes from a single use with power left in reserve.
There was also one other feature that I was keen to investigate, which I didn’t fully understand how it would work when you have a flash that doesn’t have any TTL monitoring, yet still offers an auto mode. As I started to use the auto feature, which was accessible by holding down the mode button for a couple of seconds, it all started to make sense. It’s actually a little bit more simplistic than I had first thought.
Essentially, dial in your ISO, set the aperture in the flash, then set the shutter speed on your camera, say 1/200 seconds, and take your picture. There’s a light meter on the front of the flash unit that takes a reading of the scene and, as you fire the shutter, the flash adjusts power depending on the distance you are from the subject. This system works quite well, but there is a little bit more to it. When it comes to the subject distance, you need to work that out, and like all good retro equipment, Godox has supplied a chart showing you the aperture value, shooting distance in metres, and ISO value.
All you need to do to use the auto mode is take a look at what you’ve got, at the distance you want to shoot, say 0.925 m, then set the aperture. If you have an aperture of f/8 at 2m, then at that distance, the ISO will be 250. Once you take the shot, you should get a perfect exposure; if not, then you can adjust the settings as needed. If you go out to 5 m, then everything will be a bit too dark, and if you go closer than 0.9 m, then everything is going to be a little bit too bright. It makes sense once you start using it, and it’s actually quite intuitive, with quite a lot of flexibility in that distance, and ultimately, you’ve used it once or twice, you do start to get the idea behind it all.
I think that this is a throwback to traditional film, where charts were a major part of photography. When you wanted to work things out accurately and scroll your finger across the page in a small book to work out exposure times, it was just part of the course, so it was quite good fun doing it here.
Final Thoughts
By the end of this test, there was no doubt that this is a real retro-style flash, but with plenty of additional features which are great fun. Whether you want to use it directly on top of your camera, off-camera with a sync cable or wireless flash trigger connected, or you want to use it as a slave, these things are all perfectly possible.
I also love the fact that it’s powered by AA batteries, and you have charts that you need to use in order to work out some exposure settings. It all feels retro, so it only makes sense that images you take are also deeply retro in style.
When it comes to who I would recommend buying a flash, essentially it’s aimed at those looking for a full retro kit and possibly switching between digital and film, and wanting a flash which can pull between the two.
Who this isn’t for is anyone who wants to take flash seriously. The images that you capture are going to be very stylistic, with that 90s-style retro look, which you might be able to bend into your style and get some stunning results.
However, for most of us who are just looking for a good, solid flash for professional or high-end enthusiast work, that’s not really where flash’s strengths lie. It’s a good, fun flash that provides a solid performance but with lots of manual intervention, and is only limited by your own creativity.