Next-generation 8K 360° camera sets new quality and creative benchmarks for content creators.
The world of action cameras is taking another leap forward in 2025, and while in the last couple of years we’ve seen an evolution with resolution and stabilisation from the GoPro Hero 13 Black, Insta360 Ace Pro 2, and the DJI Action 5, now it’s all about 360.
360 is at present dominated, and while GoPro has the Fusion 360, which is a phenomenal camera, Insta360 is still very much in charge of that sector, but that can now change with the arrival of the DJI Osmo 360.
The aesthetics are decidedly DJI, functional, solid, but mostly inline with what I’ve come to expect from a 360 camera and from the outset, the OSMO 360 is incredibly easy to use. The design is familiar, with the dual lens positioning on either side of the body, enabling you to capture the full 360° scene on two sensors, and the footage is then stitched together by the software.
What impressed me is that it captures in a full 8K 50 frames per second, which is one of the highest resolutions on the market, and being from DJI, the quality of those sensors is superb, with outstanding colour tone and clarity. As you get into editing that footage and reframing, once again, that quality really does come through.
Comparing the footage from the DJI OSMO 360 alongside the competition highlights the boost in image quality that DJI has managed, and this is no doubt due to the true square sensors that they have opted to use. This means that, unlike the competition, the full sensor is being used rather than cropped.
One of the points that many 360 cameras suffer from is that as soon as you go into low light. However, while there is a downgrade in performance, the low-light footage was still of decent quality, and it seems DJI has used all of its software experience when it comes to imaging to extract minimal noise and maximum detail and tone even in challenging conditions.
One of the features that I am always amazed by is the invisible selfie stick, although initially I did think there was a little more to it, and I’ll go into that in the full review. Invisible stick means that when you have the camera mounted on the stick, the stick disappears; however, you do need to ensure that the camera is placed in an exact position in order to make this work.
With DJI, what I also liked was that there is a huge ecosystem of accessories, so like all the other action cameras, you can tie in with the DJI Mic 2, so you can make really immersive content, and with the reframe and other options available through the software, it just works exceptionally well.
Once again, DJI has launched into a market with a camera and products that stand their ground, although I’m not sure there’s quite enough innovation here to really make the camera stand out, despite the camera being exceptionally good. The actual hardware is refined and solid, with all the traits you need for an action camera, able to stand up to knocks, bashes, and even water and dust, as you’d expect from this type of device, and it’s backed by really solid DJI Mimo software that offers a huge amount of versatility.
As a 360 solution, it really is on a par with the competition, but what I really like here, and what sets it apart against the competitors, is the easy integration with other DJI products, most notably the DJI Mic 2, enabling you to create high-end content with superb visual and audio all within a single ecosystem and the invisible pole feature works incredibly well – but these are all features that the other market leaders already offer.
What is the DJI Osmo 360 camera?
Best known for their drones, DJI also designs and creates plenty of other devices, including gimbals that have become the mainstay of our stabilisation equipment here at Camera Jabber, and action cameras such as the Action 5, which is one of my favourite cameras to use for a huge variety of situations.
Now adding to the family is their first 360° camera, which features two lenses and sensors able to capture the world with a stunning 360° field of view. One of the features that stands out is the fact that it features two 1-inch HDR square sensors that are capable of shooting native 8K at 50 frames per second and 120MP 360° photos.
As a new DJI 360 camera, it also supports the ecosystem of accessories, most notably the superb Mic 2, so if you want to create content and record superb audio, then this is the 360 camera to do it.
As ever, and especially with their experience with drones and excellent battery life, DJI has created this as a set, and all of the kit I’m looking at features both the 360° camera and battery case with three batteries, giving a good amount of time to record content.
This is also a 360° camera with all the functions and features that we’ve come to expect from DJI’s line of action cameras, so it has voice control, gesture, horizon stabilisation, and many more features that we’ve seen in the DJI Action 5. As such, it is extremely lightweight and ultra-portable, and will fit many of the same accessories and mounts that DJI uses for the action camera range.
Specification
- Sensor: 1-inch HDR square, 2.4μm pixel
- Video: 8K/50fps 360°, 4K/100fps, 5K/60fps single-lens
- Photo: 120MP 360°
- Dynamic range: 13.5 stops
- Aperture: f/1.9
- Storage: 105GB internal, microSD expandable
- Battery: Up to 100min 8K/30fps, 50% charge in 12min
- Weight: 183g
- Waterproof: 10m (camera only)
- Ports: Dual USB-C, 1/4″-20 UNC thread
- Audio: OsmoAudio™ direct dual mic, wireless earbuds supported
- Controls: Touchscreen, gesture, voice, app
Build and Handling
The DJI Osmo 360 camera is compact and lightweight, weighing 207g and measuring 80 x 60 x 35mm, meaning that, while larger than the DJI Action 5, it is still a relatively compact camera and easy to carry or mount onto bikes and other vehicles with ease.
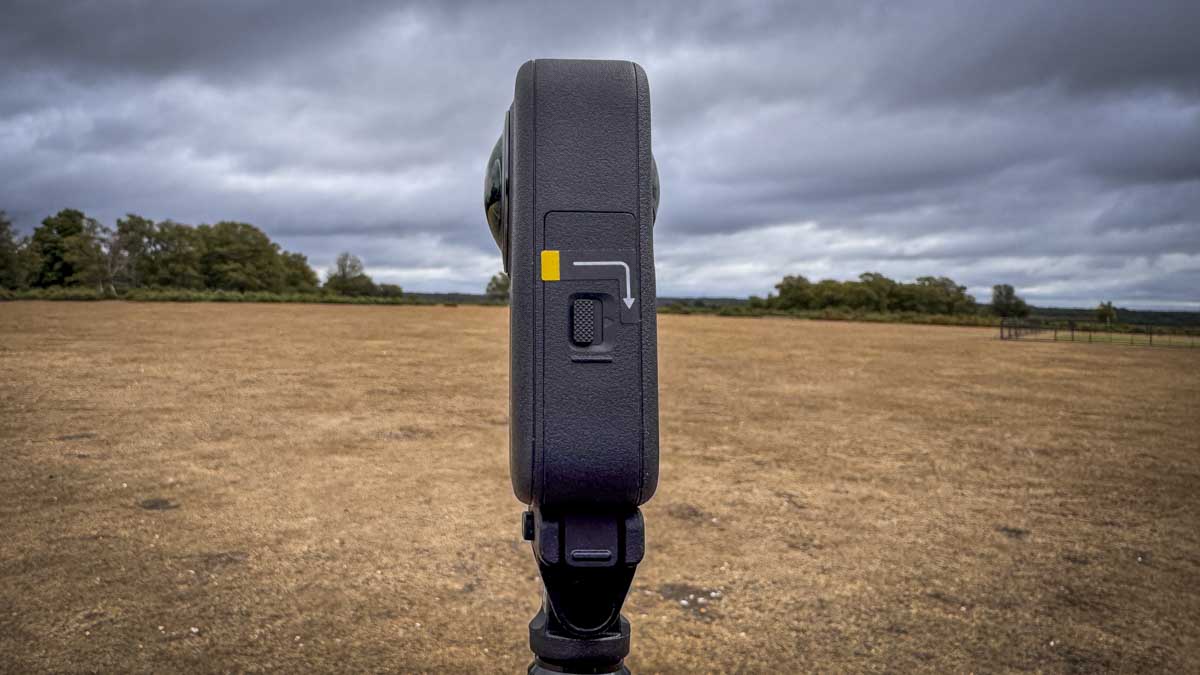
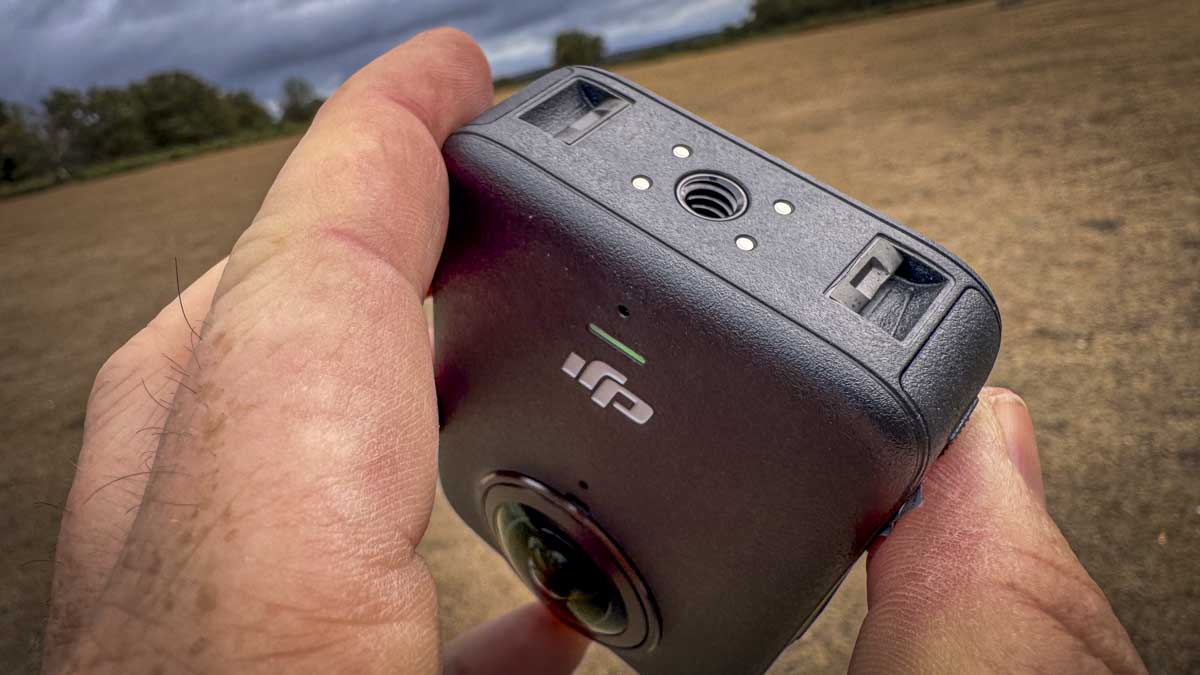
Like the action camera, the Osmo 360 features a magnetic quick-release mount on the base, enabling it to mount directly onto a pole or many other accessories, including those widely available for GoPro.
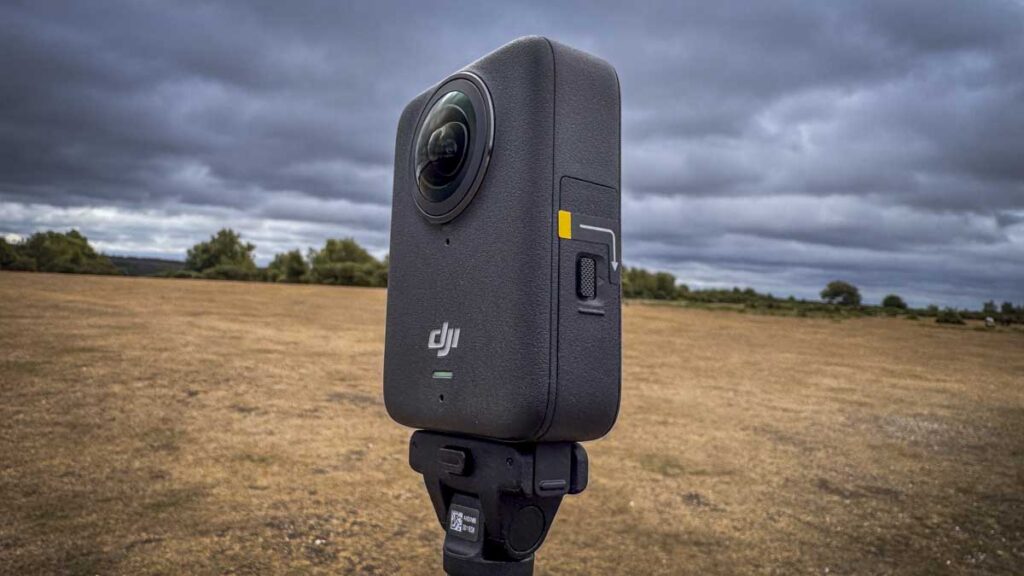
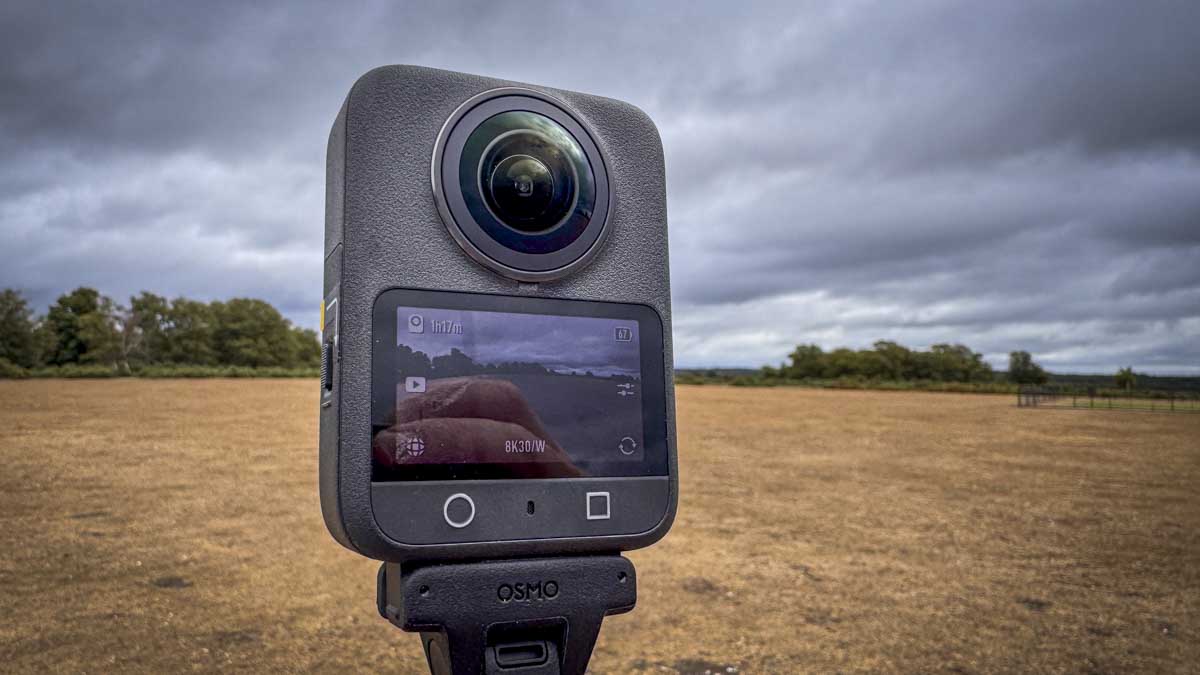
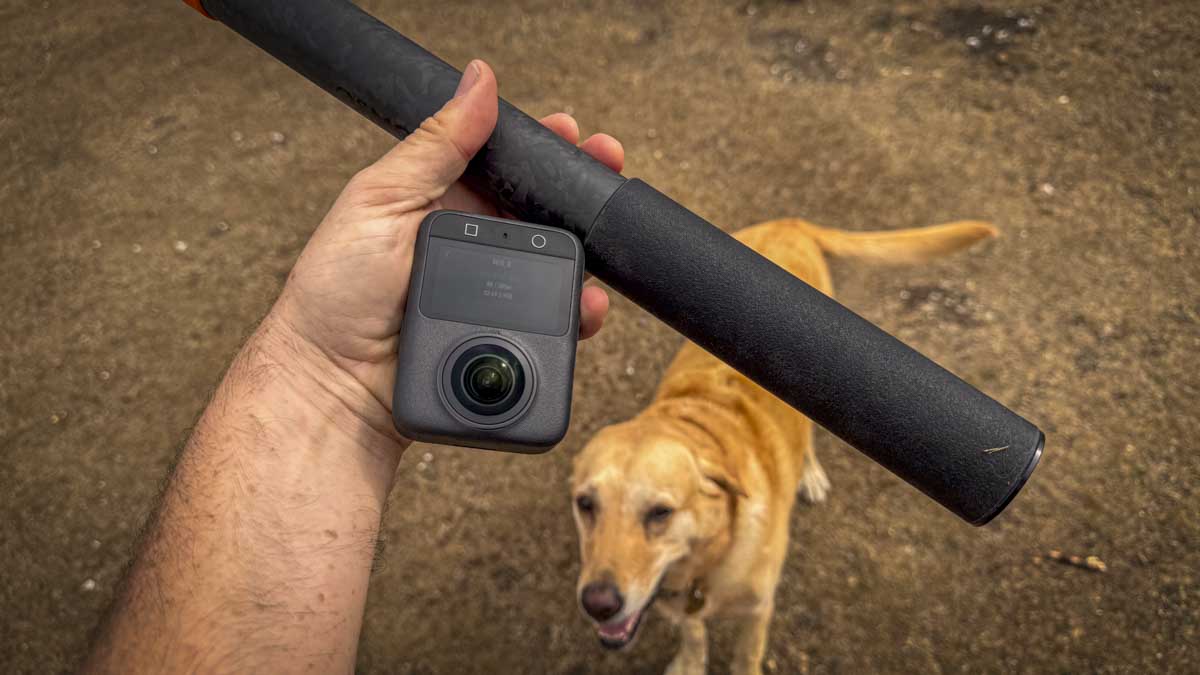
Taking a closer look at the camera and it’s all nicely laid out, with the two lenses in front and back of the camera, as we’ve come to expect with this design of imaging device. Below the lens on one side is a large touchscreen display to get a preview of what you’re shooting and access all the options and settings. This works very much the same way as the Action 5 cam, so anyone already familiar with the ecosystem will know how this camera works. Below the main screen are two buttons: the circle button enables you to start and stop recording, and the square button flips the live view screen from front to back lens.
Most settings and controls can be accessed directly through the touchscreen by tapping any of the small icons, which then takes you into the full setting controls. These are nice and easy to use and adjust, and while it will take a little time to orient yourself around all the options, if you’re familiar with DJI action cameras or even drones, then the interaction won’t be too tricky to work out.
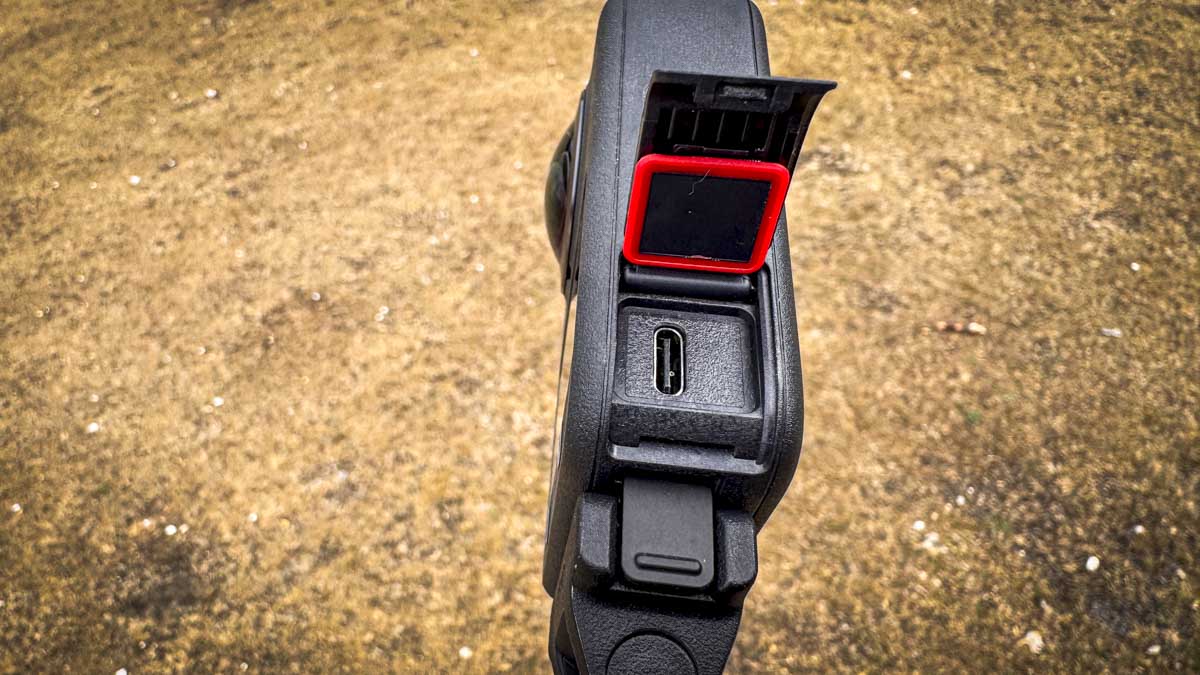
On the left side, when looking at the screen, is the battery compartment with the usual lock-style door that lifts out to reveal the 1950mAh battery and a small slot for a microSD card. This is all nicely waterproof, making the camera fully waterproof and able to stand more than most. On the front of the camera is the second lens and the DJI logo, with a green status light showing you that everything is working well; when recording, that status light flashes red just to show you that it is recording, very straightforward.
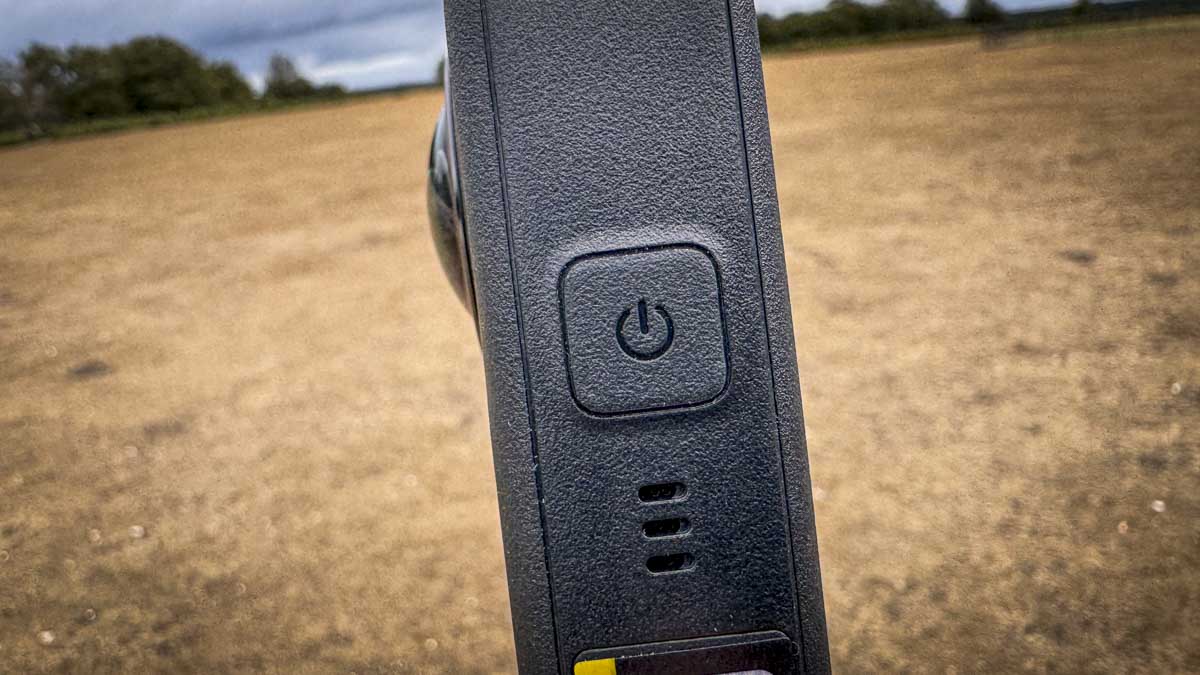
On the right-hand side of the body is the power button, and below that, there’s another small notched door that gives you access to a USB-C port. This is used to access the internal storage, apply firmware updates and access the camera. On the base, there is a quarter-inch thread for direct mounting onto a tripod and other supports, and around this is DJI’s custom magnetic mount that enables you to adapt the fitting to a standard GoPro mount as well as other mounting options.

Features
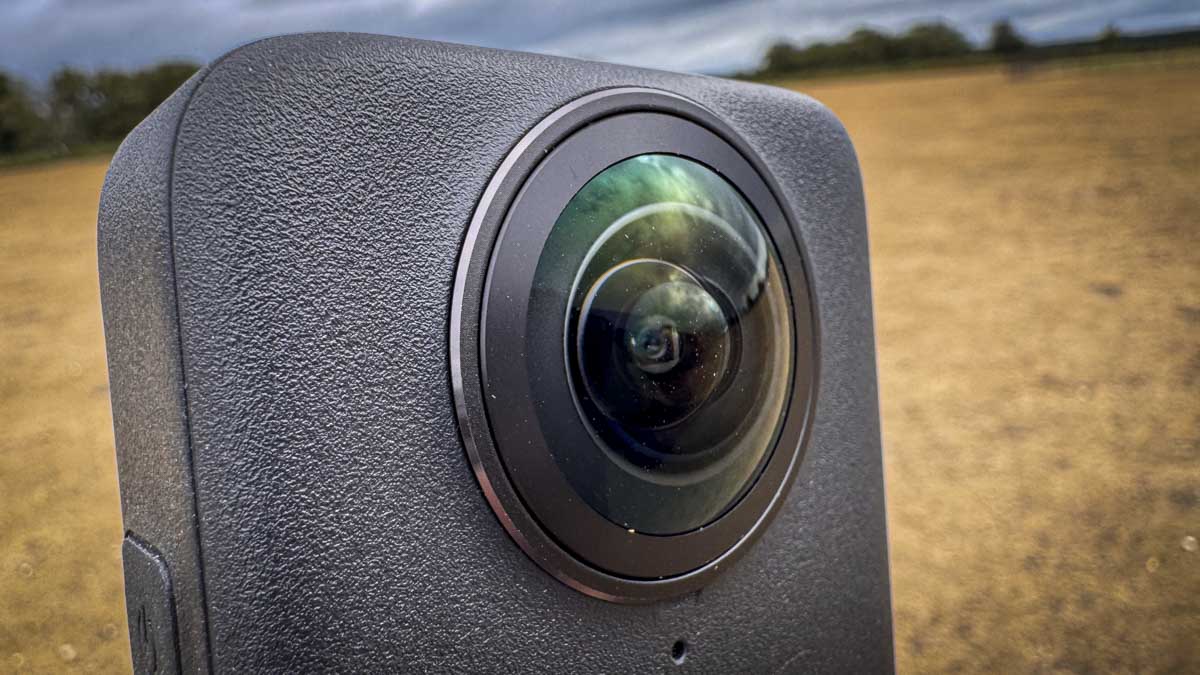
A quick look at the feature breakdown, and first and foremost, you have the two lenses, which are backed by 1-inch equivalent square HDR sensors. These are essentially stitched together to give you the full 360° field of view. One of the big points here is that the sensors are square rather than 4:3, which maximises usable area for the 360° camera and enables native resolution of 8K 50 frames per second for all panoramic video, which is equally impressive with 120MP 360° photos.
One of the hard things to dig through when looking at any new piece of kit is to find what’s different and what really stands out. For the DJI OSMO 360, you need to go under the hood and to the heart of the machine. Here you’ll find the 1-inch sensor, which in itself is an impressive feat, although one that has been achieved by the competition. However, here we have a square rather than rectangular sensor, and this makes a big difference to the quality when it comes to 360 video, as the entire sensor is used and cropping is minimised; it makes sense really, and the impact on image quality did appear to be apparent.
One of the features that really stands out and is quite unique to the Osmo 360 is the fact that it features an invisible selfie stick effect, and while invisible selfie sticks themselves are commonplace, the processing for this is done in camera – although it’s worth pointing out that the position of the stick does need to be directly below the camera with no tilt.
As we’ve seen with DJI’s action cameras, it features RockSteady and HorizonSteady stabilisation, and these can be activated using the touchscreen interface, making a huge difference to the stabilisation of your footage, and especially impressive with the HorizonSteady stabilisation when you’re talking about 360.
For ease of use, there is voice and gesture control built in to start and stop recording. These work well both if you’re holding onto a pole or if they’re mounted, and you need to control the camera remotely, and you don’t want to use the app. Once again, this is where the large status light on the front really comes into its own, enabling you to see exactly what’s happening and whether it’s recording or not.
As DJI products are now widely used in broadcast and professional arenas, they’ve ensured that there is plenty of flexibility and options over how the footage from this camera can be edited, both for general consumers (with the DJI Mimo app or DJI Studio) and for professionals and high-end enthusiasts (there’s a Premiere Pro plug-in).
Other advanced features that will be really useful, especially during the editing process, is the intelligent subject tracking, so although you have that full 360° capture, being able to isolate a subject will enable you to do reframing when you export out flat footage, nice and easily, so here too, intelligent subject tracking will make your life a lot easier.
DJI already has a strong name with their action camera, so it’s good to see here that they also feature an action camera remote. Essentially, they just use one single lens to produce 5K 60 frames per second footage, very much in line with my standard action cameras and offering, once again, high quality.
Using the touchscreen interface, there are plenty of options for settings and adjustments, and you can also flip back to the Mimo app for more control.
One of the features that will stand out to pros and creators is the fact you’ve got direct connectivity so that you don’t have to rely on small mics built into the 360 camera, but can instead switch over to use the DJI Mic 2 options, so that you can capture professional level audio, really enhancing the way in which this 360° camera could potentially be used.
Performance
Getting up and running with the DJI Osmo 360 is straightforward, with the usual process of charging the batteries. In the case of my review unit, that was in the battery case that can contain up to three batteries and connect to a power source via a USB-C port on the front of the case. There are simple green lights that flash as the battery is charging and go solid green once the battery is charged.
Inserting the battery is equally easy, with a port on the side opening with the securing lock. The battery slips in, and the microSD card can slot in at the same time. Once that’s done, you’re almost set to go. The power button for the camera is just on the side; a long press will get the camera started, and then you have to run through DJI’s usual activation process, which is a little annoying, although it does allow you to skip it three times before that activation is required.
Once you’re in, use is extremely easy, with the circle button underneath the LCD screen to start and stop recording, and the button to flip the preview from the rear to the front lens.
With a 360° camera, while you can film by just holding the device, it is actually better to mount it on a pole. The simple basic pole and the longest three-metre option, which is far more sturdy, are made from carbon fibre, and for most of the review process, I swapped between the two due to the larger pole being a bit more weighty but still relatively compact and lightweight considering its huge length.
Connecting up to the Mimo app was also easy and quick enough on the road, as usual. Wireless connection definitely stands out once again. Flipping through options and settings is all easy enough, and while I still don’t feel that it is as streamlined as others I’ve looked at recently, it certainly does pack in a lot of features and gives you plenty of options to get started.
Starting and stopping recording was incredibly easy, and switching on RockSteady and HorizonSteady makes a huge difference to the quality of the video, essentially by smoothing out all the inevitable camera shake and horizon so you feel less disoriented as you review the 360° footage. Having that extra field of view really highlights any camera shake or wonky horizons.
What’s really apparent from the outset is just how smooth the stabilisation of this 360° footage is. The stitch between the two lenses is exceptionally good, and it is very difficult to see where the two streams of footage actually meet.
Throughout the recording, I was impressed with the battery life, able to record minutes of continuous footage before the low power warning starts flashing. There is an additional battery base that you can use alongside the camera, which will extend that to 180 minutes, although even with a relatively high-powered workstation, editing that volume of 360° footage is going to be quite a task.
In bright and light conditions, which thankfully were most of the time during the test, the footage looks bright and vibrant with plenty of tone and colour, and even as I went into the trees, where other 360 cameras often struggle, the footage still held good, clear and crisp. It worked hard to maximise quality in low light conditions, and while you can see a drop in quality, it’s not as pixelated or lacking the detail that some of the competition often have.
While shooting in 8K 50 frames per second is impressive, there are plenty of other resolution options, and one of the features that did really impress me during the test was the slow-motion ability, where you can slow footage shot at low resolution by up to four times, essentially shooting at 120 frames per second and then reducing this to 30 per second during playback. Here, once again, the footage looks really good quality, and while we were pushing it a bit by cramming in those extra frames, overall, the tone, clarity, and detail were all well balanced.
An important part of the Osmo 360 camera is the Mimo app; this is nicely designed and relatively easy to use, and once the app is loaded, it very quickly finds the camera and only requires you to connect when ready.
Once you’re into the app, you just need to push the camera icon, click okay to confirm the connection, and you’re in to the live view screen with the ability to adjust and access all of the options and settings, including starting and stopping recording.
One thing I really like about the app, as is quite common with this style of device, is that you can just touch the screen to quickly rotate 360° around the scene, and across the bottom there’s a good range of different modes including hyperlapse, timelapse, vortex, selfie mode, super night video and photo, all giving you access to plenty of additional features, flexibility and fun. My personal highlight was vortex mode, which essentially gives you the ability to shoot vortex footage.
One feature I was really looking forward to trying was the invisible pole; however, at present, I couldn’t get that working with either of the poles, and they were still very much apparent. I will update as soon as I get this working.
When it came to using both the app and the desktop editing application, these were both straightforward and in both, a quick tutorial led to the basic functions and features. While it isn’t the most streamlined of all apps I’ve seen, it is well balanced, but more than anything, it gives you a really good insight into what is possible, and you should be able to sit down and get started with editing your 360° footage in relatively quick time.
At the end of the test, I was really impressed with the DJI Osmo 360 camera. It is a robust model, and the fact that it utilises the same magnetic mount as the DJI action cameras means that it’s fully compatible with a huge ecosystem of accessories and mounts. The other thing I really liked was the fact that you can use it with the DJI Mic 2, so if you want to create professional 360° footage with decent audio, then it’s very quick and easy to do that with minimum fuss, although it will take a little bit of time to work out how to get the mic fully integrated in with the system. Once launched, it will obviously be a little bit easier.
Overall, when it comes to 360° cameras, these are some of the best quality visually that I’ve come across, but when you stack them up against the GoPro Fusion 360 and the Insta360 1-inch, the competition suddenly gets extremely tough. So, what I’d say at present is, if you’re into the DJI ecosystem, then this is the 360 camera you want to go for; however, if you are into GoPro and their system, then the Fusion is still superb. Likewise, if you use the Insta360, then their system is equally superb, and as all three cameras are roughly the same price, the choice really comes down to your familiarity with each manufacturer.
Final Thoughts
There are many things about the DJI Osmo 360 camera that I really like. It does set a new bar for 360° cameras, and it utilises the latest technology to boost that resolution to 8K 50 frames per second, which is beyond its competition. When you look at the overall video quality, that additional resolution does just give it the edge. However, when it comes to usability, all three cameras are now extremely easy to use, and the editing environment for each is well balanced and pretty much straightforward, making the decision of choosing between them incredibly difficult.
If you’re a creator, however, the focus on which of the three cameras you should go for suddenly becomes a lot easier, and DJI’s latest option, with its integration into the rest of its ecosystem, suddenly makes it a very good option, primarily because that integration between the camera and the Mic 2 system means that you’re going to be able to record excellent audio alongside the visuals.
The DJI Studio software on the desktop is also very good and opens up a whole new world of possibilities, with the Mimo app being more consumer-level but still equally impressive with the end results that you can produce.
Looking at the pricing, this does make it a little bit more difficult to fully justify, as the initial price is relatively high, but then you are getting the first camera to shoot proper 8K 360° footage, and with the addition of optional accessories and that integration with the DJI ecosystem, it does make it a great option.
So, from my personal feelings, this is an action camera that takes things up to another level from what’s come before, but there’s not quite enough here to make an absolute switch for you from the GoPro Fusion or the Insta360 1-inch. However, it is still a very good camera, and if you’re coming to 360 fresh and you don’t have brand loyalty, then this is the camera to go for.