Having a basic compact camera doesn’t mean that you can’t take great photos or use advanced techniques. Here are 8 things that you can do whatever camera you’re carrying.
Create a shallow depth of field
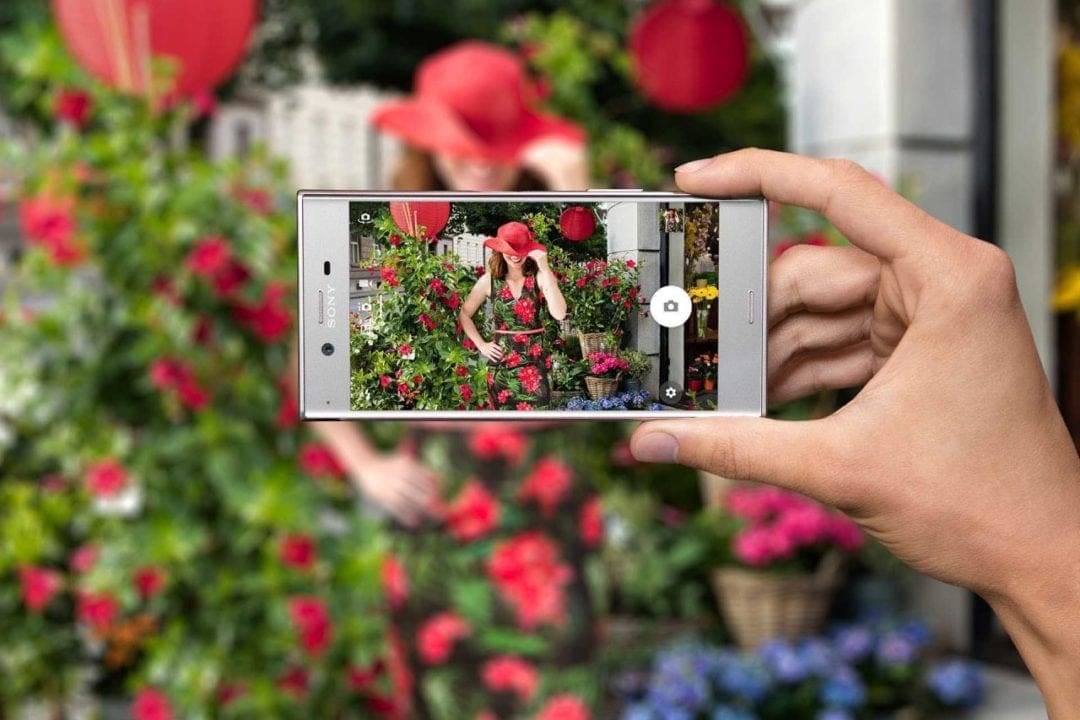
As recently as just a few years ago shallow depth of field was synonymous with large-sensor cameras. But massive leaps forward in smartphone camera technology mean that anyone now can shoot a nice portrait with smoothed-over background blur and a subject that pops right out of the frame without having to fork out for that full-frame sensor.
Smartphones use what’s now commonly called ‘portrait mode’, in which their dual rear cameras operate in unison so that the telephoto and wide-angle lenses create a depth map of a scene.
The pair work to find the edges of your subject and then determine what is the foreground and what is the background, then artificially blur objects based on how far away your phone thinks they are from the main subject. It sounds like it shouldn’t work, but it does!
Google, however, took portrait mode a step further with the Pixel 2 phone, which uses just one rear camera to create its shallow depth of field effects. The Pixel 2 does this by essentially creating a mask around those objects in the background.
You can also restrict the zone of sharpness in an image shot with a compact camera with a small sensor. Depth of field is reduced at longer focal lengths and when your subject is close to the camera. So if you want to limit the depth of field in your scene with a compact camera, simply extend the zoom lens to its maximum telephoto focal length and then physically move closer to your subject.
Very basic point-and-shoot compact cameras don’t offer control over aperture and shutter speed, so you can’t select a wide aperture to reduce depth of field. However, these cameras will have a ‘Portrait’ scene mode that will dial in a large aperture.

Shoot from a different angle
This is the simplest, yet most effective, technique on this list. Most images are taken from the photographer’s head-height. That’s how we see the world, so we instinctively shoot from this viewpoint. But if you stop and think about what you’re doing, then shoot from a higher or lower angle you’ve instantly made a picture more interesting.
In these instances, a smaller camera such as a phone or compact gives you more flexibility because they’re easier to hold at more awkward angles and can be squeezed into tighter spaces. But even with a chunky DSLR you can shoot from ground level quite easily.
One problem with shooting at unusual angles is it can be difficult to see your camera’s LCD screen, which is why a camera with an articulated screen offers a great advantage here.
There is some trial and error to be expected, though. You may need to be persistent and take several shots before you get the one you want.
You also want to make note of your horizon and ensure that it’s (as well as other prominent lines in your scene) straight and level.
It’s also worth zooming in to your scene to make sure your focus is spot on.
Fill-in flash
A burst of flash can really elevate an outdoor portrait by filling in shadows and adding sparkle to the eyes. Now, the best results with fill-in flash will be from using an external flashgun, but even the built-in flash on your compact camera or smartphone can go a long way towards lifting an image.
Most compact cameras have a ‘Forced flash’, ‘Flash-on’ or ‘Fill-in Flash’ setting that tells the camera to fire the flash regardless of how much light is available, and many phones now have an equivalent setting.
If you have it, it’s also a good idea to enable your anti-redeye function, as redeye one of the biggest setbacks with using fill-in flash. Your anti-redeye feature works by firing a pre-flash burst of light that triggers your subject’s pupils to close down, thus diminishing the chance of redeye spoiling your image.
You’ll find that the light from a built-in flash can look harsh. An easy way to soften it is to place a simple piece of tissue or greaseproof baking paper over the flash to help diffuse the light. This only really works when shooting near to your subject, though, so don’t shoot from too far away.
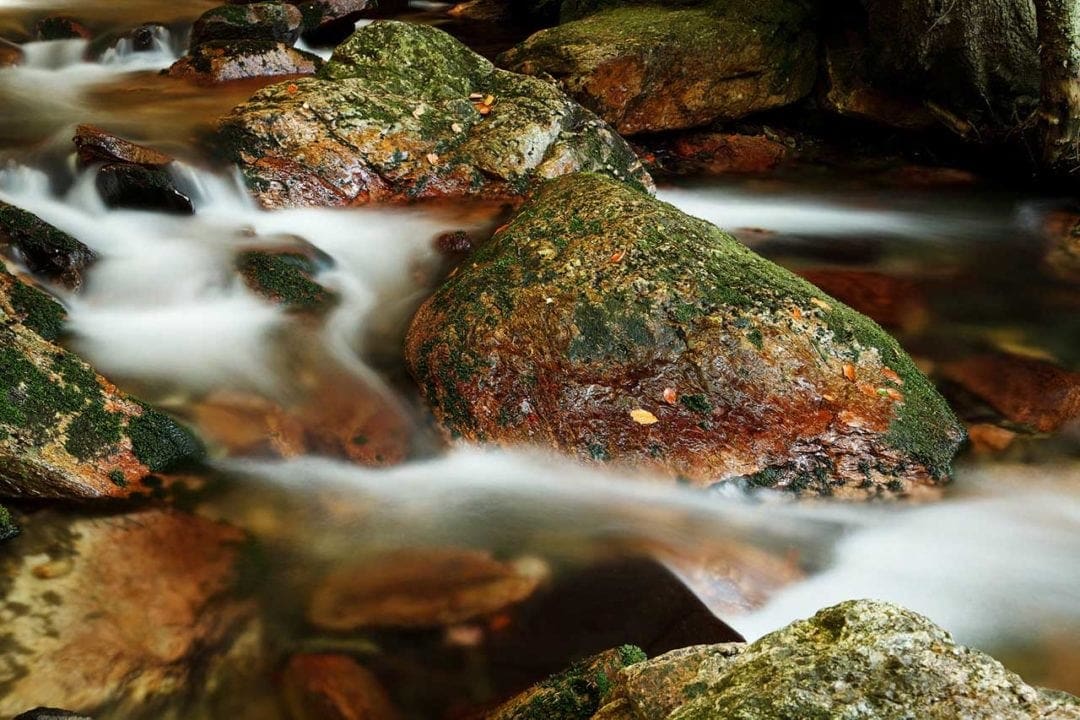
Blur movement
Capturing movement is a classic way of making your images more dynamic, and you don’t need an expensive set-up to do it. Freezing movement is one way to do it, using a fast shutter speed to emphasise form and the drama of the action. But sometimes a bit of blur can be very effective in driving that drama home.
Even very basic compact cameras usually have a tripod mount, and because they are so light, you only need a small, inexpensive tripod to keep one still. Likewise, you can buy cages for your phone that will attach to a tripod, keeping it secure and stable.
A Manfrotto Pixi is one of our favourite mini tripods. It’s very quick to set up, very stable, and it’s so small you can slip it into your pocket when it’s folded up. However, it’s worth noting that the Pixi can only hold a camera in landscape format.
To blur movement you need a long shutter speed, which most good smartphone cameras will now offer. Compact cameras require a little more fiddling. A good way to set a long exposure on your compact is to set the sensitivity to its lowest value available and using the Night-time of Landscape scene mode.
You may also extend shutter speed further by using a neutral density filter in front of the camera’s lens, as some compact cameras have a filter thread. You could even try taping a filter onto your camera’s lens.
Pan with movement
The problem with using a fast shutter speed to freeze movement is that the subject can often end up looking static. However, if you pan with the movement of the subject, following it in the viewfinder or on the screen, you can produce an image that conveys a sense of speed while still having the most important parts of the shot sharp.
Panning takes practice, but you essentially want to keep your subject in the viewfinder or on the live view screen as it moves from one side of the frame to the other. The refresh rate of compact camera screens can make it tricky, but it’s not impossible provided that you turn the post-capture review off.
For the best results, set the camera to its C-AF, or continuous autofocus mode, and continuous shooting mode, then move the camera in a sweeping movement, following the subject.
If you set the camera to its Landscape scene mode it will select a small aperture and a fairly slow shutter speed. Provided that you match your panning speed with the speed of the subject (and the camera achieves focus) you’ll be able to get the subject sharp, while blurring background.
But you might be surprised to learn you can even do this technique on your smartphone camera. Set your phone’s camera to its manual mode, or professional mode. You’ll now be able to change exposure settings such as shutter speed, ISO and AF modes.
Choose a continuous AF mode and select a shutter speed of about 1/60sec, possibly even 1/30sec. Then simply apply the same panning motion with your phone as you would a traditional camera and move your body in unison with the subject.
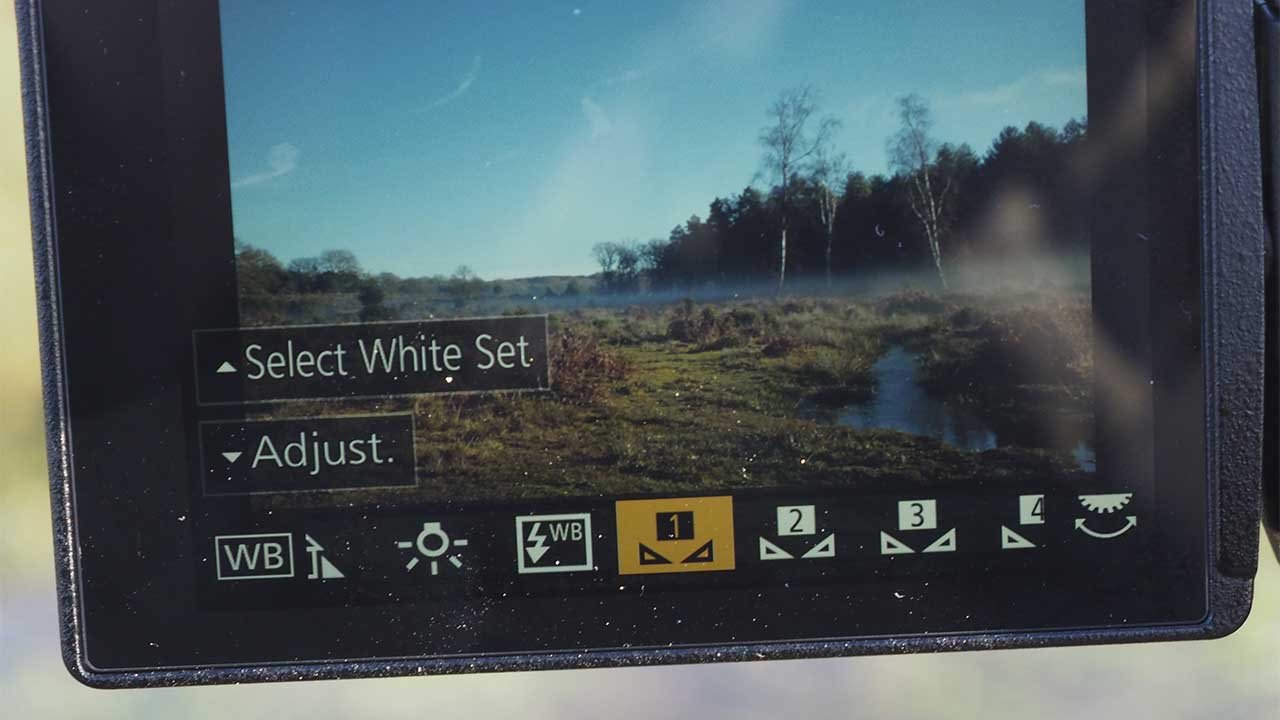
Get creative with white balance
Most smartphone cameras and even very simple compact cameras now let you select a white balance preset, and sometimes you can break the rules and select the ‘wrong’ white balance setting and add a creative colour cast to your image.
Selecting the Tungsten white balance setting on a foggy day, for example, will give your scene a blue cast that can really emphasise that feeling of cold.
Likewise, using the Shade white balance preset in normal daylight will produce a very warm image, which can create a late afternoon or sunset feel.
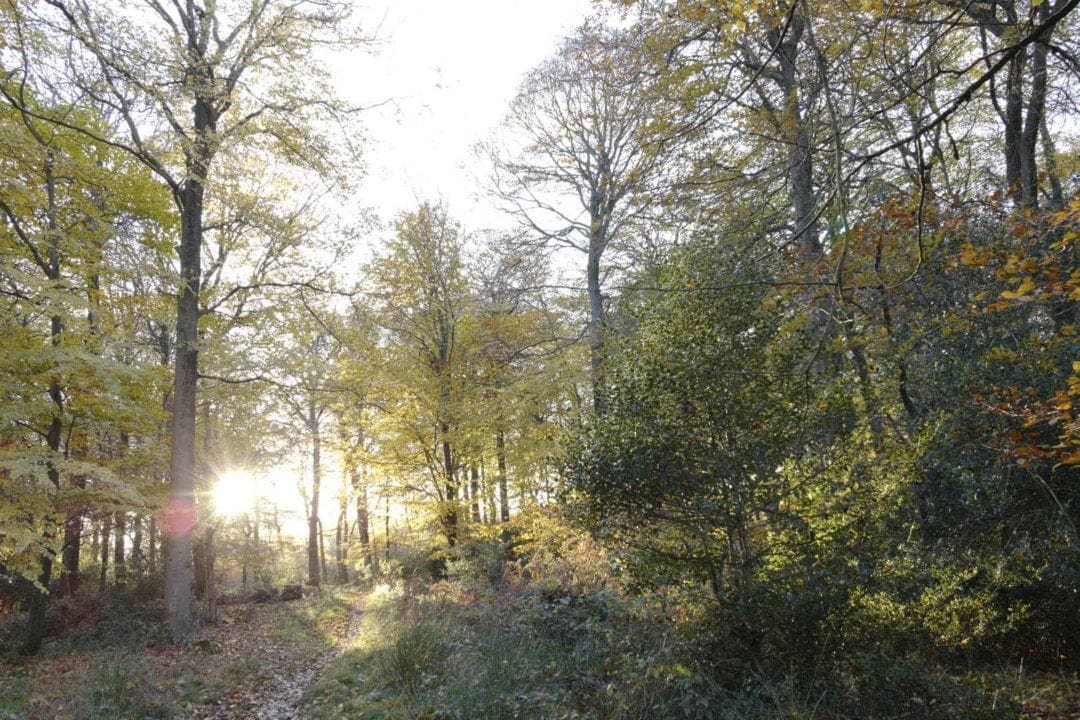
Embrace lens flare
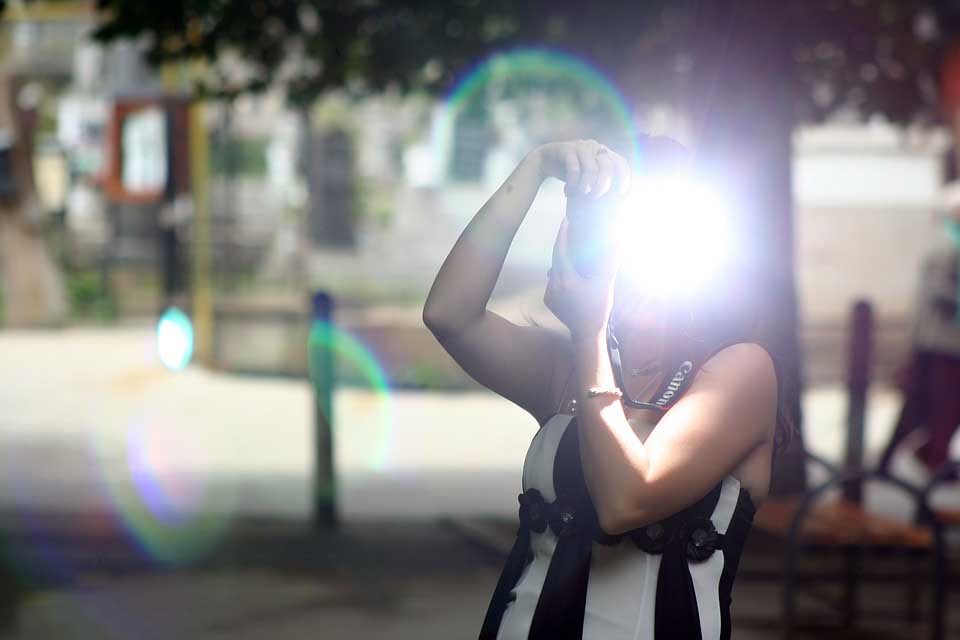
Photographers usually try to avoid lens flare because it lowers contrast and can introduce hot-spots to images.
However, flare can add another element of visual interest to your portraits, and you can even use it in landscapes to give the viewer that strong sense summer and being there in the moment.
The good news is flare will affect any lens on any camera and is caused by light bouncing around the inside of a lens. This happens when shooting into direct light and strong sun shines directly into the front element of your lens, or across it.
Take a proper self-portrait
Selfie has become part of our modern lexicon, and camera manufacturers are falling over themselves trying to make their models selfie-friendly. But in the age of ‘portrait mode’ we’re ironically seeing camera phones bringing back the art of the properly composed self-portrait.
If you pop your camera on a small tripod, or support it on a convenient surface you can use its self-timer to give you enough time to run into the shot, provided you’ve focused the lens where you intend to stand and composed the image.
The best way to do this is to employ the age-old ‘focus-and-recompose’ technique by half-pressing the shutter release to focus. Then keep it depressed while you compose the image, before pressing the button home to start the self-timer counting. Then take your position and wait for the shot to take.
