While most of us would love to spend our days indulging in our photographic ambition, more often than not we find that time, especially daylight, gets away from us. One way to satisfy your shutter craving is to try nighttime photography. Take a look at our fundamental night photography tips to ensure you get sharper shots in the dark.
01 Use a tripod
Let’s start by going back to fundamentals. Because you’ll be shooting in a relative absence of light, your exposures are going to be minutes long. This means that you’re going to have to employ a tripod.
And don’t reach for that old rickety one in the closet with the flimsy legs and limp head. You’re going to need a decent, sturdy tripod that’s going to provide your camera with constant stability.
Tighten bolts on adjustable legs as necessary, and make sure that the quick release plate is attached firmly on your camera, using a coin to tighten up the bolt if need be.
Don’t skip this last step, particularly if you’re shooting with a long lens in upright format because the camera is more prone to slip on the plate.
Set your camera up at the right height by extending the tripod legs according to the centre column and the thicker upper leg sections according to the lower thinner ones.
Bottom line, the sturdier you position your tripod, the more securely it will hold your camera. Ensure that the tripod head is locked tightly after you’ve composed your image.
02 Attach weight
To further aide in steadying the camera, many tripods come with a hook at the bottom of the centre column so you can attach a counterweight. Don’t fret if your tripod is without one of these helpful hooks.
Go ahead and hang something – perhaps your camera bag – over the collar. Be careful around your counterweight, though, as even just a bit of wind can introduce some movement.
Ideally your counterweight should hang just above the ground, thereby providing a downward force with little to no resulting movement.
Beanbags also come in handy in these situations. Simply place it over the camera or lens to help diminish unwanted vibrations.
03 Take shelter
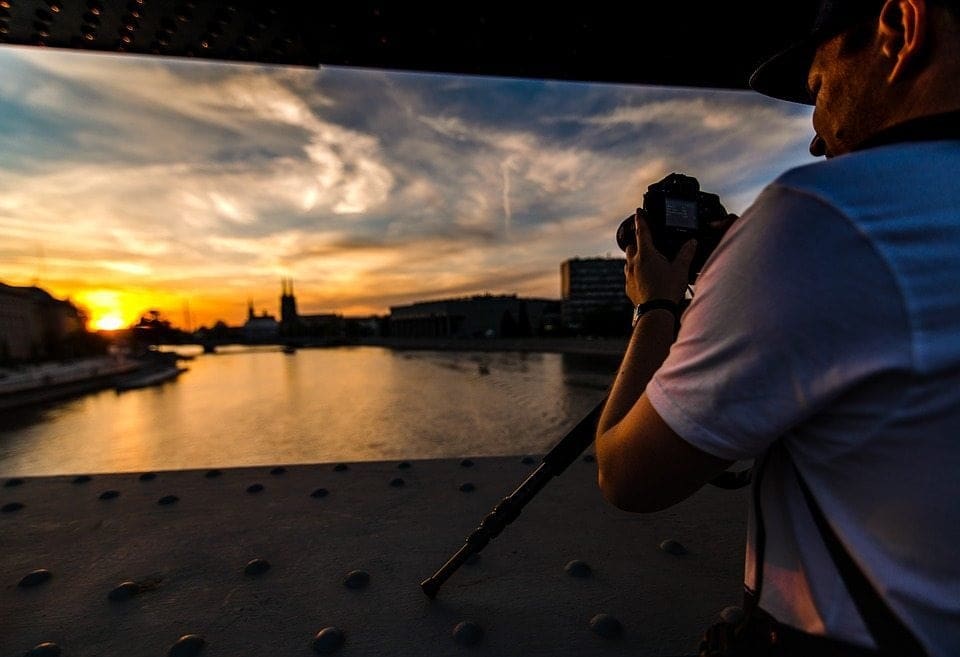
No matter your nighttime shooting venue you should always seek out a sheltered shooting position. Naturally, you want to avoid strong winds and the whip of cars speeding by.
Taking the simple step of setting up next to a wall or tree can have a great impact on the quality of your image.
04 Turn the stabilization off
While it may seem counterintuitive, you’ll want to turn off lens-based stabilization during nighttime shooting. Systems such as lens-based stabilization and sensor-shifting are specifically designed to balance out movements that occur when holding a camera in hand.
Leaving these systems on when shooting from a tripod can introduce unintended movement, resulting in image blur.
05 Find a light
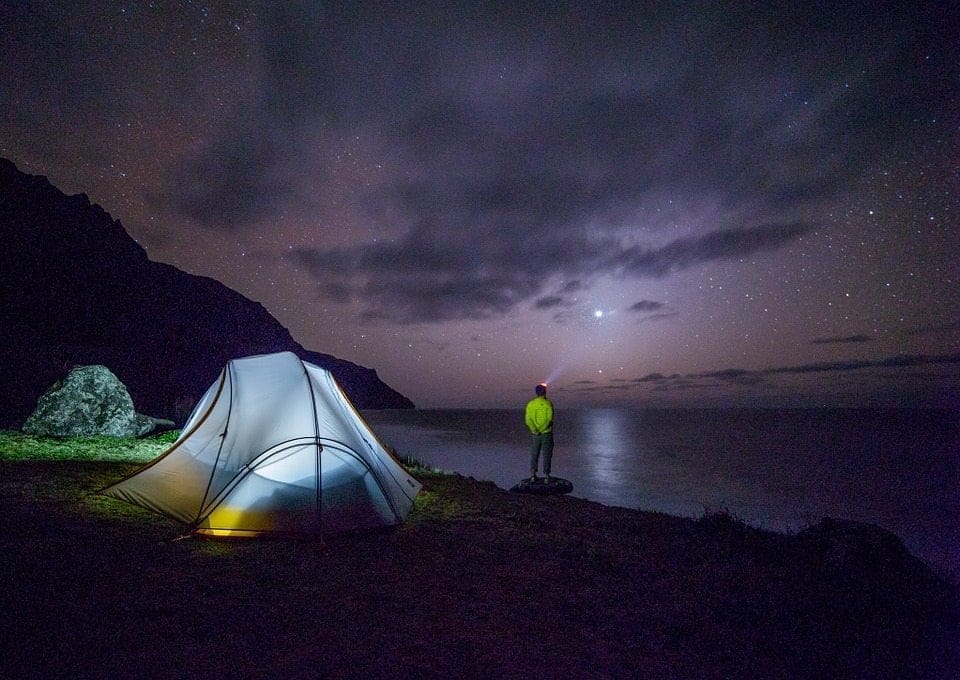
By-the-book photographers will show up early to set up the camera, compose the image and focus the lens well before nightfall, thereby avoiding the problems that can come with trying to focus at night.
But as we stated in the beginning, not everyone has that kind of time. While the majority of modern compact system and DSLR cameras have extremely sensitive autofocus (AF) systems, they still require some light to function.
Your AF system can be aided by any bit of light in your scene, but this doesn’t necessarily mean you should focus on it. A sharp subject and appropriate depth of field are achieved only when the light you’re focusing on is at the right distance.
If you find yourself in a complete absence of light, try using a torch (flashlight) to shed some light on your subject and help focus the lens.
06 Back-button focusing
Once the shutter release is depressed, the camera focuses the lens. This default setting is fine for most scenarios, but as we already know, focusing is complicated when you’re shooting at night.
Nighttime shooting typically calls for splitting the focusing and shutter activation across two buttons. Using the back button to focus the lens will prevent the camera from adjusting focus when press the shutter release to take your shot.
07 Focus manually
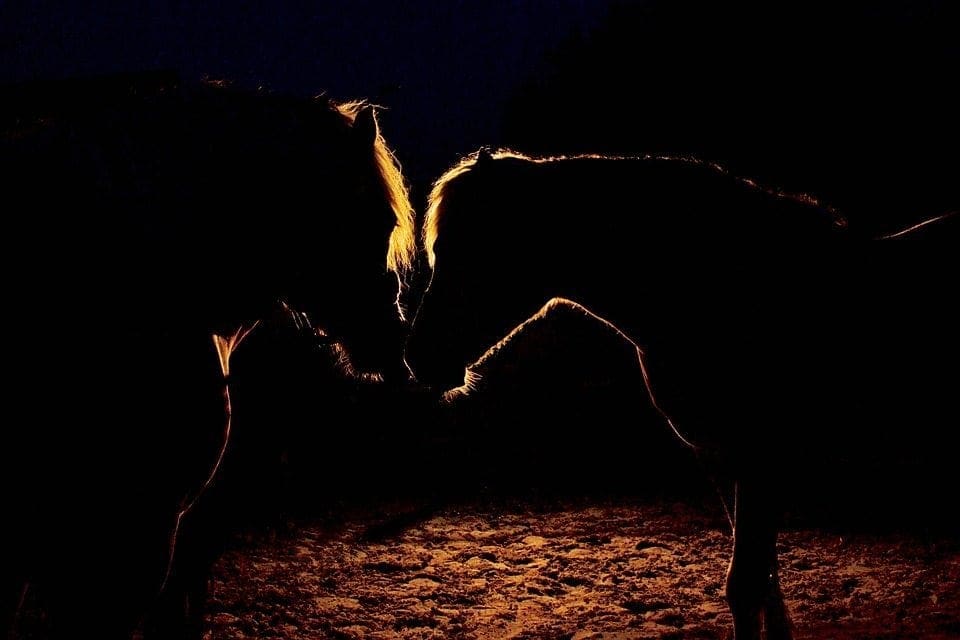
Shooting in extremely dark settings always calls for manual focus. This isn’t so easy if it’s so dark that even your own eyes don’t have access to enough light to gauge the sharpness of the subject.
If you find yourself fumbling through this scenario, try activating your DSLR’s live view (mirrorless cameras operate in live view full time) in order to bring up the image on the screen, which will appear brighter than it does to your eyes.
Focus can also be set to the correct point if your lens has a distance scale.
08 Use a remote release and mirror lock-up
To obtain the sharpest results possible you should use a remote release and exposure delay or mirror lock-up. Doing so will keep the shutter from opening while the camera is vibrating after pressing the shutter release or the mirror lifting.
Following this rule isn’t so important if your exposure spans several minutes, as the first few seconds are fairly significant.
That being said, it never hurts to practice using these modes and you’ll be making certain that you capture as much detail as possible.
What gear do you need for night photography?
Heavy duty tripod
This goes without saying. Because you will be shooting long exposures in your night photography, you’ll need a strong tripod to ensure they are are sharp.
Standard zoom lens
It may sound basic, but your standard zoom lens is a great all-rounder that is perfect for changing your compositions quickly at the most common focal lengths.
Fast telephoto lens
A 70-200mm f/2.8 telephoto lens is also ideal for night photography. Telephoto lenses give the effect of compressing perspective, meaning you can bring your distant objects closer to your foregrounds and reduce the sense of negative space in your images.
Fast prime lens
It’s also useful to bring a wide-aperture prime lens to your night shoots, if possible. A standard prime from 35 to 50mm is typically cheaper to manufacture, meaning you can purchase them at affordable prices with wider apertures for stronger low-light performance.
Torch
A handheld or head torch can be useful in night photography for a number of reasons. It can add some fill light, provide an autofocus aid or serve as a creative tool if you want to paint with light in your image.
Which camera is best for night photography?
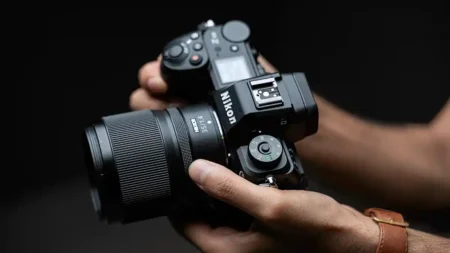
Ideally for night photography you want a camera with a lower effective pixel count than the super resolution cameras many manufacturers now have. This is because a camera with 24 megapixels, for instance, compared to 45MP will prioritise low noise over resolution.

Great tips. My problem is I’m lazy and can’t be bothered lugging around a tripod.