Thanks to modern metering and white balance systems it can seem that just pointing your camera at a subject and pressing the shutter button is all you need to do to ensure good images. But even those sophisticated metering systems can be fooled by difficult lighting. In this tutorial we explain some of the most challenging lighting conditions for photographers and tell you how to set up your camera to cope with them.
01 Bright overcast skies
Overcast days are fantastic for macro photography or outdoor still life. The thick cloud cover helps diffuse the light so you don’t get harsh shadows on your subjects. But for any other type of photography, overcast skies can prove a real challenge.
Particularly with landscape photography a bright overcast sky can be tricky to meter, and these conditions often fool your camera into under-exposing the scene. And even if it doesn’t under-expose, you’ll probably blow out parts of the sky, which can spoil an image.
One trick landscape photographers use to overcome this is to mount a graduated neutral density filter. An ND grad lens has a dark half and a clear half; the dark half you position over the sky, which lets less light into lens. This allows you to expose for the land without over-exposing the sky, allowing you to capture detail in both.
Another method many photographers use is what’s called an exposure blend. A photographer will take two or more shots with different exposures, them combine the best bits of each into one image that has detail throughout. In some cases it may even be possible to achieve the same thing with careful processing of a raw file.
02 Backlight
Backlighting is when your subject is positioned in front of the light source. In these instances you’re likely to under-expose your subject because your camera is trying to cope with all that bright light from the background.
One way around this problem is switch to your centreweighted or spot metering modes. Centreweighted bases its metering off elements in the centre of your frame, while spot metering allows you to take a meter reading from a very precise area (typically the active AF point).
Another option to cope with strong backlighting is to use a flash to put some light onto your subject and brighten it in comparison with the background.
03 High-contrast lighting
Some cameras struggle more than others in high-contrast lighting conditions. This is because they skew the exposure towards what is required by the area under the active AF point. However, if your AF point falls over a very bright part of the scene, your camera is probably going to render it a midtone and underexpose other areas.
Likewise, if your AF point falls over a dark area of your scene, a lot of your image will probably be over-exposed.
The best remedy in the situations is to use your exposure compensation tool to correct the variations in brightness. Another method is to use your partial or spot metering modes to meter from a midtone area.
04 Sunset or sunrise
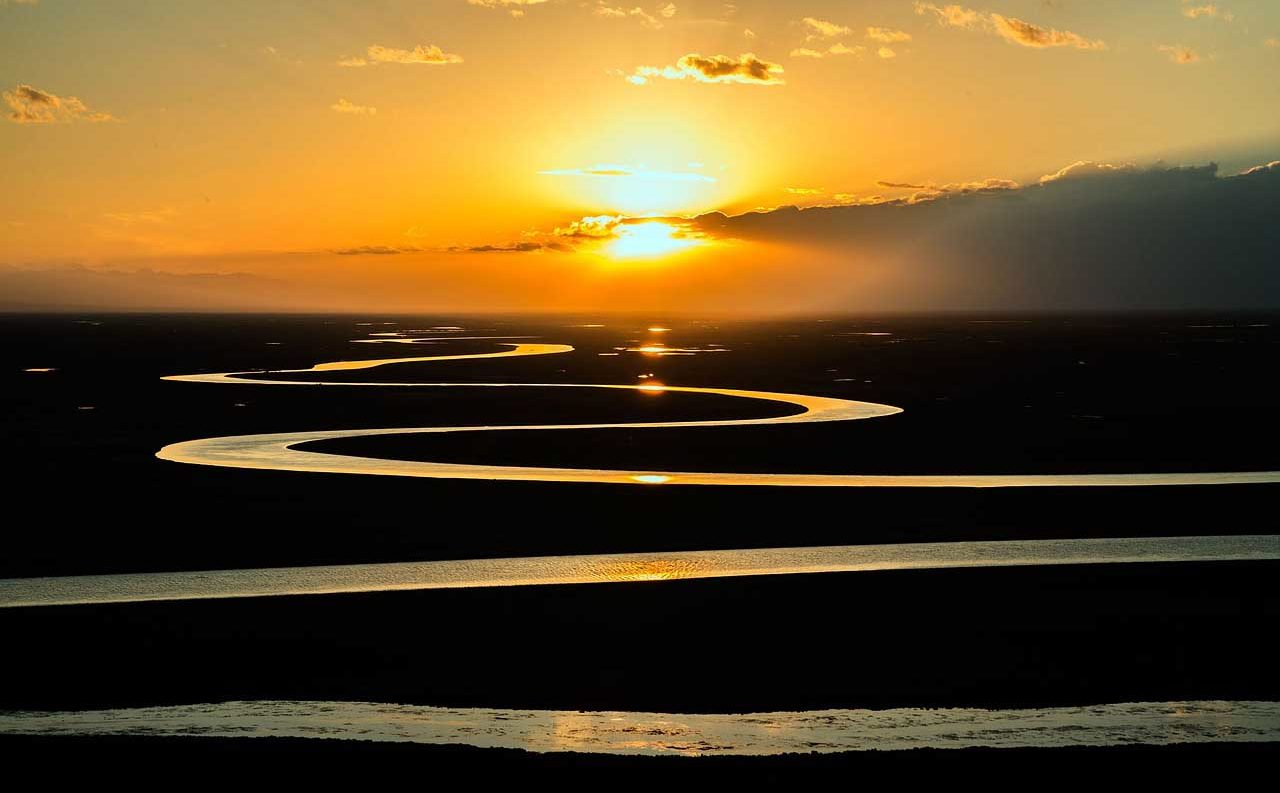
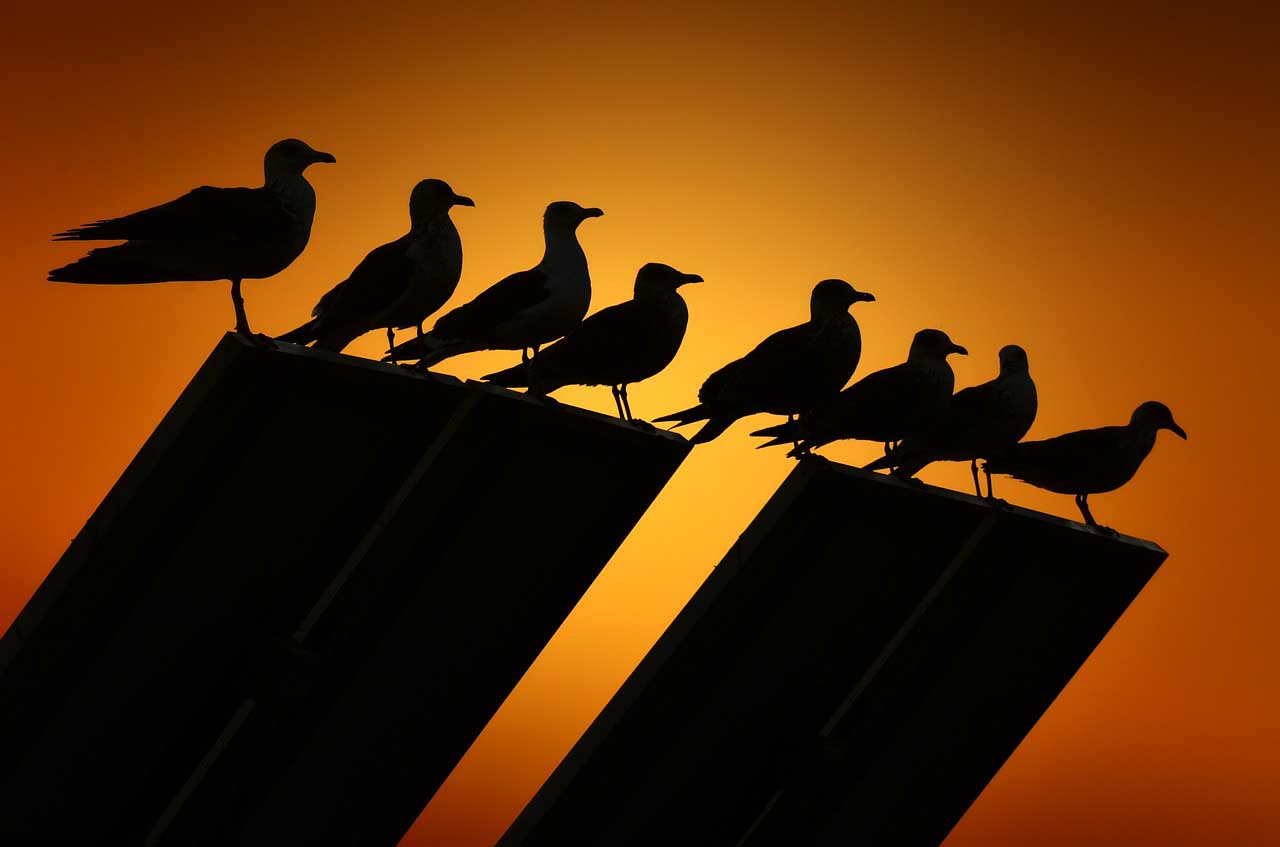
As beautiful as the light may be at the golden hours just before sunrise and just after sunset, it poses a huge challenge for photographer to expose correctly. This is because the beautiful sky at these times is much brighter than the ground. Too often this results in silhouettes.
Sometimes this can be very effective, but on the whole you typically want to capture some detail in your foreground so that your images are more natural and give the viewer some context.
Again, using an ND Grad filter can help you tame that bright sky, allowing you to expose for the foreground. You can also selectively edit a raw file or combine two or more images taken at different exposures.
05 Midday sun
When you shoot outside at midday the sun is at its highest position, sitting directly overhead. This is especially true in the summer months, and the result is harsh, short shadows that can spoil your images.
Landscape photographers tend to simply avoid shooting at this time, while portrait photographers might seek out some shade for their model to pose in.
Another option is to hold a diffuser above your subject; however, you’ll probably need someone else to assist you with this or have a remote release that allows you to hold the diffuser and fire the camera remotely.
Fill-flash – a short burst of light from a flashgun – can also help fill in those shadows if you have to shoot in the midday sun. A reflector will also do the job.
06 Low light
To shoot in low light you need wide apertures and long exposure. However, when shooting a long exposure, any movement from your subject or the camera will result in unwanted blur. Likewise, shooting at wide apertures (low f numbers) will give you really shallow depth of field – which is nice in a portrait, but if shooting a landscape you generally want a larger zone of sharpness.
One way around this is to push your ISO setting to a higher sensitivity. This will enable you to use faster shutter speeds and narrower apertures; however, this comes at the expense of some image noise and reduced saturation.
Fortunately, the high sensitivity performance of modern cameras has improved dramatically in recent years. On many cameras, shooting at ISO 3200 and 6400 will deliver perfectly acceptable results.
The key to pushing your sensitivity up is to know the limitations of your camera. Take some test shots, increasing your ISO each time and discover at what point noise starts being introduced to your images.
Another solution is to add some light either from a flash or constant light source.
07 Stage lighting
Stage lighting at live music gigs may seem very bright, but it’s often necessary to push a camera’s sensitivity setting up to ISO 3200 to be able to use shutter speeds fast enough to freeze the band’s movements. This is necessary because using a flash is usually frowned upon in these venues.
Another problem with stage lighting is that you don’t have control over the direction or duration of that light. It often flashes on and off, or moves around the stage.
The best way to cope with these lighting demands is to set your camera to its manual exposure mode and take a shot when the main subject is properly illuminated using the suggested exposure settings. Then assess the image on the back of the camera and check the histogram.
If necessary, adjust the exposure and take a few more shots. Once you have set the exposure for the lights keep it the same and wait for the lights to hit your subject.


