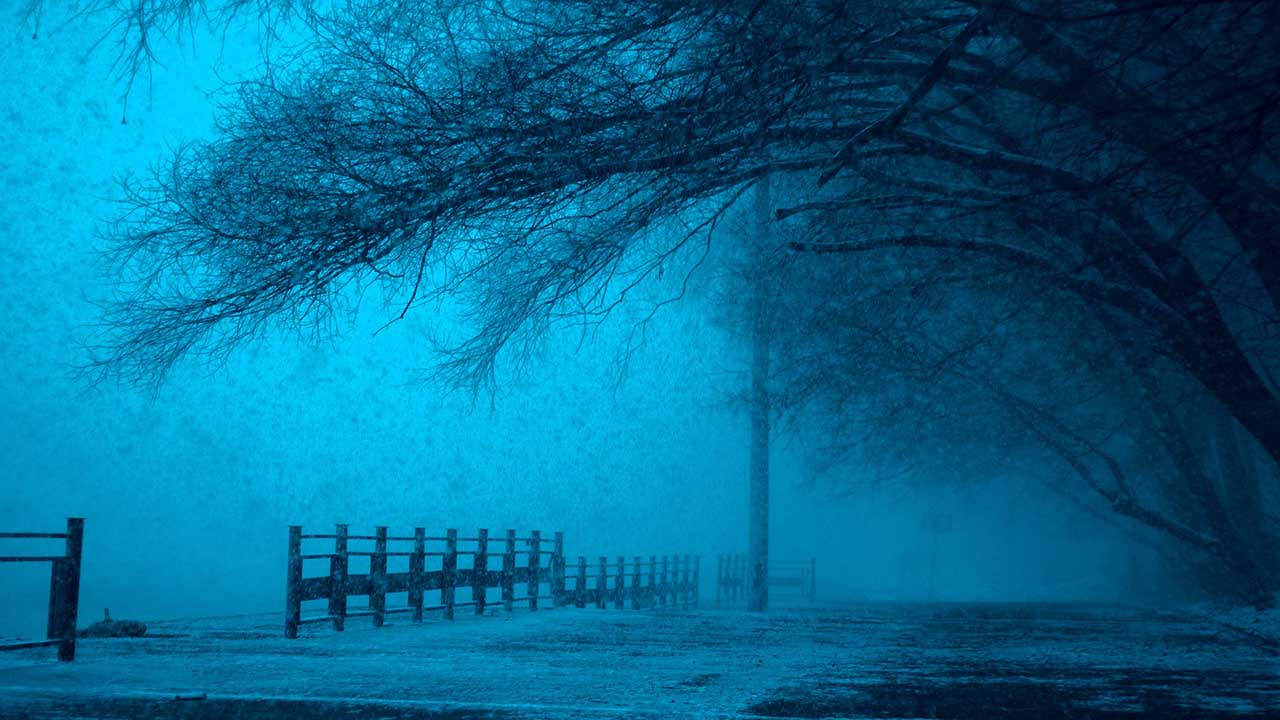
It’s easy to get discouraged from taking photos over winter. Bad weather and unfortunate lighting conditions are just a couple of reasons we find to keep our cameras in the bag.
However, this is also the only time of year when you’ll find great photo opportunitiess like Christmas markets, lighting displays, festivals, and other events and scenery.
All it takes is a bit of prep to keep your kit protected and arouse some inspiration to try something new. We’ve come up with five tips to help keep you enthusiastic about the winter season.
01 Get the right gear for the job
The thought of taking your expensive photographic kit out into the winter elements may seem frightening, but there are a variety of products available that are specifically designed to be used in such conditions.
Waterproof cameras are the obvious option. They’ll easily bear the brunt of wet and freezing conditions. Looking for something a bit more advanced with interchangeable lenses?
Check out Nikon’s waterproof and freezeproof AW1 Compact System Camera, along with a wide range of weatherproof DSLRs and CSCs.
While weatherproof cameras aren’t for underwater use, they can certainly withstand a rain shower, although you should also use a weather-resistant lens to ensure full protection. You’ll find that most manufacturers produce at least one weatherproof camera.
Of course, if you’re not looking to purchase a whole new camera, rain covers can be acquired rather cheaply and do a good job of creating a barrier between your gear and the rain. It’s also a good idea to keep a lint-free absorbent cloth on hand to wipe away any drops from viewfinders and LCD screens.
It’s not just cameras and lenses that come with weatherproof capabilities. There are even batteries and memory cards intended for use in freezing conditions, including cases for the memory cards to keep them dry.
Before you go out and spend your paycheck on weatherproof gear, however, be sure to check the capacity of your current kit.
See what claims, if any, your camera’s manufacturer makes as to your model’s performance in harsh conditions. Also, be aware that some high-quality memory cards are already equipped to deal with harsh conditions.
Some camera bags even come with rain covers built into a flap or pocket on the bottom, and lenses, too, can come equipped with water-repellant coatings on their front element as an added layer of protection.
SEE MORE: 6 ways to keep your camera dry when it’s raining
02 Protect your gear… but don’t forget about yourself
We tend to worry about our gear the most when it comes to shooting in adverse weather, but the fact is, the warmer and drier you can keep yourself, the more disposed you’ll be getting out there in the first place.
Keep an eye on the weather forecast before you leave and plan ahead by bringing appropriate winter-wear like scarves and hats, especially if you plan on being out for awhile.
You may want to invest in a lined waterproof jacket and trousers to make things a bit more hospitable when you’re out in the fray of winter weather.
Also, look into picking up a pair of fingerless gloves or those with a piece that folds back so you can operate your camera’s physical controls. These can make all the difference when it comes to shooting on a cold, wet day.
03 Embrace the conditions you’re fighting
Don’t shy away from awful outdoor conditions, embrace them! Try something different and experiment with different ways to capture the bad weather. It’ll be a nice change of pace, and the opportunities are near limitless.
Droplet-covered spider webs, condensation on windows, icicles and frost-laden plants are just a few creative portrait ideas.
Play around with shutter speeds to capture splashes of water and rain in both sharp and blurry, misty images.
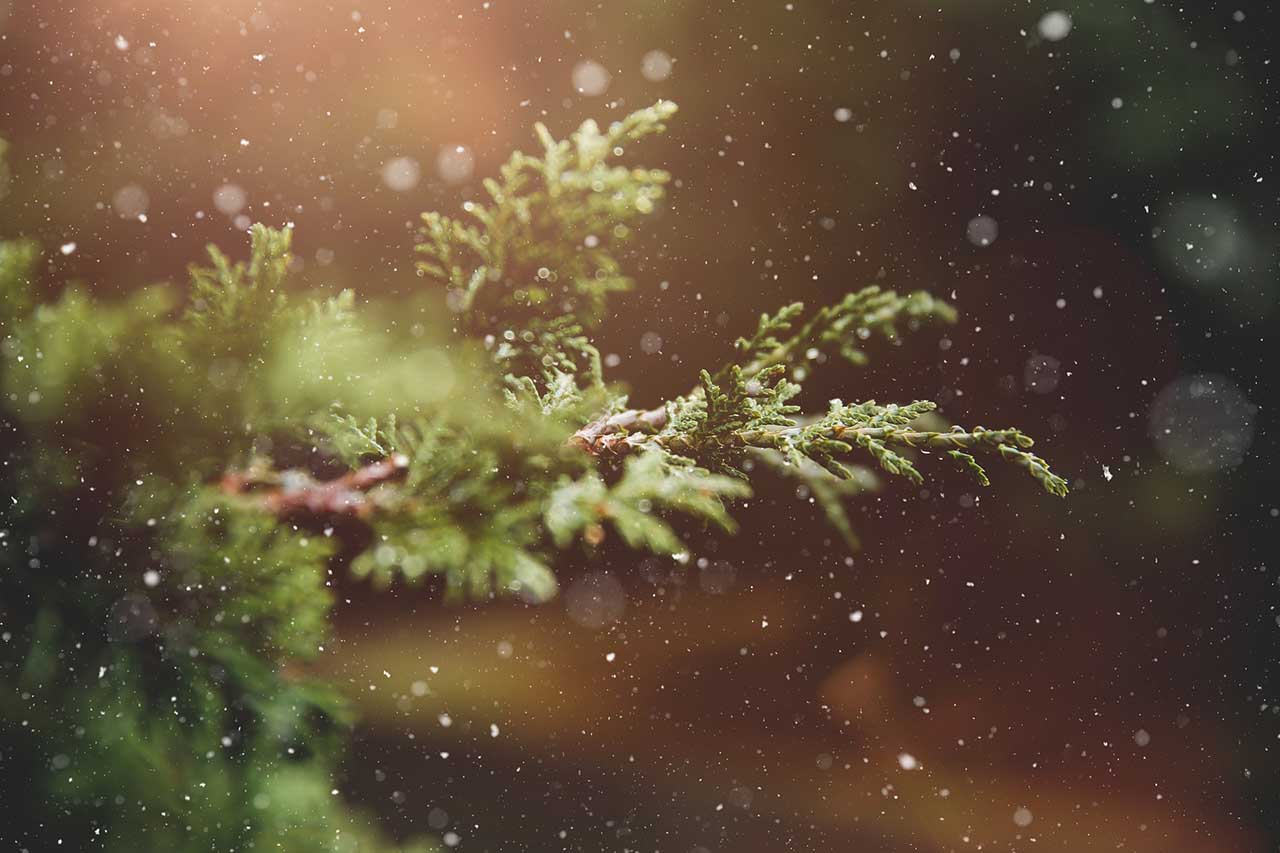
Close-up shots of plants and flowers can be amplified by the detail and reflection of water droplets.
If you’re thinking on a grander scale, just consider the drama that a heap of dark looming clouds can add to a landscape
Colours aren’t going to pop as much in cloudy conditions as they would when it’s sunny. Exploit this switching to black and white or sepia instead.
This works especially well when conditions are heavily overcast because your shots will probably have more contrast, creating a more dramatic result.
Black and white treatments are similarly effective once it starts raining, as wet surfaces are reflective and create more contrast in the scene.
SEE MORE: 20 autumn photography tips for awesome pictures of Fall
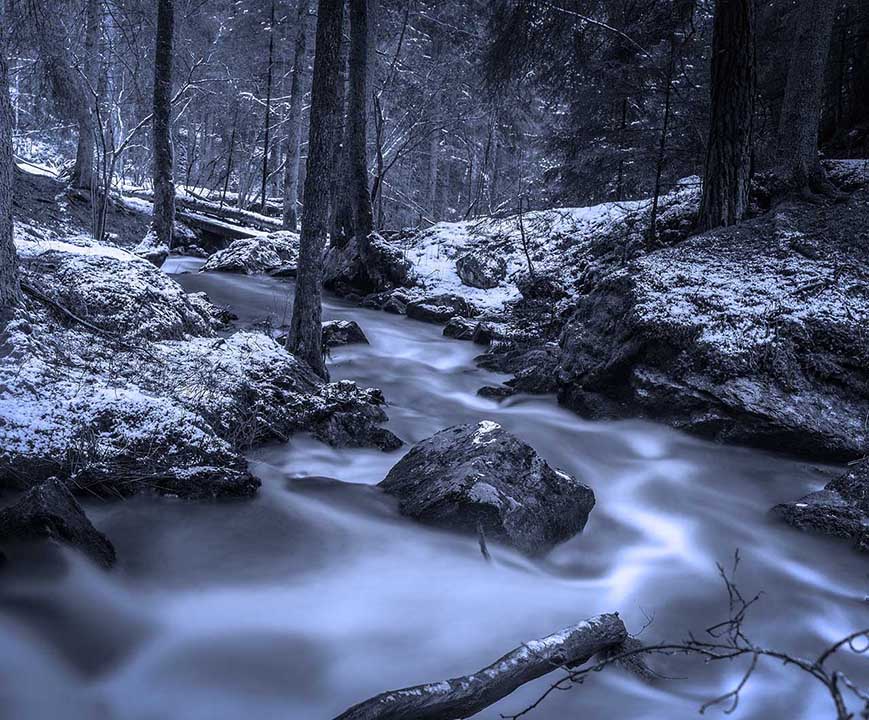
04 Grab a tripod and capture long exposures
Still feeling uninspired by the dreary winter days? Try heading out at night to play around with long exposures. Darkness falls quickly during the winter months, so be prepared before conditions are prime for shooting.
Mount your camera on sturdy tripod and make use of either a remote release or your self-timer to limit your contact with the camera at the time of exposure.
Bring a torch along if you’ll be shooting in extremely dark conditions. This way, you’ll be able to see inside your bag and the non-illuminated parts of your camera.
You can also shine your phone’s flash continuously or make use of one of the free flashlight apps. Cameras with top-plate LCDs typically have small lights to illuminate them in the dark, so these could be of use as well.
Toss a small umbrella in your bag if your camera will be unprotected. This can be a real life-saver if you find yourself caught in a shower after you’ve set up.
05 Flash is your friend
Don’t hesitate to add a little light yourself if you find your scene to be too dark. Try a hotshoe-mounted flashgun, or even the flash inside your camera, to bring some illumination to the scene.
During the winter season the flash is especially handy when it comes to snapping shots of people set against darker areas. Think outdoors against Christmas lights or indoors in front of the twinkling tree.
You’ll want to make sure the background is exposed correctly with a slow shutter speed while also ensuring you have enough flash for the subject to fill in the foreground.
Slow sync flash is another setting you can experiment with this time of year. It’s available on nearly all digital cameras, and is perfect for shooting bright, colourful Christmas lights.
Slow sync allows you to make a sharp capture of the subject while using intentional movement to blur the background. It produces a neat effect when there are a lot of lights and colours in the scene.
READ MORE
How to develop your own style in landscape photography
How to shoot a daytime long exposure
