
Winter may not seem like the ideal time to visit the beach, but for photographers it’s one of the better times of year to capture dramatic coastal photography.
Likewise, lakes and ponds and rivers also offer plenty of opportunities to blur water to create a sense of movement in your images.
In this quick tutorial we’ll suggest five simple ways you can make instant improvements to your water and coastal photography in the winter time.
01 Research your location in advance
This goes without say at any time during the year, but it takes on even more importance in winter. And so while this isn’t a camera technique per se, we’re putting this at number one on our list in terms of importance.
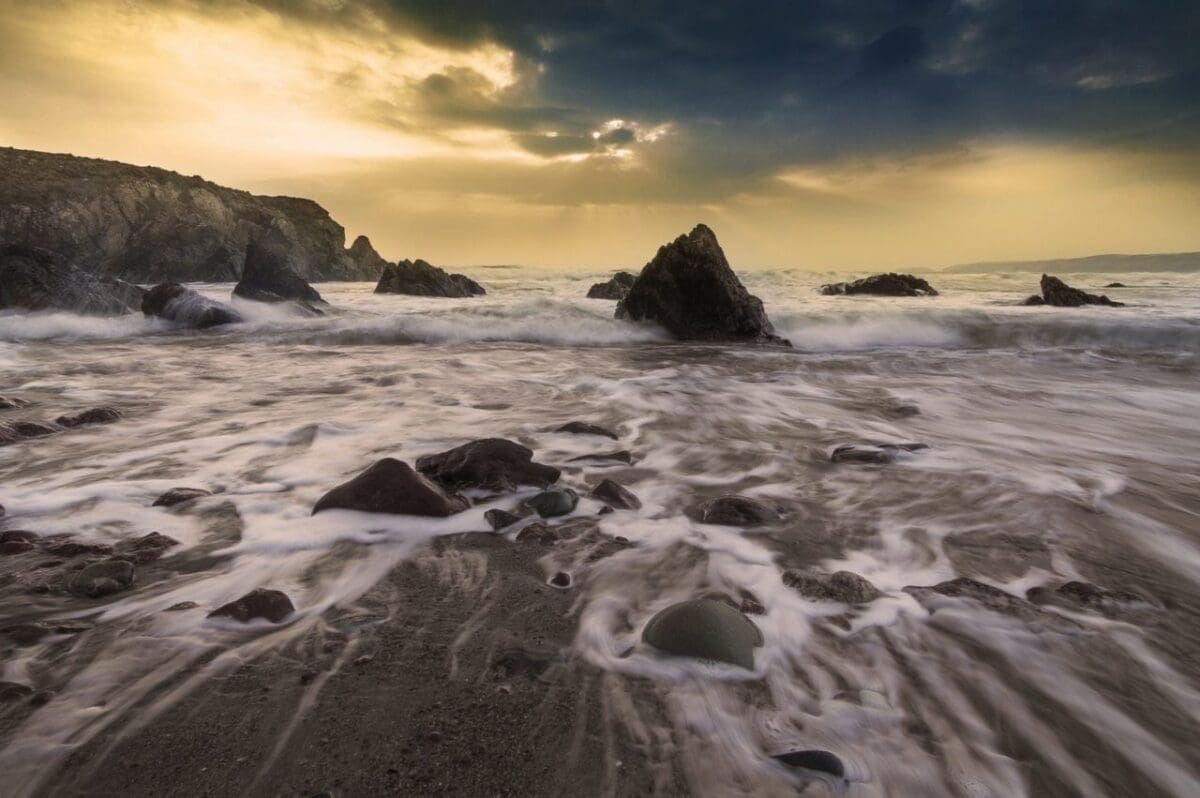
For starters, you’re going to want to know the tide times for safety reasons. Unless your tripod can be used as a flotation device, you don’t want to risk getting caught out!
But beyond that, for creative reasons when you’re photographing coastal locations in the winter you’re also going to want determine the tide times at your location because different conditions of the tide will suit different subjects better.
A receding tide, for instance, is better for photographing rocks along a coastline, as they will be wet and reflect colours within the sky. What’s more, just like photographing snow early in the morning at this time of year, the sand will be free from footprints that will distract from your scene.
It’s also important to make note of where the sun will rise or set before you embark on your shoot. This will help you make sure that you’re set up in the right position to capture your subject or scene in its best light.
02 Use a sturdy tripod
We often say this in landscape photography tutorials, but never more so is it appropriate than when photographing the coast in winter.
If you intend to blur water movement over a long exposure for dramatic effect, then a sturdy tripod is essential.
This is especially true if you’re planning to expose multiple frames to create a panorama or blend two differently exposed images.
What’s more, you also want to ensure your tripod head is up to the job. The tripod head is usually what will let you down in these situations.
We prefer tripods with a hotshoe-mounted spirit level, which will help you make sure your horizon is always straight.
SEE MORE: 5 quick fixes to improve long exposures
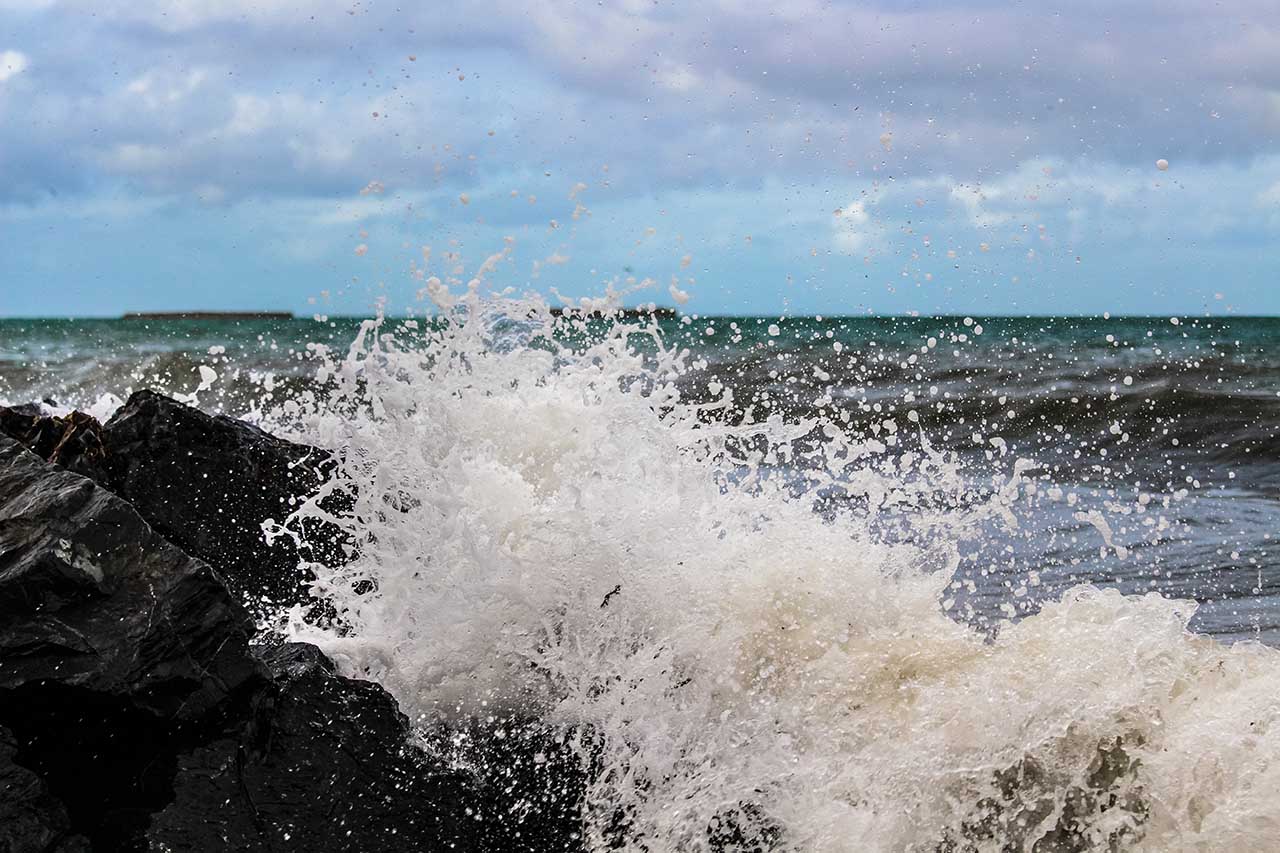
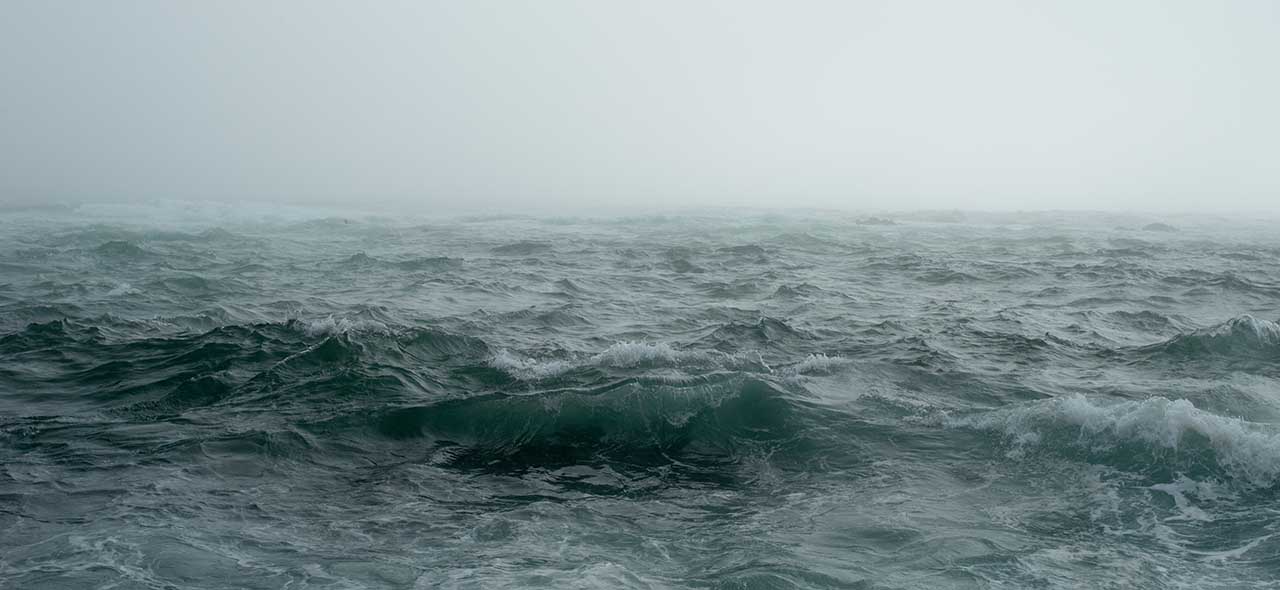
03 Shoot in stormy conditions
Shooting in the rain probably doesn’t sound appealing to most, but for photographers it’s a great time to capture dramatic images.
A deep low-pressure system like we get here in the UK over the autumn and winter period creates the perfect opportunity to capture a normally idyllic location in a state of distress.
If, like us, you’re in the UK reading this, the further westward you go the more dramatic waves you will encounter. However, you want to choose your location carefully so that a strong wind doesn’t blow sea spray directly into your lens.
Rather than using a longer shutter speed to blur water movement, in these types of stormy conditions it pays to use fast shutter speeds. Freezing a wave as it crashes upon the shore makes for a dramatic image, and to get a shutter speed fast enough you’ll probably need to increase your ISO to one of its higher settings.
04 Use a neutral density filter
If you are photographing a coastal scene in normal condition, you can create a dramatic image by using a longer shutter speed to blur the movement of the water.
However, if you’re shooting during the daytime the light will be too bright to get a shutter speed fast enough at the aperture you want. This is where a neutral density filter can come in handy.
A good neutral density filter will reduce the amount of light reaching your camera’s image sensor, which allows you to dial in a longer exposure while using an aperture of around f/16 to ensure wider depth of field.
SEE MORE: Common camera filter errors (and how to avoid them)
05 Fine-tune your focus in Live View
At one time Live View was seen as a tool for novices. Here at Camera Jabber we don’t really believe in tools for novice or tools for pros.
But that said, even professional photographers have come around to the merits of Live View these days, and the reason for that is because of its ability to magnify a scene and fine-tune your focus.
Live View is of great use to landscape photographers, who can use it to check depth of field at the actual shooting aperture.
Most cameras will have a Depth of Field Preview button, which when pressed will show show you your scene at the actual shooting aperture but adjust the brightness of your Live View screen to offer a clearer view.
Once you’ve enabled this function, you can then zoom into different areas within the image and check whether these points are in focus.
READ MORE
How to develop your own style in landscape photography
5 ways to pull yourself out of a landscape photography rut