i1 Studio Review Snap Verdict
The i1 Studio is the latest all-in-one colour management solution from X-Rite. It’s designed to ensure that you get colour right in camera as well as on monitor and printer. This is also the first major update to the pro range for some years.
Camera calibration is handled by the small ColorChecker Classic, simply photograph the chart in situ, and then run the image through the software. A profile is then created to correct all other images, very quick and handy.
Monitor and printer calibration is handled by the i1 Studio hardware, and each step is guided by the software, easy and relatively quick to use.
The price may seem steep, but the difference you’ll see in your images and print after use is instantly apparent.
If you’re a professional or need to ensure that the colours through your entire workflow are spot on, then the i1 Studio is an ideal colour management solution.
For i1 Studio
- All in one colour management
- Easy to use software
- Calibration reminders
Against i1 Studio
- Fabric design of holder can be fiddly
- Small version of the ColorChecker
- Old Mini USB connection
Correct colour management is incredibly important, but it’s an area of photography that many ignore, both amateur and pro.
The i1 Studio is aimed at colour management for the professional end of the market, and unlike many solutions of old, it has been put together to offer a complete solution; from the camera, through to monitor and printer.
Although aimed at professionals, the i1 Studio, as with X-Rite’s entire range of colour management tools, is incredibly easy to use and should appeal to all levels of photographer, cost allowing.
In this test the i1 Studio was used with a variety of devices; Sony A7R, Olympus OM-D EM-5 Mark II for the cameras, a MacBook Pro 15-inch 2017 and Mac Pro 2011 along with an Apple 30-inch Cinema Display and BenQ SW320. The printer is the Canon Pixma Pro9500 Mark II.
Features
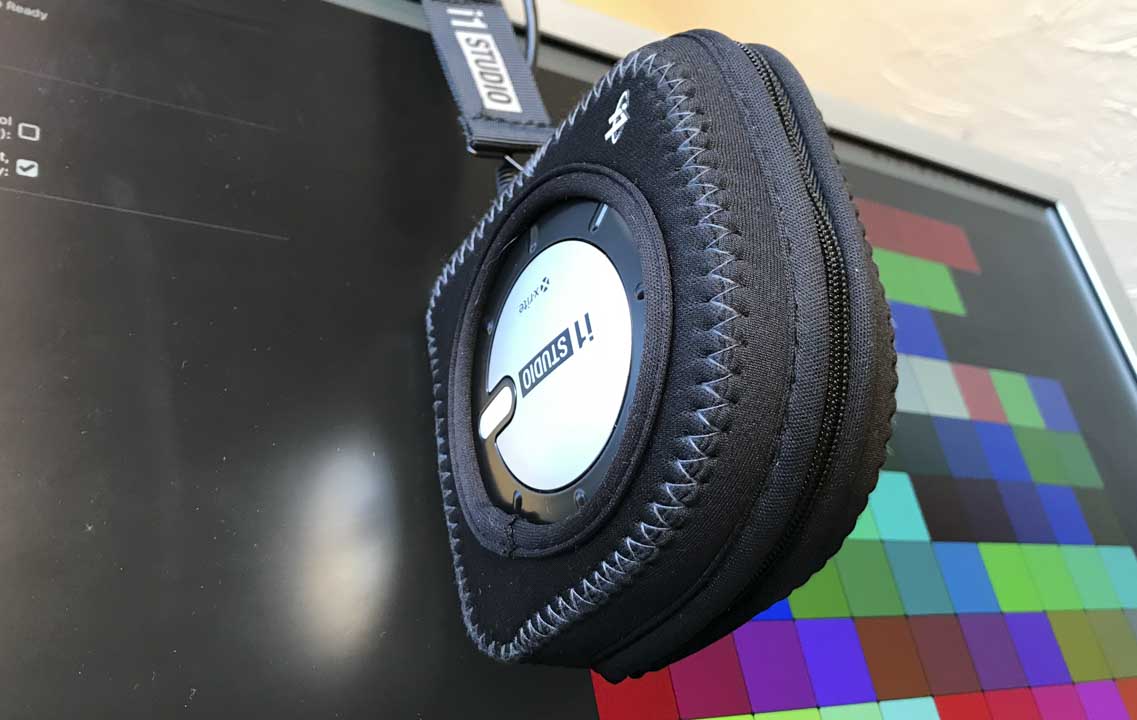
In the box are just two main items the i1 Studio Colorimeter along with its case and the ColorChecker Classic. You also get the cables, but software and the latest information about the kit is best downloaded directly from the website.
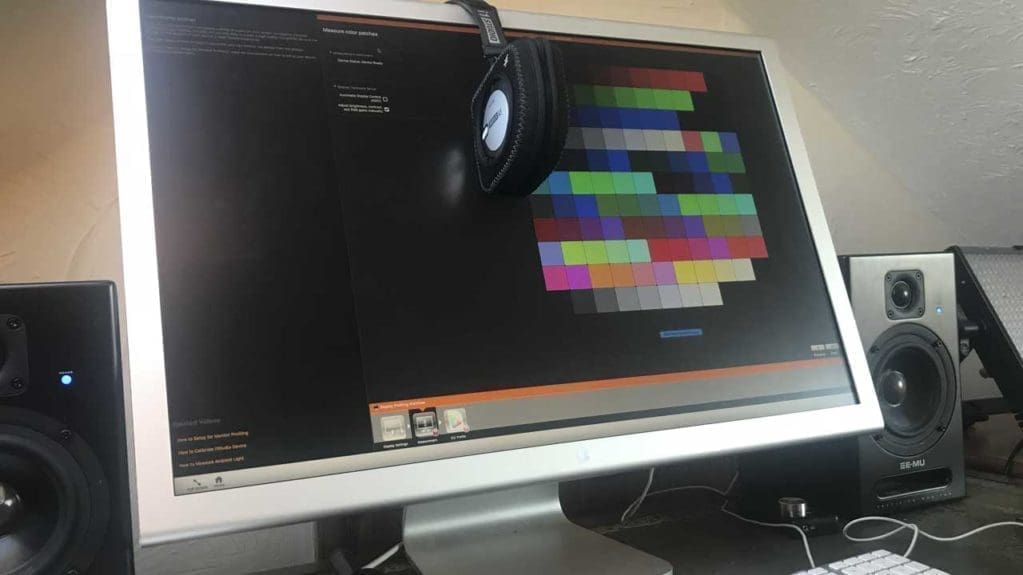
All software on the X-Rite site is there to be downloaded, alongside a series of training videos for getting started with the i1 Studio.
However, links out to using the ColorChecker Classic are for a series of Adobe Flash files which will no longer load due to security issues with the format. However, there’s plenty of information on how to use these elsewhere, or you can check out Ashley Karyl’s How to calibrate your camera for accurate colours feature here.
The ColorChecker Classic is a small colour card, just larger than a credit card; 8.25 x 11 cm. Its handy size means that it can be placed in a wallet, but it’s more suited to being carefully protected in a camera bag pocket, so it’s there when needed.
The 24 colour swatches are designed to be photographed under the lighting conditions of the shoot, and then used as a reference for correction.
The swatches are a patented array of natural, chromatic, primary and greyscale squares.
These squares have been designed to represent natural objects such as human skin, foliage and blue sky.
The X-Rite Camera Calibration software can then reference colours from the photographed chart. As the chart is an industry standard, it is also supported by a wide range of third-party software solutions, including Black Magic DaVinci Resolve and Hasselblad Phocus.
Build quality and handling
There are three parts to the i1 Studio, the camera calibration, monitor/projector, and printer.
Starting with the small ColorChecker Classic, all you need to do is pop it into each shooting scenario. Then when the shoot is finished, it can be used to correct colour and exposure or create a profile back in the digital darkroom.
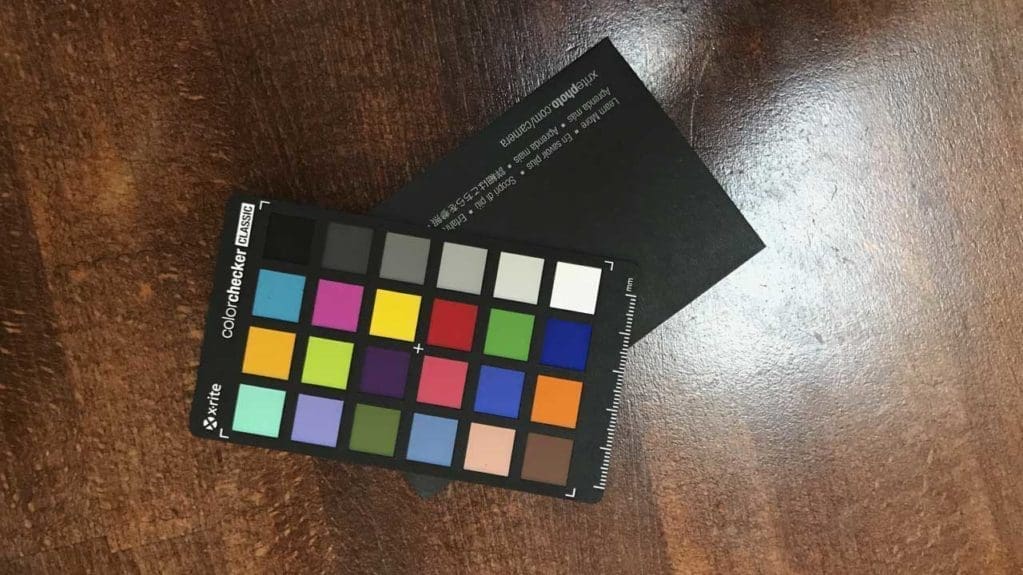
The process of using the chart is well documented across the internet with a good amount of decent YouTube tutorials available by a variety of people including Ashley Karyl. What is disappointing is that the link for the free e-Learning Tutorial on the X-Rite website is to a Flash-based document.
The Small Chart is simple enough and made from thin high-quality card with a small card wallet to help keep it safe.
The X-Rite Camera Calibration software is also easy enough to use and once you run the reference shot through the software that preset can then be used in your chosen application. All very handy and a huge time-saving process.
The big story is the hardware, and unlike the ColorChecker Classic, the software and instructions are all bang up to date.
Starting with monitor calibration and setting up the i1 Studio is straightforward enough; simply plugin, load the software, and you’re ready to go.
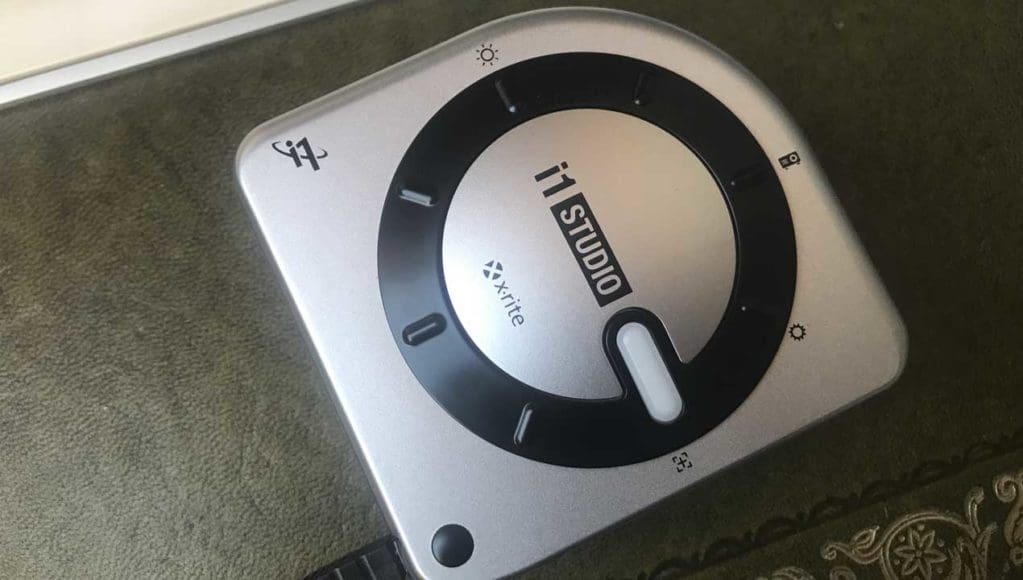
I started with monitor calibration, and here it was just a simple enough task of following the onscreen instructions and clicking the relevant buttons.
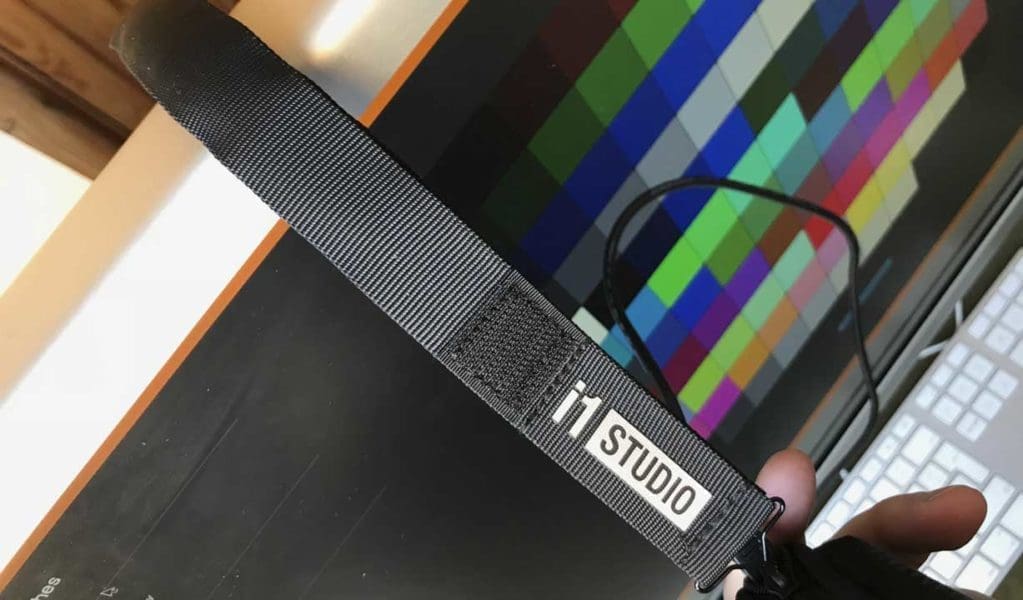
As with the ColorMunki that uses a similar harness system, I wasn’t always 100% sure that it was getting the precise meet with the monitor screen, even with the screen tilted back at the suggested angle.
It seemed to do the job, and after 10 minutes, the calibration process had finished, and the profile can be saved and applied.
Through the software, you can set reminders as well as profile the monitor for different uses such as photo, video, and browsing.
The i1 Studio also offers an ambient light mode, although delving into the X-Rite support material they recommend only using this if you are unable to position your monitor in a place where light is consistent.
This mode requires that the i1 Studio remains plugged into your computer and the selector on the device is switched to the Ambient icon.
It will then automatically monitor the changes in light and make subtle adjustments to the monitor as the light changes.
As with all colour management hardware and software that I’ve looked at the software features a built-in reminder to re-calibrate your monitor at regular intervals. There’s a choice of options from 1 week through to 4 weeks.
The final part of the Profiling is for printers and involves printing out two separate colour charts.
Once the charts have been printed, you can then swipe the device over the printed swatches by hand, and it highlights each row in the software when it has been successfully read.
After you have scanned the two charts, it then creates the profile for that paper, and you can name and save down that profile. Each paper type requires that you repeat the process.
A nice feature aside from the usual colour printing profiling is the ability to also profile for black and white. This again uses colour swatches and follows a similar procedure to the standard colour profiling.
Performance
The first time you go to set up and profile your camera, monitor, and printer, the whole process can take some time.
The actual workflow is relatively straightforward, and as long as you rely on the software to guide you through the process, little can go wrong.
The use of the camera profiling instantly makes a huge difference to the quality of your images. You need to remember to rephotograph the chart for each lighting change.
Moving on to the monitor calibration, the almost one-click approach and clear visual guide make calibrating your monitor incredibly easy.
The calibration process also gives you plenty of options for different monitor uses such as photo and video, and these can be switched between in the Display Preferences.
A display manager, as seen with the Datacolor Spyder, would have been a nice addition here rather than having to utilize the system’s own display profile dialogue.
On a couple of occasions when profiling, I did knock the table, and although the knock was not hard, the monitor profiler did fall over on the monitor, and the process needed to be restarted. Just something to be mindful of in use.
The printer calibration was all straightforward but as with the rest of the calibration process does take some time. The results after calibration, however, are a stark contrast compared to pre-calibration. Color is better balanced, and shadow and highlight details translate from screen to print far better.
Verdict
There’s no doubt that the i1 Studio is right at the top of the colour management field. The tools it gives you will ensure that you get the best possible quality from all aspects of the imaging process.
From the use of the ColorChecker Classic when shooting images through to the final print, the i1 Studio ensures that everything is captured, edited, and printed correctly.
Setup and use is simple enough, and the time it takes for that initial calibration process is more than worth it for the result.
There are a few small niggles, the fabric case needs a bit of poking and fiddling to ensure that it’s entirely flush with the monitor, and if you’re prone to fidget then walk away when the software is running through the process.
The online support material is tricky to decipher and trying to find some of the answers to the processes is tricky as there is no product manual as such, just a huge list of possible support topics.
Despite these small issues, the main hardware and software are solid and will leave your computer and photography in a far better place than before the calibration process.
