[et_pb_section bb_built=”1″][et_pb_row][et_pb_column type=”4_4″][et_pb_text _builder_version=”3.17.6″]
When I started this adventure I was pretty confident that I would see a speed increase for the old Mac Pro 5,1 (2010), this goes without saying as I’m upgrading from the original 4-core 2.8GHz to a newer 6-core 3.46GHz processor. What I didn’t expect was almost twice the Multi core processing score.
Just take a look at the GeekBench 4 results:
Mac Pro 5,1 (Mid-2010) 4-core 2.8GHz
Single-core Score = 2357
Multi-Core Score = 6168
Compute score = 9914
I’ve added the Compute score as there will be a slight upgrade in the performance to the graphics processing. Hard disc speed is less likely to be affected by the CPU swap, I checked and really there’s little if anything to it.
Mac Pro 5,1 (Mid-2010) upgraded to 6-core 3.46GHz
Once the CPU has been swapped out the new GeekBench 4 scores are as follows:
Single-core Score = 3083
Multi-Core Score = 13376
Compute score = 9914
I think you’ll agree that’s pretty impressive. I’ve posted some links below to the kit I items used, processor and paste. The Allen Key’s are widely available as well and as soon as I locate a long 3mm I’ll post a link.
The results are in and as the process is very easy, taking around 10 minutes from beginning to end.
How to change your Mac Pro 5,1 CPU for photographers
- Power down the Mac Pro, then unplug from the power
- Remove the side panel
- Push the two CPU tray locks and slide out the tray
- Use a 10cm long 3mm allen key to undo all five screws in the heat sink. Undo a little at a time in a crisscross pattern
- Lift off the heat sink and place to one side
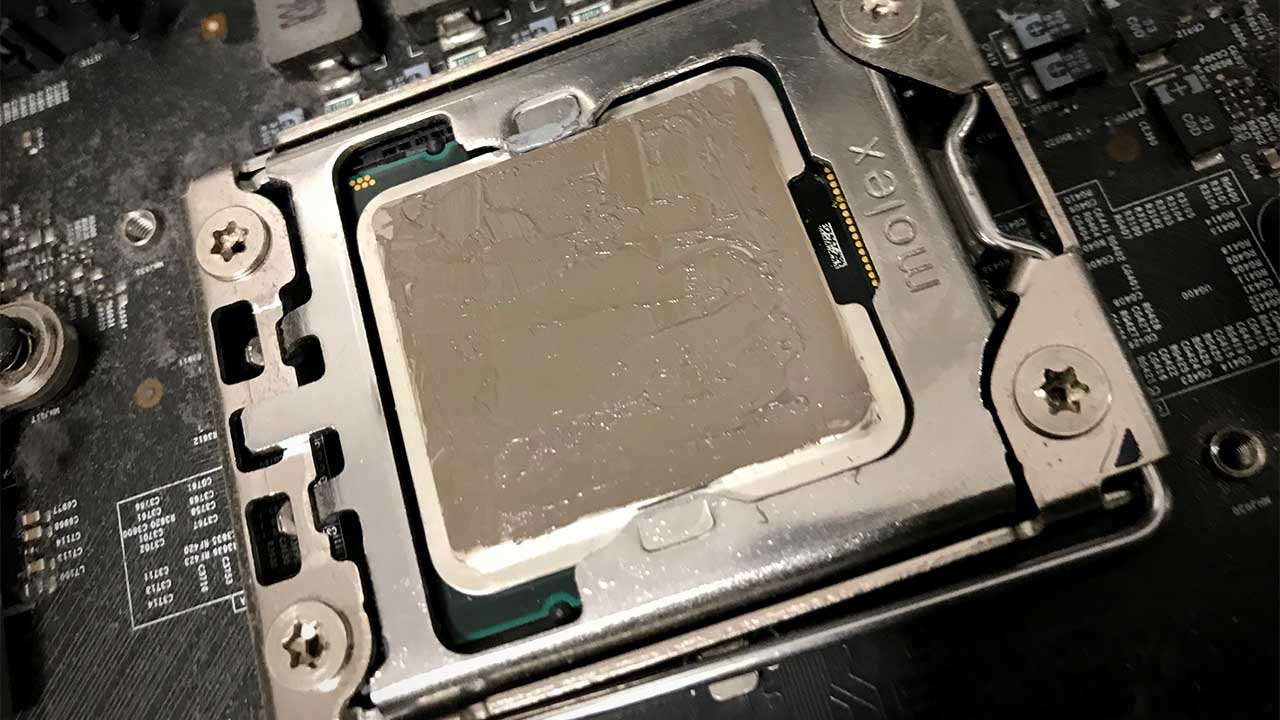
- Release the Molex clamp and lift out the CPU and set aside
- Using Thermal Material Remover make sure the top surface of the new CPU is clean
- Wipe the top of the CPU with Thermal Surface purifier
- Squirt on a blob of High-Density Polysynthetic Silver Thermal Compound and make sure it covers the CPU smoothly
- Reattach the heatsink and in a crisscross pattern screw down the heatsink
- Slide the tray back into the Mac Pro, pop on the side and reattach the cables
- Power on the Mac and go to ‘About this Mac’, you should now see the new CPU
[/et_pb_text][/et_pb_column][/et_pb_row][/et_pb_section]


