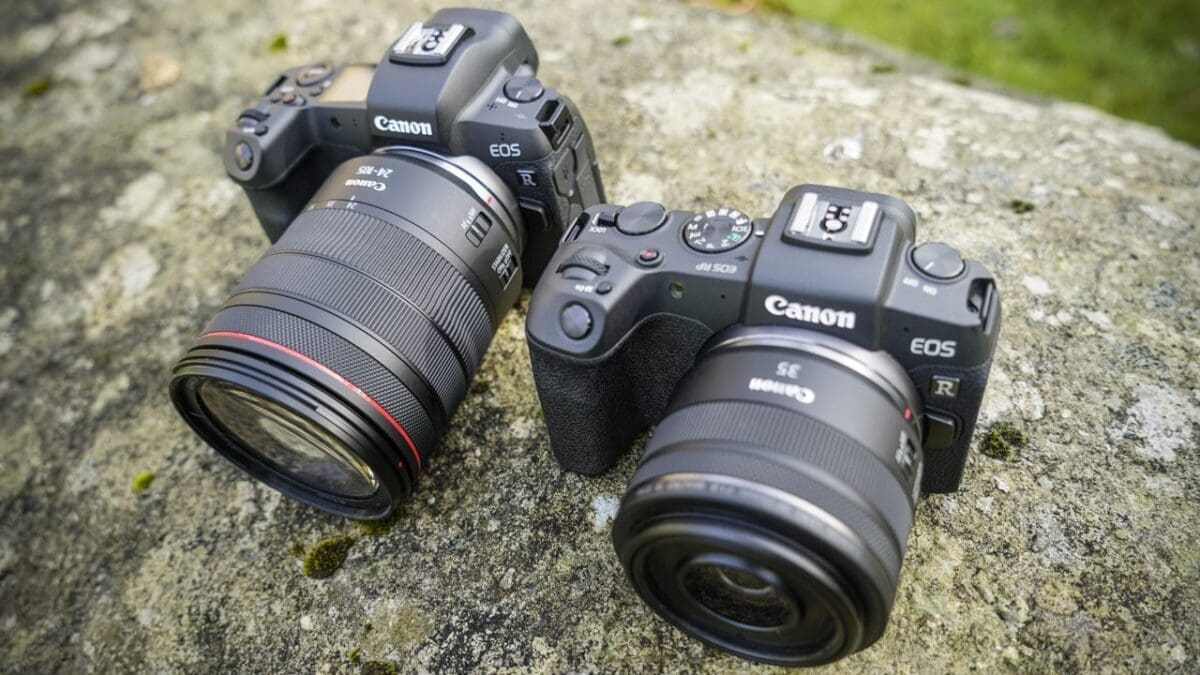
If you’ve just bought a Canon EOS R camera and you’re wondering how to get started on your journey, we can help! Whether you have the original Canon EOS R, the EOS RP, EOS R6 or EOS R5, the process of setting up your camera is largely the same.
In this tutorial we’ll take you through the first, fundamental settings to apply so that you can quickly get shooting. We used an EOS RP for the purposes of this tutorial, but you should be able to follow along with whatever Canon EOS R system camera you may own.
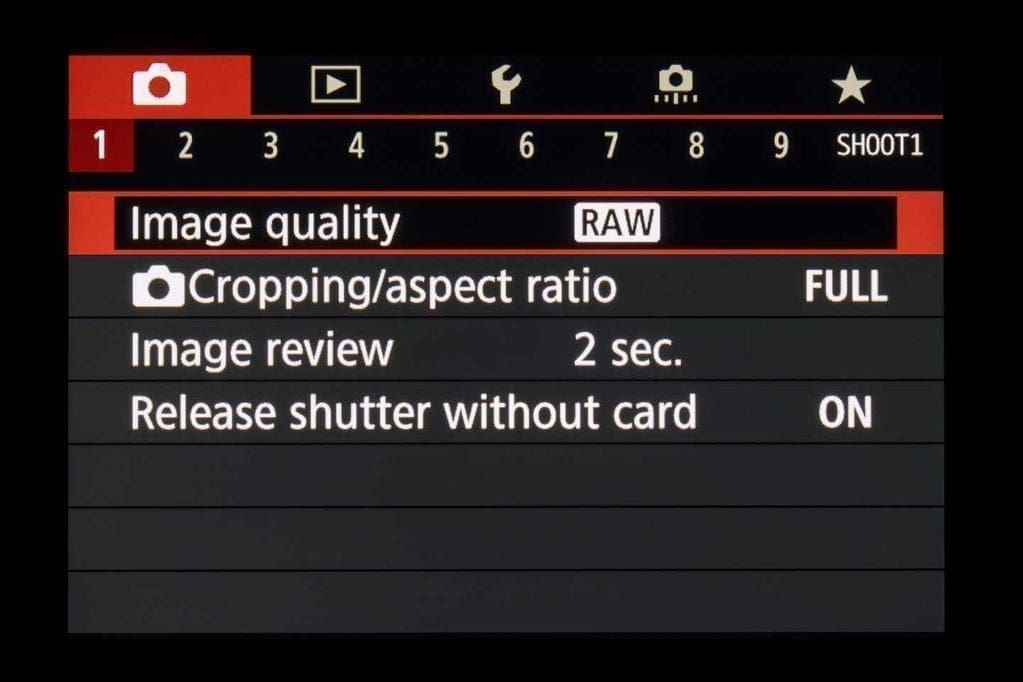
Image file formats and quality
There are two main options when it comes to image quality: JPEG and RAW. JPEGs are ‘finished’ images that you can share and print straight from the camera. RAW files, as the name suggests, contain the raw data captured by the sensor and need to be processed to create an image – but this means you can change some parameters later, including white balance and Picture Style.
The image (and histogram) that you see when you view a RAW file on the camera is actually a JPEG preview, based on the camera settings at the time it was taken. The RAW file holds more information in the shadows and highlights, so you’ve got more headroom for revealing detail that may appear lost in these areas in the JPEG.
The number of images and movies you can fit on the card will vary according to the file format and image quality (you’ll see the card capacity change as you alter the settings). You can also record both a RAW and a JPEG at the same time, but this will eat up memory capacity. Increasing the ISO will also reduce the number of files you can save.
Setting the time
The shooting data that’s embedded in each image you take includes the time and date, so it’s important to get these settings right if you want to search for images by shooting date or time in software.
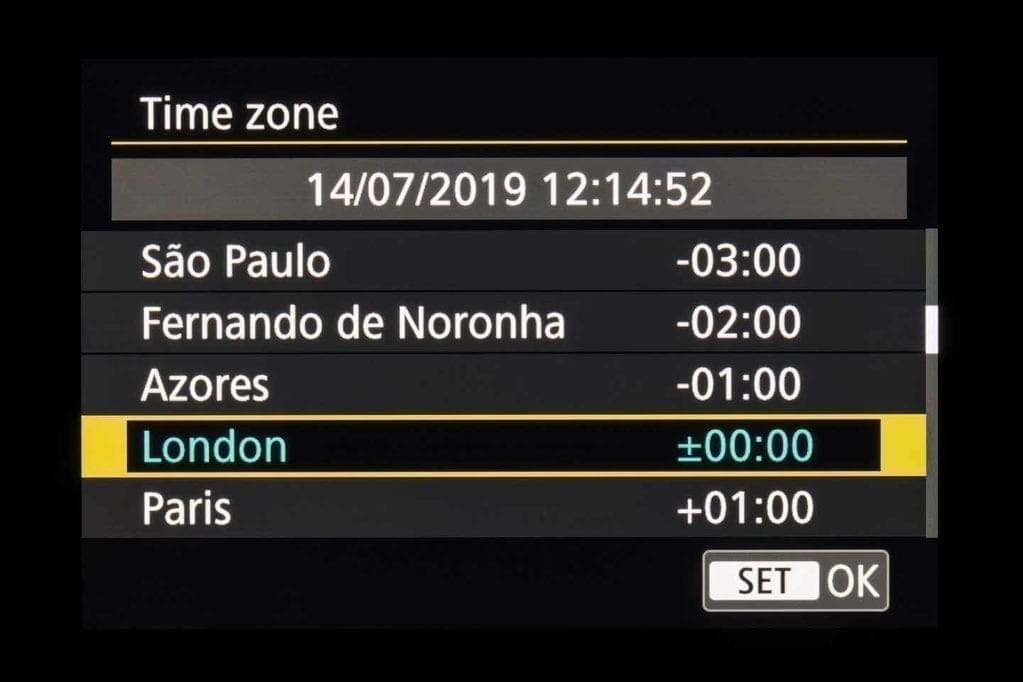
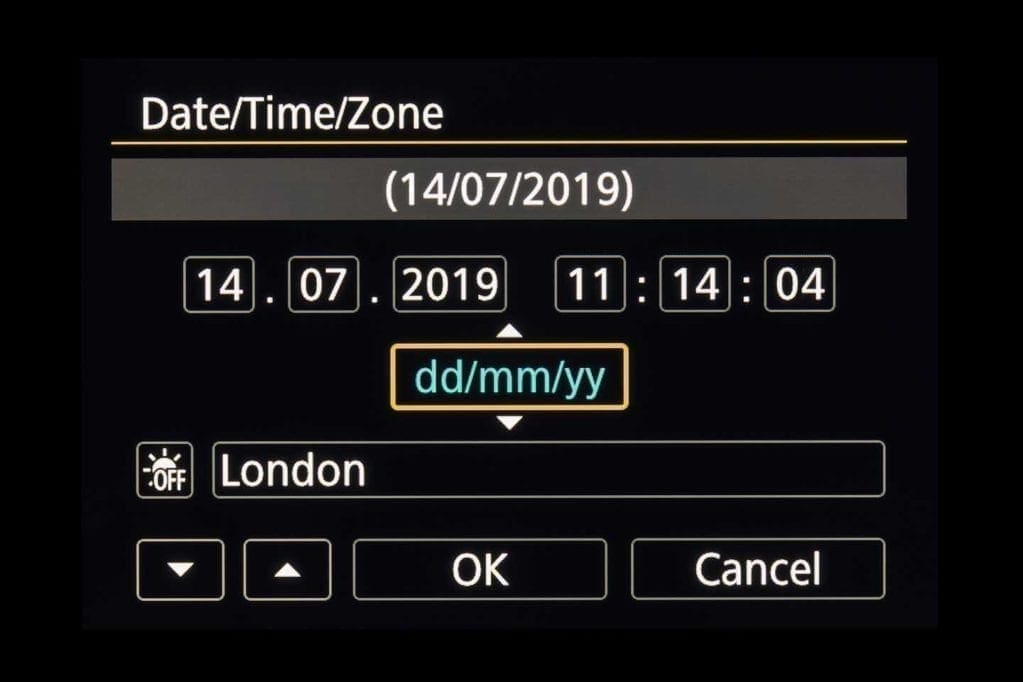
When you first start up the camera, you’ll be prompted to enter the date, time and time zone. But you can update this information at any time on page 2 of the yellow Set-up menu.
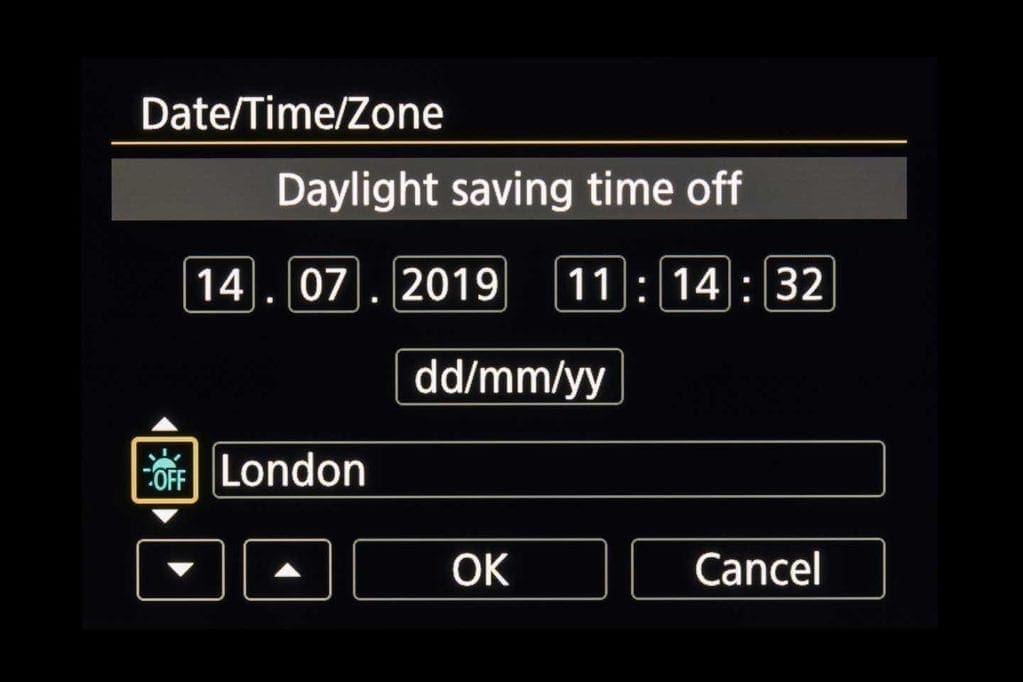
Setting the time zone correctly means you can simply change the time zone when you need to and the time and date will be automatically updated to reflect the change. You can also activate daylight saving to shift the time by an hour.
Setting the image copyright
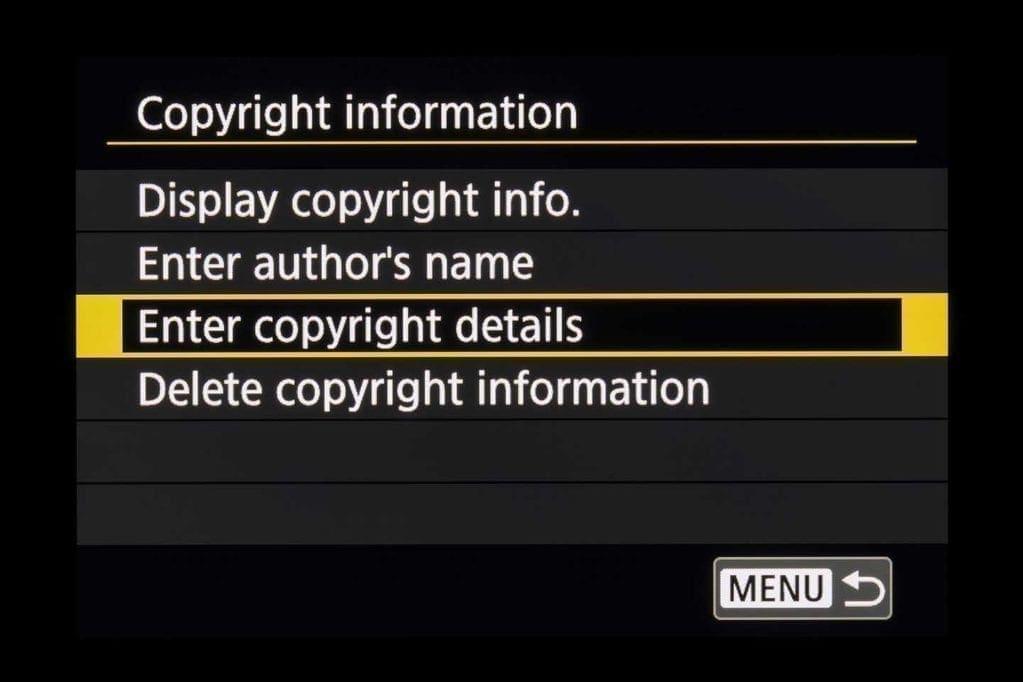
You can add your copyright information to the EXIF data of every image you shoot. When someone opens your file, they will be able to find out who owns the image.
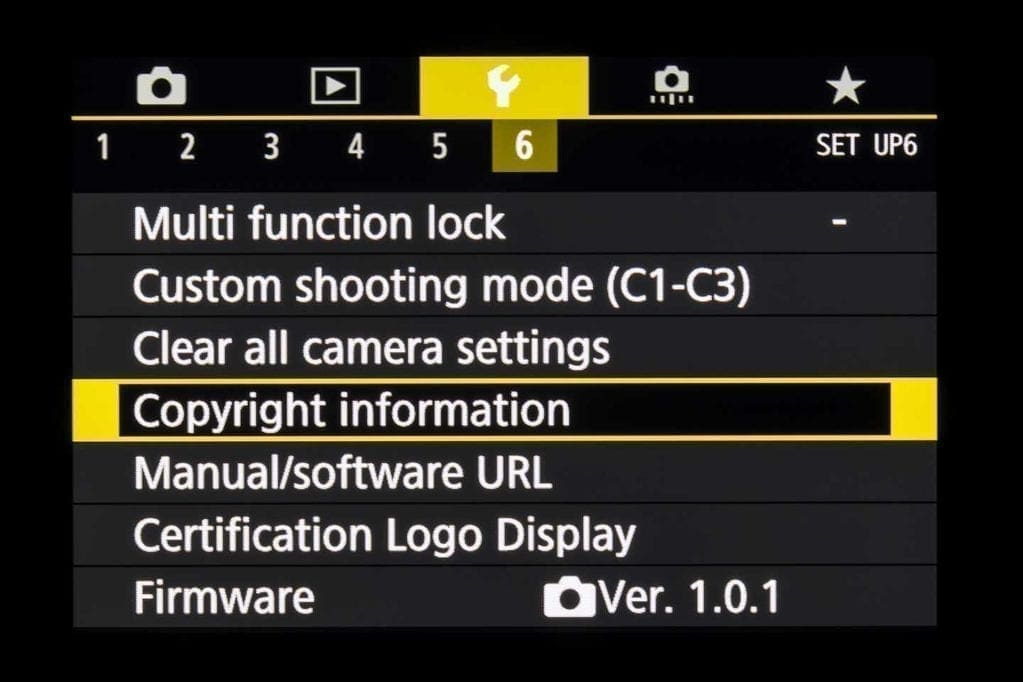
To do this, select ‘Copyright information’ on page six of the Set-up menu.
Consider how much information you want to add in the copyright, as these details will be attached to every image. If you don’t want your private phone number made public, stick with a website or email address.
Formatting a card
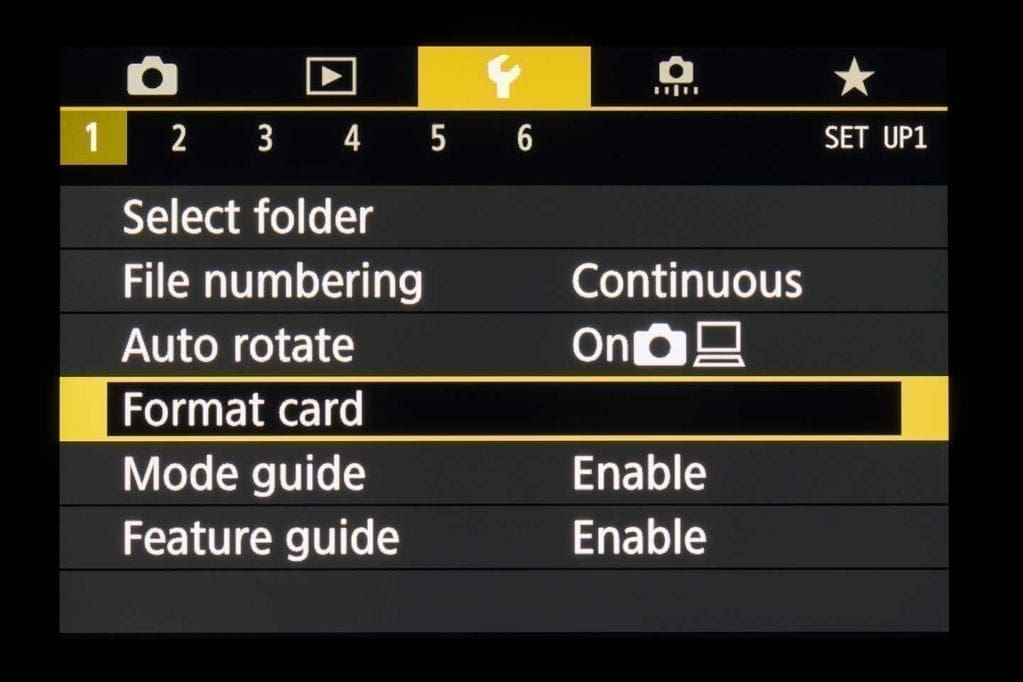
You can find this essential option on page 1 of the Set-up menu. You’ll need to format new cards in the camera, but it’s also worth formatting cards that have been used in a different camera or a computer, or when there’s an error code displayed (look out for Err 02 and 03 on the display).
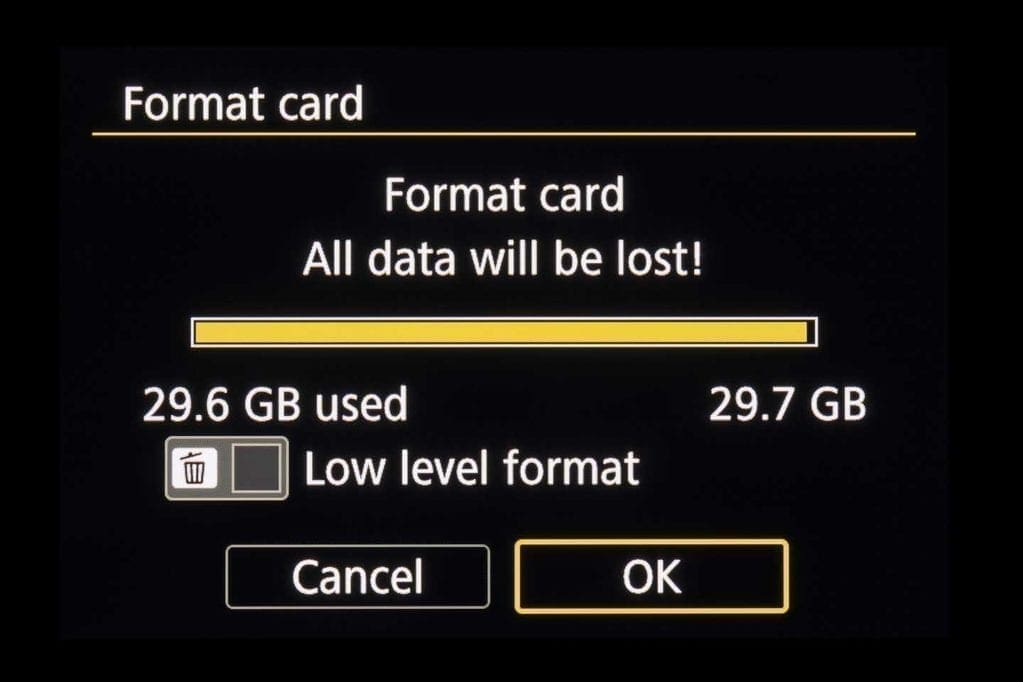
One thing to bear in mind is that formatting a card will remove all files, including those that you may have protected.
You can tick the ‘Low level format’ box to essentially do a deep clean of a memory card, which is worth doing if the read and write speeds are slower than normal. You can read more on this in our guide on the benefits of formatting a memory card vs erasing files.




Leave a Reply
You must be logged in to post a comment.