Wave photography isn’t the first subject we think of when going to the beach to take photos. However, crashing waves can provide striking images. With the right lens and camera settings, you can photograph crashing waves and freeze the motion to capture images that are both dramatic and beautiful at the same time.
The beauty of wave photography is that you can photograph crashing waves at any time of the year. But in winter, in particular, the stormy season offers great potential for extraordinary drama as abnormally high waves crash against sea walls or surround lighthouses.
The other great thing about this subject is that you don’t need expensive kit to photograph crashing waves. As long as your camera lets you control exposures, you should be able to get an image you can be proud of.
Below we’ll round up some of the important things to consider along with the best camera settings for crashing waves.
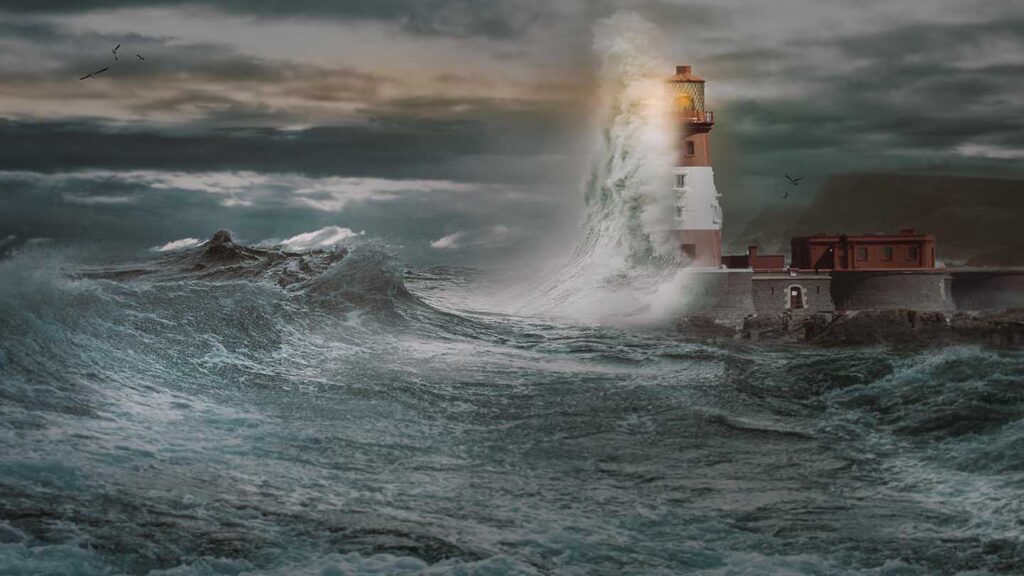
Image Top: Photo © Duff Depictions from our Stormy Weather photo contest
Shooting crashing waves
01 Stay safe
This sounds obvious, but the sea can be very dangerous. And in stormy weather the sea can be even more unpredictable. A powerful wave, if too close, can knock you over with its force or pull the ground out from under you. So use caution. Set up a safe distance away. Which leads us to our next point…
02 Use a long lens
A 24-70mm lens will suit you in most situations, but for those times when the sea is really wild, you want to maintain a safe distance. This is when you’ll want to have a telephoto in your kit bag – a 70-200mm should do the job, but if you have a 300mm lens, even better.
03 Think about depth of field
This will really depend on the style you’re going for, as well as the size and shape of the waves. Setting up your camera for shallow depth of field lets you hone your focus on the most interesting part of the wave’s shape. Your result will be a more artistic image that finely blurs the crashing wave along its edges, drawing your eye into its epicentre.
Wider depth of field, on the other hand, will provide more drama. You’ll render the full shape of the wave in focus, freezing its many droplets.
If you were photographing waves crashing against a lighthouse, for instance, you would probably want to aim for wide depth of field in order to convey that all-encompassing sense of drama.
04 Timing your shoot for the light
In stormy weather this may not be such an issue, as the sky will usually be overcast. But gale storms on sunny days can also produce large crashing waves, and you’ll want to work when the light is most advantageous.
In the middle of the day the sun will be high overhead, producing very bright highlights and washing out any detail in your wave. In the morning and late afternoon, the sun is lower in the sky. At these times the sun provides a nice backlight that illuminates your crashing wave. You’ll find the sea spray is more defined and dramatic shooting at these times.
05 Look for foreground interest
A crashing wave is dramatic, for sure, but including some foreground interest within your frame will help lead your viewer’s eye, as well as provide some context.
Rocks are classic examples of great foreground interest by the sea, as are boats, grasses, benches, even people. You can get even more creative and render these as silhouettes or blurred with shallow depth of field.
06 Try different aspect ratios
We tend to shoot most images at our camera’s default aspect ratio, but it’s always worth thinking about the other frame sizes to hand and if they might suit your subject better.
For instance, would a long ridge of breaking waves be more dramatic in 16:9? Or perhaps a wall of sea spray surrounding a lighthouse would look best in 1:1. Try taking several shots of the same subject (eg that lighthouse) in different aspect ratios and see what looks best.

Photo © mrgriffel 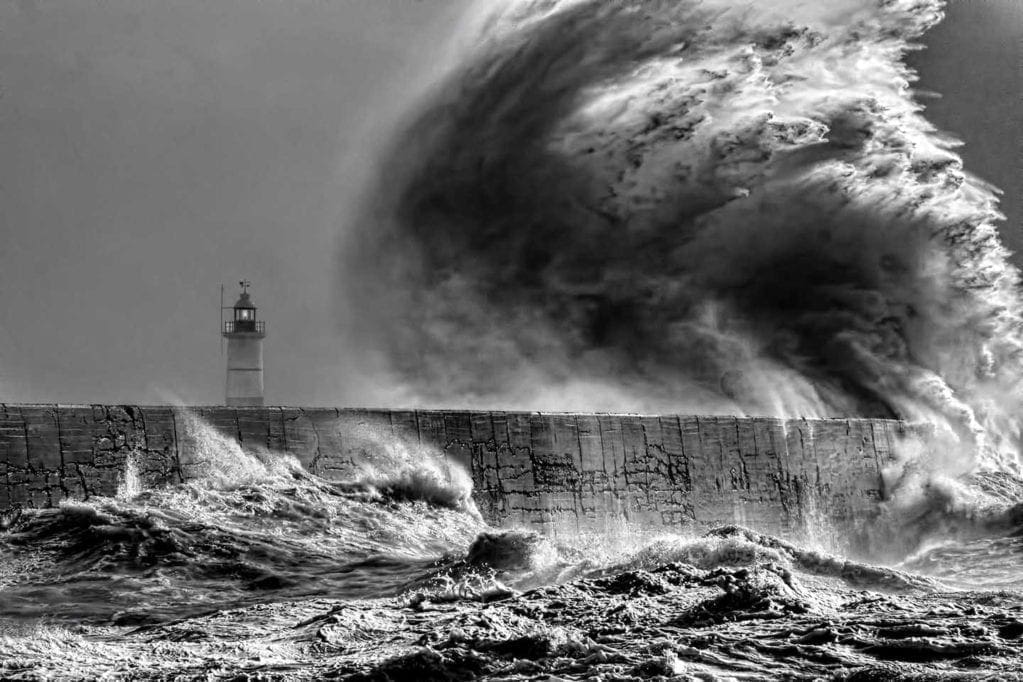
Photo © EdwinJones 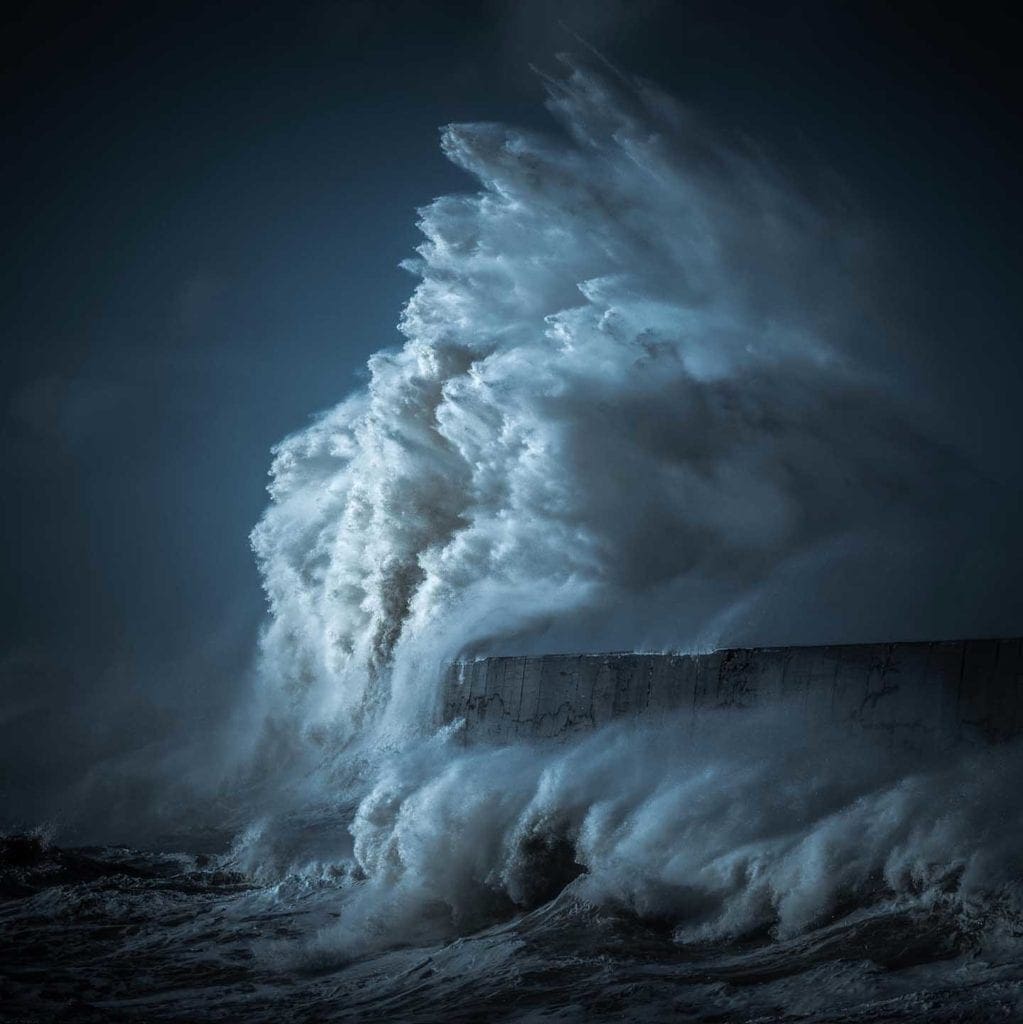
Photo © Edd Allen 
Photo © Jill F. 
Photo © AJMphotography 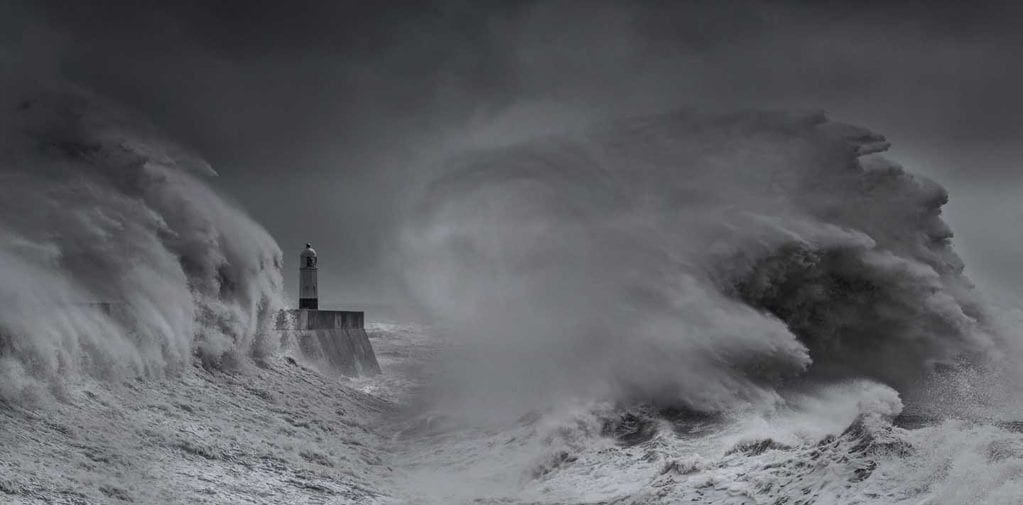
Photo © Edyta Rice 
Photo © Doug Richardson
Best camera settings for crashing waves
Every subject is different, of course, but these camera settings will help you get close to photographing your ideal crashing wave. Simply adjust to your style or preference.
- Drive mode: Continuous shooting
- Exposure mode: Shutter priority
- Shutter speed: 1/500sec (bump to 1/1000sec at longer focal lengths to properly freeze the sea spray)
- Aperture: f/11
- Autofocus: Continuous autofocus (AF-C)
- ISO: Auto
- White Balance: Auto