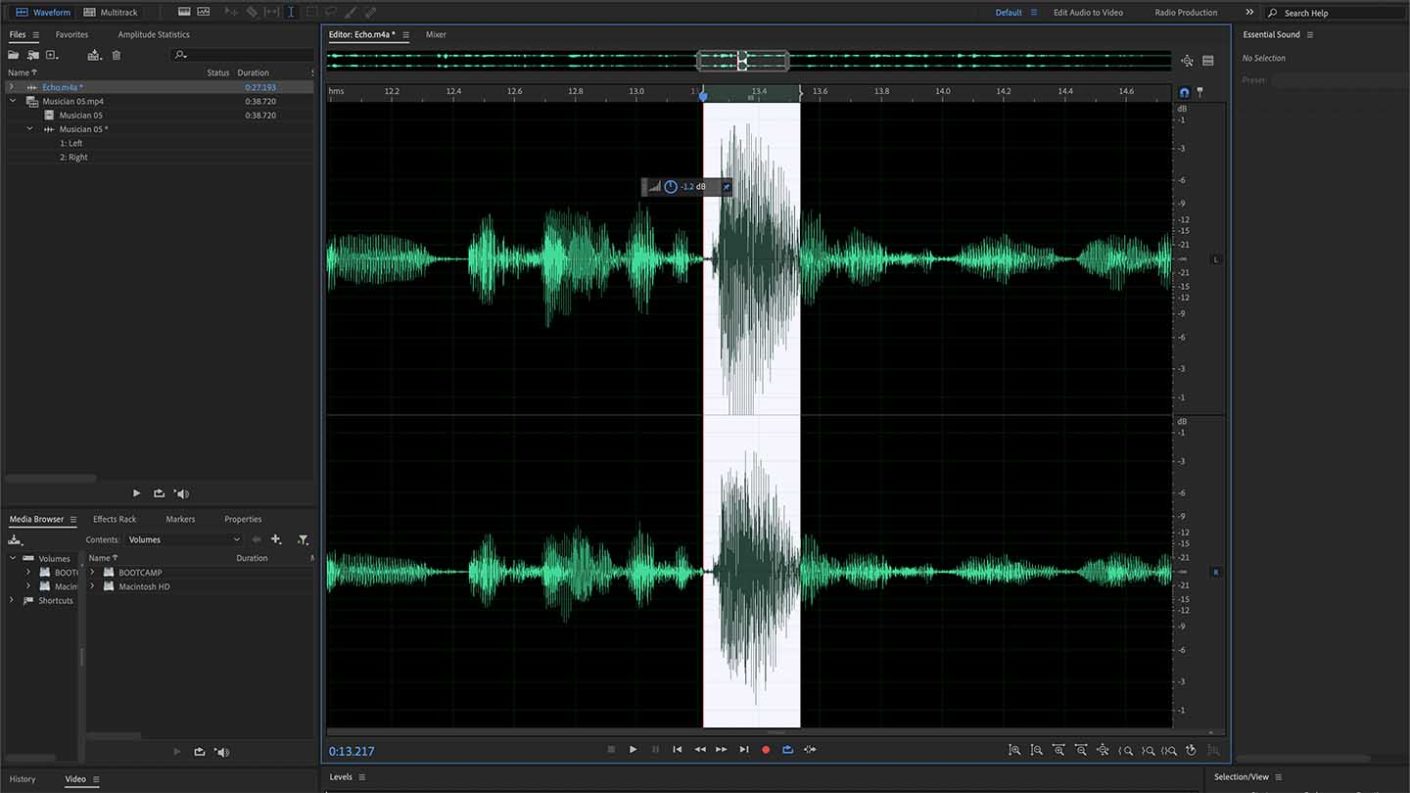
Audio can be seen as a dark art to anyone new to video; what microphone should you use, what settings, and how do you clean up audio ready for use?
What few photographers realise is that audio is more important than the visuals in many cases. You can often get away with short stints of out of focus and unstabilised footage, but get the audio wrong, and it stands out a mile.
Not sure what type of microphone you need? Then check out our in-depth guide to what microphone you need and how to use them. If you’re vlogging then check out Jeff’s article on the best vlogging microphones
We’ve all heard audio that’s too quiet, effected by background noise or just a bit all over the place. Thankfully, more often than not, it’s not too tricky to fix without spending too much time on it.
The first thing to do is head to an application such as Adobe Audition; you can get a free trial at https://www.adobe.com/uk/
Once open drag and drop the audio you want to clean up directly into Audition and get started.
01 Opening the audio file
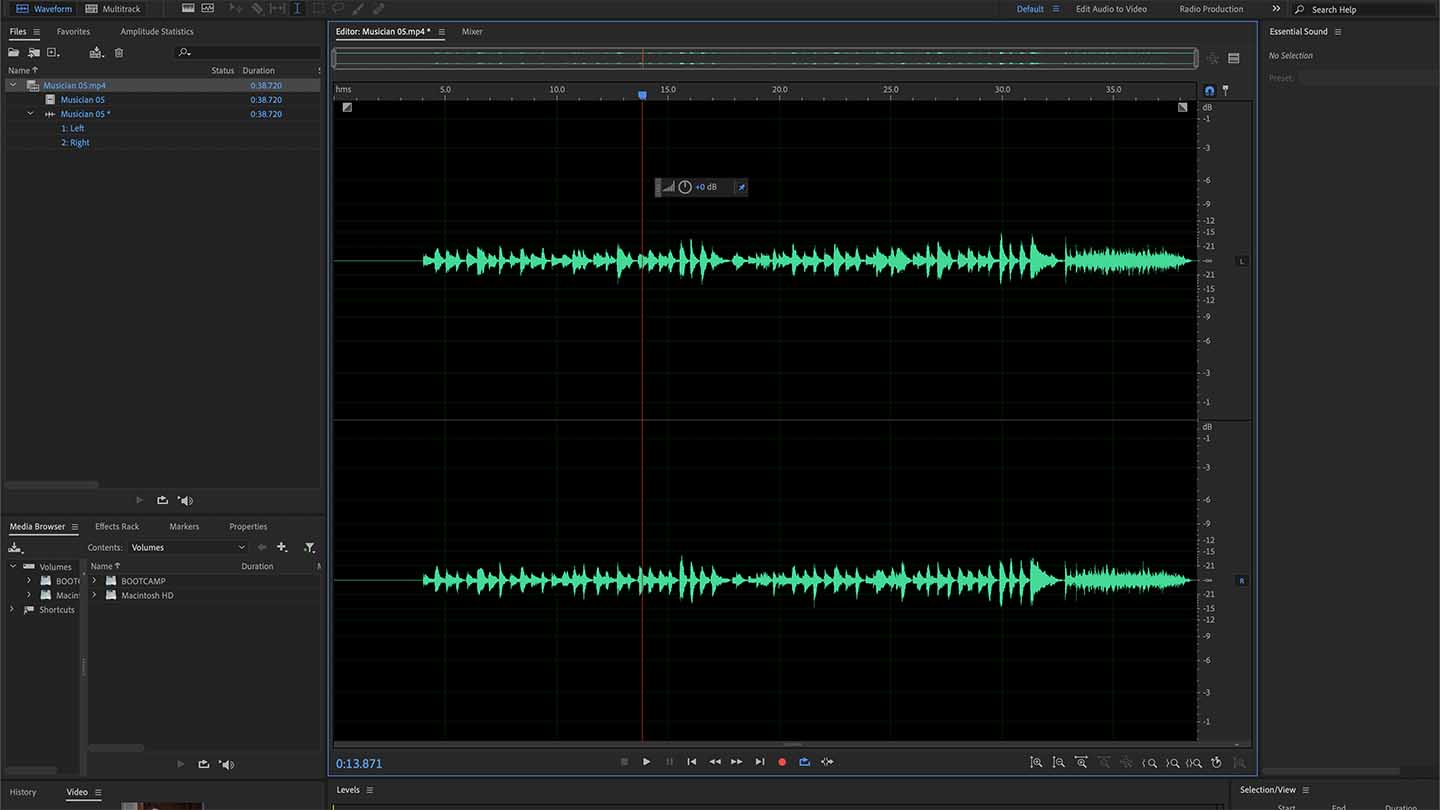
Drag and drop the audio file that you want to edit into the Audition files panel. If you have a movie file and haven’t separated the audio from the video, don’t worry. You can drag and drop this into Audition. The application will split the two automatically.
02 Normalise the audio
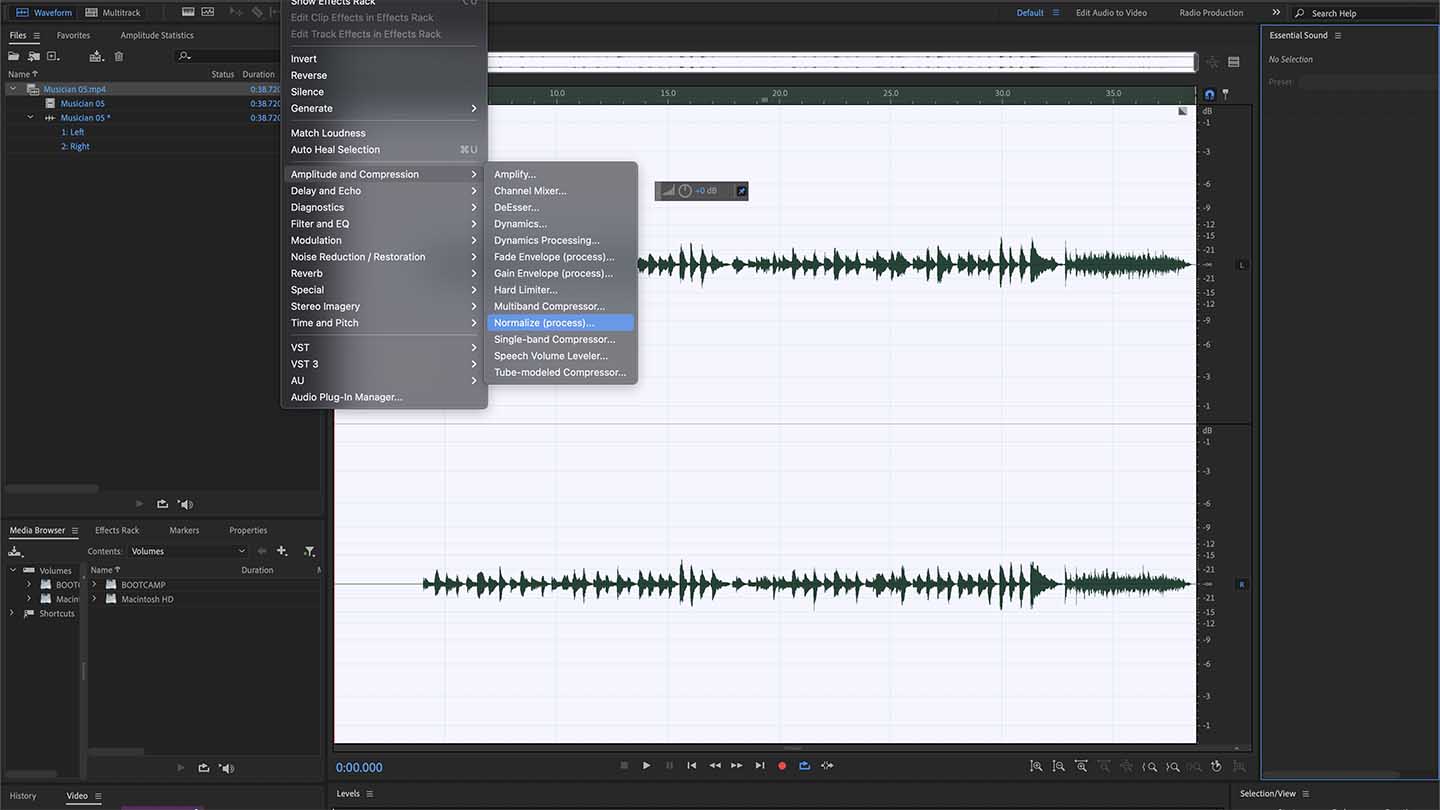
Use Ctrl-A or Cmd A to select the entire timeline and then Effects > Amplitude and Compression > Normalize (Process) and then Normalise to 98% and Normalize all Channels and click Apply. You should see the waveform increase.
03 Normalize tricky audio
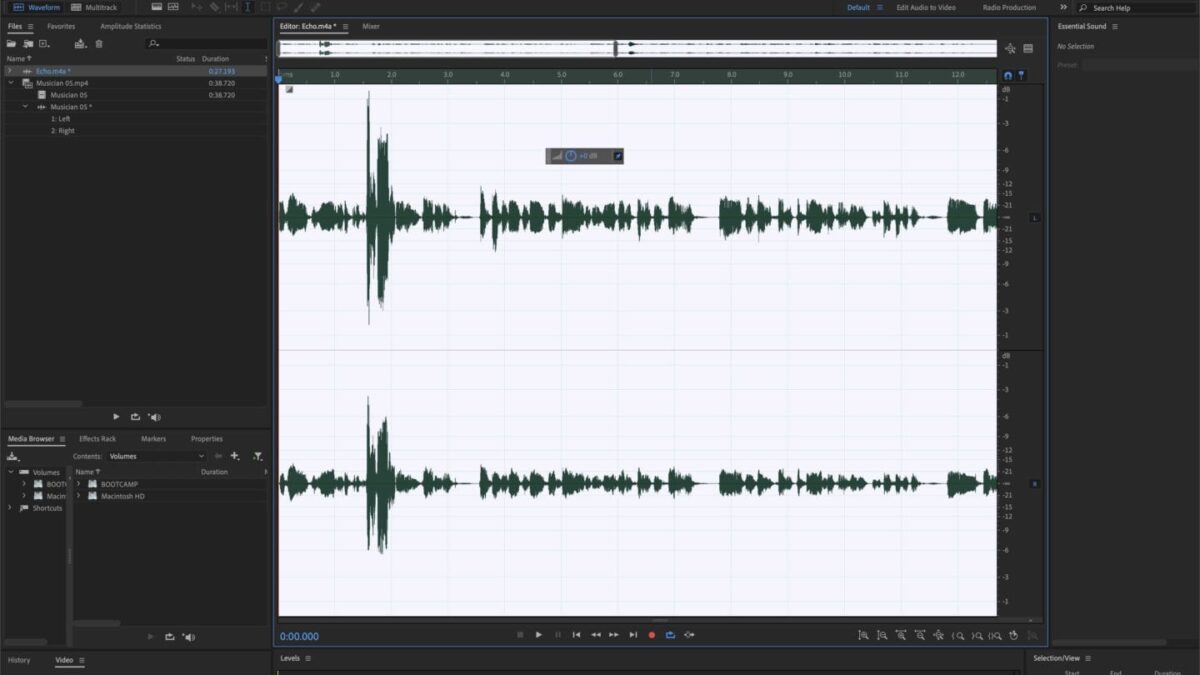
Sometimes you’ll find there are spikes in the waveform that prevent you from Normalizing the Wave; this could be a clap, cough or anything that causes the audio to spike. You can tackle this in one of two ways depending on if you need that piece of audio or not.
04 Reduce tricky audio
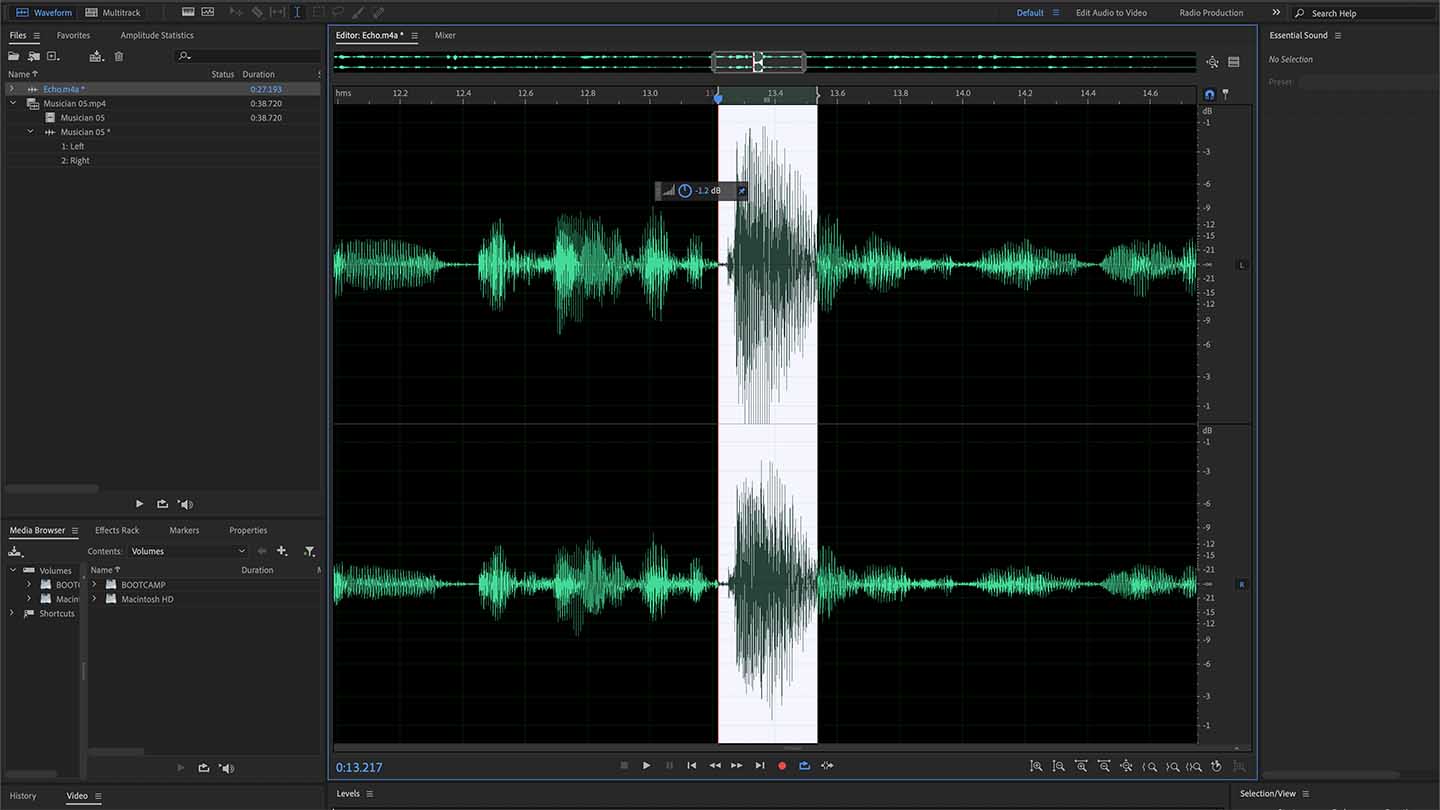
If the audio that’s causing the spike is something that you need, say a laugh or clap then use the Cursor to select the audio spike and then use the Amplitude adjustment in the dialogue next to the waveform to reduce the level of the audio.
05 Delete tricky audio
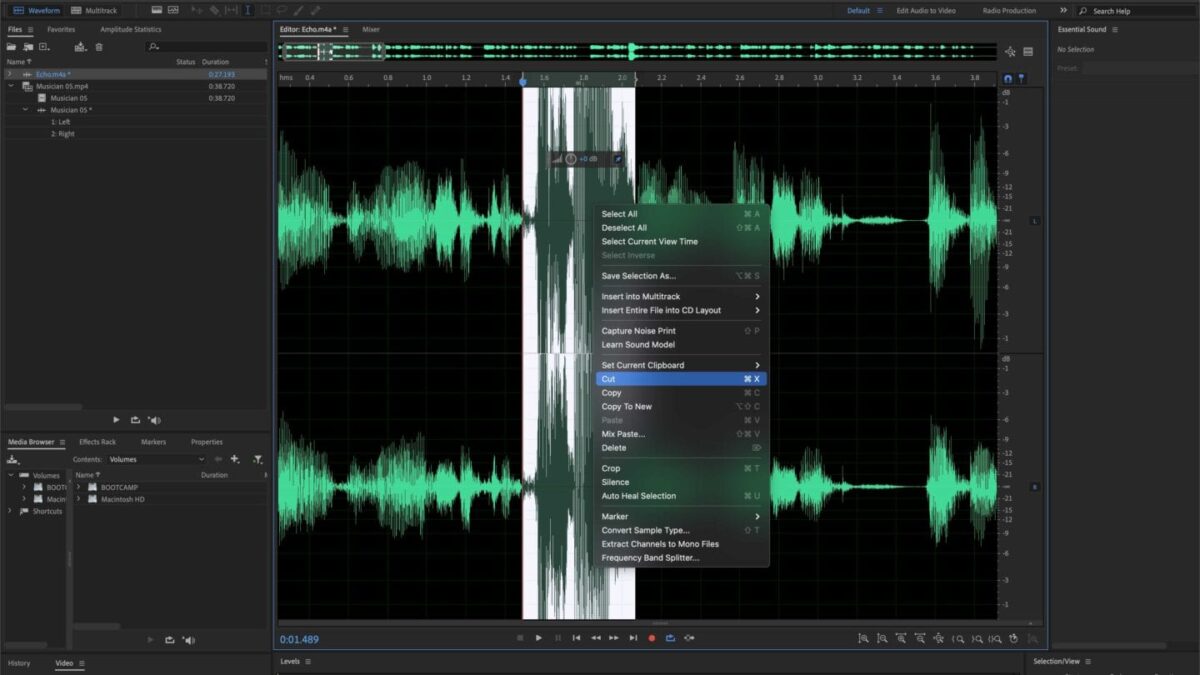
A more drastic option is to delete the offending audio. Select the spike with the Cursor and hit delete. This will remove it completely from the timeline. I often like to get the audio normalized before starting the editing process to hear exactly what I have.
06 Remove background noise
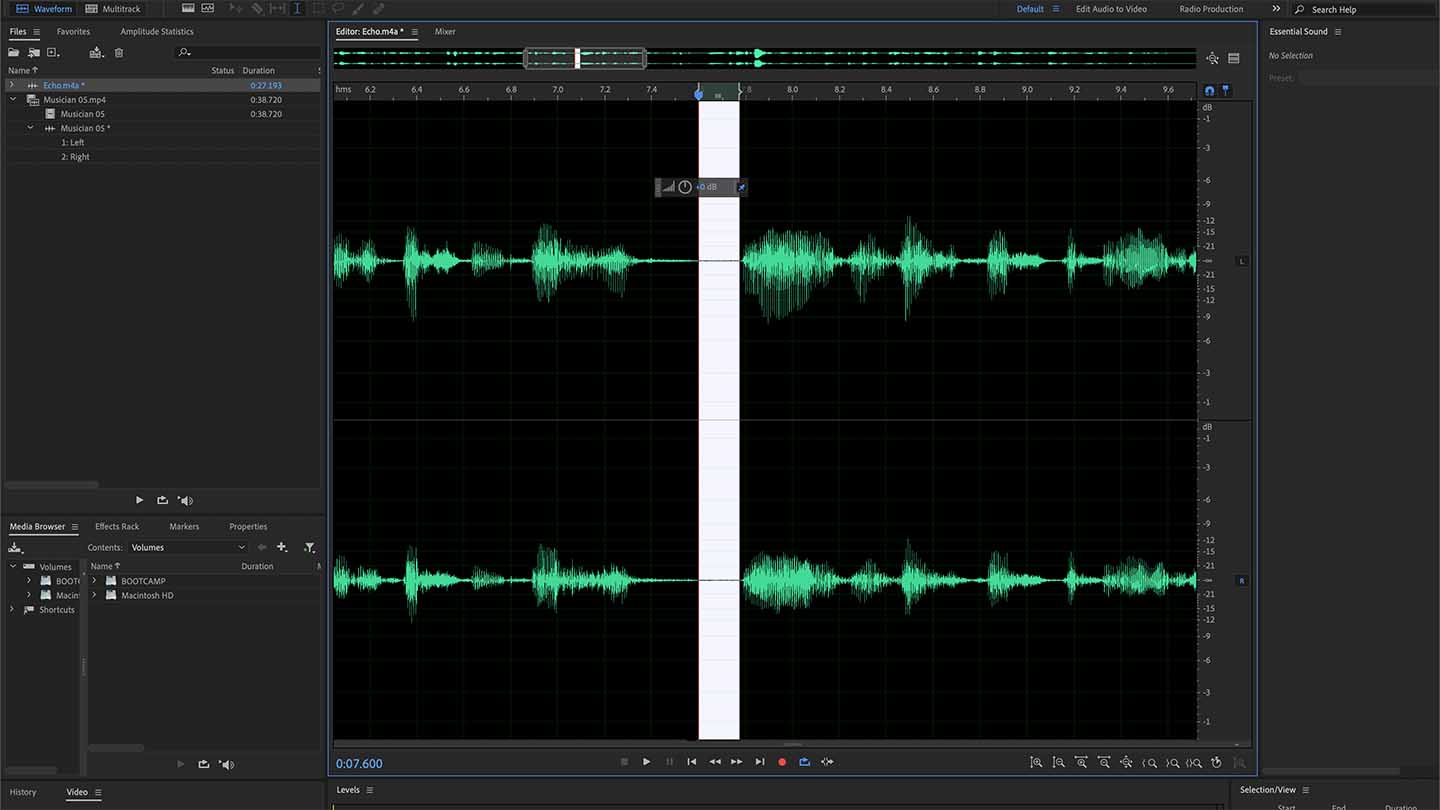
One of the biggest audio issues is background noise; this can be air con, fans, traffic or all manner of things that you’ll only hear if you’re focusing on sound. While you can’t remove everything, you can easily remove drone or constant sounds. Start by locating an area of quiet in your soundtrack; you’ll need to zoom in. Then highlight a small section.
07 Capture the Noise print
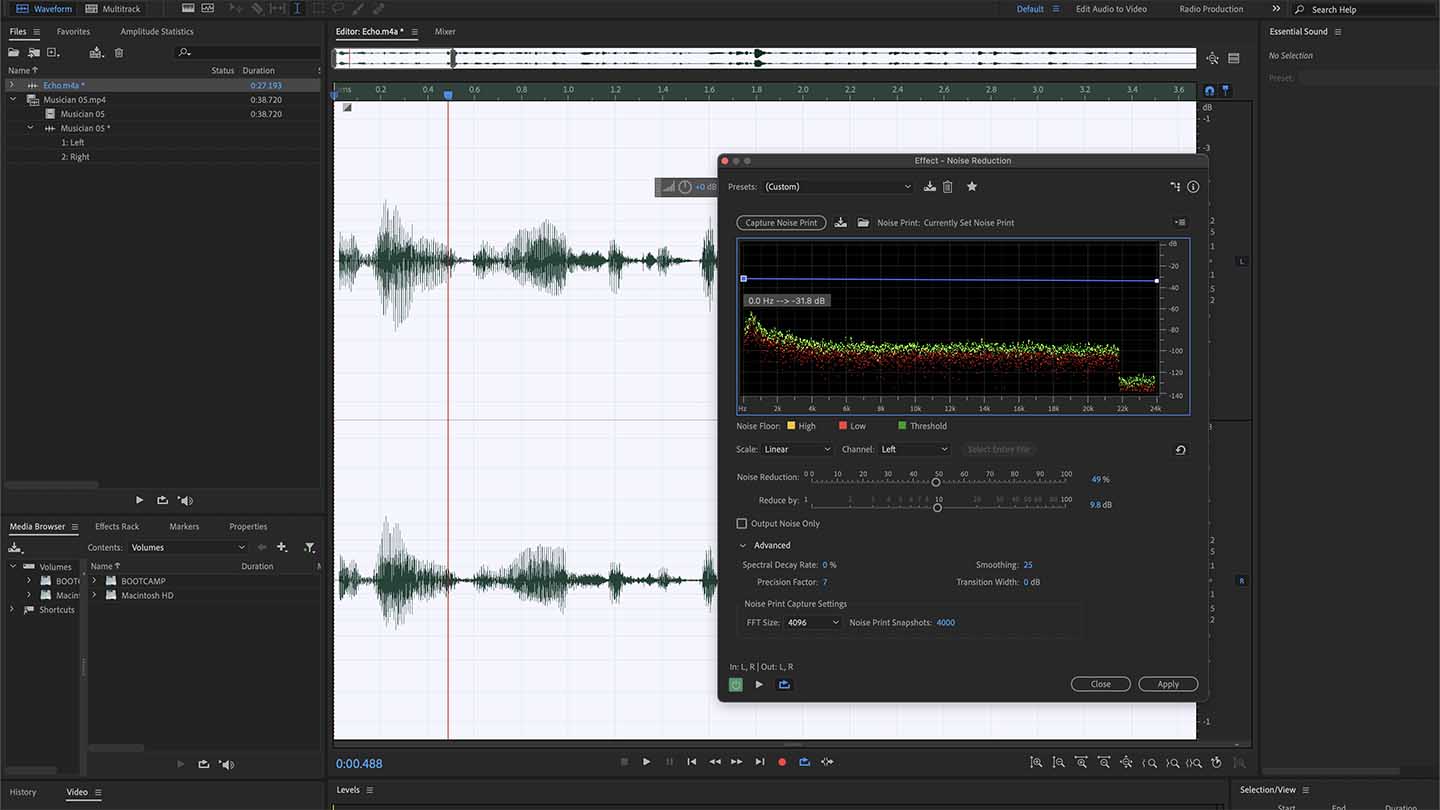
Select Effects > Noise Reduction / Restoration > Capture Noise Print and agree. Now select the entire waveform and go back to Effect > Noise Reduction / Restoration > Noise Reduction Process, pick up the point at 0Hz and move it to meet the graph and then repeat for 24,000Hz. Now tap play to listen to the effect, adjust the effect with the two sliders, and click Apply.
08 Reduce echo
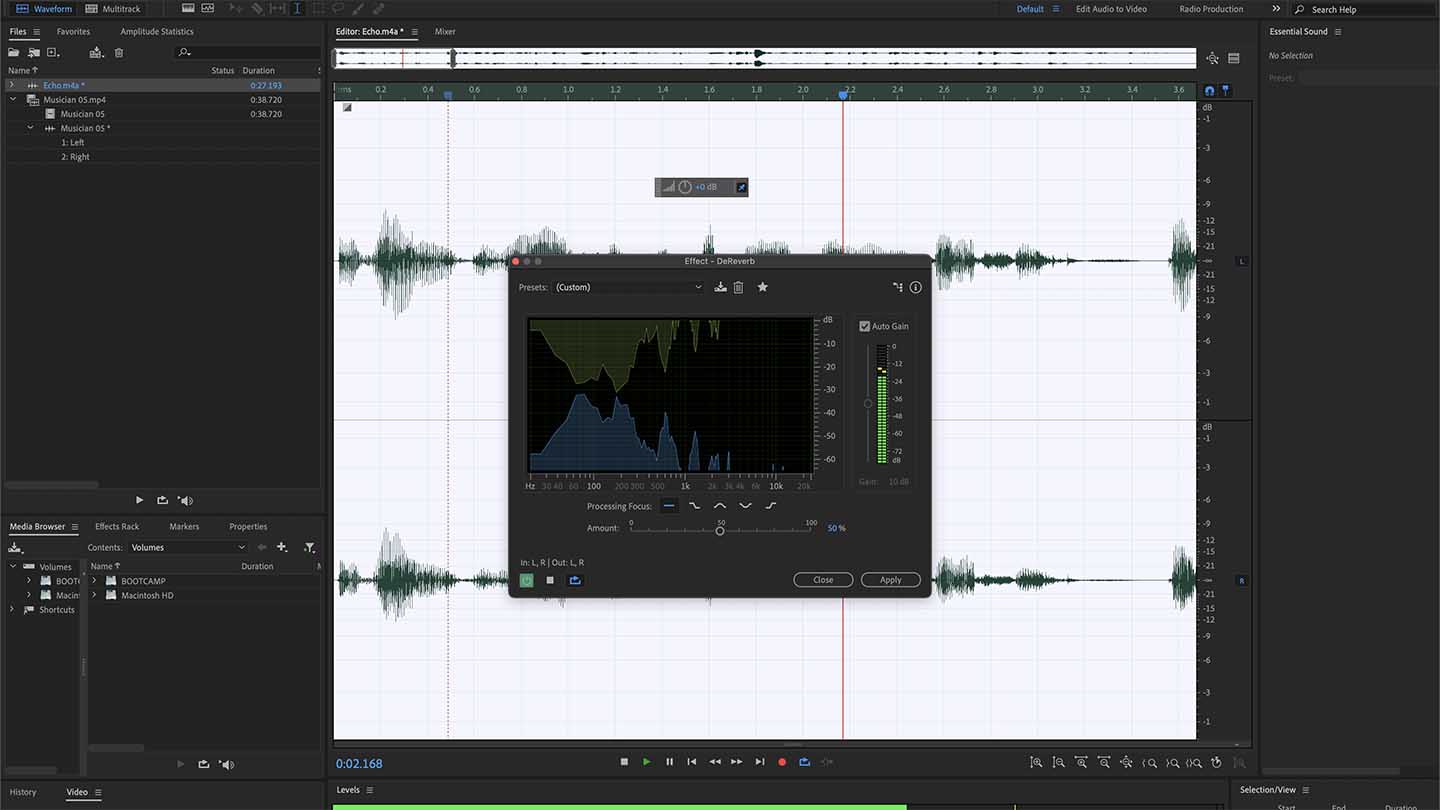
Echo is another factor that can be a real pain if you want professional quality audio. Thankfully Audition has a new feature to help called DeReverb. Again select the entire waveform and Effects > Noise Reduction / Restoration, use the Amount slider to adjust the effect and click apply.
09 Vocal Enhancer
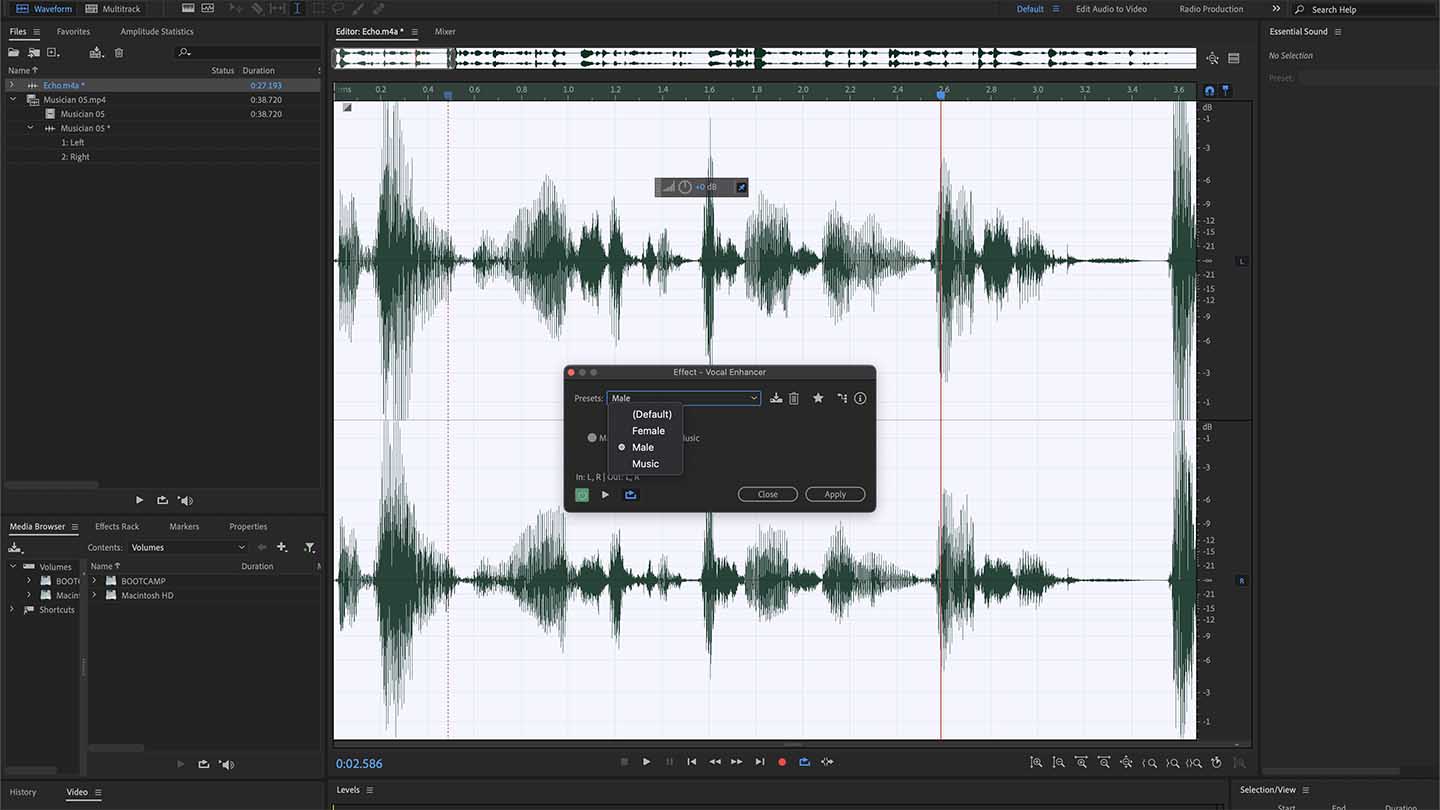
That’s your audio hopefully cleaned and sounding far better than when it was downloaded from your audio recorder or camera. While it may already sound better, there are still plenty of effects that you can apply to enhance the sound of your audio. The fastest is found under Effects > Special > Vocal Enhancer. It’s a small boost but one that makes a real difference.

