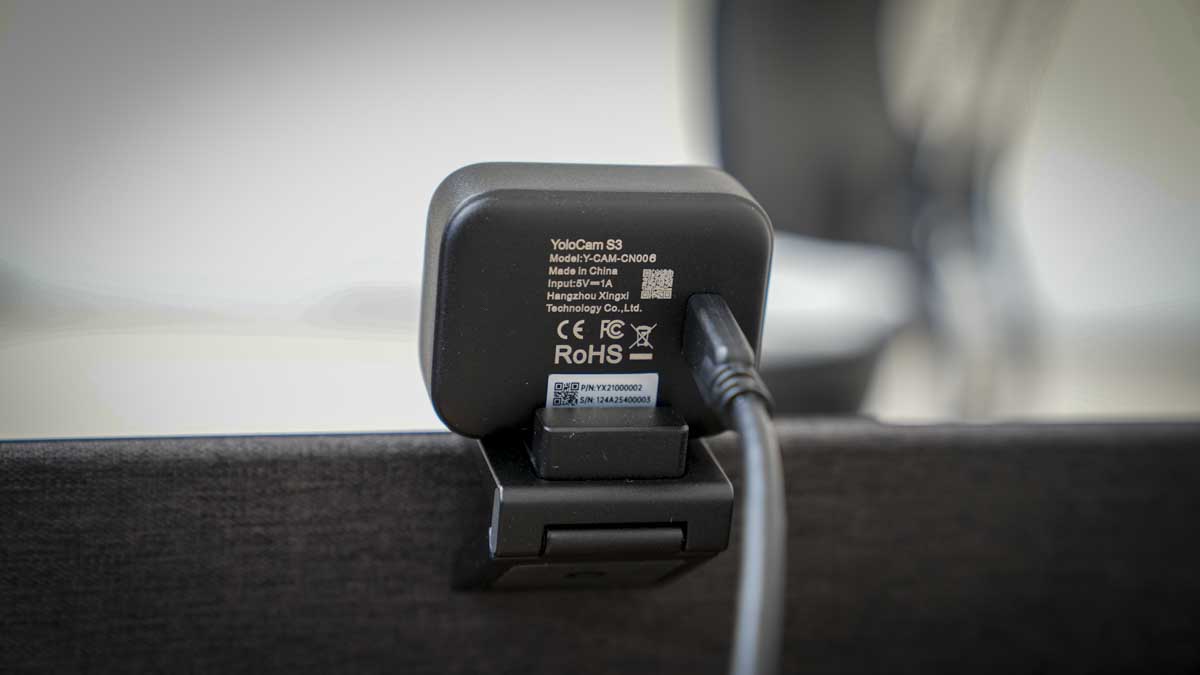
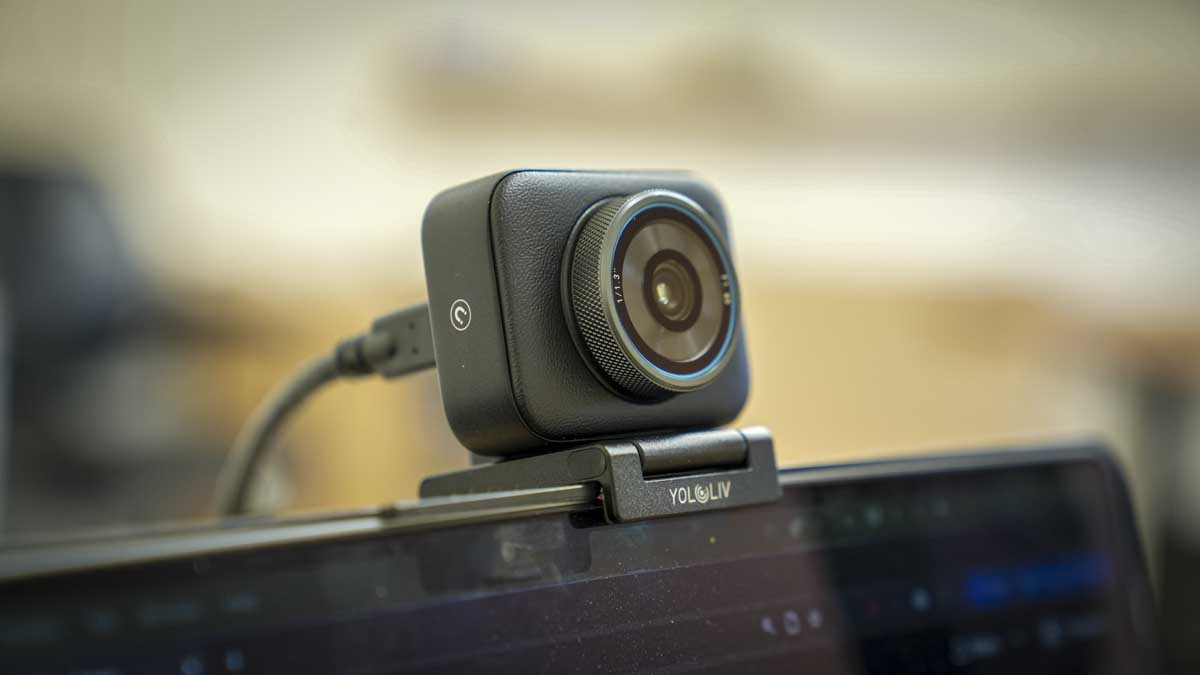
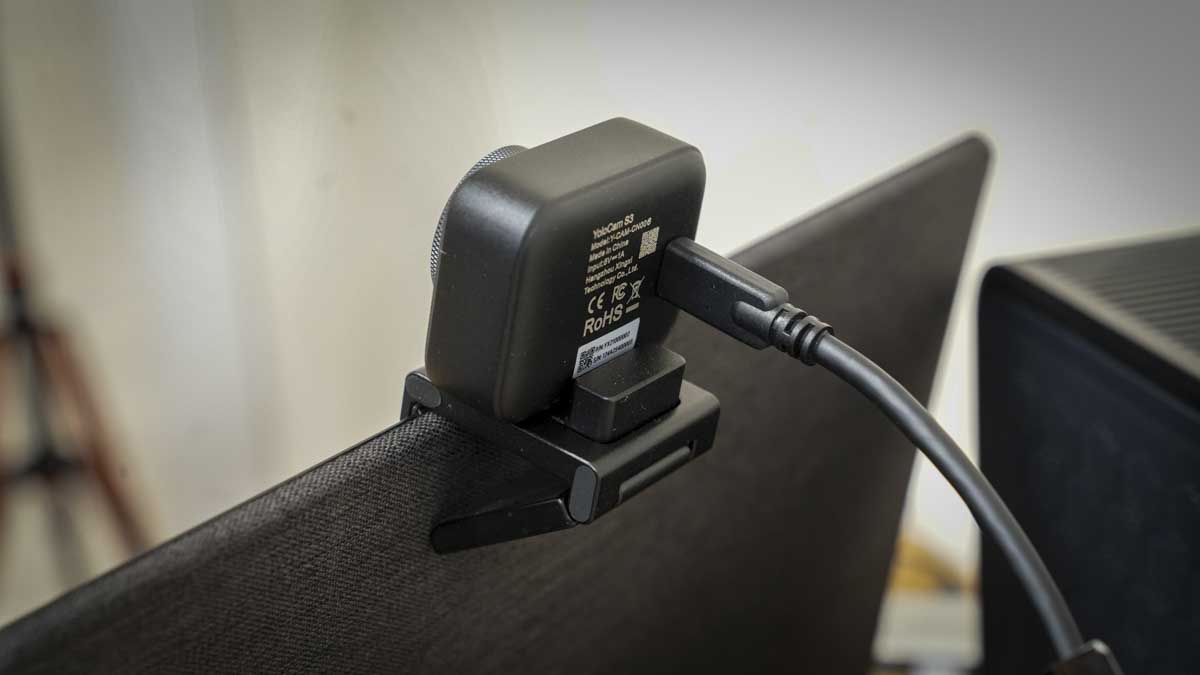
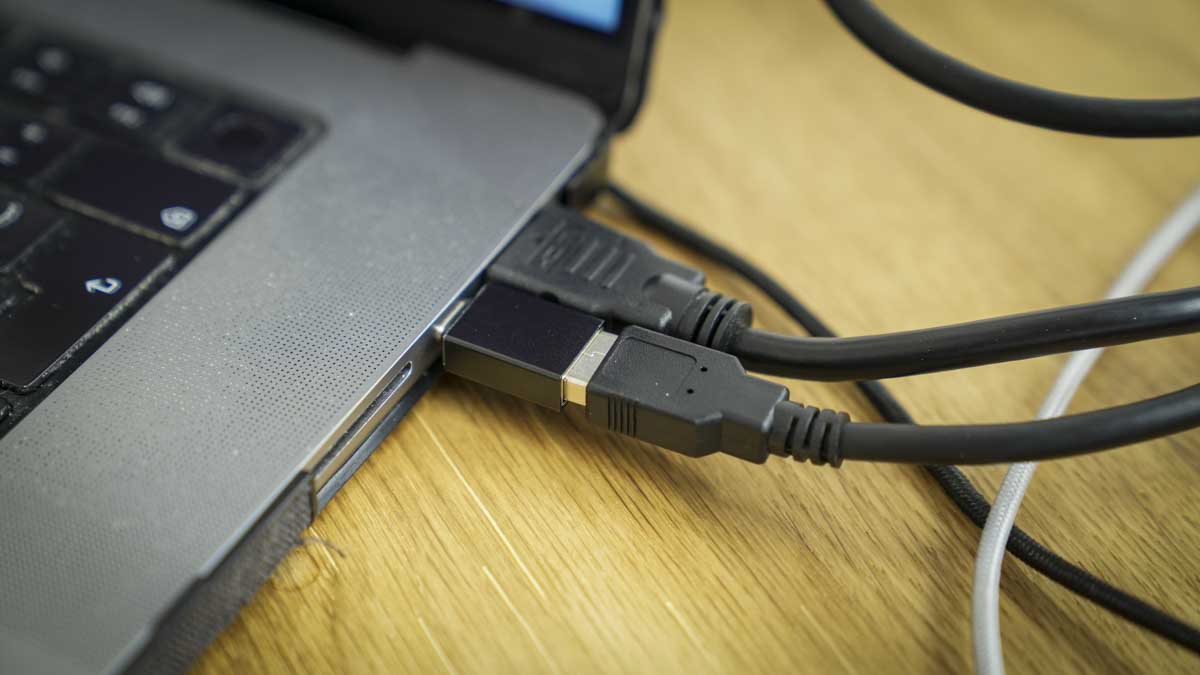
Initial setup of the YoloCam S3 is exceptionally quick; take it out of the box, place it onto the magnetic mount, and plug it in via USB. Through the test, the USB was an issue; the quality is exceptionally good, but the stiffness of the cable when used with the adapter needed careful positioning, otherwise, the camera would connect and disconnect. Once I realised this, I plugged the USB-A end of the cable into my hub rather than the supplied adapter and the issue was instantly solved. The only other thing you need to do is install the Compose software, which is available directly from the website. Once installed, the software gives you access to the webcam’s control panel, enabling you to change the resolution and frame rate, as well as many other settings for this webcam. It also links with your favourite streaming application.
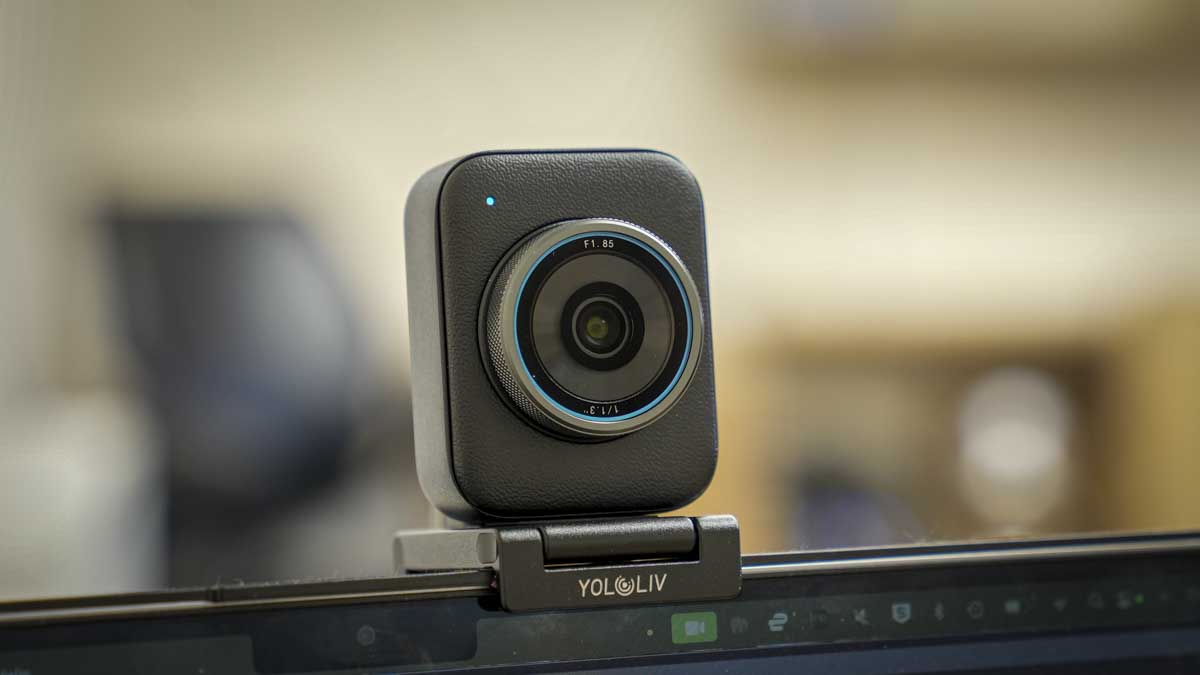
Immediately,the quality of the footage being shown on screen stands out and initially doesn’t seem that different from using a mirrorless camera to capture streaming footage. While many other modern premium webcams offer this level of image clarity, the optics here add depth to the tone and shape, giving it a slight edge in overall quality. What I really liked was that the interface, unlike many other webcam applications, was relatively straightforward. Including many of the usual DSLR/mirrorless options just makes things easier, especially for photographers looking for the exact look and style they want.
To put this camera to the test, I placed it side by side with the Sony Alpha 7 III and later the Sony A7 IV. On the small screen of the MacBook Pro M1 Max, the video quality was exceptionally good; you could barely tell the difference. However, once I moved to a newer Mac and then to my 4K studio monitors, the difference became more pronounced. While the image was still very good, you could see it start to struggle with detail. Skin tone, for instance, became a bit more painterly, and there just wasn’t the depth and clarity you get from a full-frame mirrorless camera.
That, however, is to be expected. Compared with something like a GoPro in webcam mode, the YoloCam S3 clearly offers a noticeable improvement in quality. While the GoPro is very good, it can’t really compete with the clarity of the YoloCam S3. Likewise, when I tested it against the latest PTZ cameras, the image quality was again a touch better. Though I have to say, the AI background blur of the likes of the Insta360 Link and the OBSBOT Tiny 2 were closely matched. Those PTZ cameras also have the benefit of following you around the room, although when it comes to the camera, I would feel comfortable with throwing in a kit bag every day, the YoloCam is far more robust.
In the software, you can reframe at 4K resolution, which is handy, but again, you do need to rely on the Compose software to make the most of that video quality. The more I used the camera, the more I realised the Compose app was really the heart of it, and that you need it running in the background.
Throughout use, a few observations stood out. One of the first was that in the low light of my office, additional lighting was really required to get the best results. This is common with all webcams, especially those with small sensors. Compared with my mirrorless camera, which is far better in low light, the YoloCam S3 is comparable on smaller laptop screens, but once you move to a 27-inch 4K monitor, you really notice the difference.
I was also live-streaming a demonstration of Photoshop techniques using OBS. Because I had a still-life setup going at the same time and wanted to pull in several cameras simultaneously, OBS seemed like a good idea for managing the different media, including some pre-installed on a hard drive. I did find a few glitches with the software stream. Whether that was due to YoloLiv’s integration or my system, I wasn’t sure, but the Sony Alpha 7 IV, also plugged into the system, worked without any glitches.
Going back to the Compose app, it’s relatively simple compared with some of its rivals. It focuses on image quality settings rather than AI features like many other applications. Once opened, you get all your parameters down the left-hand side, giving quick access to graphic settings including frame rate, 30fps at 4K or 60fps at 1080p, with a few interval rates in between.
The next option down gives you all the image settings: sharpness, contrast, saturation, and lens shading. This essentially reduces the vignette effect from the lens, brightening the picture’s edges. Although I did notice a bit of vignette on live streams, I found it helped focus attention on the centre of the image, so for the most part, I kept this switched on to lighten the natural effect caused by the lens.
The next section, Focus, lets you blur the background and achieve that bokeh effect. Although ‘bokeh’ is used quite heavily in the marketing material, it’s really just background blur; you’re not seeing a proper aperture blade effect, after all, as this is a fixed lens without a traditional aperture. Focus gives you three options: continuous autofocus (which keeps the subject in focus), single focus, and face focus/follow (which keeps your face in focus as you move).
The thing to consider here is that the more light you have, the better the focus looks, for both the subject and the background blur. The other point here is that if you’re presenting and lift something up like a product to show your viewers, then the focus quickly adjusts, and it was in fact far better than the Sony, which just isn’t optimised for this use.
One of the next options down was one I was quite interested in from the outset: multicam functionality. From within the application, you can assign the camera (if you’ve got three of them) to hotkeys, and then quickly switch between them. This is really useful if you’re doing a live stream and want one camera for close-ups, another for general talking, and a third to capture the entire scene. Just having this as an option from within the application does boost the functionality and usability.
The final three options are very familiar to anyone using mirrorless cameras: exposure, white balance, and audio. Exposure allows you to select either auto or manual and adjust it to brighten the image throughout the day as needed. Likewise, white balance can be set automatically or manually. If you’re in a mixed-light situation, as I often am in one of the halls I work from, switching between auto white balance, which can introduce a yellow hue, and a manual preset is helpful. It’s just a shame you can’t save a preset for your location. So, if you switch from auto back to manual, you’ll have to remember what you used each time.
The final option is audio settings. While the camera has a small microphone, it wasn’t very good, so I reverted to the one built into my laptop. It was okay, but far better than the small one that came with the webcam. I’d also note here that it’s probably best to use a dedicated mic, which will give you far better audio quality and better suit the high-quality visuals you’re capturing.
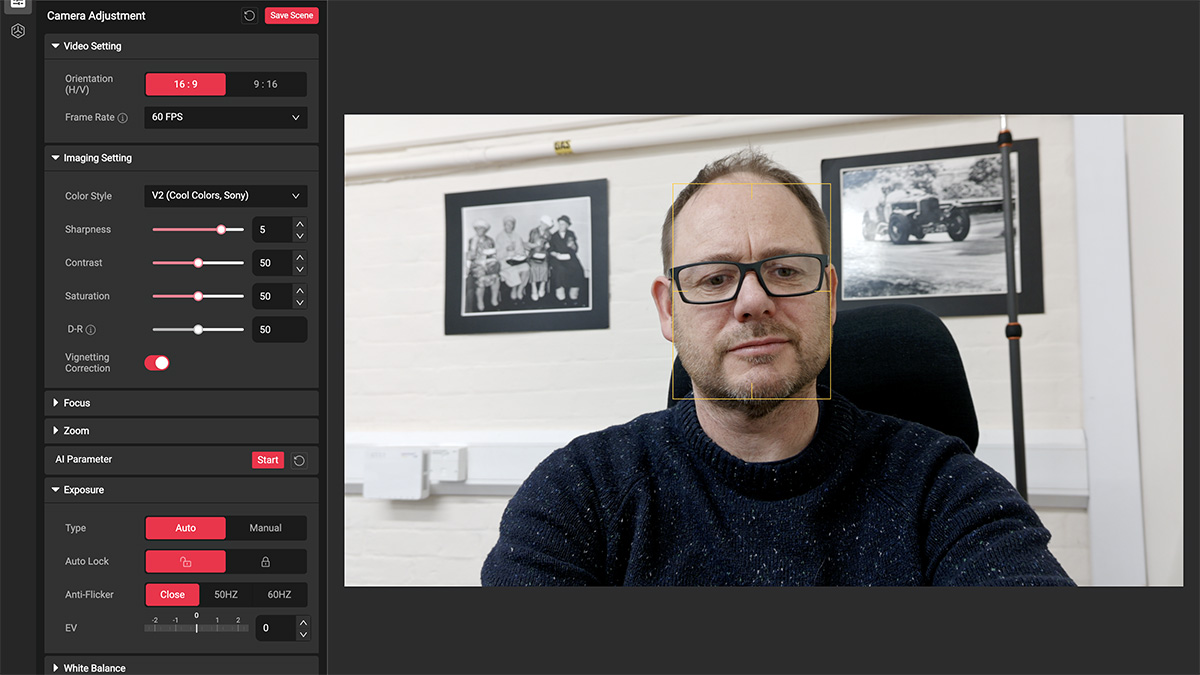
Screenshot
Under the colour options, there’s an interesting feature: the Picasso Resolve option. Essentially, it’s a full-colour wheel. Using a pipette, you can select an area in the image, click, and then change the colour. It’s very clever and actually worked incredibly well. You do have to be a bit careful not to alter colours unnaturally, but if you want to intensify or subtly adjust a T-shirt colour, for instance, it’s a great option. I did find that to get decent results, you had to click in several areas and tweak accordingly.
An oddity of the camera is that some of its more advanced features, like AI enhancement and preset saving, require a YoloLiv account. I can’t really see any reason for this other than to capture user details, and it would’ve been good to have full access to all the features after paying nearly $200 for a webcam.
That said, the overall quality is exceptionally good. One of the key points here is the image clarity, just a touch above other premium webcams, and the simple multicam system, which can be tricky with other setups.