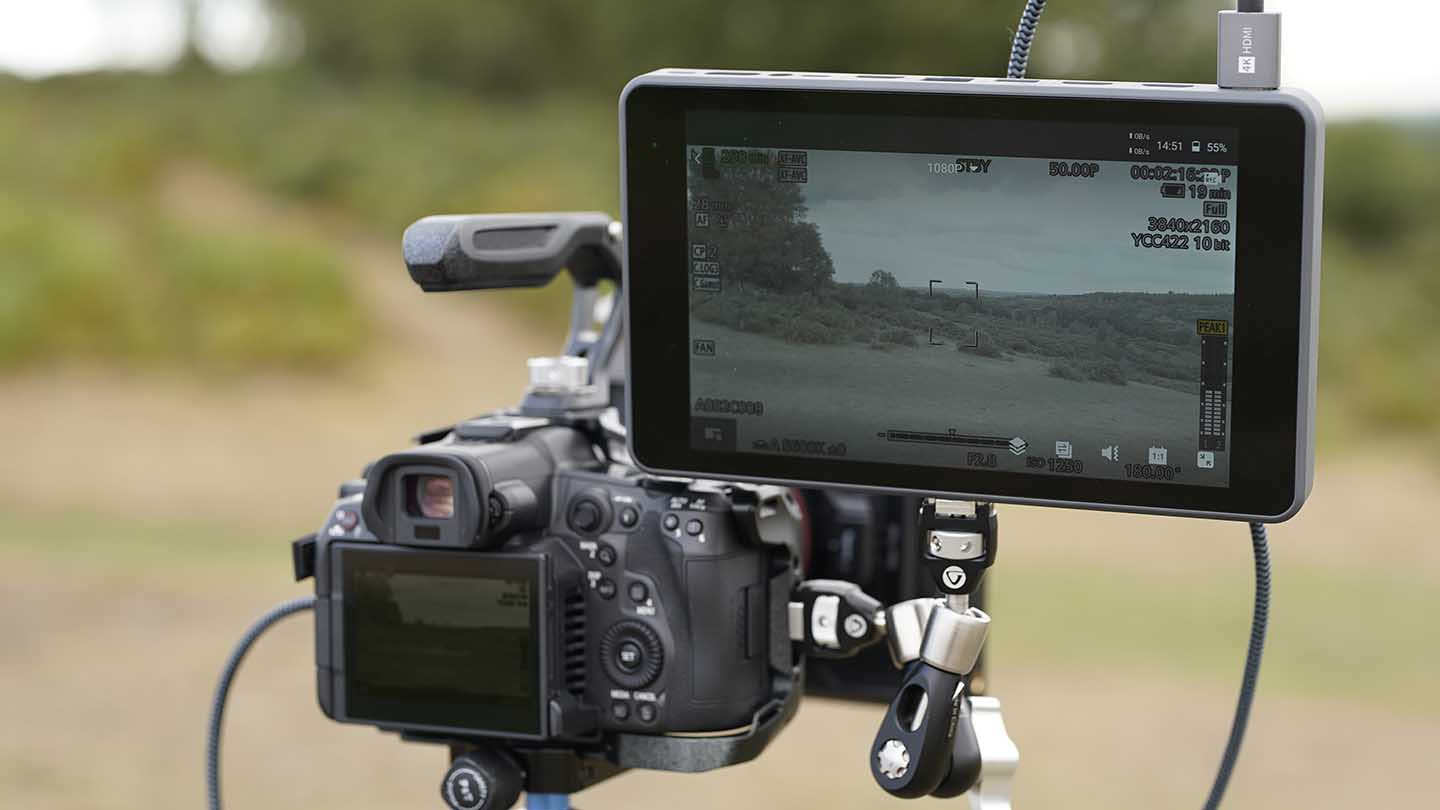
It’s not often that a product that looks so good and seems to offer so much when you see it online actually looks just as good in real life. The screen is huge, covering the entire front of the device, and then the sides are a flat grey matt plastic material that feels tactile, with the same material but textured, used for the back.
The outward look of the YoloBox Pro is simple and understated; it looks for all intentions like a monitor and nothing more.
Checking over the device and on the bottom is a 1/4-inch thread, two slots, one for an SD card and the other for a SIM card and featuring protective covers; there’s also the power button that sits flush with the lines of the product.
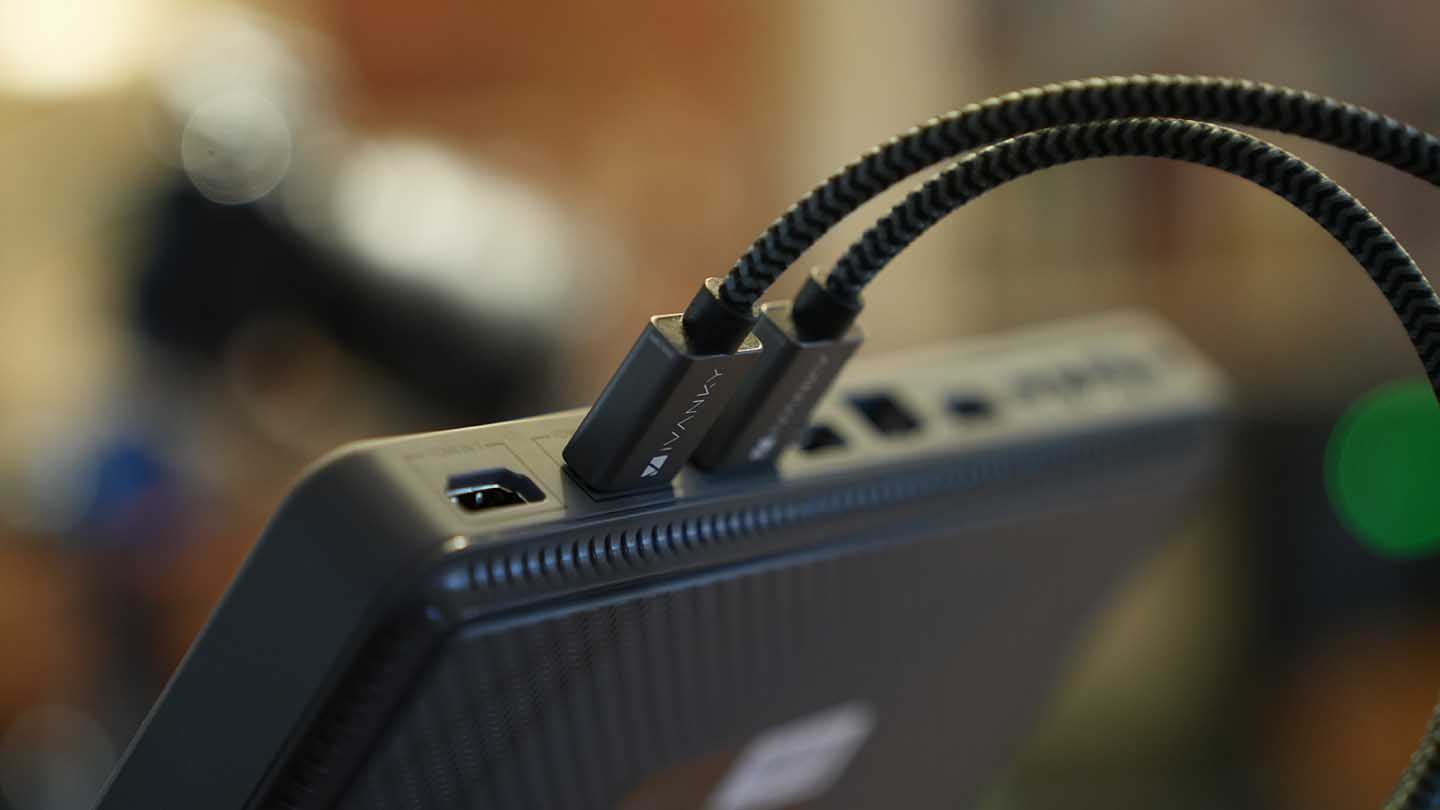
The sides are clear of any ports or buttons with three HDMI inputs on top, a USB Type-A, Network, HDMI out, USB type-C, one 3.5mm headphone, 2 3.5mm mic sockets, and another USB type-C for external power. Neat, discreet and easy to understand.
Powering on the YoloBox Pro, a splash screen appears, highlighting a few set-up details that you need to run through before starting. These set-up steps require you to connect the device to the internet; the process is almost identical to that of connecting your Smart Phone to a local area network; select the WiFi connection and enter the password, and you’re done.
With the connection completed, tap the red + symbol and get one of two options, Create a Live Stream or Monitor Mode.
Monitor mode enables you to select a source, add overlays, and automatically switch from one camera to another. It’s especially useful if you create content that you’ll use later. The touchscreen interface lets you check multiple cameras’ viewpoints.
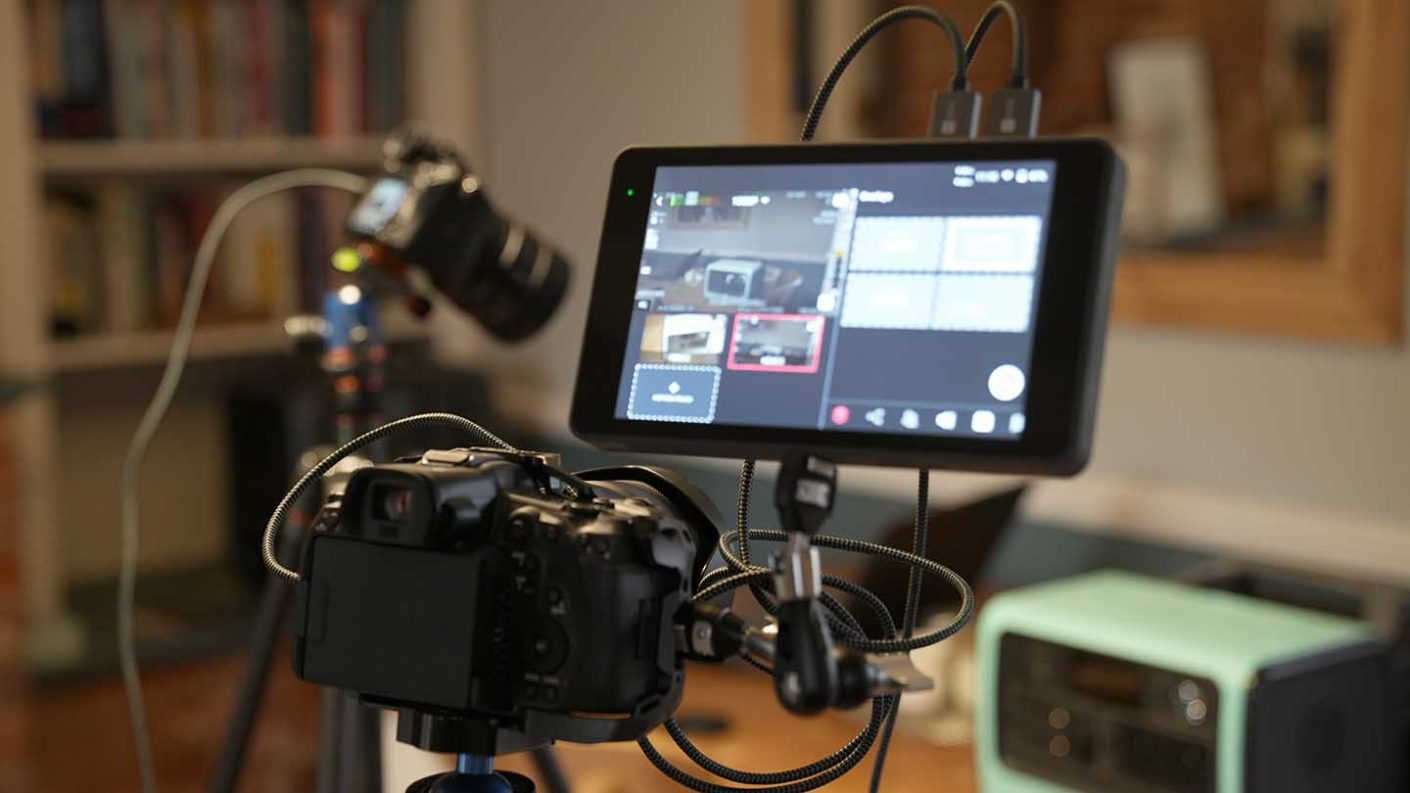
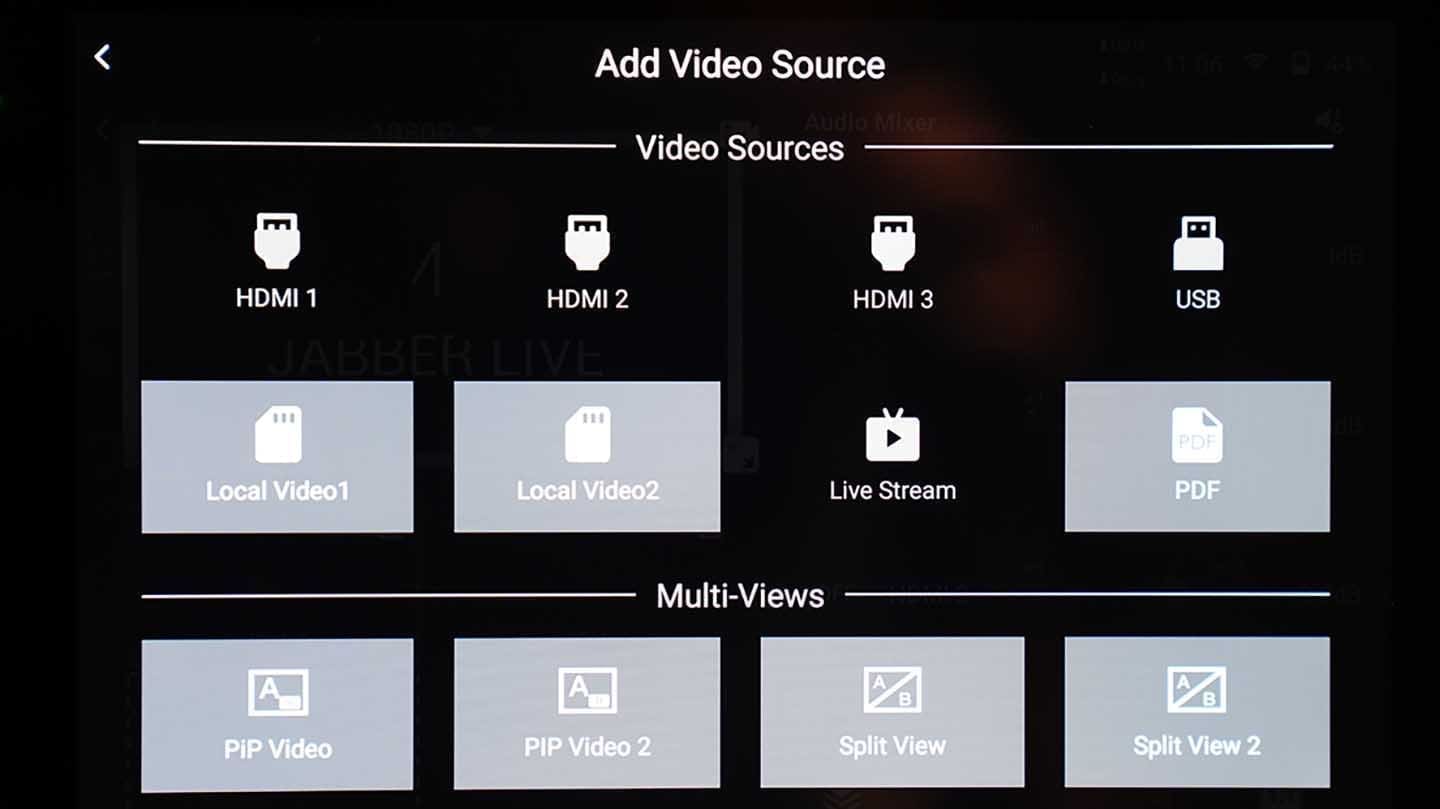
The other option and the main point of the YoloBox Pro is the Create a LiveStream option. Click this, and once the cameras or media box are connected, you get a live view feed from those cameras.
On the right of the screen, you have multiple options: connect to YoloLiv’s platform, YouTube, FaceBook, Twitch or a custom feed; the connection is straightforward.
Once the feed is selected, a row of icons across the bottom of the screen enables you to add elements and access different features. These options include; Overlays, Platforms, Invite Guests, Audio Mixer, Scoreboard, Comments, Auto-Switch and Settings. The touchscreen interface makes accessing each of these areas extremely easy.
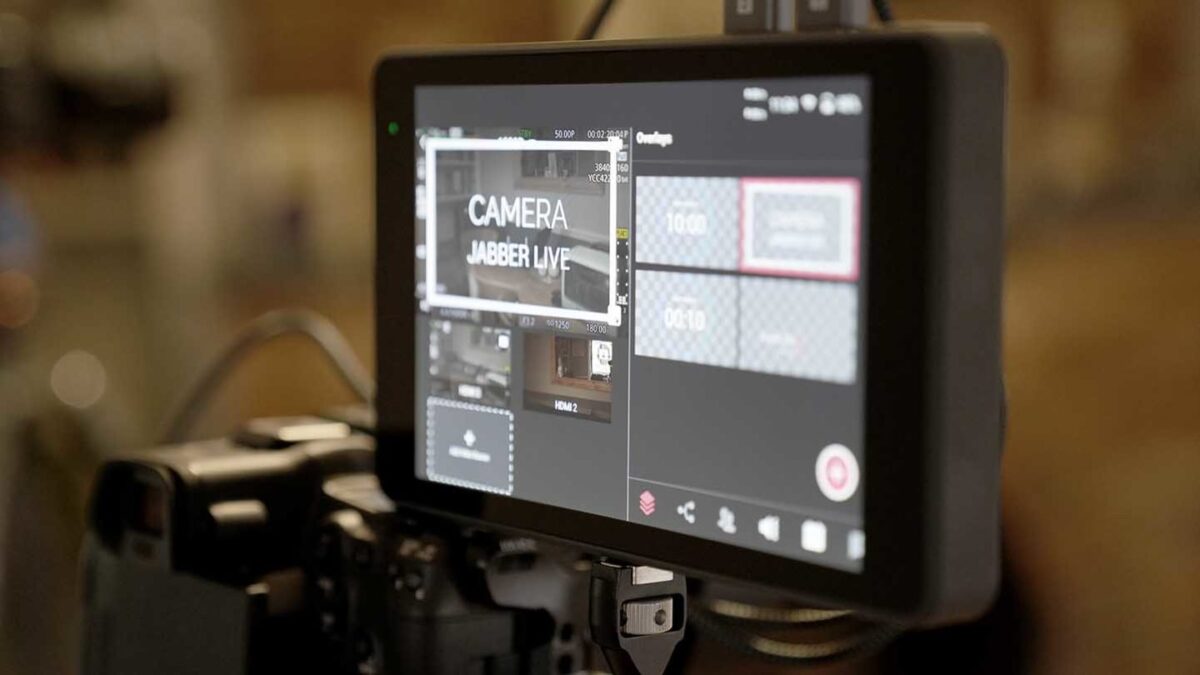
Once you have selected your video sources, tap on the one you want to make the main source for the feed. Likewise, the element you want to overlay can be added or removed similarly.
You tap the Go Live button to start the stream when everything is set.
