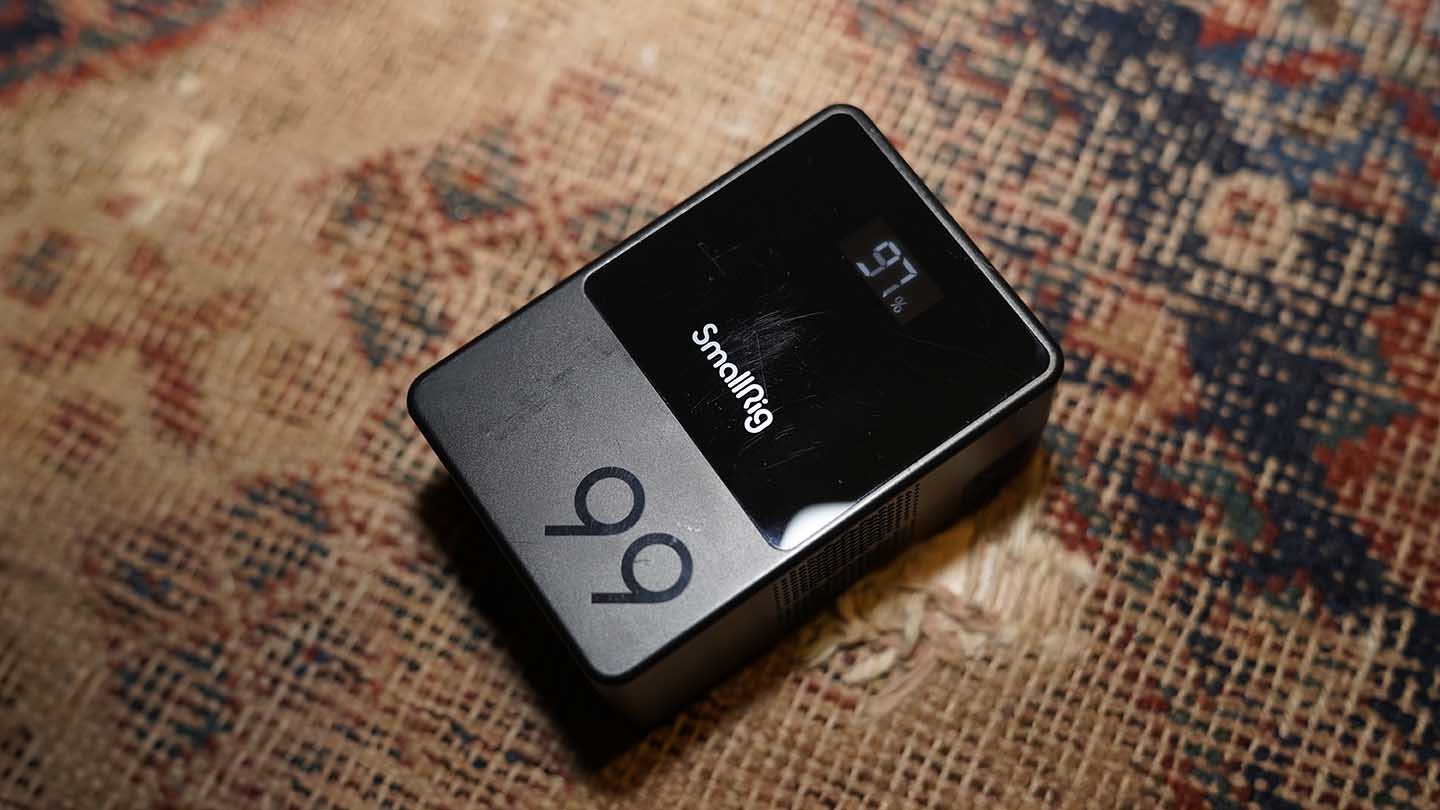
This battery arrived for testing at exactly the right moment, the door bell rang and a package was handed over just as I was headed out the door to a shoot. Packaging stripped off, a small whoop of joy at the 46% and the SmallRig VB99 was plugged into the Bluetti AC200 to charge while I headed off to the day’s shoot. The shoot itself was relatively small but did require a couple of constant lights. So fresh out of the packaging, the SmallRig VB99 mini V Mount Battery 3580 was put straight to work.
The first thing to note was that by the end of the 45-minute drive from house to location, the SmallRig VB99 had fully charged, utilising the full 65w charge input through the USB-C port. This is exceptionally quick, and what I like is that by pushing the power button on the side, you can quickly check the battery power status.
For this first shoot I used the battery to power a Rotolight Anova 2, this is a 72w LED lamp and ideal for location work. The SmallRig VB99 V-Mount battery clicked directly into place on the back of the unit. This lamp was the main lighting source with the SmallRig RC 120D for the Spot lighting. I’ve found that these two lights complement each other well.
Throughout the filming, the light was on full power to create the ambient lighting in the room and lasted the full duration of the shoot which was about 45 minutes of actual running time, although the shoot was longer I made sure to switch the light off when not in use. After completing the shoot the battery showed the power level had dropped to 40% showing I had a good 30 minutes or so at this power to go.
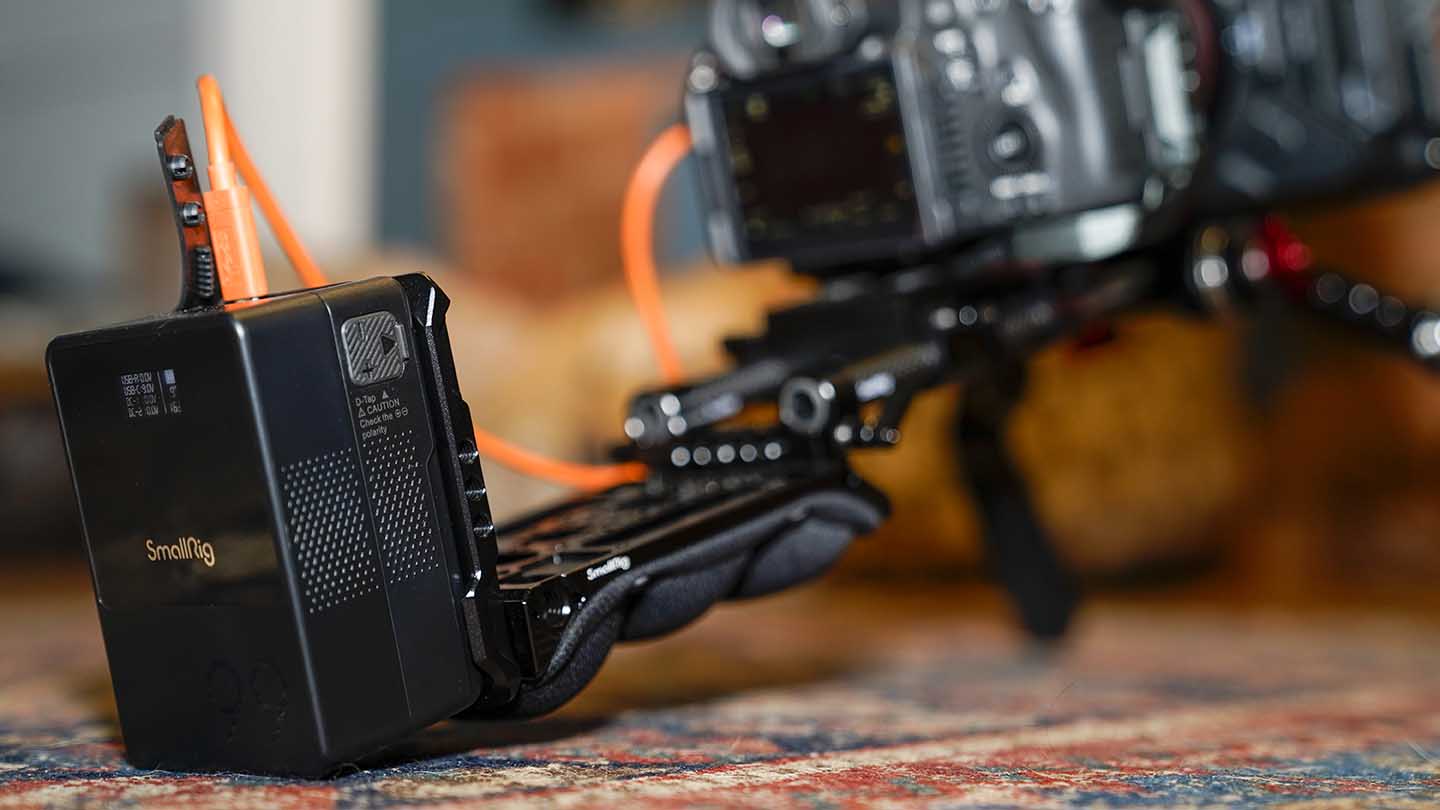
This length of time is roughly what I would expect for the 99W capacity. Still, I really liked that I could check the actual percentage of the battery capacity on the small screen rather than having to roughly guess between 25% increments as I have to do with my other V-Mount batteries.
In the second part of the test, aside from using the remaining 40% charge to give my phone and headphones a power boost, I once again fully charged the pack to 100%, again through USB Type-C in around an hour and a half from close but not quite 0%.
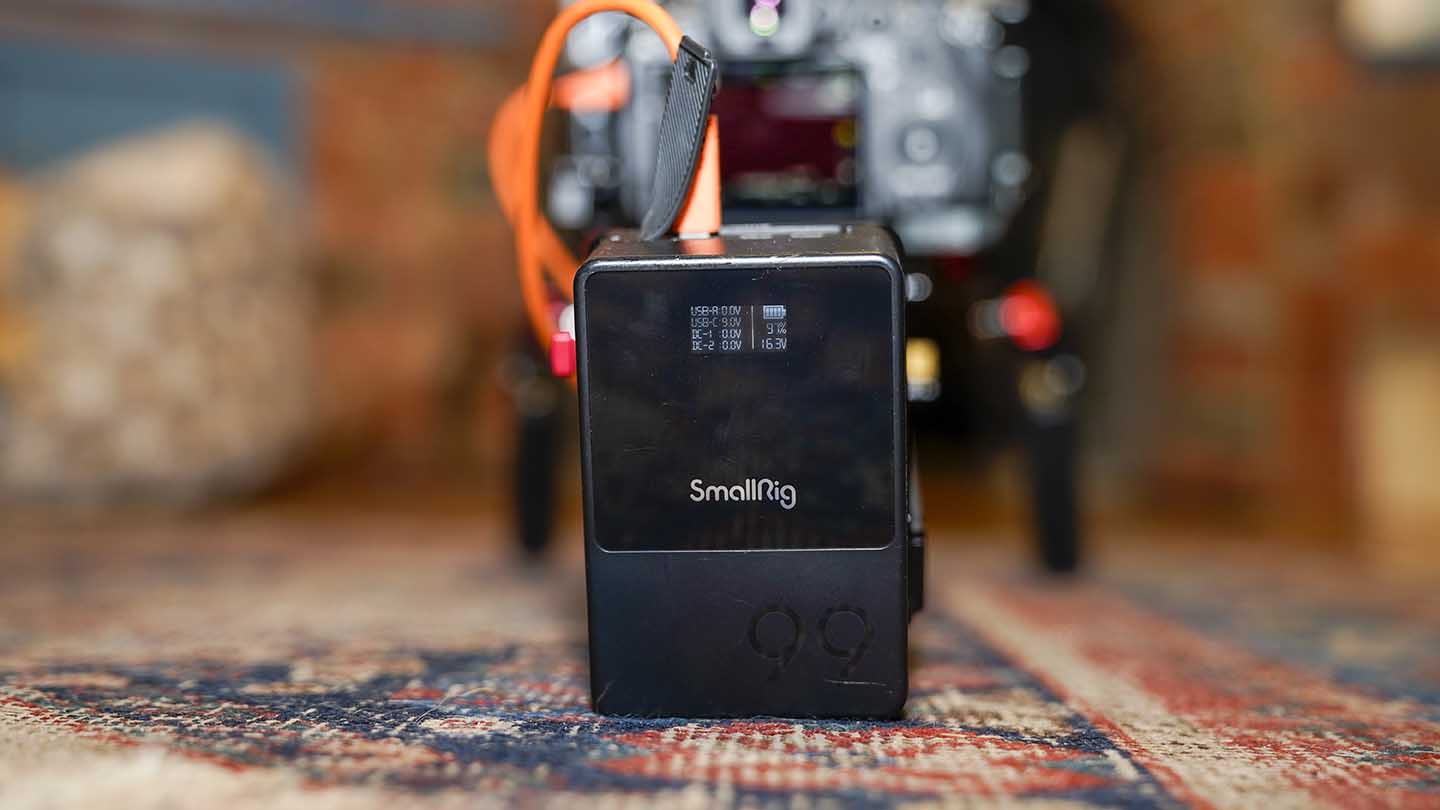
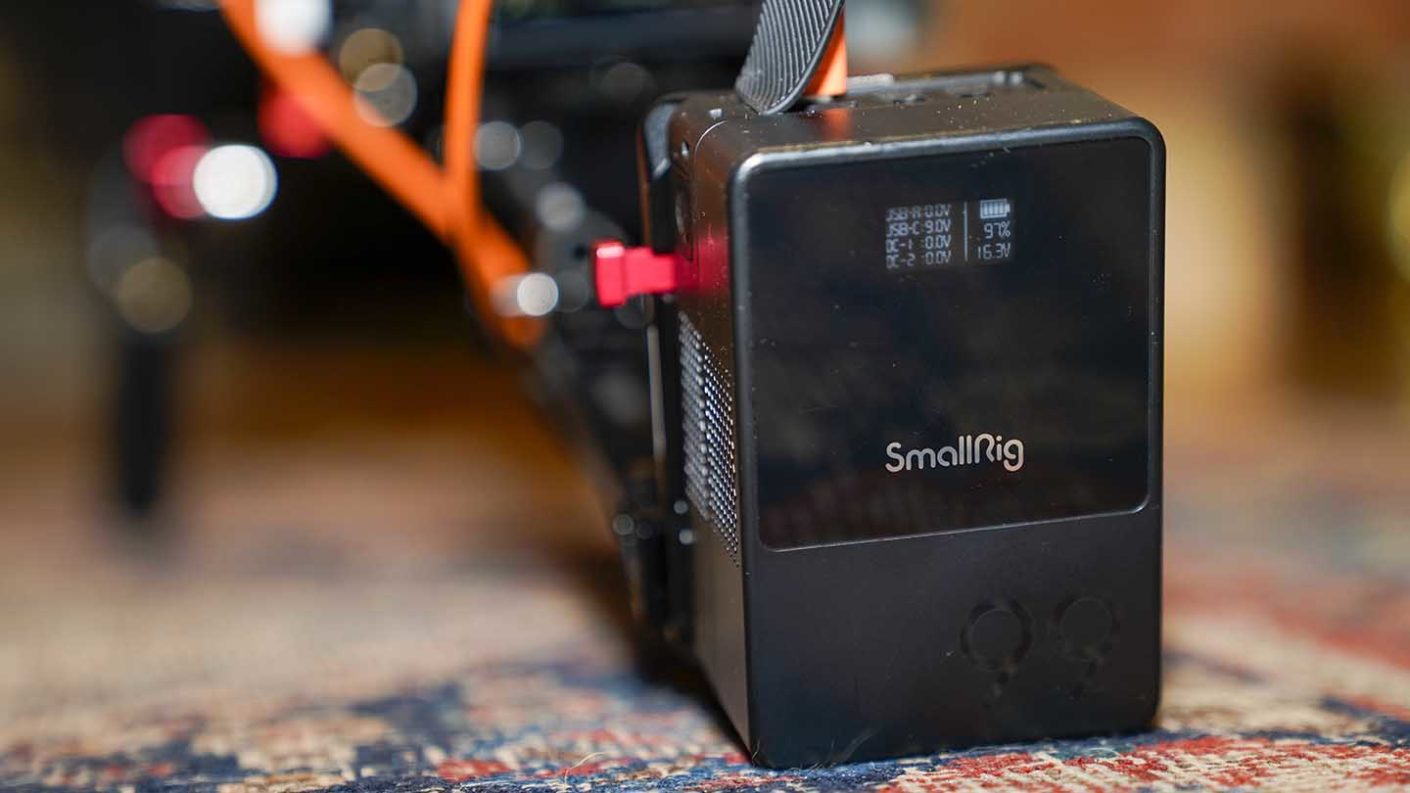
This time I connected a USB Type-C cable to the Canon EOS R5 C for PD power. This worked exactly as you would hope, with the power going directly to the Canon R5 C and all systems working exactly as they should. What’s really nice to see, aside from the ability to film for more than 30 minutes in any one go, is that the V-Mount battery shows the power used on the small LCD screen.
The display shows the camera connected to the USB Type-C port, with the power at 9v, it also shows the power remaining.
As you would expect, the use is simple: plug it in, and that’s it; it just works. What elevates this over other V-Mount batteries are those additional connection options.
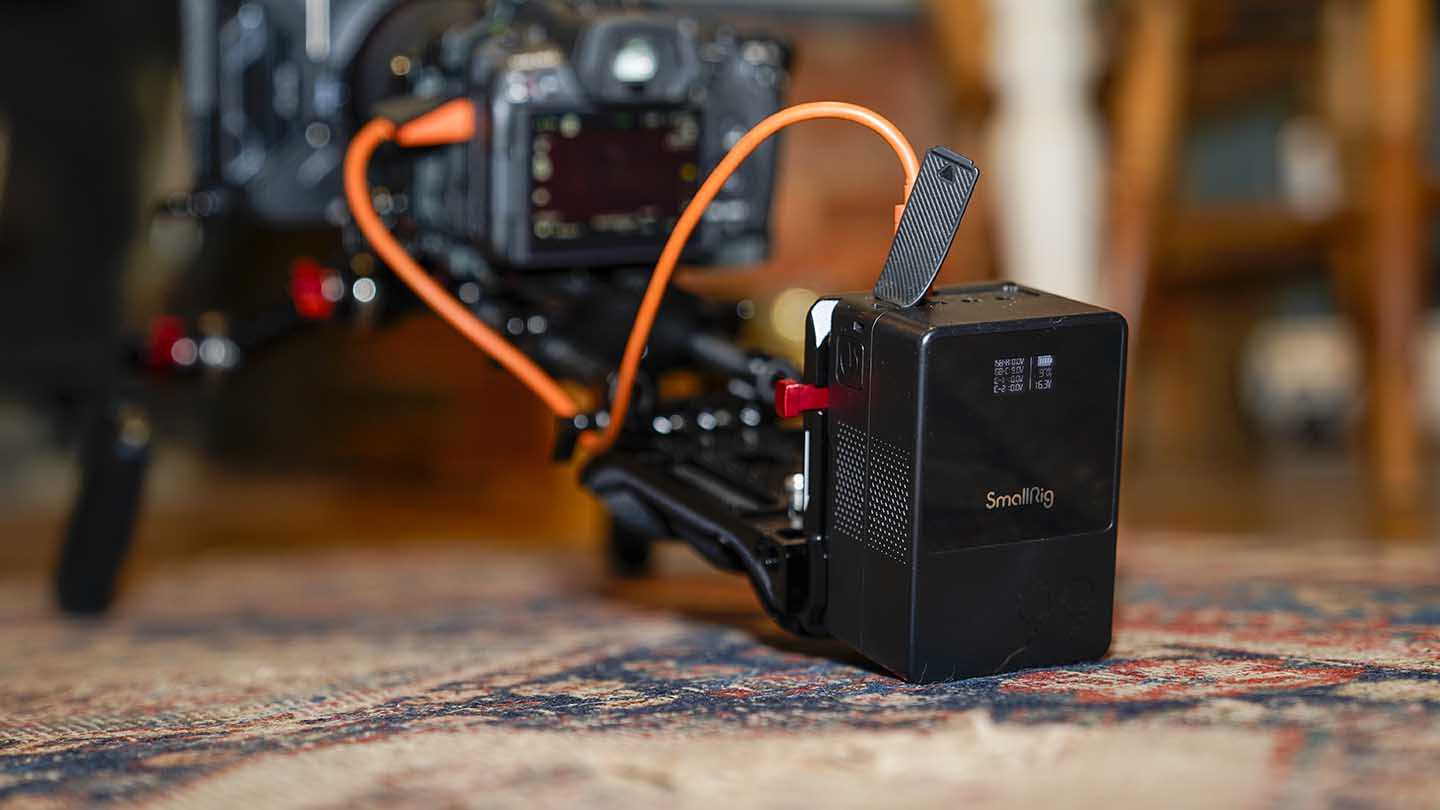
At this point, it is worth pointing out that as soon as you start to go down the V-Mount battery route the way you use your camera will instantly and forever change. Be that the Canon EOS R5 C, Sony FX30 or whatever; a V-Mount will give you more time to shoot. The only thing is, unlike your standard camera battery, it will not fit in your camera.
So before you rush out and buy this power solution, look at the different mounting options you’ll need. Usually, a SmallRig cage with a V-Mount adapter will do the job. Once you’ve added the cage and rig and your camera no longer looks like any camera you’ve ever seen, you’ll be ready to film.
