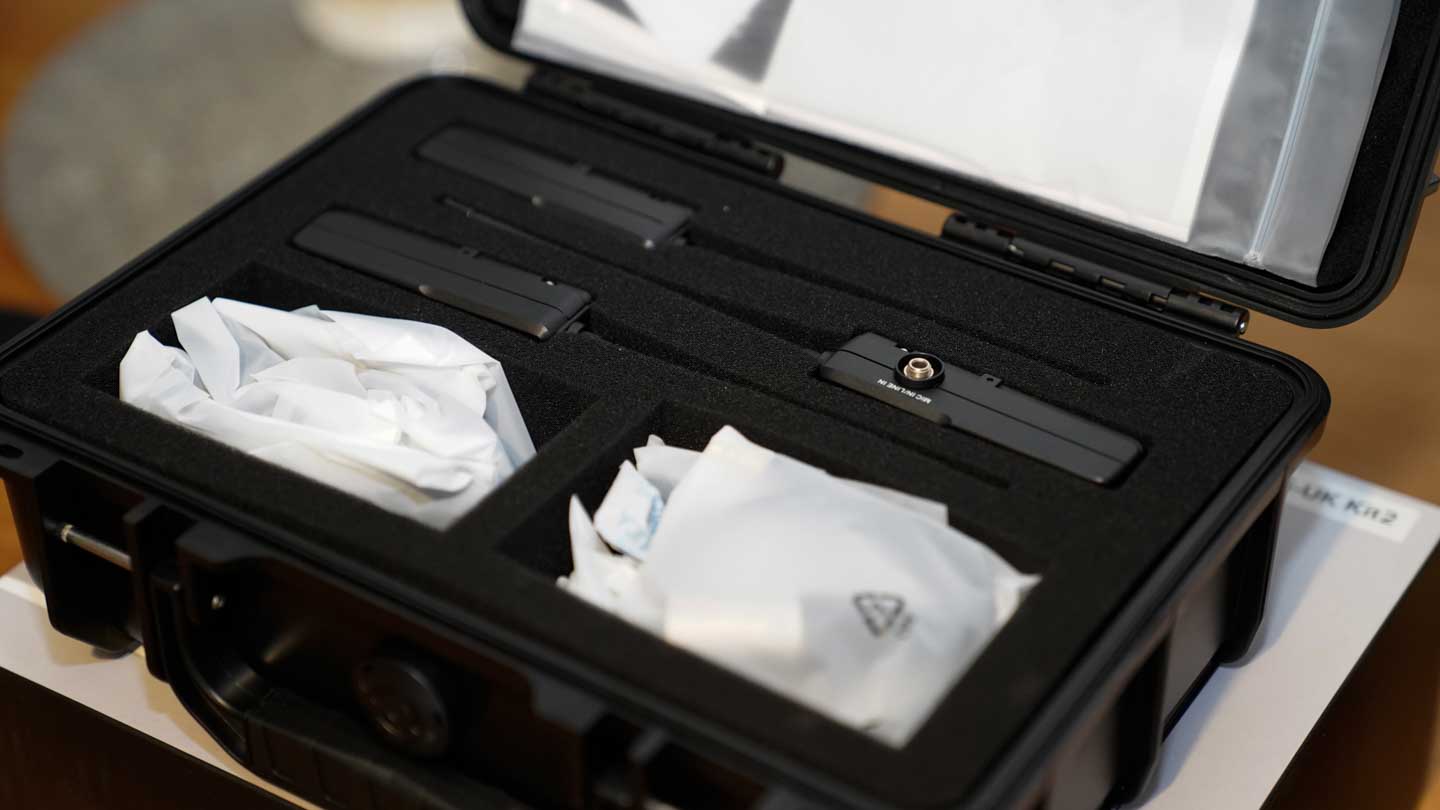
The Saramonic Uwmic9 wireless mics are known to be a decent cheap audio solution, however, this updated release really enhances the build quality.
Firstly there is little to differentiate the robust build and quality of these against the Sony units that I use. They’re solid in design and any plastic quality that you would expect from this price range is completely absent.
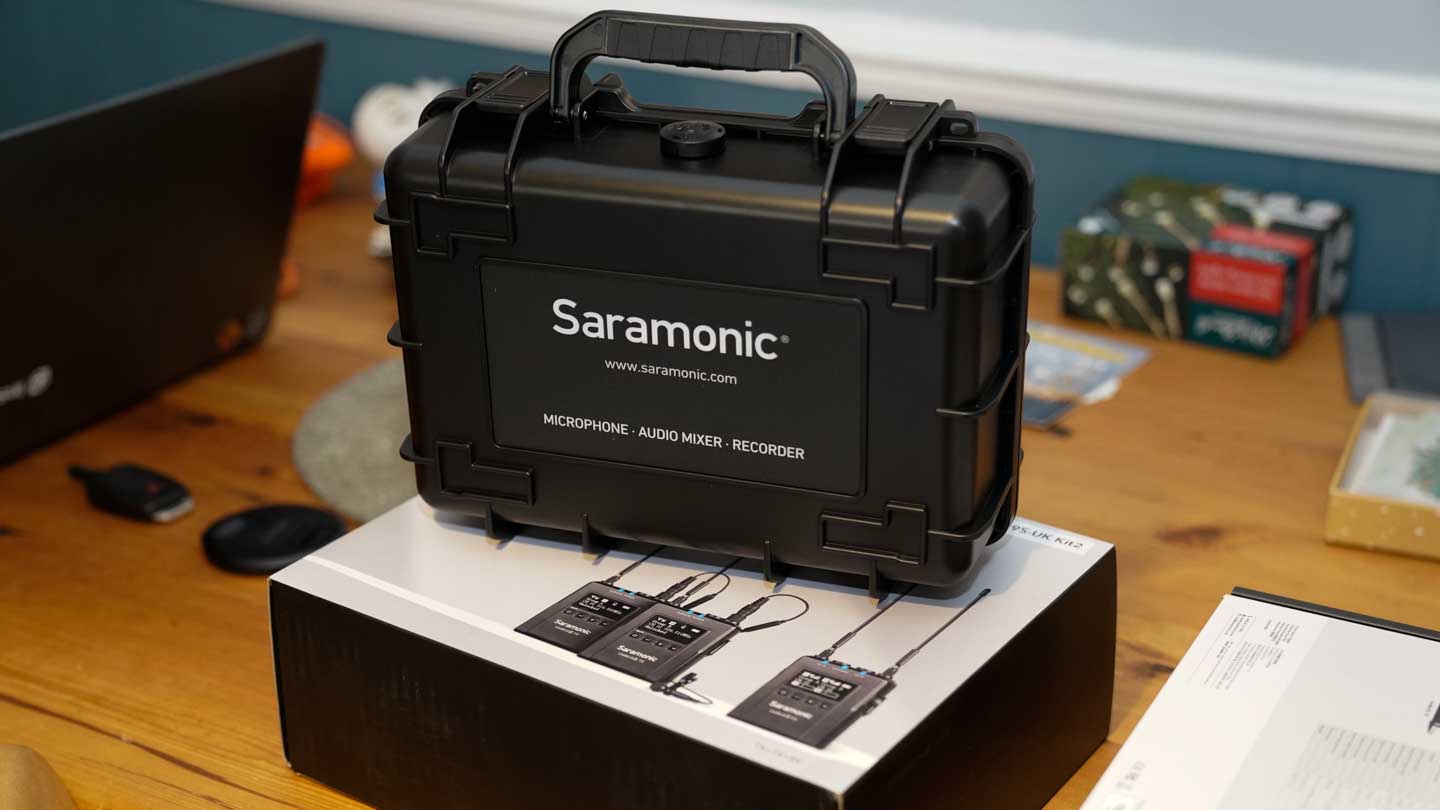
The aerials do feel a little cheaper than my Sony’s, but really the build quality of these units is exceptional. The hard case gives an instant impression of quality and this is reinforced by the excellent quality of the units themselves.
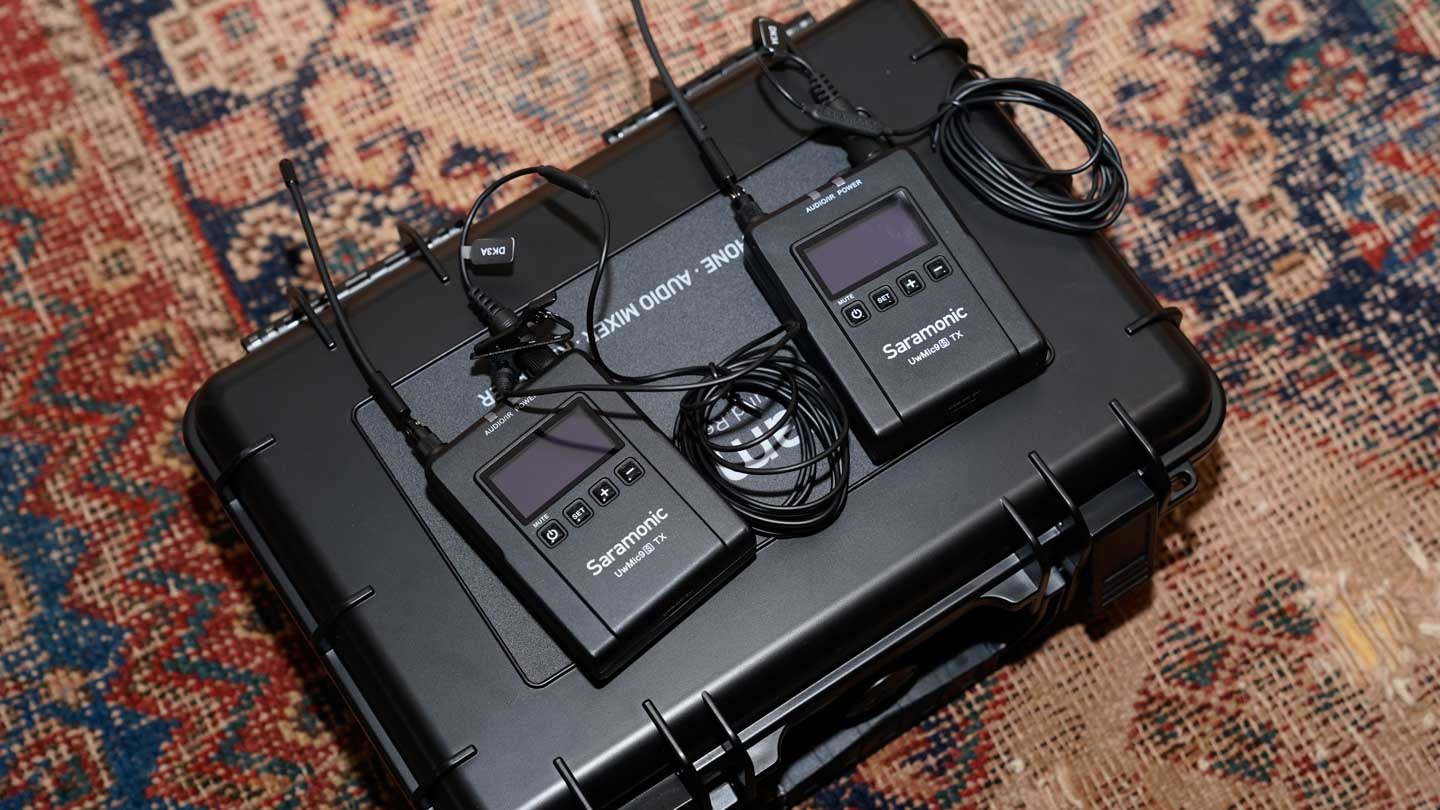
Before powering on the mics it’s best that I start by letting you know what kit I’ll be testing them with. I use a Sony A73 and Sony FS7 as I use both regularly with a Sony wireless system; the A73 offers a 3.5mm and the FS7 two XLR.
During the test, I switch between the two cameras and haven’t differentiated this in the review as ultimately the function and quality between the cameras when it comes to the use of the wireless system is identical. One connects through 3.5mm the other through two XLR.
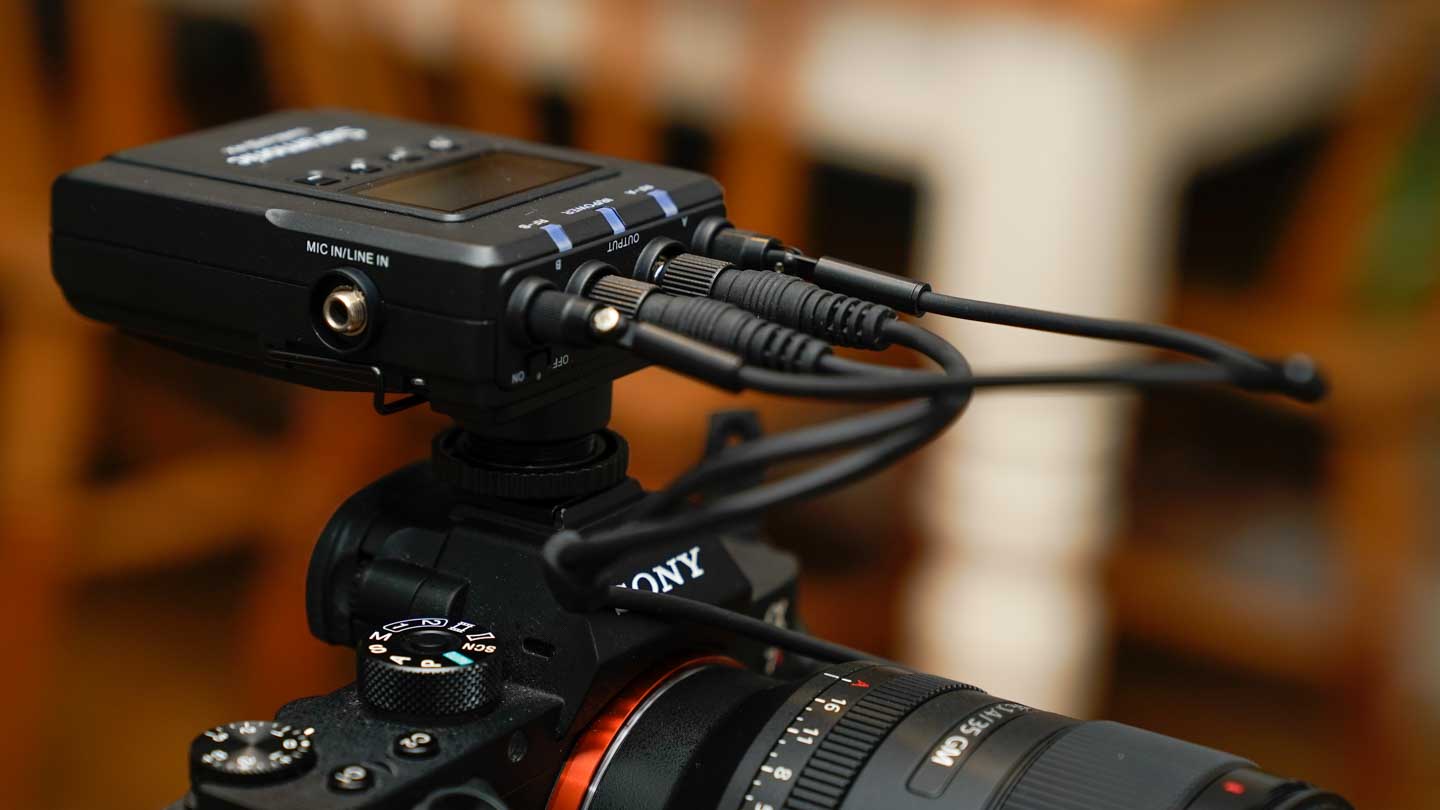
Preparing the transmitter requires a wire belt clip (In the box) to be attached before the hotshoe mount can be slotted and clicked into place. With that done the receiver can be attached to the camera cold shoe and locked in place.
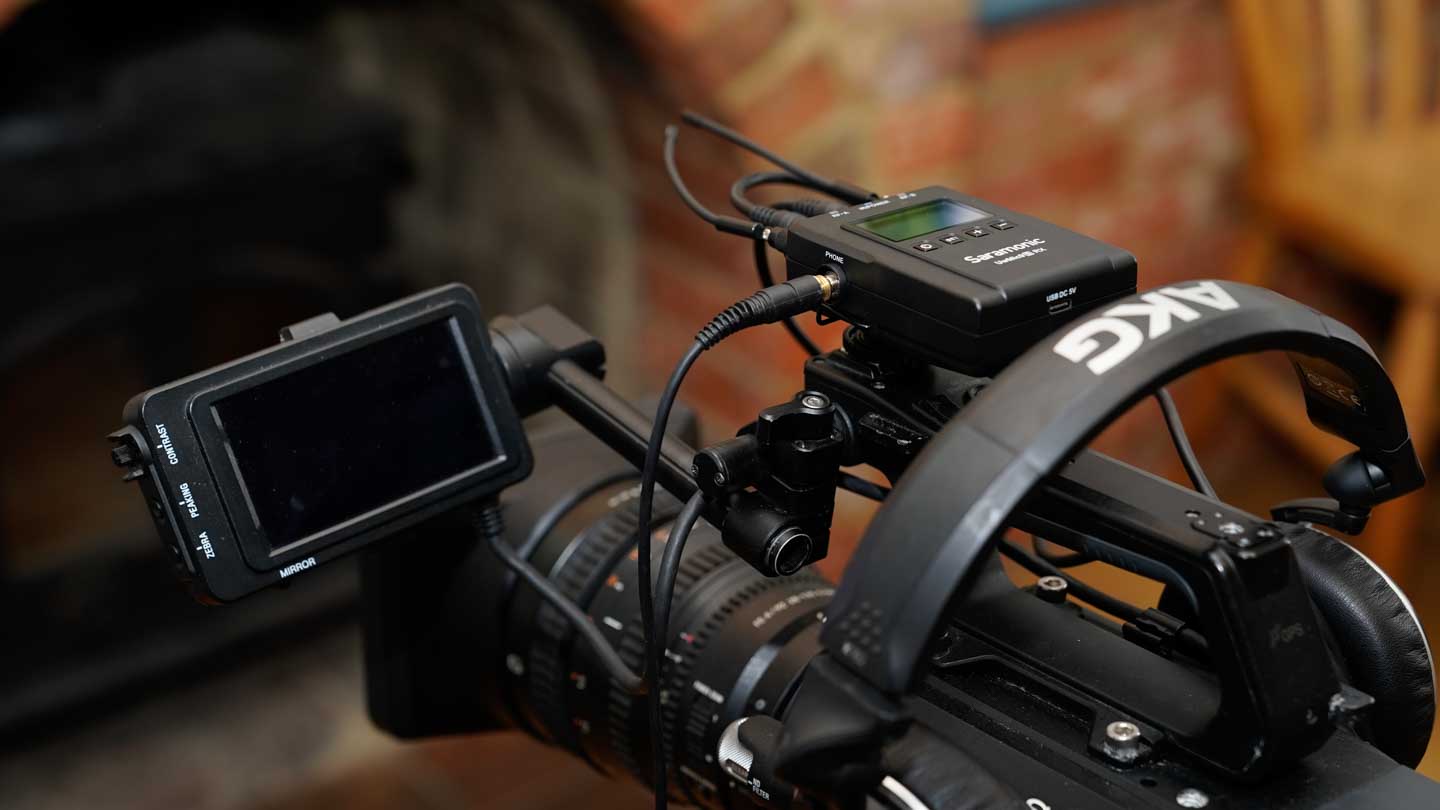
A 3.5mm wire fits directly into the A73 camera and then splits into two inputs on the receiver. Once connected the receiver is set up.
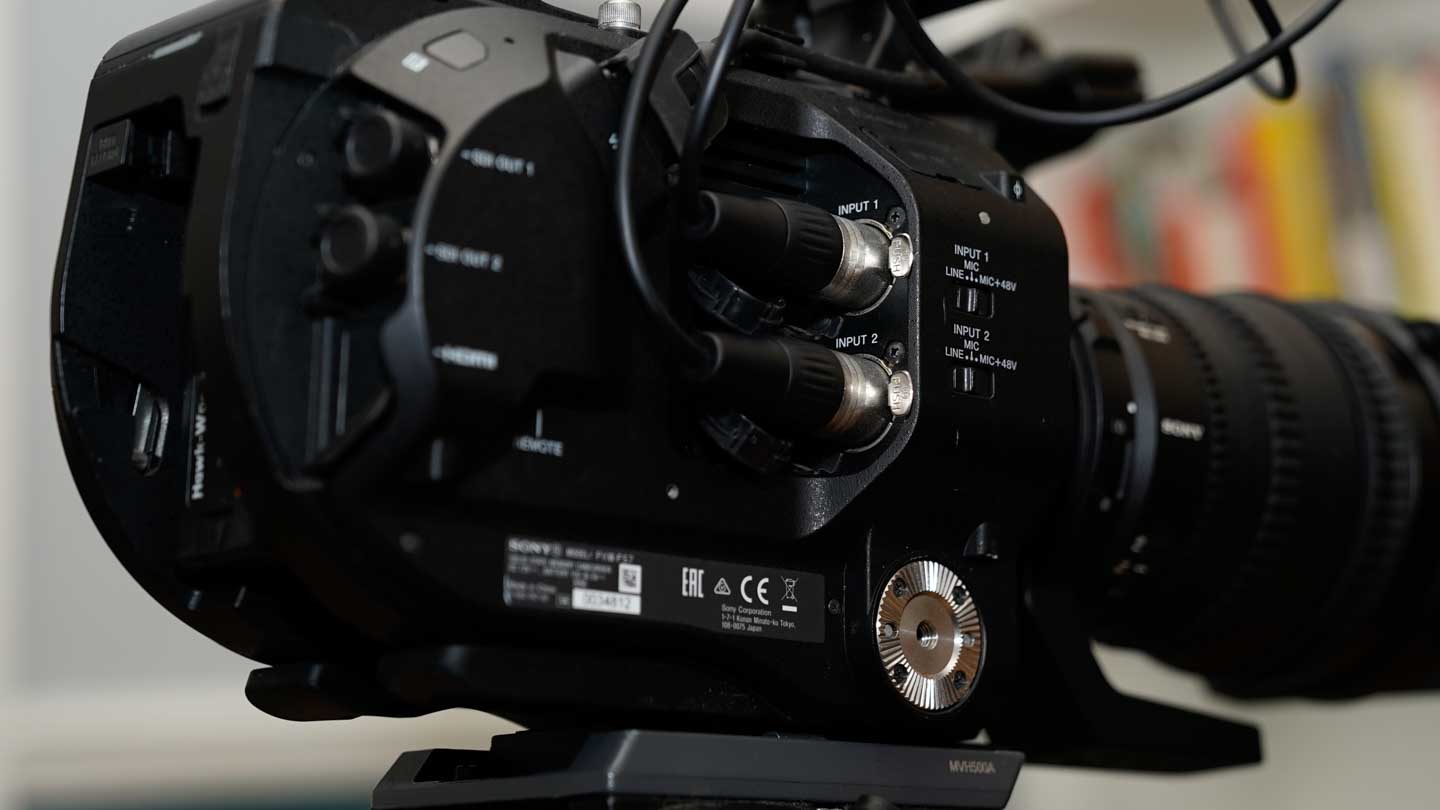
Connecting to the Sony FS7 with the two XLR follows an almost identical setup process. Just the 3.5mm split cable is swapped for two XLR cables, again once connected the audio at its basic level is ready to go.
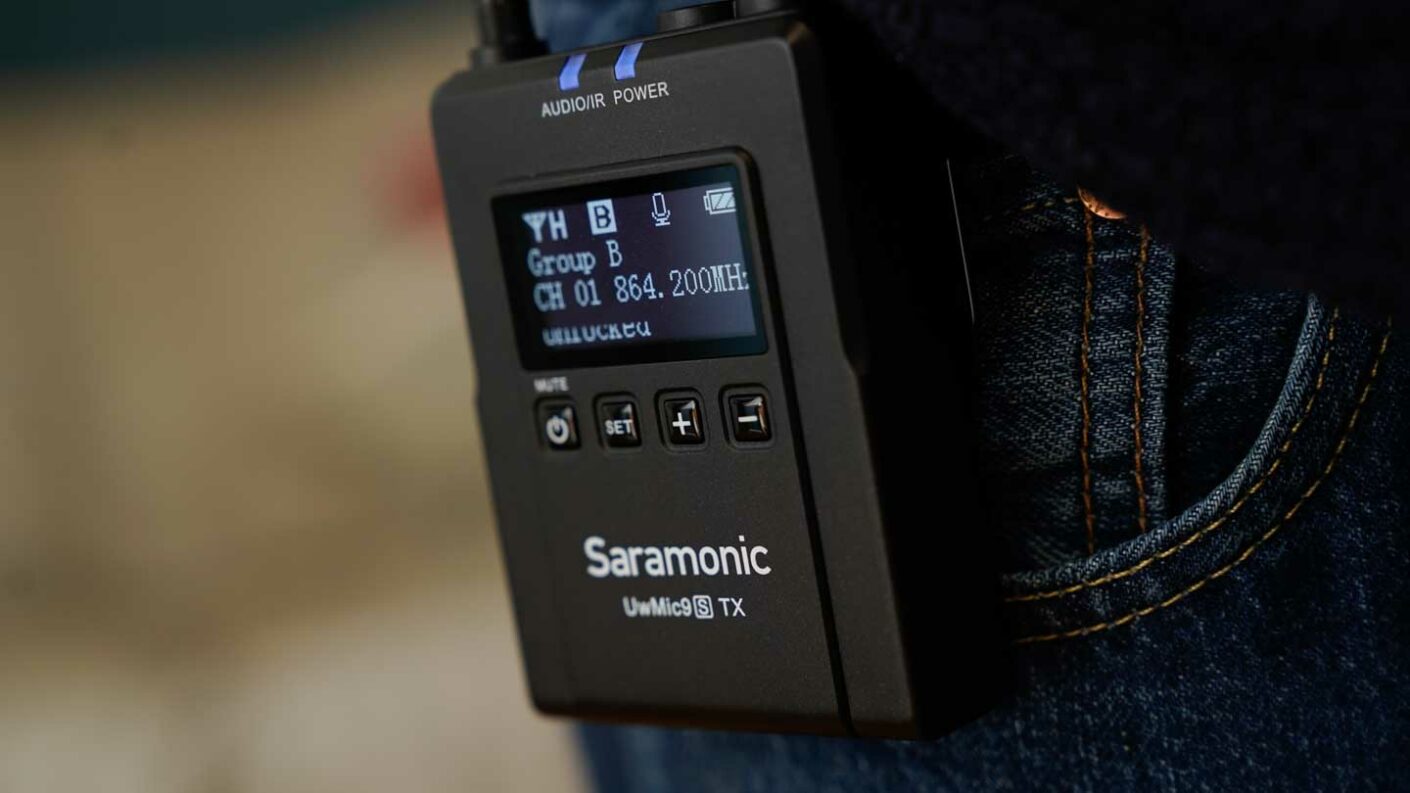
The transmitters, of which there are two, feature a wireless bodypack with a wired omnidirectional lavalier microphone. The bodypack transmitter again features a wire belt clip that neatly clips onto a belt. Each transmitter features two input options, either a line-in or mic, in our set-up the lavalier mic 3.5mm jack fits into the mic socket.
Once switched on the transmitters and receivers are already paired. If you want to alter the preset pairing then pushing the + or – buttons on any of the devices will enable you to scroll through the settings to the one you want, then hold down the set button to enter the options. It’s all nice and straightforward.
A nice set-up feature if the pairing is ever out between any of the devices is the IR pairing. Essentially you face the transmitter and receiver towards each other than go through the settings of the transmitter and receiver until you see the “Match with RX” or Match with TX” long-press the set button and the devices do the rest.
On the mics, there’s some adjustment, such as Mic gain that enables you to increase or decrease the input volume, and by pushing the power button you can quickly mute the mic, which is useful.
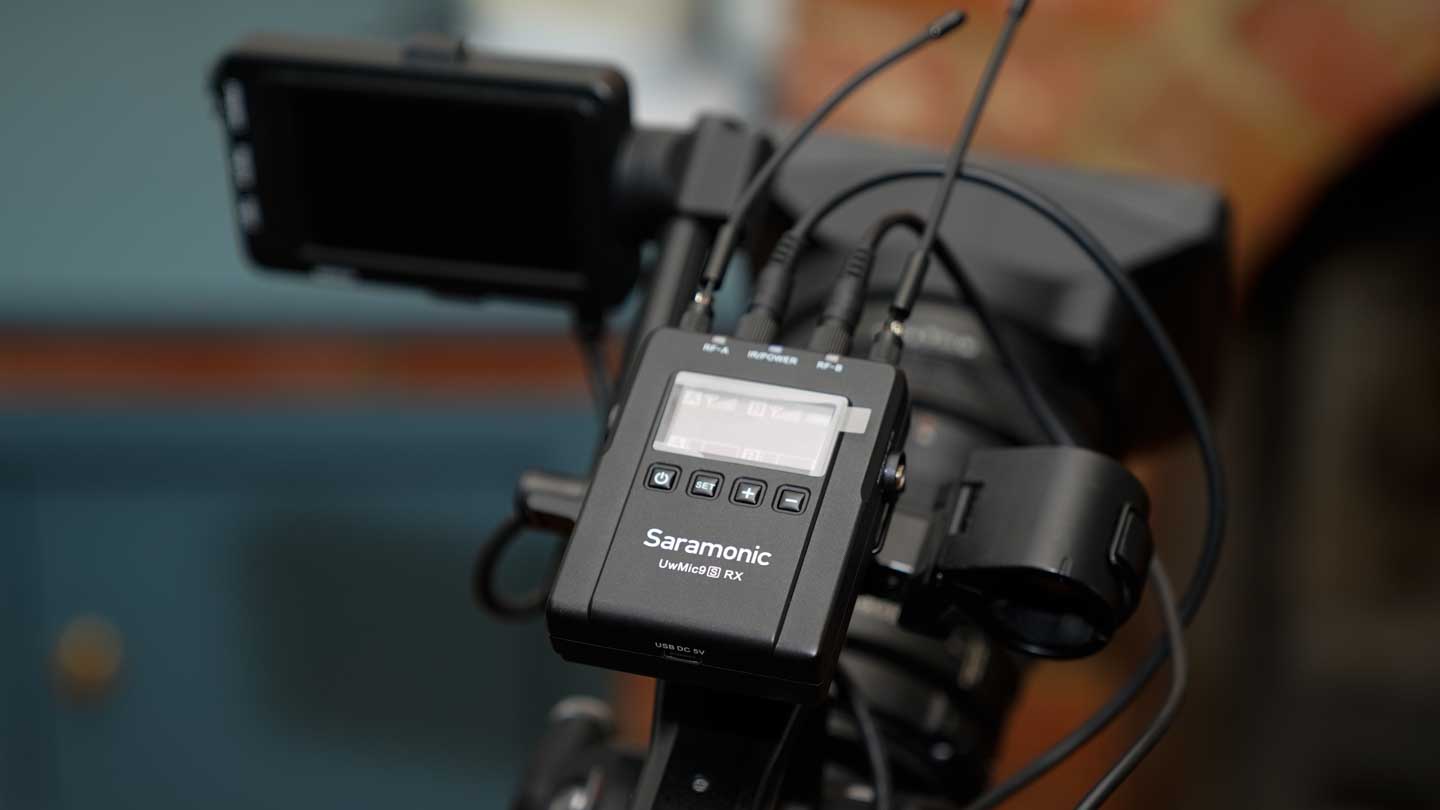
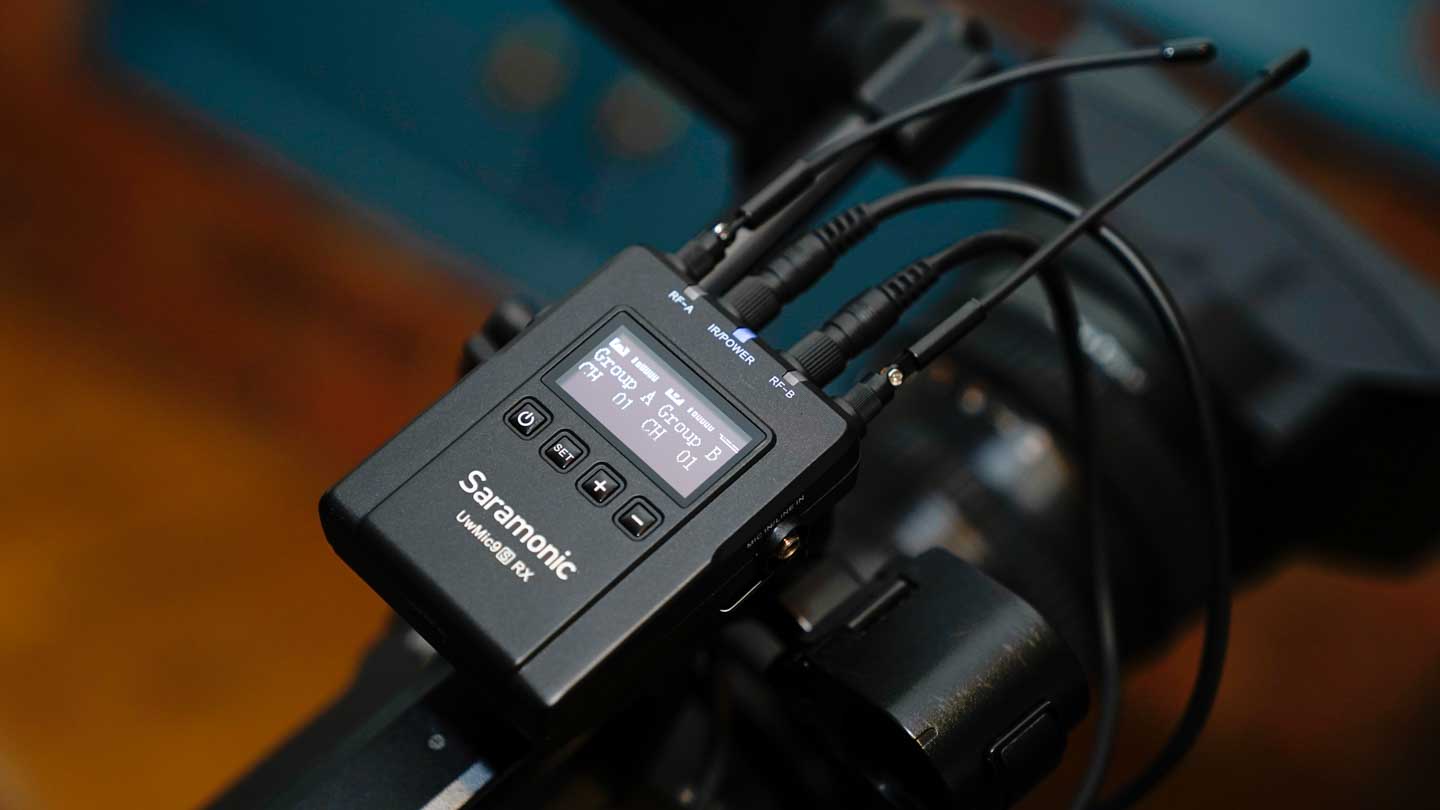
On the receiver there’s a similar set of options, with local mic gain enabling you to plug in a wired mic directly into the receiver and adjust the volume, then there’s the volume adjustment for both Group A and B.
Ensuring the best quality transmission the kit features two groups with 96 channels giving you plenty of options. A nice feature here is an auto-scan that finds the clearest channel for your set-up, this is useful if you’re filming at an event and need to avoid interference from other wireless systems.
Once the set-up is complete, everything is paired and the Auto Scan has located the clearest UHF communication you’re ready to go.
