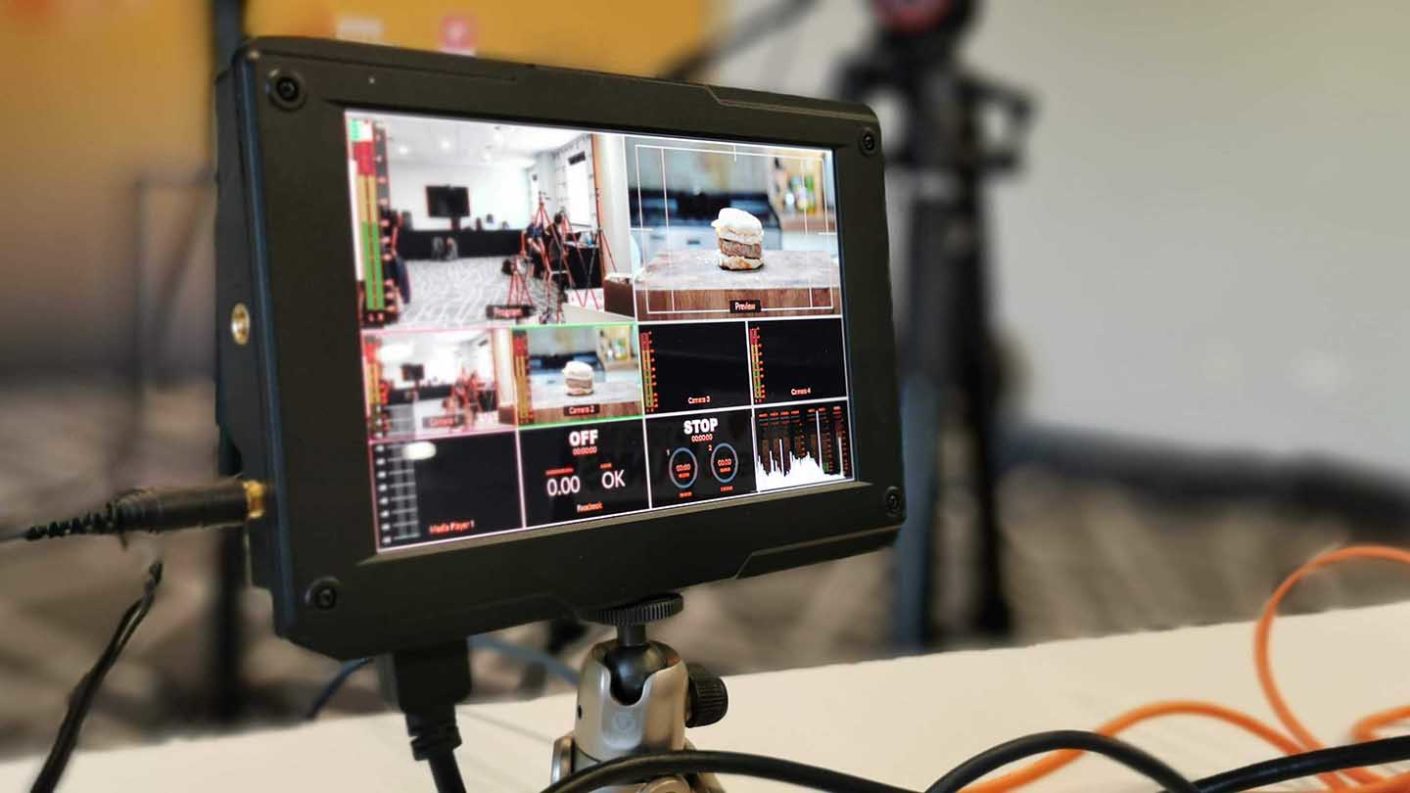
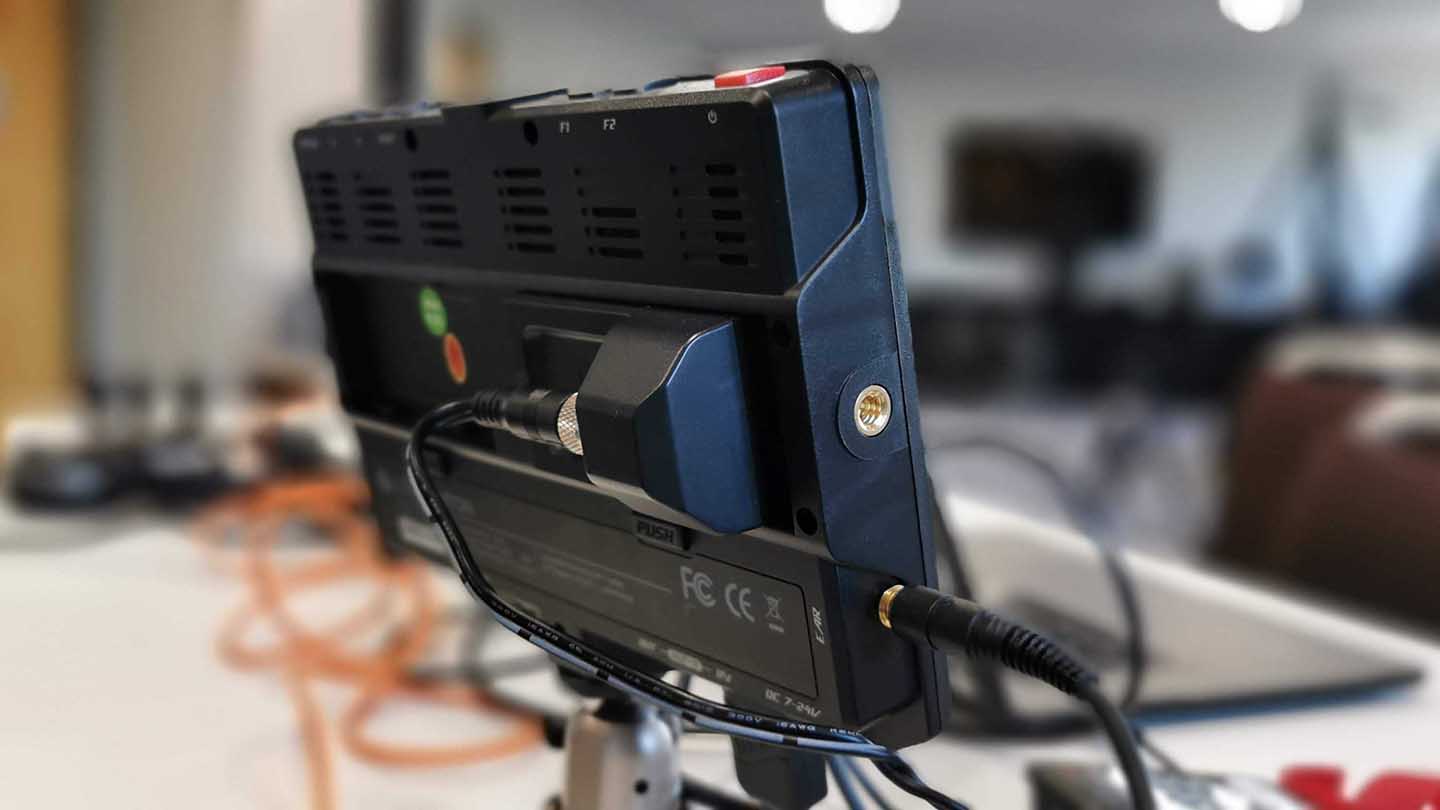
Need a field monitor on a budget? Then take a look at the pnbe 7-inch 2000 NIT HDR Field Monitor. The ultra-bright screen is ideal for both sun-drenched as well as shadow cast conditions and mixes quality with affordability.
Surprisingly for an entry-level model, the pnbe features the same screen as the premium SmallHD Cine 7, but of course, with the huge pricing differential, the build quality and operating system are leagues apart. In use the pnbe performs well, it’s bright, but at that brightest, the image does suffer, however considering the price and features, it’s exceptional value for money.
For
Lut compatible
Very bright
Dual battery
Against
Image quality loss at max brightness
Plastic build quality
What is the pnbe 7-inch 2000 NIT HDR Monitor?
pnbe is an interesting company, or more an association, as it was founded by a collective of broadcasters and cinematographers based in Spain.
If that doesn’t already mark them out as different, then they also work on a non-profit basis.
The idea is to enable the film making community access to a kit that would usually be out of grasp due to price and complexity.
A selection of field monitors are the first product range that has been launched, and at £179 for the 7-inch 2000 NIT HDMI version, that’s not at all bad. The other options cost a little more and full pricing can be seen of their website.
That low pricing is even better when you realise that the screen that pnbe has selected is the same as the one used in the SmallHD Cone 7, which costs over £1500.
At this price, it also packs in a selection of impressive features, including dual battery, 3D LUT compatibility, 2000 NIT Brightness and there’s event a 3D-SDI option as well.
Features
A 7-inch field monitor is ideal for most on-location shoots, and the pnbe offers several screen and size options that should suit most budgets.
Our review sample is the 7-inch 2000 NIT which features a native 1920×1200 display with a 16:10 aspect ratio and 1200:1 contrast ratio.
An important feature for a field monitor is the viewing angle, and here the pnbe offers 160º, more than enough for most situations.
Our monitor features HDMI 1.4b in and out, and there is a built-in speaker and 3.5mm jack for audio monitoring.
Size and weight is another advantage of this small field monitor, weighing in at 450g and measuring 225 x 155 x 23mm.
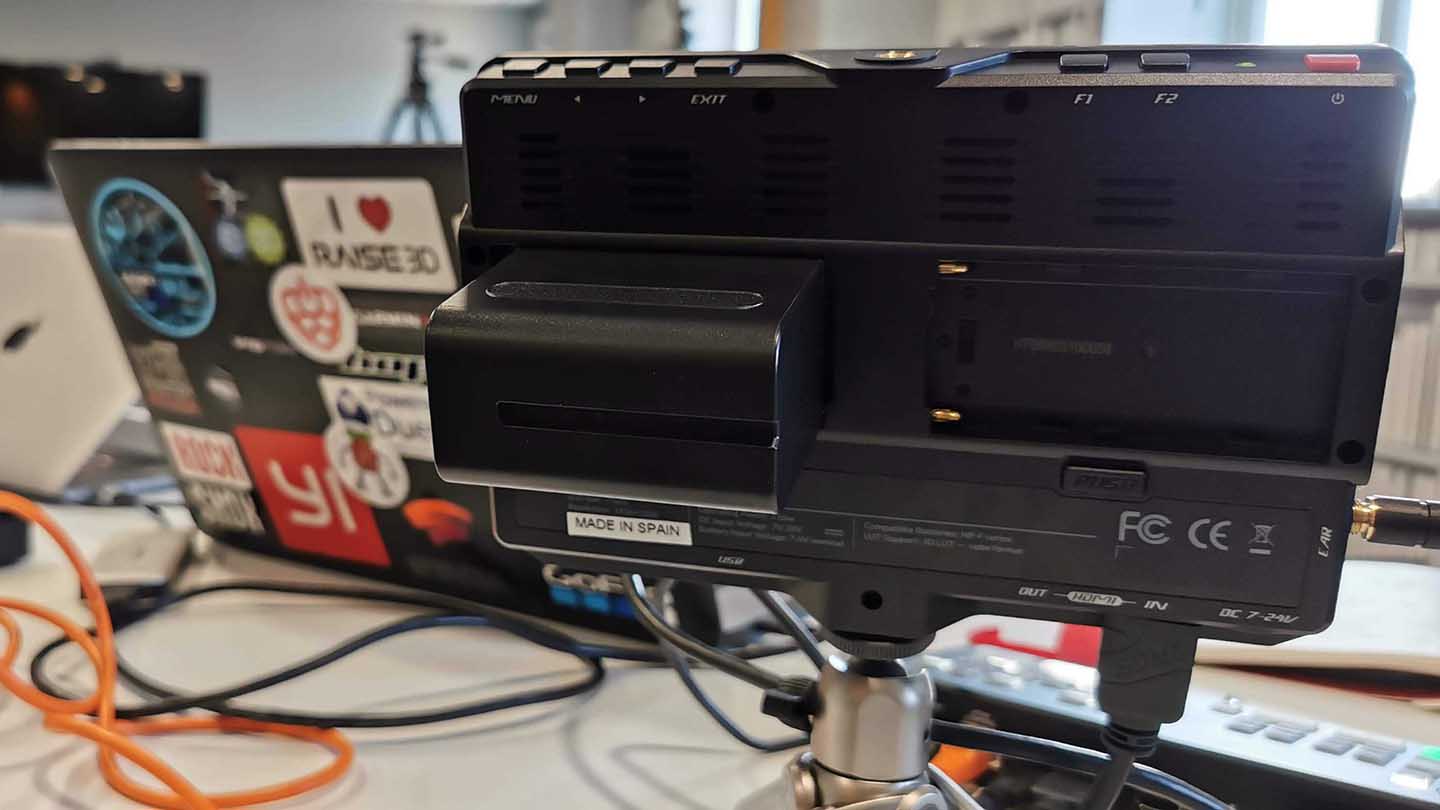
Power options include dual NP-F battery slots so power can be hot-swapped if needed and there’s a mains power option as well.
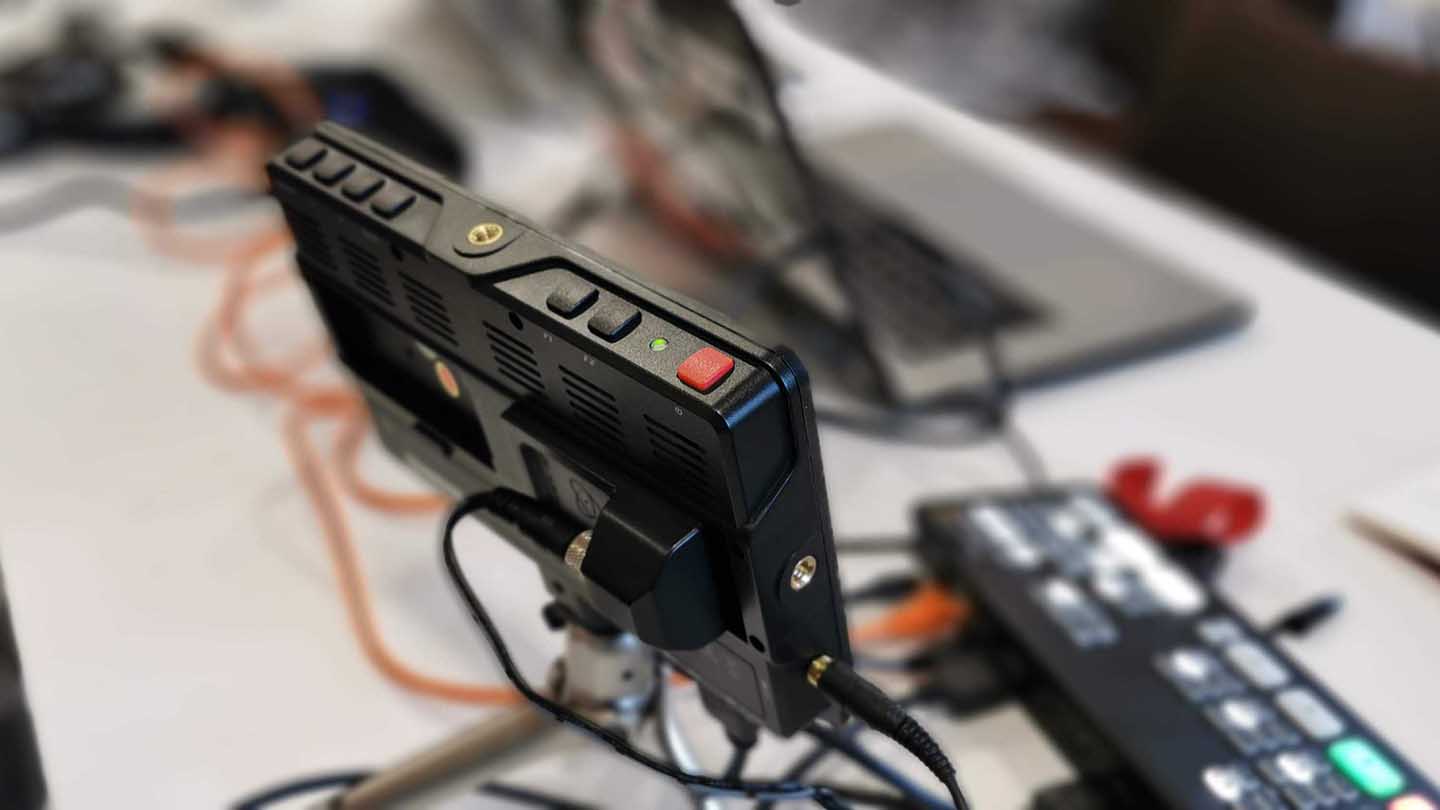
On each of the four sides of the monitor is a 1/4-inch brass thread which makes mounting the monitor easy.
It also has the support of HDR and LUTs. The LUTs can be loaded into the monitor by means of a USB key, and there are several preloaded to get you started.
On the screen, there are plenty of options including a level meter, histogram, false colour, user markers, peaking focus, exposure, check field, aspect ratio and zoom. All a good and comprehensive start for any budding filmmaker.
Build and Handling
The pnbe arrives in a neat carry case which will help protect it from knocks and damage in your kit bag. It’s a great addition, considering the price as these will usually set you back around £20.
As with most field monitors, the batteries and power supply are brought in addition to the screen itself. In this test, I’ve opted for the Berenstargh NP-F batteries. Two of these clip into the back and small button locks keep them in place. Although there are slots for two the monitor will work with just one in place.
Once installed the batteries are held in place nice and tightly, there’s no wobble or looseness which can be found with other cheap monitors.
The overall build quality of the pnbe is OK, it does feel plasticky, it’s not comparable with the ATMOS or SmallHD models, but then it is a fraction of the price.
The top edge of the monitor features the power, navigation and function buttons; they’re all simple and functional.
As default, the F1 and F2 buttons are set to Levels and Peaking on or off.
The buttons on the right of the monitor as you look at the screen enable you to navigate the settings. The menu screens are well laid out but are a bit antiquated, they look to be from another era. Design aside the actual function of these menus is OK, there are a few oddities when navigating to and from sections but nothing too major, it’s more aesthetics than functionality.
The build while plastic is perfectly functional. After a couple of hours use the small internal fans do start-up on occasion, and these help keep things cool. Thankfully they’re nice and quiet.
Put your ear right next to the monitor, and you will hear a high pitched squeal, but the volume of this is not enough to be picked up by the majority of mics.
Other than that there’s little to fault with the build quality considering the price, and the inclusion of brass 1/4-inch thread inserts on every edge make mounting nice and easy.
Performance
Most monitors take a little while to boot up, and the pnbe takes around five seconds which in the scheme of things isn’t at all bad.
In this test, I used the monitor in two scenarios, first as a straight field monitor for my Sony A7 III and in the other connected to an ATEM Mini Pro to check for a multi-camera and media device setup.
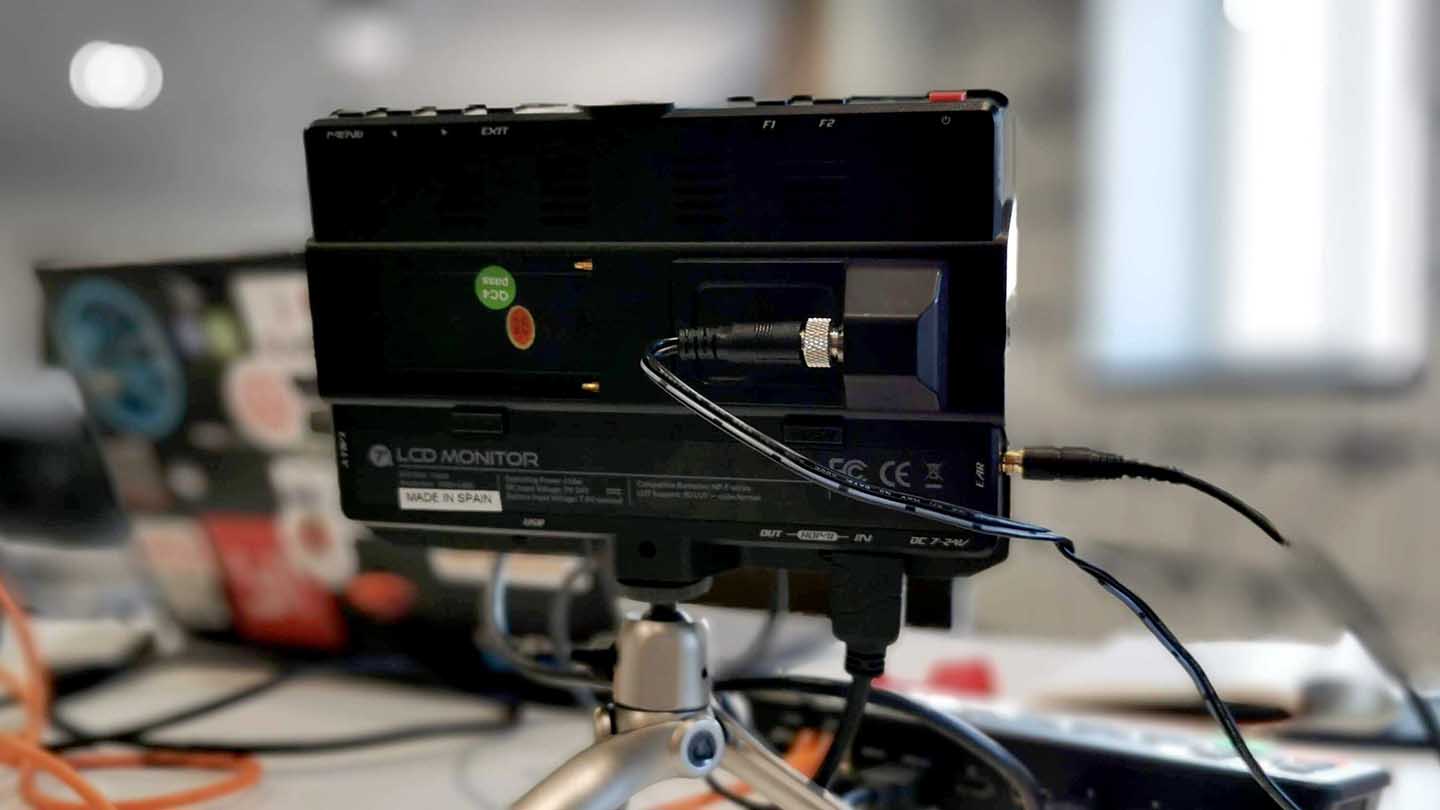
Starting with the single-camera setup, the weight of the monitor was a definite benefit, the lightweight design added weight but not so much to affect the handling.
The 7-inch size, although it sounds small, is ideal for this size of mirrorless rig and keeps portability in check.
Getting started is easy enough, mount the battery, plug in the camera through HDMI and you’re ready to go. There’s an additional HDMI out that you can output to a recorder.
One of the great features of the monitor is the ability to load in 3D LUTs so you can preview the style of the footage you’re shooting. Likewise, the HDR feature enables you to preview HDR capture or HLG for the A7 III.
The use of the monitor over that of the small screen on the back of the Sony is a major advantage on every level.
Using the focus peaking and exposure histogram are the two most common features that you tend to use with field monitors, at least when you get started. Here pnbe have ensured that these are already mapped to the two function keys making it easy enough to switch on and off as needed.
If you want to swap the function button allocation then there are options to do this within the menu system.
Additional overlays can be switched on by delving into the menu, and while the menu isn’t the most intuitive, and looks dated, it does the job.
On the monitor I’ve tested there’s a good selection of options, and if you take a step up, in both use and price, the next version does feature waveforms.
However, for those just starting the basic that are supplied are spot on.
Connected to Sony A7 III and the monitor was a major asset, the screen on the A7 is small and blows highlights easily, with the pnbe all that detail was clear to see.
Through the test, I did find that while the brightness is superb, tonal detail is lost at the brighter settings for the monitor. So while you can see whats going on in bright sunlight, important detail is lost. In these cases, using a sunshade is a far better idea than boosting the monitor’s brightness to max.
Overall, however, once you’ve tweaked the settings to suit your scene and style of shooting the monitor has all the usual benefits, including being able to load in those LUTs.
The second scenario that I used the monitor was as part of the ATEM Mini Pro setup.
Here I connected two Sony A7’s and two MacBook Pro’s, one to control the ATEM and the other as a video feed.
Switching the HDMI output to multi-screen the different feeds appeared on the small screen, again a little toning down of the brightness of the screen and all was set.
As the pnbe screen was being used effectively as a monitor, I initially switched off most of the on-screen info, but over the course of a multi-day event, I found that displaying the levels and peaking useful.
The ability to connect the screen into the battery or mains power was another huge benefit, although that external power source is an additional cost. I simply used the adapter from the ATOMOS Ninja V.
Verdict
There’s a good volume of very good cheap field monitors and more seem to be appearing at regular intervals. What separates the latest pnbe model from others out there is the price and range of features.
While it does have stripped back design such as the user interface and large plastic surround around the screen, the pnbe is an impressive piece of kit. You can tell where money has been spent and saved to meet a price point.
The 2000 NIT might seem like the major feature, and in the glaring sun, it’s certainly helpful, but in reality, it’s the access to this type of kit that this price point enables.
Filmmakers who are just starting, those on a small budget, and of course those just wanting to do this for a bit of fun, now have access to the kit they need.
A field monitor is essential, and at 7-inches the pnbe gives a decent preview of what you’re shooting. Load in the LUTs, and you’ll get a good representation of what you’re filming.
Colour might not be spot on, but it’s not so far out that it isn’t easy enough to adjust in post. The brightness is a benefit in bright sunlit conditions, but a little time is needed at the outset of use to understand the monitor’s limitations.
It may have the same screen as the SmallHD, but the internal hardware and certainly the software are not. There’s a reason that the SmallHD costs as much as it does, but all things considered the pnbe is still excellent and cheap despite its shortcomings.
I like the simplicity of the pnbe 7-inch 2000 NIT field monitor; it well enough built if a bit plasticky, it shows a great image as long as you only tune it to full brightness in the glaring sun, and it essentially does the job at an incredible price.