Speed up your workflow with this incredible creative tool
Each Loupedeck product refines its previous release. The small Loupedeck Live has so much potential out of the box and in many ways is the CT lite.
It’s smaller, more lightweight, and essentially the CT without the bottom section keys and oversized dial.
While the CT is very portable and I pack it into the kit bag if I’m editing away, on a day to day jobs, it’s just that touch to large to pack in a backpack.
The Live is just the right size and packs down nice and small ready to slot into a side pocket.
Design-wise its a pleasure to use features incredible customisation features and will ultimately vastly increase the speed you can work.
For me, the real winner is the analogue adjustment feel that those six nobs give you. They feel like an old edit or mixing desk and connect you more directly with the art of editing.
With the Loupedeck Live, the company has produced something in tune with the way we’re using computers today and the creative industry.
The price may seem steep, but believe me, for the time it saves you, it’s well worth it.
What is Loupedeck Live?
We might all be used to using a keyboard and mouse to interact with our favourite creative applications; Photoshop, Lightroom, Final Cut Pro and Premiere Pro, but are they really the best tools?
Obviously not, while the keyboard and mouse might have revolutionised the way we interact with computers, they’re not the most advanced creative tools. Take the Wacom tablet as an example, a pain to use when you start, but try to extract one from a designer, and you’ll be taking your life in your own hands.
The new Loupedeck live, as with a Wacom tablet, takes a bit of getting used to, but once you have, there’s no going back.
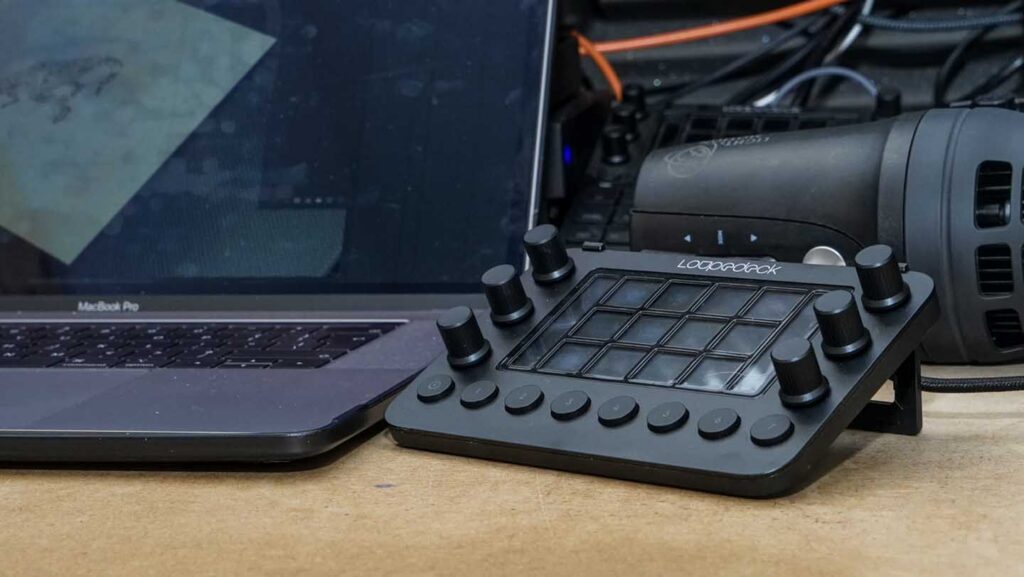
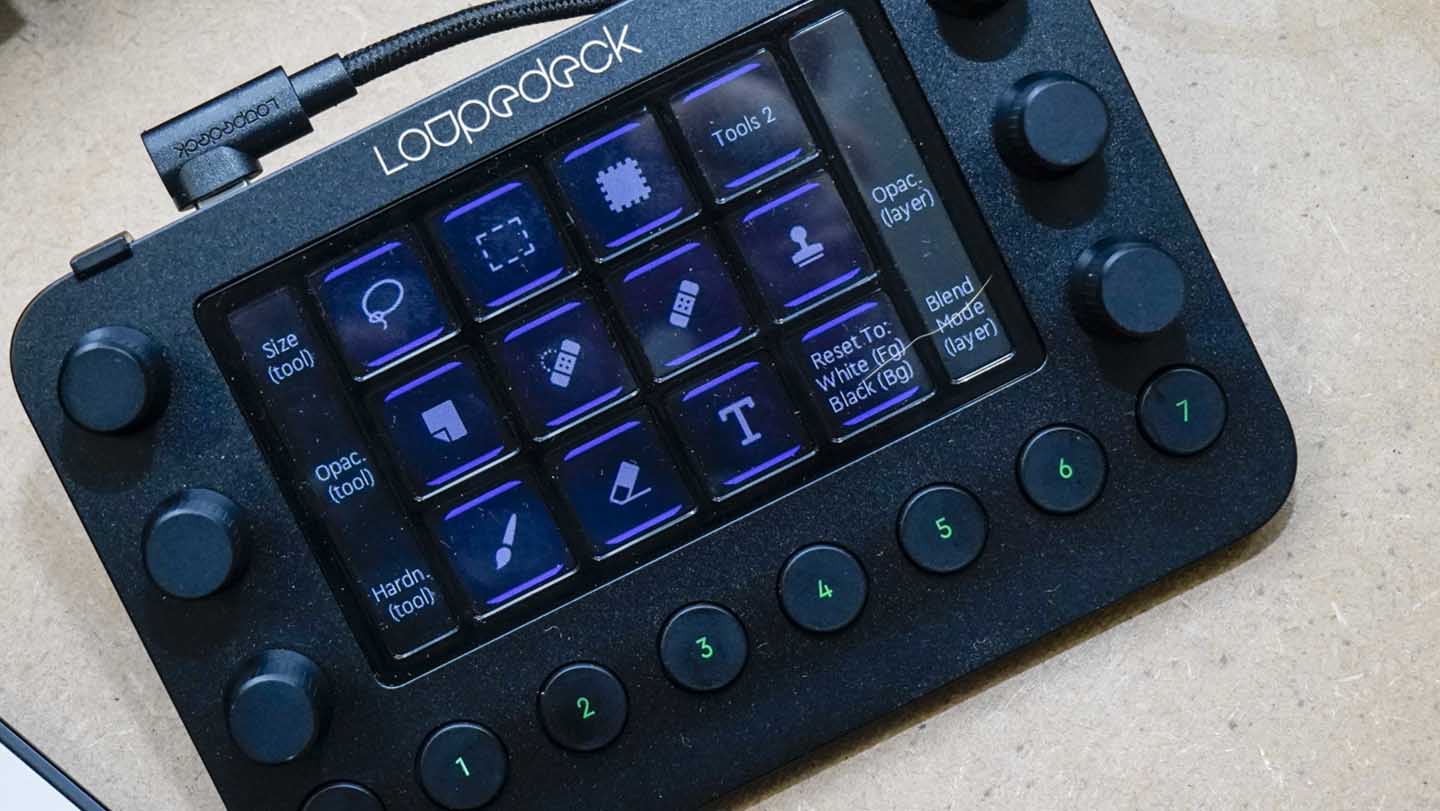
The Loupedeck Live is a compact control board with 12 touch screen buttons, six dials and eight push buttons that enable you to interact with various applications. Essentially it’s the top half of the excellent Loupedeck CT.
When you switch from something as familiar as a keyboard and mouse to a Wacom device or the control board of the Live, there is a steep learning curve, but after a couple of hours, you’ll start to wonder how you ever survived without one.
In Photoshop you’ll find that making edits and adjustments is quick and natural – tap the adjustment layer you want and use the dials to adjust the settings. The physical mechanics of rotating a dial gives far more accurate control, and soon you’ll be dropping the keyboard shortcuts in favour of the direct controls of the LoupeDeck live.
Build and Handling
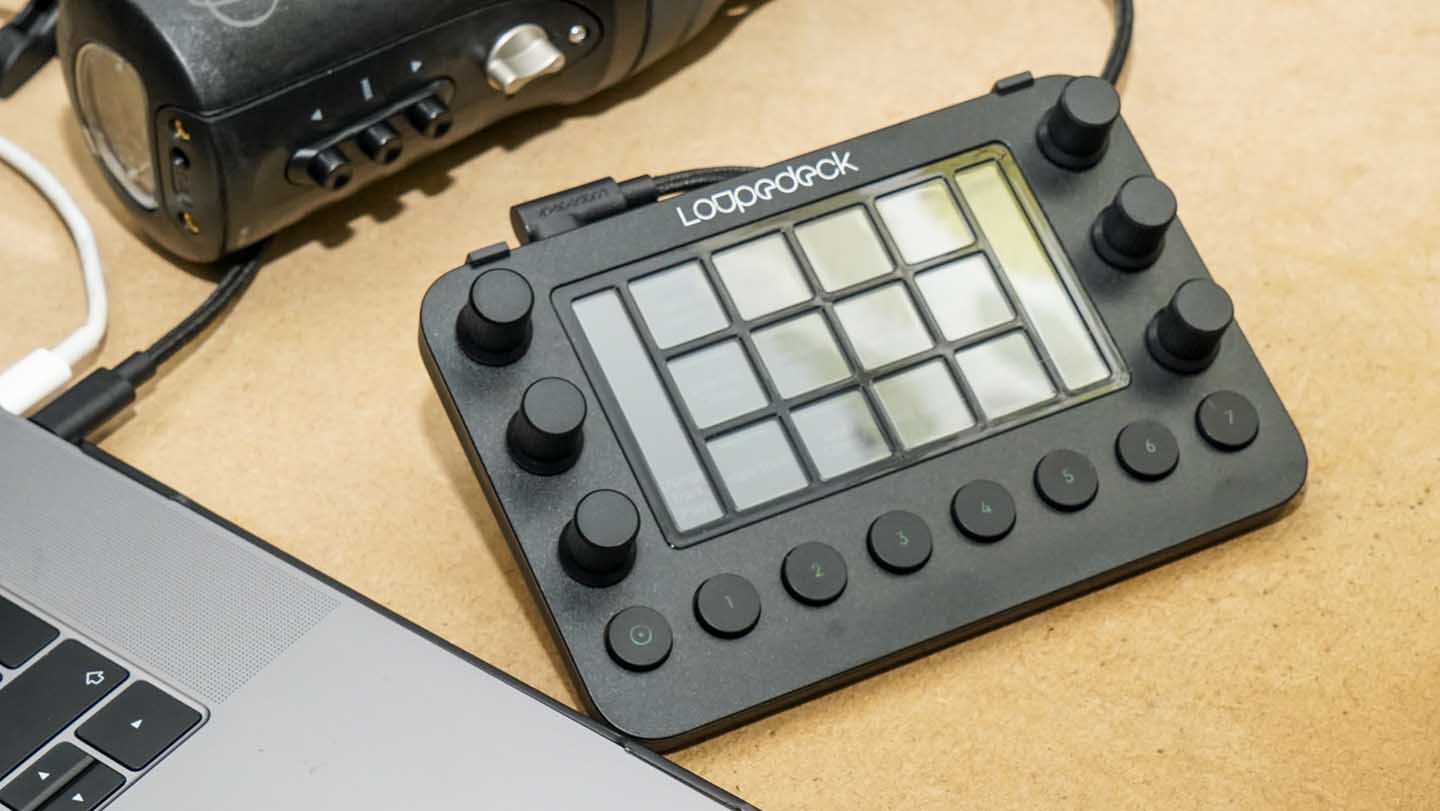
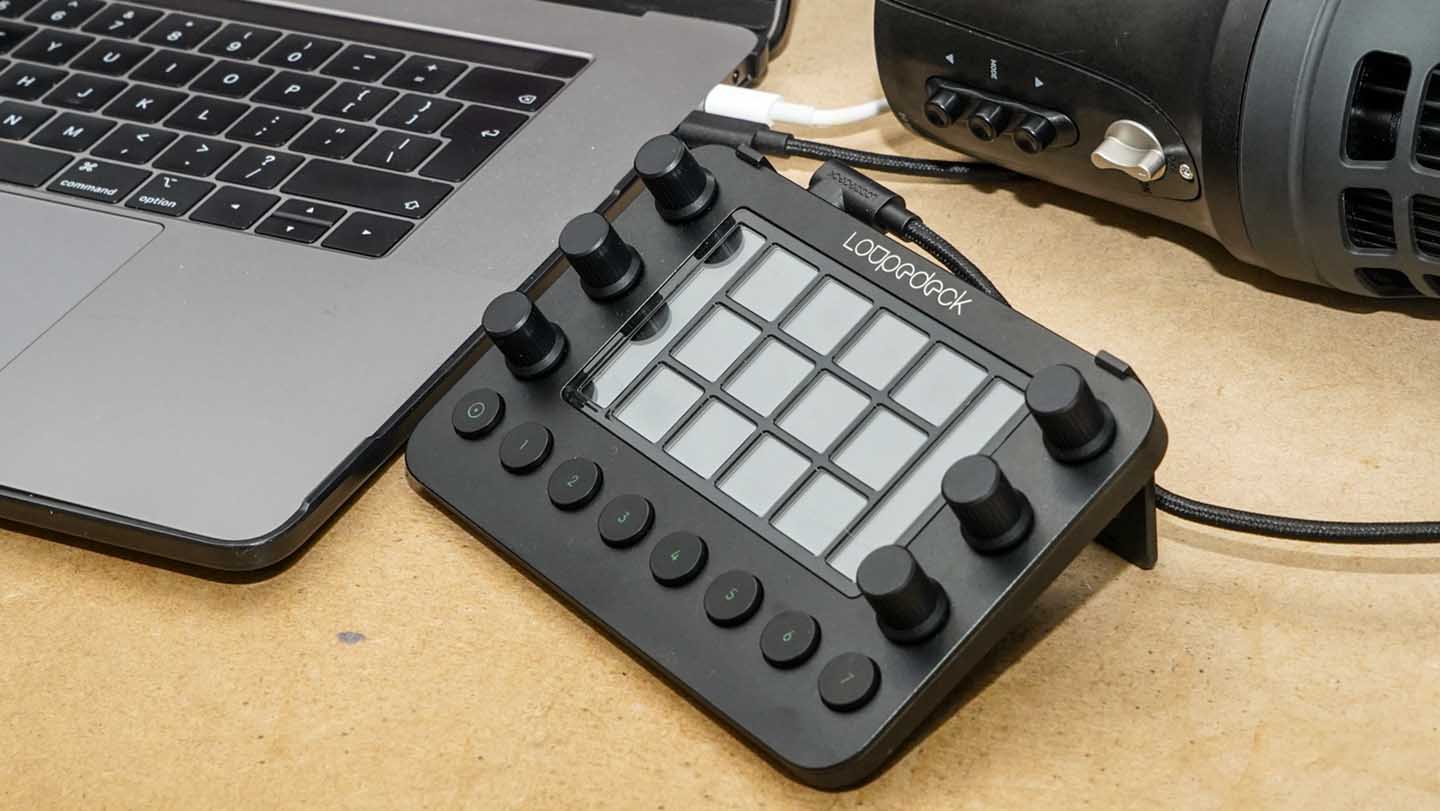
The small Loupedeck Live follows the style of other Loupedeck products, with a high-quality build that’s reinforced by a good weight.
The weight at 230g is one of the first things you notice as it’s lifted out of the box, it’s heavier than it looks and for a good reason. This control board sits on the work surface, the weight along with the small rubber pads just helps to ensure that it stays put.
As we saw with the Loupedeck CT and its unique LCD interface the Live is essentially the same. This 4.3-inch 480×272 pixel LCD features a capacitive touch panel, and the icons dynamically change depending on the app you’re in.
These touch screen buttons are used to select the tools for the applications which can then be adjusted with the dials around the edge.
The six dials that rise from either edge of the board have a premium finish and feature detents (slight click) as rotated, enabling accurate adjustment. Each of these dials also features a push-button.
Along the bottom are eight push-buttons, these start with the home button and then the rest flip you through all the different toolsets available.
Connection to the computer is made through a USB Type-C cable. The provided cable features a right angle that plugs into the Loupedeck and standard connector at the other end.
The cable itself is very high quality with a material exterior. It’s extremely robust as with the rest of the Loupedeck.
The one thing that the Loupedeck Live doesn’t come with is a case, although there are case options for the other Loupedeck devices, so hopefully one for life will appear soon.
Performance
The Loupedeck Live is an evolution of the excellent CT, it is a CT lite.
Sure, it takes a while to get used to in the same way that learning keyboard shortcuts take a while, and getting to grips with using a Wacom.
Setup is straight forward, download the app, install and you’re ready to get started in your chosen application.
In this test, those applications were Final Cut Pro and Photoshop, but I dipped into Lightroom to check that all common functions and features would work there as well.
I still use Bridge extensively so I took a look at using the Loupedeck Live with that application as well.
Having now looked at Loupedeck CT, and now Live I’m aware that these are products that you can’t just sit with for a day or two and learn inside out. It takes time to change the way you work and to delve into what’s fully on offer.
The Live, like all Loupedeck products, is an investment in time. Take timeout to set up and learn the features, and you’ll be rewarded with an enhanced and fast workflow.
Starting and using the default setup and the controls and functions in Photoshop are pretty straight forward. Tap to select the toolset or adjustment and use the dials to fine-tune. It’s extremely intuitive, and after a short time, you find yourself with the Loupedeck config application open, so that you can fine-tune the button layout to your needs.
LoupedeckConfig enables you to configure additional screens or swap commands assigned to the buttons and dials around. You can lose yourself for hours fine-tuning the options for each setting, but even then at the end of it, you will save time.
If like myself you have set up custom keyboard shortcuts for some applications, you can assign these to the dials and button-through a record function.
Getting your head around the multiple options and settings does take time, especially remembering to add a button link from one screen to another. But after a while, it all starts to make sense.
For the most part, the custom adjustment and features set the Loupedeck Live out as a fast editing tool for both photography and video. However, it does have it’s limitations. The dial adjustments are only assigned to adjustment layers and the common tools, not to filters that aren’t available in the adjustment layer format, such as blur.
Still, there’s no doubt that with Photoshop and Lightroom, the speed difference is huge. The biggest time saver I found was in Adobe Bridge, although I couldn’t find an off the shelf profile for it.
Instead, starting from scratch, I made a profile that enabled me to scroll through the thumbnails rating all images from a shoot.
The setup time took about five minutes, but the time it saved compared with my usual vetting process was vastly increased.
Switching over to video and I found that I couldn’t get on with the initial setup profile loaded for Final Cut Pro X. We each have our ways of working, so really this didn’t surprise me. Again a quick dip into the settings and a few short cuts changes and it was great.
I’ll admit I’ve done the same with the CT, but this is a personal preference, and that’s the thing with the Loupedeck products, they give you the foundation, and you adjust to suit you and your way of working.
Once I’ve laid out my clips in the timeline I like to scroll through, cutting out the um’s and ers, wobbles etc. using a shuttle and scrub through the dials enables accurate control. In the config, I could adjust the setup to work in the way that I wanted, and while the smaller dials aren’t as tactile as the large centre dial of the CT, they’re still far better than struggling with the mouse keyboard.