One of the things that instantly stood out to me when the ML100R arrived was the semi-hard case. It’s a really good, high-quality case and makes it very easy to transport the lighting kit. While I do like a Peli case, as I think every photographer does, the semi-hard cases are much lighter and somewhat easier to manoeuvre. At this price point, I think this is probably one of the best solutions and should really be a requirement for all lighting kits like this—so that gives Godox a major positive point.
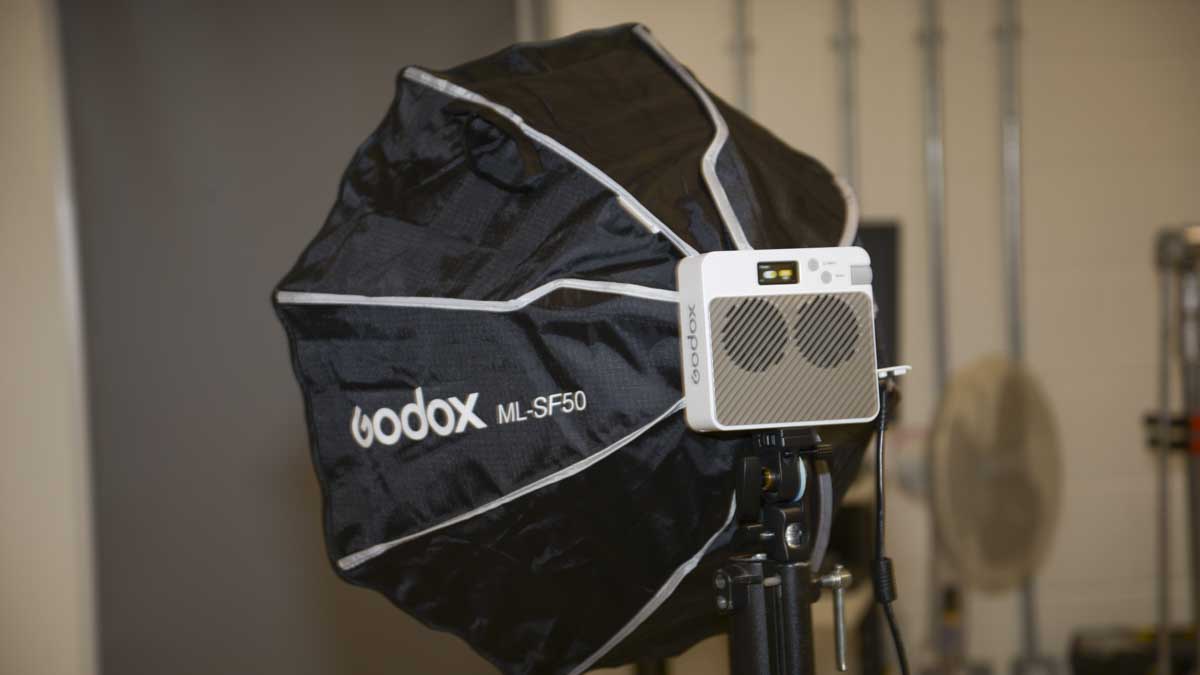
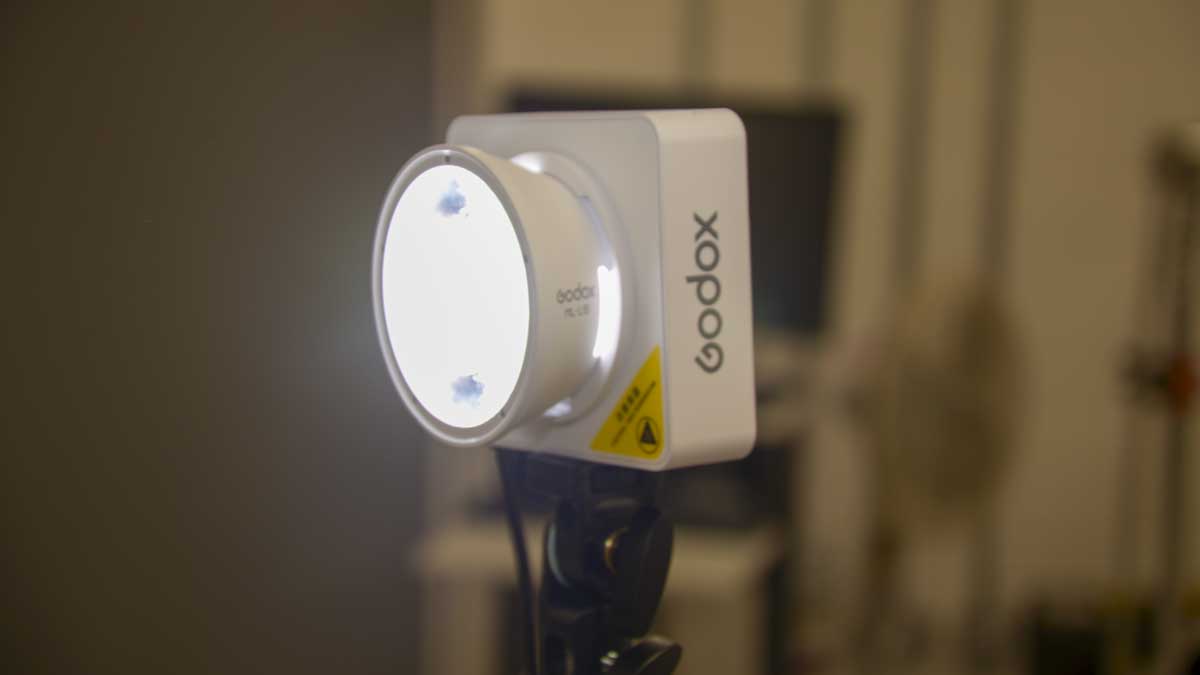
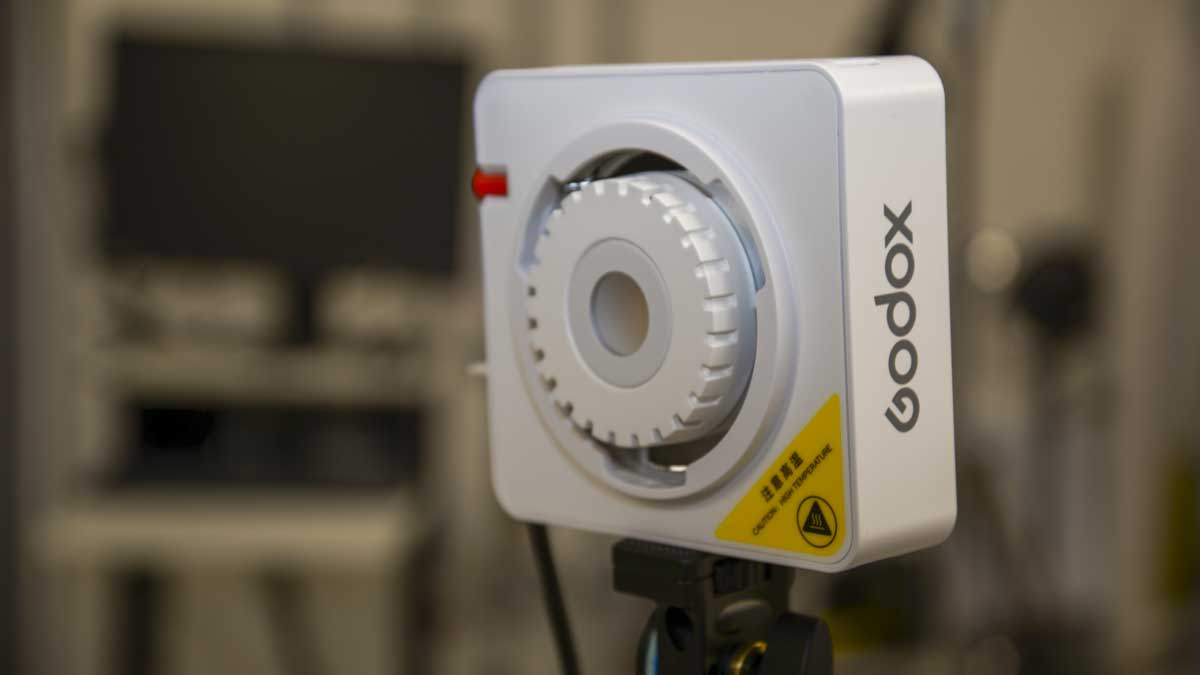
Opening up the case, everything you need to get started is inside, except for larger lighting modifiers. You have the light unit—the ML100R—with the light reflector ML-L36 attached to the front, the lighting stand adapter that takes the ¼-inch thread from the base of the ML100R and connects to a standard lighting spigot, the AC power adapter, and a protective cover for the COB light for when the ML-L36 isn’t attached.
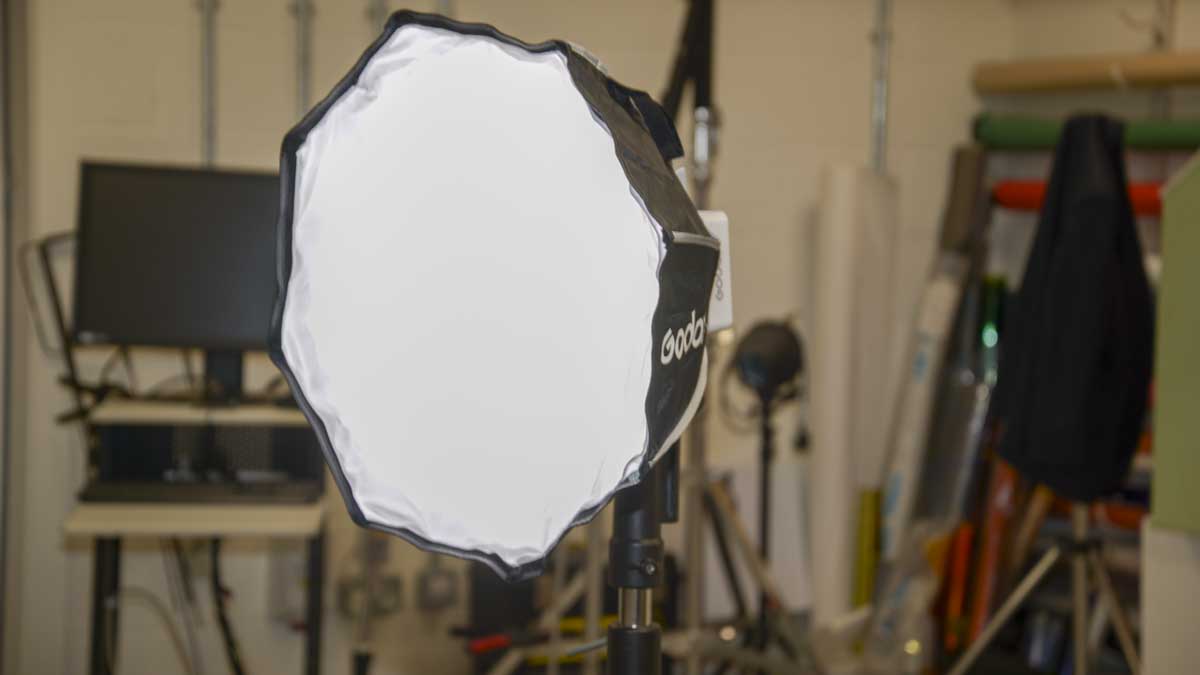
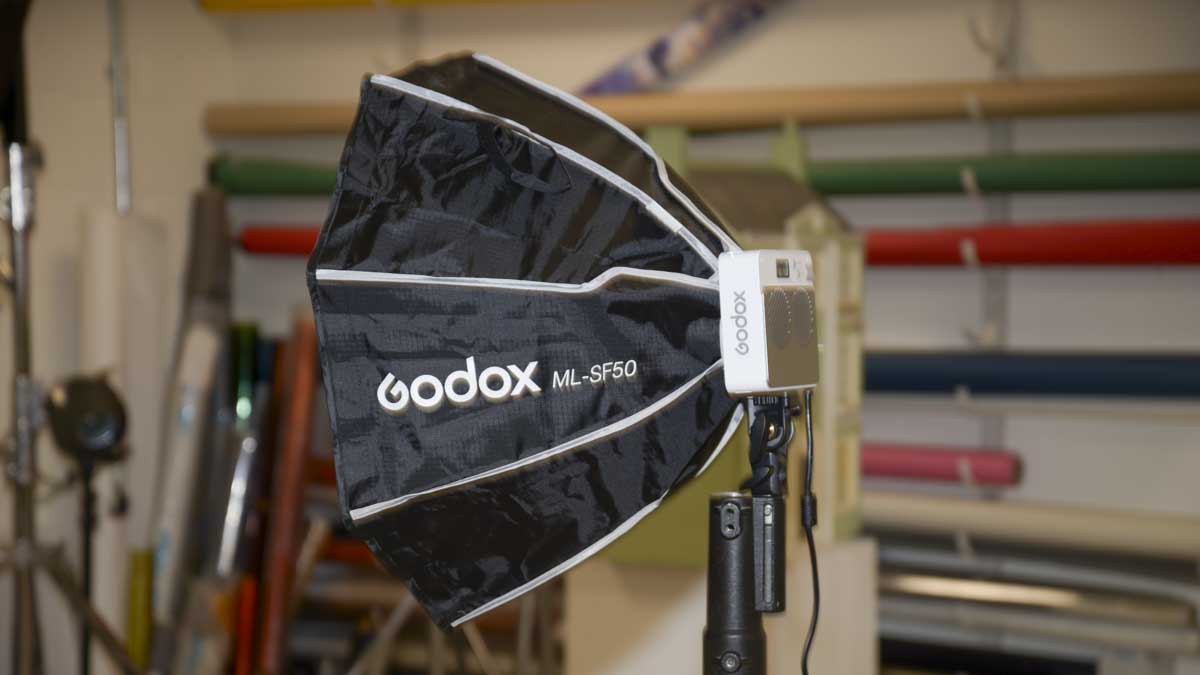
Setting up the light is really straightforward. Simply mount it on a lighting stand, make sure you’ve got your light modifier attached, and choose your power source.
It’s worth pointing out that not all power sources perform the same with this lamp. If you plug it in using the AC adapter that comes with the light, you’ll get the full 110W. However, if you’re using PD power—so essentially powering the light through a power source such as a V-mount battery or power bank—then the power input is limited. Even though I had a 100W output from the USB-enabled power source I was using, the maximum brightness I could get out of the ML100R was 55% or 60W—so a little down on what you would expect from standard AC power.
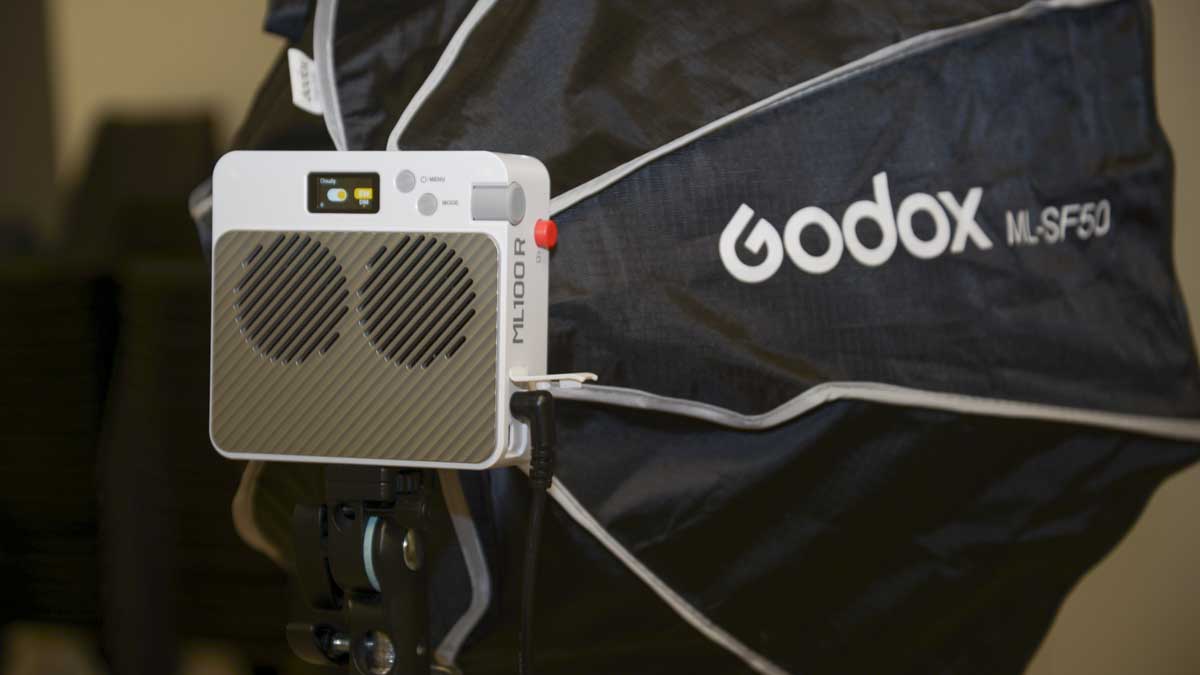
With AC power selected so that I could get the full power and abilities from this light for the test, I then went through some of the settings. On the main menu screen, you have Bluetooth, fan, display, language, quick boot, factory reset, and fixture info. The settings are pretty self-explanatory, and the real interest comes when you push the mode button.
In the mode menu, you have CCT, HSI, RGBW, and FX. Taking a look at CCT, you can adjust the colour temperature and green/magenta shift, which is very useful.
Under HSI, you have dim, hue, and saturation; under RGBW, you have dim, RGB, and W adjustments. You use the dial to select the setting you want and then push it in to confirm. The final option is FX.
Under FX, you have icons for each effect, along with labels, which is very useful. You get flash, lightning, cloud, broken bulb, TV, candle, fire, firework, explosion, welding, cop car, SOS, RGB cycle, and party—so a good range of options that should cover all sorts of scenarios.
During the test, I checked out a few of these just to see how good they were. For the most part, they were quite impressive. The cop car effect flashed between red and blue, and one of my favourites—the TV feature—worked really well. It’s great when you’re making shorts and want your characters to look like they’re watching TV. A standard TV often won’t have the power to really influence the style of the scene, whereas a light mimicking a TV actually makes it look far more realistic.
Going back to the CCT option—which is the one most likely used for interviews—there’s plenty of flexibility. Throughout the test, I usually ran it at about 30–50% to just add a little light to the scene. The colour temperature adjustment is also really nice and easy, and the push function to select settings makes it quick and intuitive to shift through everything.
One issue I’ve found when testing these lights is that while the colour temperature (say, 1800K) can be selected on the back of the unit, it isn’t always 100% colour-accurate. What I’ve done—and will continue to do—when testing LED lights is to double-check the colour temperature. By setting the light at 50cm from a Datacolor light meter, I’m able to read the actual colour temperature being produced. The results were interesting.
At 1800K on the ML100R, the meter read 1870K, which is pretty good. Increasing to a cooler 4200K, the meter read 3800K, so the difference widened. At 5600K, the actual reading was 5170K. At 10,000K, it was quite close—9850K.
While there was some discrepancy between the colour temperature displayed by the light and read by the meter, part of that may be due to atmospheric conditions. This was done in a shaded, north-facing room without ambient light. What this essentially means for the ML100R’s colour temperature performance is that it’s very consistent. At the two extremes, it was very accurate. While you’ll need to make a little adjustment for the mid-range, in my tests at 5600K, the most accurate output tended to be around the 6200K mark when shown on the ML100R display.
Another thing I noted was the intensity of the RGB colour that this lamp produces. It’s well beyond anything else I’ve used—really good, rich saturation. If you’re trying to create strong colour effects in your productions, the intensity of the ML100R’s output is exceptional.
The dimming ability is also very smooth. All the functions and features in the app mirror what you can do on the light itself, but there are two major features I’d like to see added to the app. The first is a “Pro” version that lets you create your own FX modes. So, if you want a fade at the end of a scene, you could program that and save it.
The second is a virtual DMX controller. That way, you could create your own lighting configurations through a traditional lighting board interface. If you had three or four of these lights, you could quickly and easily configure them as part of a larger lighting system.