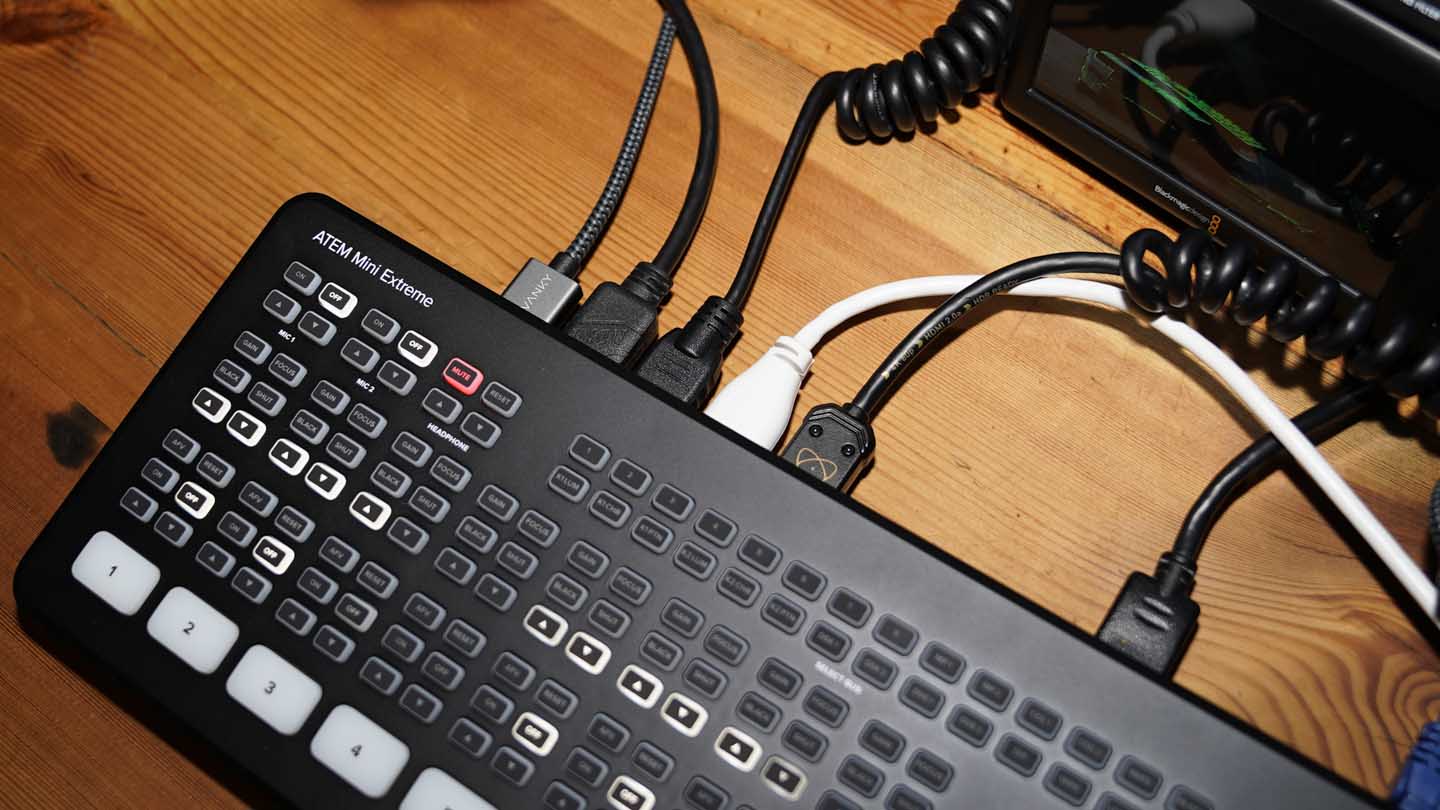
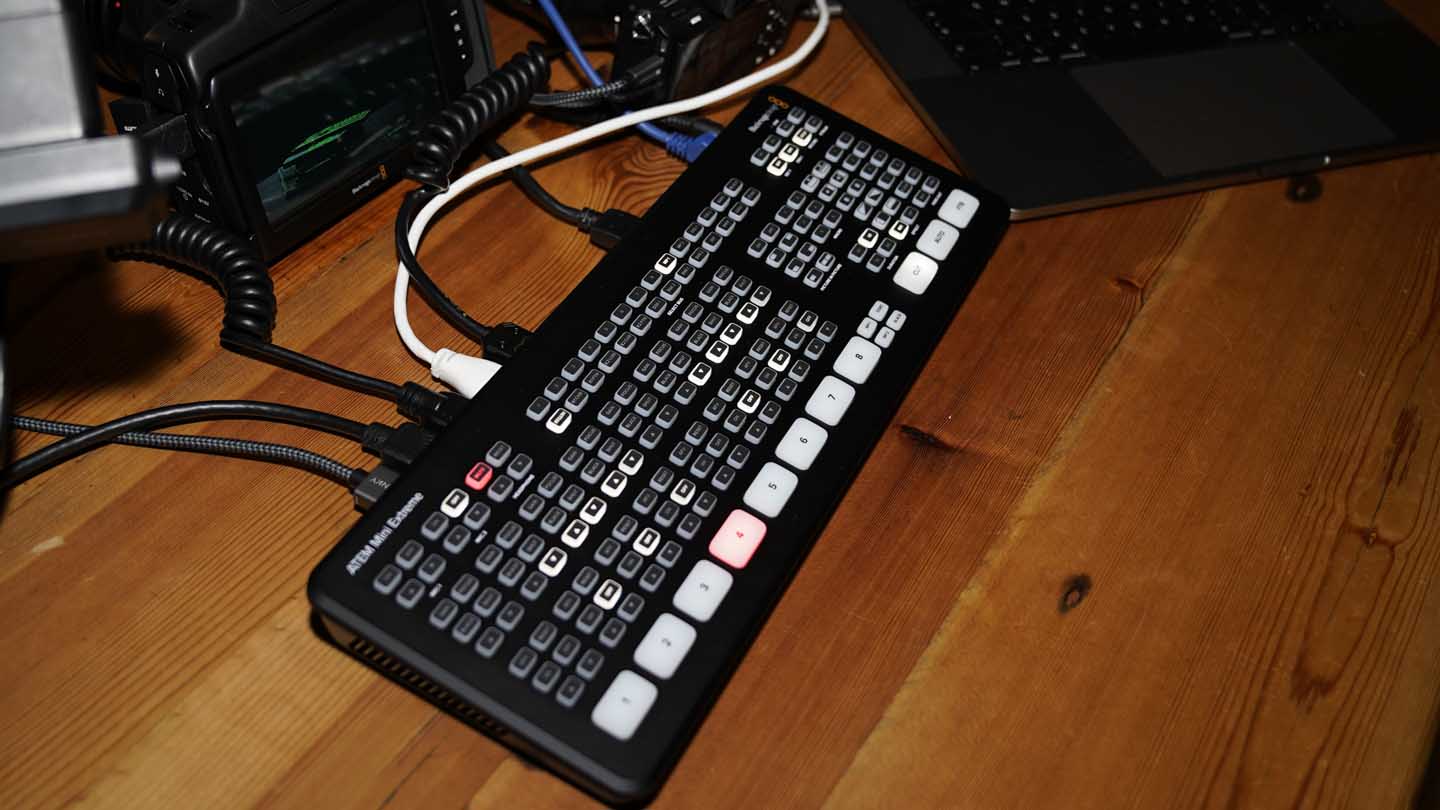
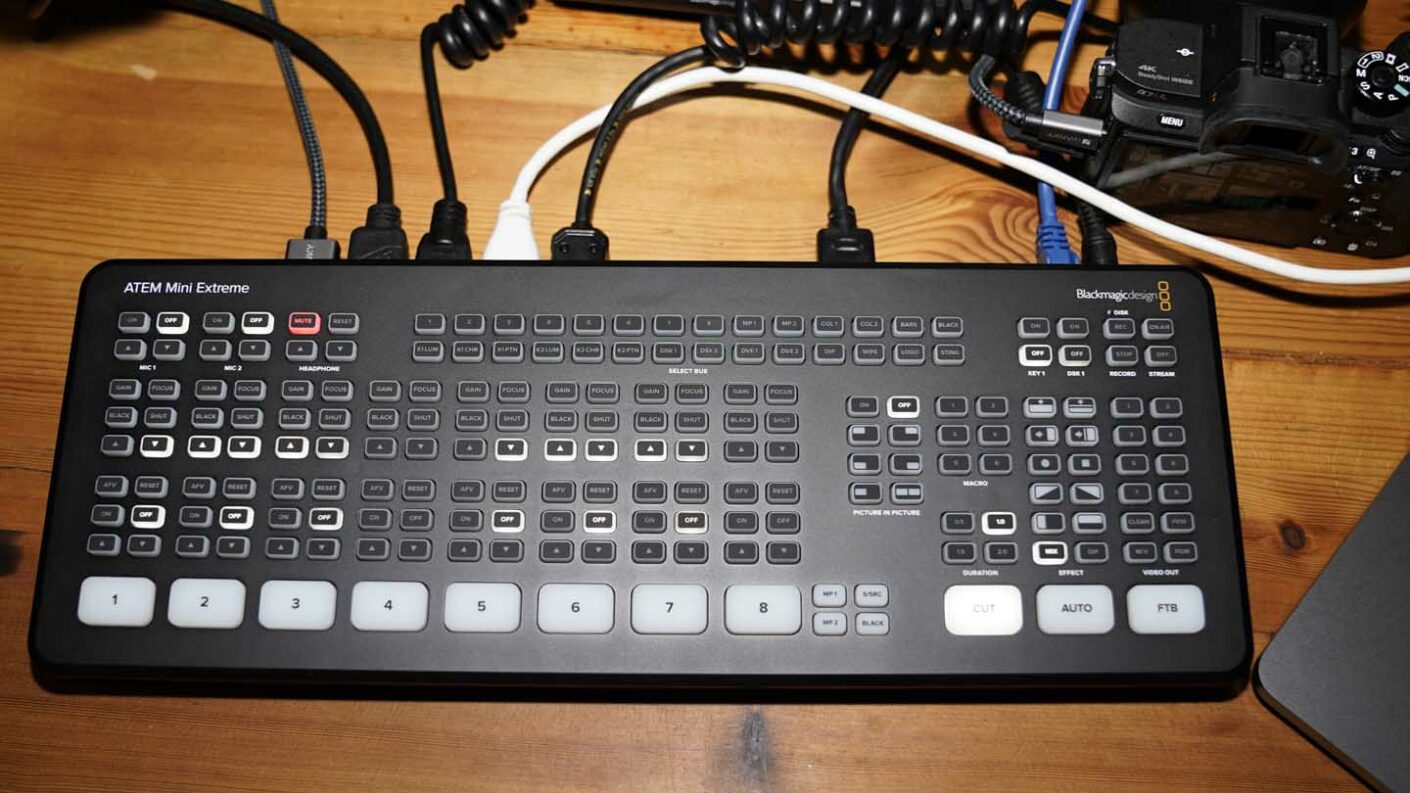
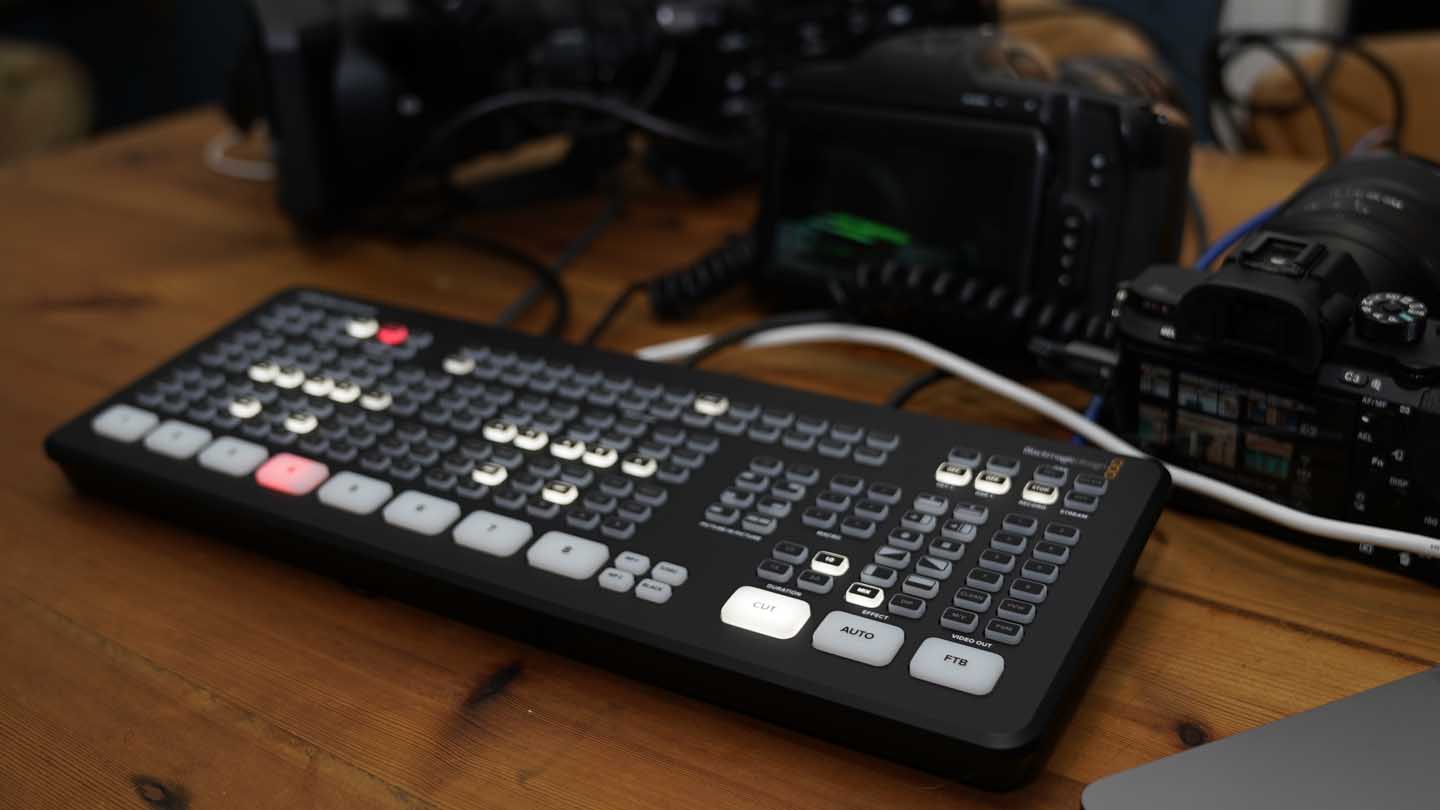
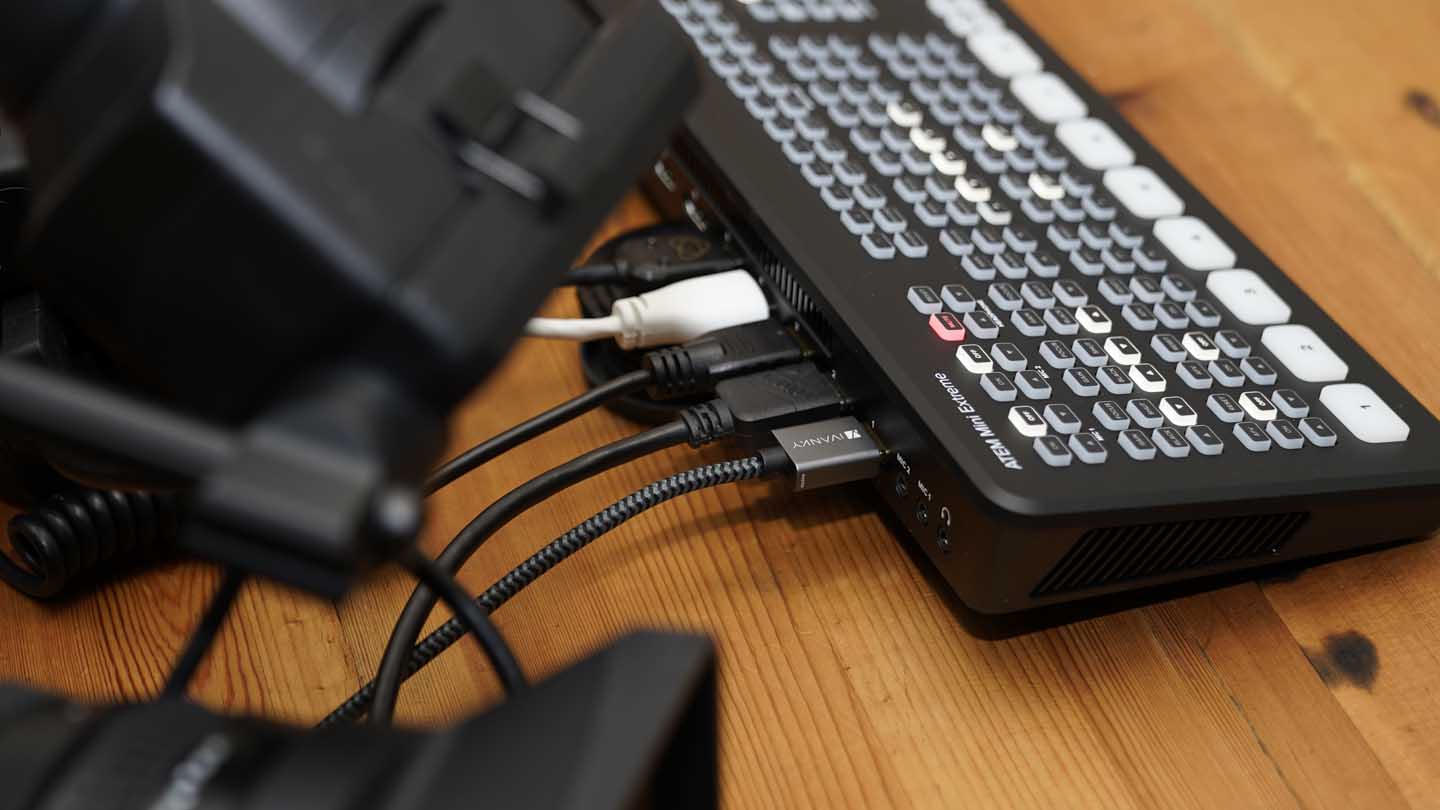
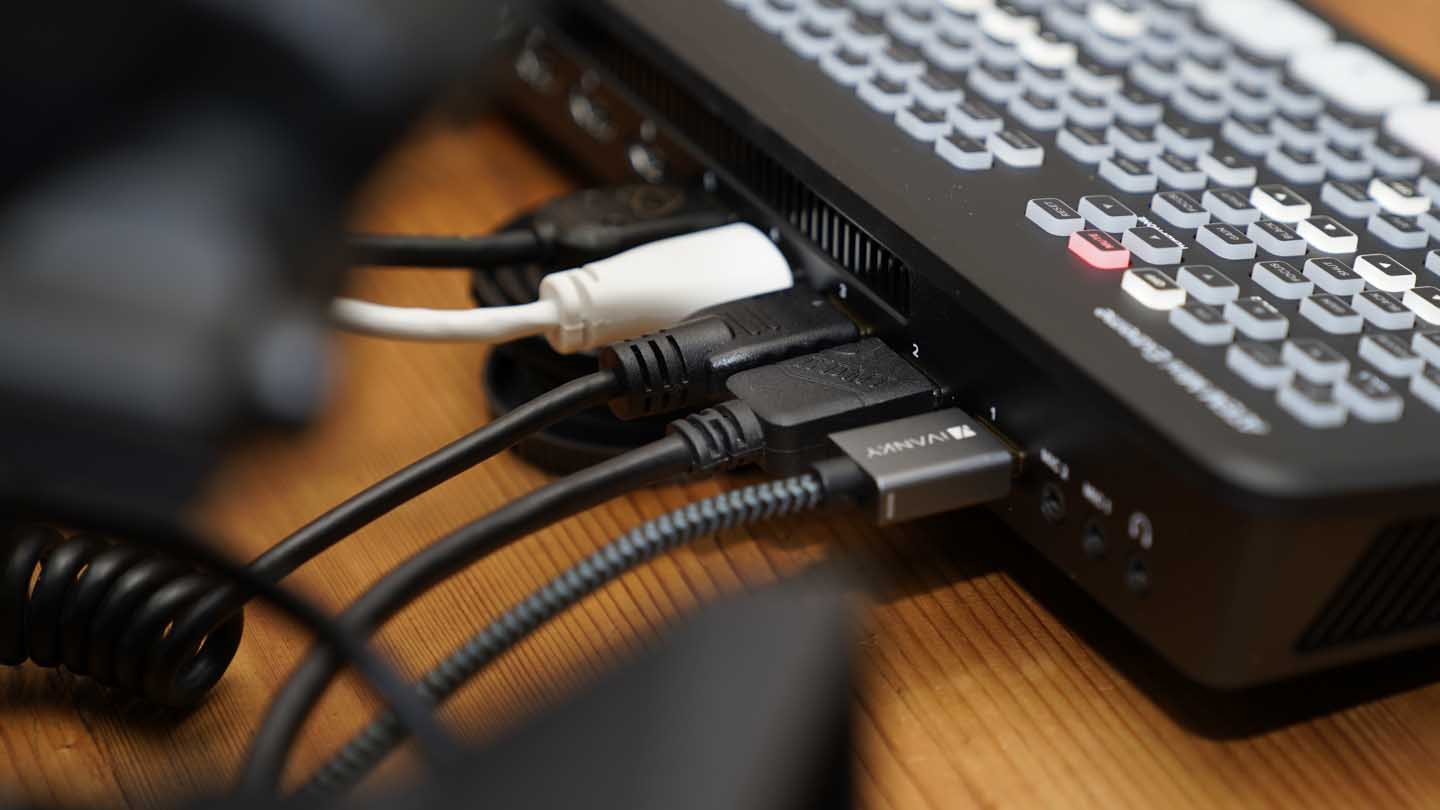
Connecting cameras and mics to the ATEM Mini Extreme is identical to the rest of the range. Connect in the HDMI cables from the cameras, plugin the mics and you’re done.
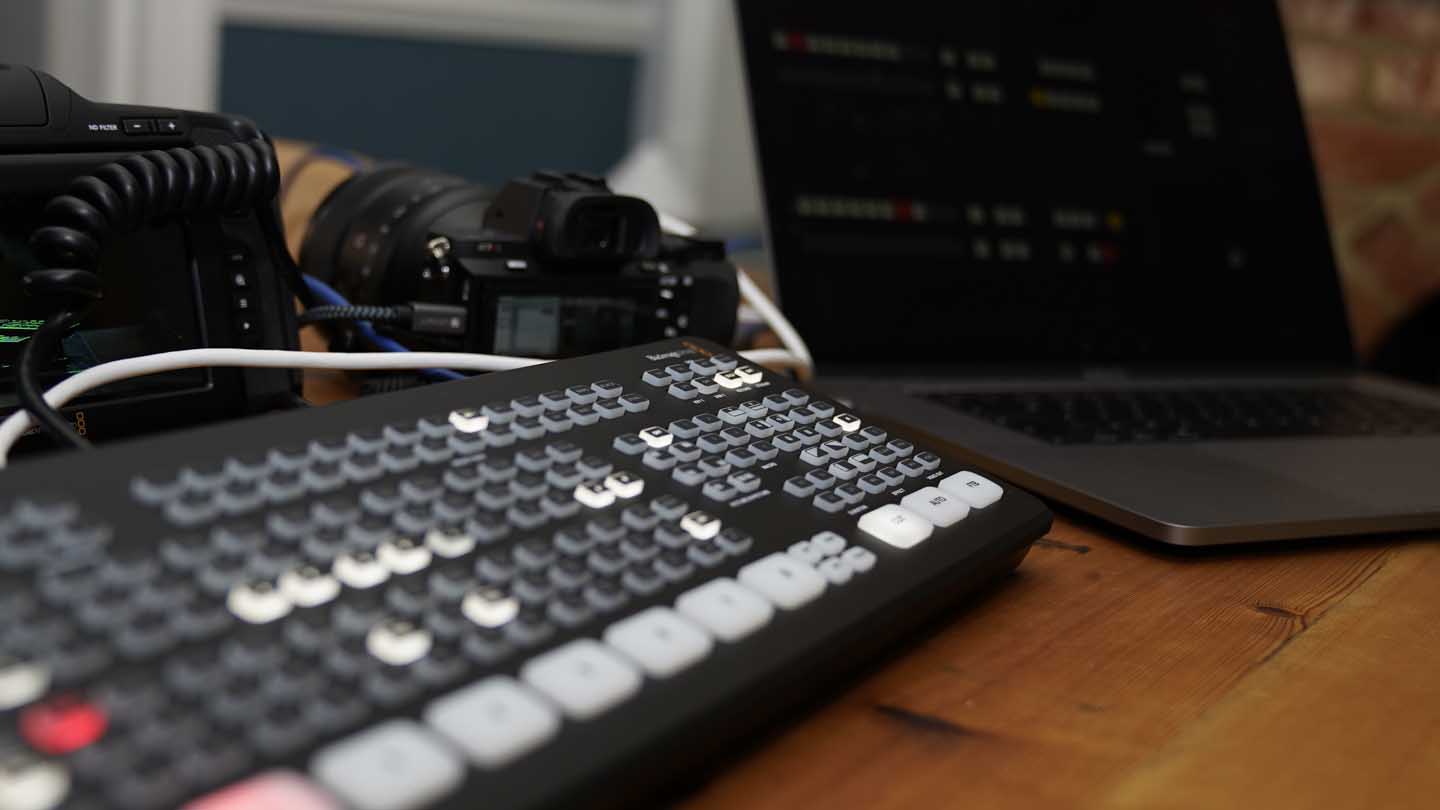
Once everything is connected, the ATEM Mini Extreme is then connected to your computer. There are two ways to do this.
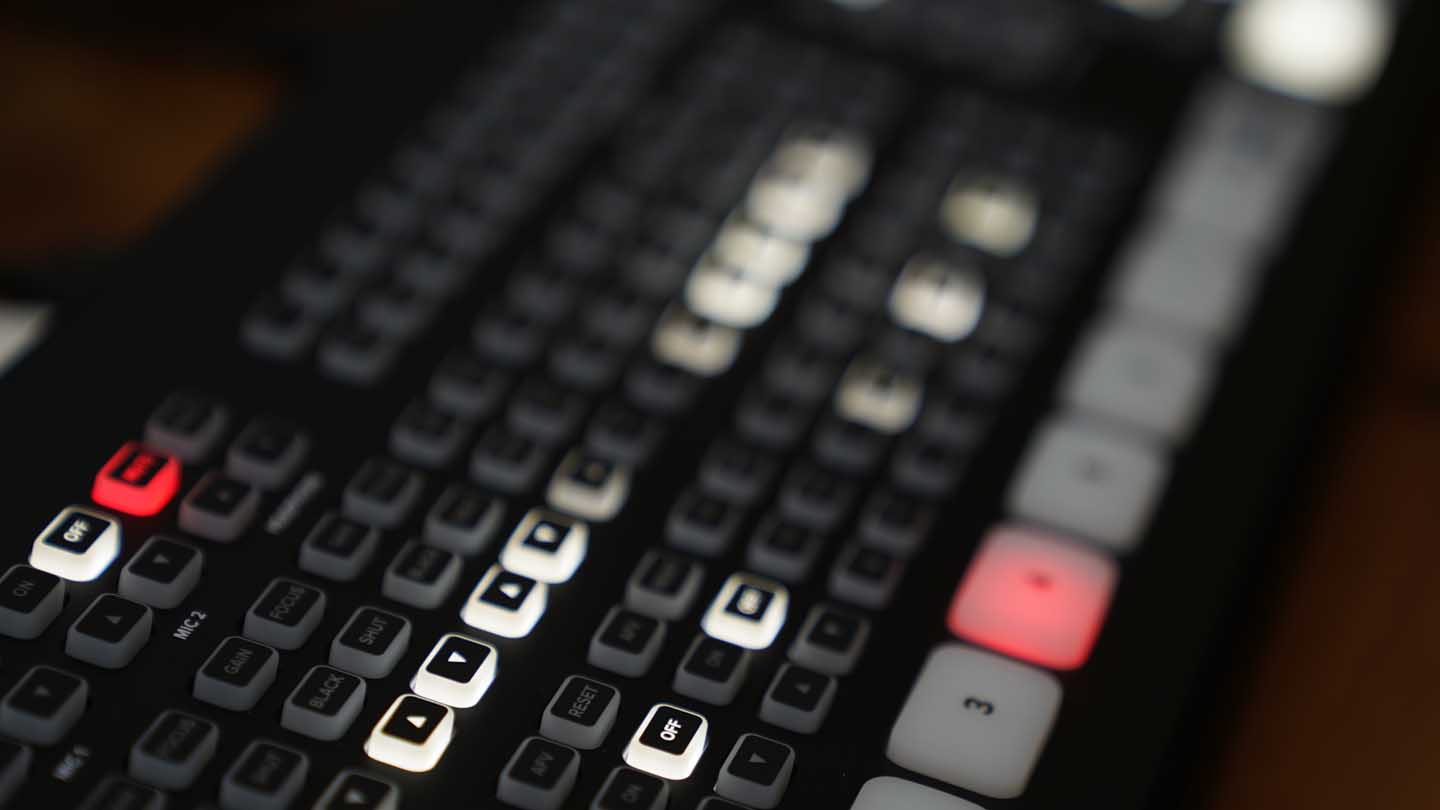
The first and the easiest way is to connect a USB-C cable between the computer and the ATEM. Then the connection of the ATEM Extreme is instantly recognised as a webcam by your computer.
Open up any streaming app such as Zoom, select ATEM Extreme from the webcam list and the ATEM Extreme will then act as a webcam.
You can now very simply switch between each camera using the ATEM Extreme, and the feed will stream as normal but with the multi-camera
option available with the touch of a button.
The second option is to connect through the ethernet port. This has a couple of advantages over connecting solely through USB-C.
Firstly the quality of the stream is better, and secondly, you have access to the ATEM Software control.
ATEM Software control is a little daunting to use on the first run, but once you work out that there is no live stream view in the interface and make yourself familiar with the different screens, it all starts to make sense.
The lack of livestream through the interface is the one point that does catch those new to the switcher out. Instead of appearing in the interface as we’ve come to expect with webcams, you need a separate monitor to view all the streams in one place using multiview.
Multiview is a button on the board that, once clicked, outputs all feeds onto a single screen. It’s an invaluable tool and requires you to have a monitor or TV connected to one of the two HDMI outputs.
Another point that takes a little working through is the graphic overlays. These are essentially graphics loaded into the Media Manager area of the software that can then be assigned and placed over the live stream video. Here you can assign the graphic to buttons and switch them on and off as you need.
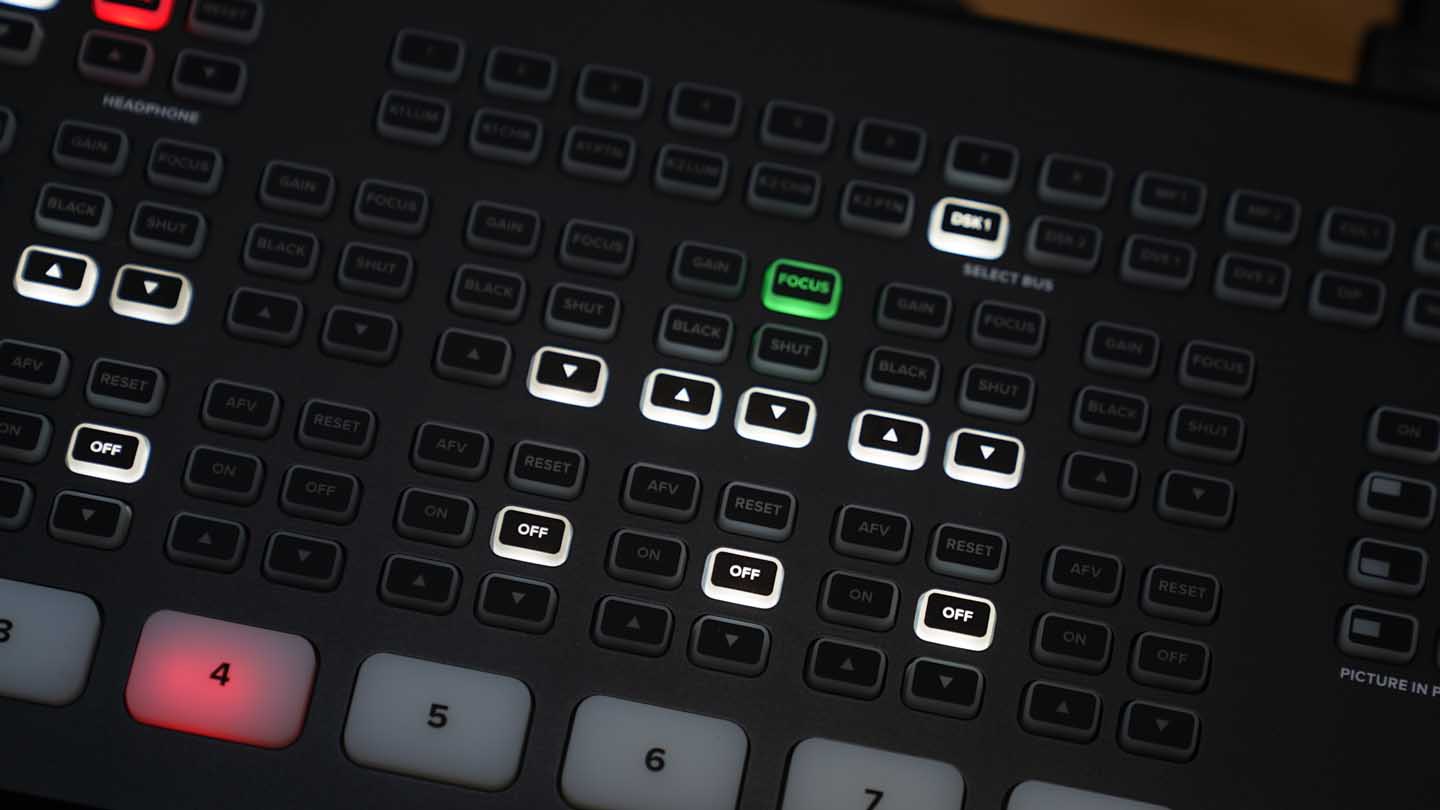
One area here that would have been nice would have been assigning the overlay to a single HDMI input. So if you have several people in an interview as you swap the camera, the graphic overlay for that person would appear.
As it stands, a quick push of one button for the video steam and then another for the overlay does the job, but it’s very hands-on and open to complete human error.
ATEM Mini Extreme in use
Getting started with the ATEM Mini Extreme is easy, plugin, and off you go. At least, that’s how easy it can be if used as a straight webcam connection through your chosen streaming app.
Once connected, the ATEM Mini Extreme enables you to switch between the cameras, add transitions and switch between audio. The whole process is streamlined and easy to follow.
The only thing you can’t do is adjust the camera settings from the desk, but there are add on’s that you can buy that will do this, but you’re headed into the professional range of products and the cost escalates quickly. While this isn’t possible for most cameras, ATEM Software Control does have a feature that enables this interaction with the Blackmagic 4K and 6K cameras.
Used as a direct webcam connection, the ATEM with cameras and media devices connected through HDMI is simple and easy to understand.
I ran several live tutorials using four cameras and two media devices, one media device to show the end product and a computer used to run through file organisation and behind the scenes content.
The workflow was seamless and easy to understand, the only errors being when I switched to the wrong camera.
I found that even when using the ATEM Mini Extreme in this way, having the multiview output monitor was essential, just so you know what’s live and what’s not.
Switching to the network
Although almost everything can be handled directly through the hardware, you need to access the ATEM Software control when it comes to loading graphic.
I found it took some time to watch through tutorials and ask daft questions to get to grips with all the functions and features I needed.
Blackmagic has packed in an incredible amount into the combination of hardware and software, and it takes a little time to work out.
However, the main function of the Extreme connected through the network remains the same, and again you can connect a monitor to access multiview which is essential.
What the software really brings to the party is the ability to load graphics and assign those graphics to the buttons.
Once done you can use the Multiview to show the graphics hopefully helping to avoid human error.
This is where the 16 multiview options come in; you have your eight HDMI feeds from cameras and or media players, then the rest show status, those graphic overlays and audio monitors.
Back in the software, the Media Manager is where all graphic is uploaded to. Currently, this is limited to stills, motion graphics can be keyed in as overlays relatively easily, however, but again this is one area where the workflow is a little more complex.
The Audio Mixer is another important area of the interface and enables you to adjust levels, which is important when someone speaks quietly through the audio check then blasts out the vocal during the live performance.
One final area worth noting is Camera Control. This isn’t available for all cameras, but if you’re using the excellent Blackmagic 4Kor 6K, this area gives you the ability to adjust almost all of the camera settings. It’s a true software insight into the professional world and again works incredibly well.
