What are Photoshop Adjustment Layers
Photoshop Adjustment Layers offer a way to apply adjustments such as Curves, Levels and Hue Saturation amongst others in a non-destructive and reversible way.
An adjustment layer can be altered or deleted at any time, unlike the direct application of an adjustment to an image layer.
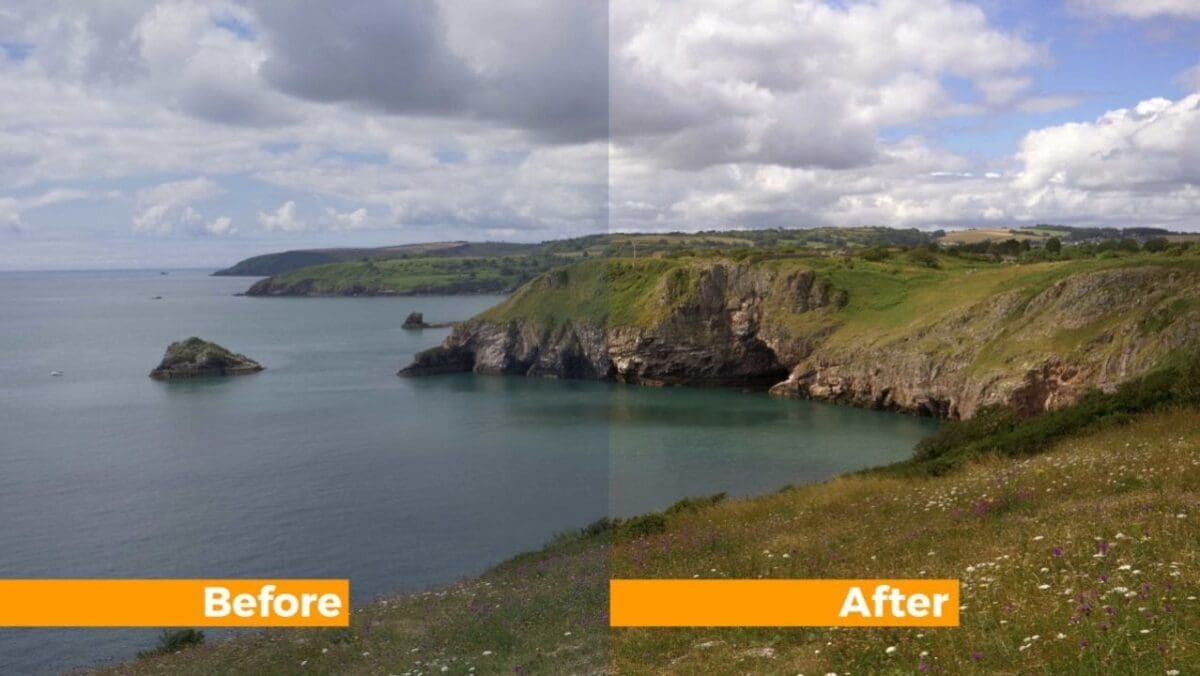
The end result of applying an adjustment layer is exactly the same as applying an adjustment directly to the image, it’s just that it’s much easier to update or delete whenever needed.
The only downside of using adjustment layers is that if you want the layers within the file to remain editable after you have saved the file you are required to save the file as a PSD (Photoshop Document).
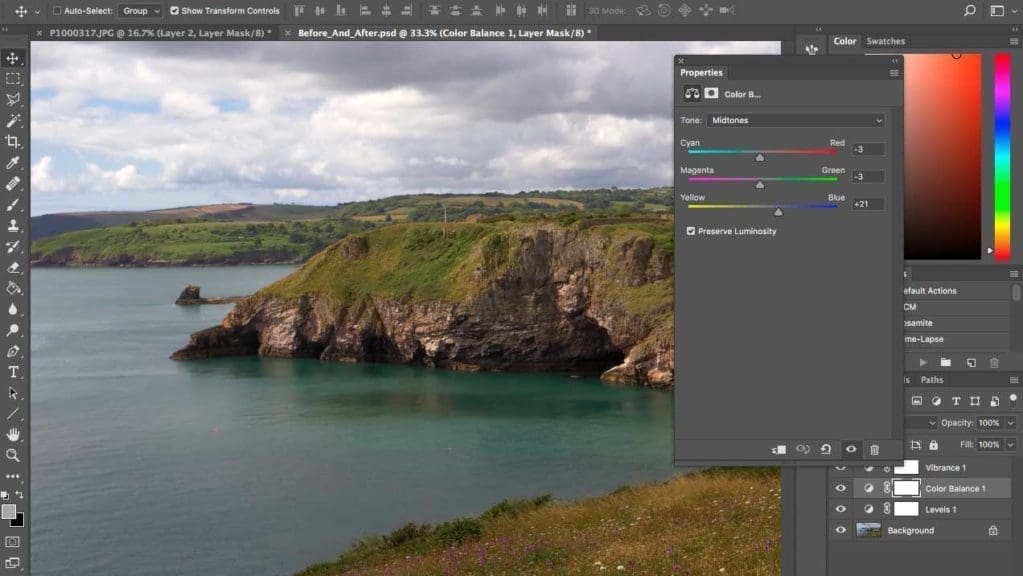
This file will contain all your Adjustment Layer information and settings and while this is incredibly handy it does lead some huge file sizes.
Although you can print a PSD file directly it is advisable that once you completed your adjustments you flatten and save it as a print ready format such as JPEG or TIFF.
A PSD file is a working file format, it is the format behind the scenes rather than the one that should be on display.
How do I create an adjustment layer?
There are two ways to apply an Adjustment Layer to your image.
The first is through the top file menu; Layer > New Adjustment Layer then you will see the list of adjustments available to be applied to the image.
Alternatively skip down to the layers pallet and along the bottom of the palate you’ll see a circle icon that is half black and half white. This is the “Create New Fill or Adjustment Layer” option. Click this and it will reveal all of the different adjustment layers that are available.
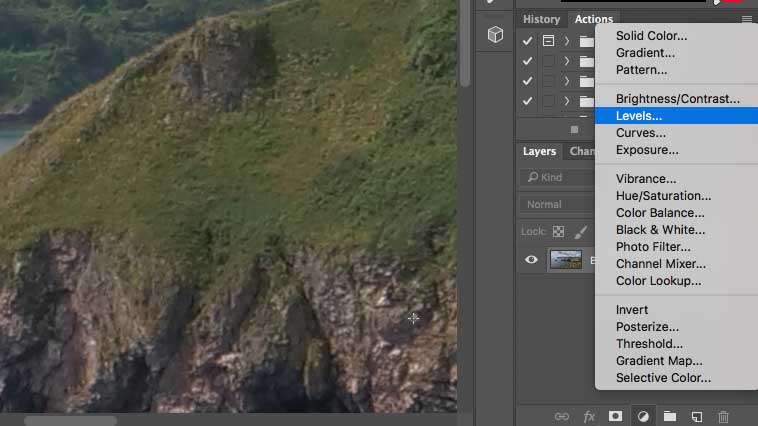
Once you’ve selected the adjustment you want, for example Levels, the usual dialogue window for that adjustment will appear enabling you to make the adjustments in the usual adjustments way.
Once you’ve finished with the adjustment just click OK and you’ll see the adjustment appear as a new Layer in the Adjustment Layers Pallet.
Adjustment layers will appear alongside image and graphics in the layers pallet and can be re-edited at any time or popped into a group as with any other layer.
To fine tune any adjustment made in an Adjustment Layer simply double-click the Adjustment Layer, Layer and it will reopen once again showing you the usual adjustment dialog window.
Once you finish making your adjustments you can then save the file down as a PSD document so it can be edited and revisited at a later date, or save the file as a JPEG or TIFF ready for print or uploading online.
