
Ever since photography was invented, photographers around the world have longed to capture one of the most quintessential parts of our existence — the moon. As a species, our routines and traditions have always been governed by the day and night cycle, and so it was only a matter of time before someone attempted to document the night skies. The first image of the Moon is believed to have been taken by an individual many photographers will be familiar with – Louis Dageurre, who was of course the pioneer behind the ‘daguerreotype process’.
This was the method used in 1839 to capture the moon for the first time, though sadly, his photo laboratory was destroyed the same year and his historical achievement was purged in the flames. Just one year later, John Draper, an American doctor and chemist, repeated this process in a more delicate fashion and quickly laid claim to the world’s oldest surviving photo of the Moon, taken from a rooftop observatory in a 20-minute-long exposure with a 5-inch reflecting telescope. In the years that followed, advancements in technology allowed greater developments in the field of astrophotography, and photographers like John Adams Whipple continued to push the boundaries of what was possible.
In fact, Whipple is still largely believed to be the true trailblazer in the world of astrophotography and for good reason – he was the first to produce images of stars other than the sun. Then, in 1969, the moon was captured on video for the first time during the Apollo 11 mission with a television camera mounted to the Lunar Module where it was transmitted back to Earth, allowing us to see up close a world beyond our own. This led to a greater curiosity to see the Moon’s surface in more detail, as well as the surrounding stars in the night sky. Today, thanks to powerful developments in technology astrophotography is more accessible than ever – but how can you get started?
Getting Started with Astro:
To get started in astrophotography, it’s important to remember that you don’t just have to capture the moon – you can photograph any object in space, like a satellite, a star cluster or distant planet. Firstly, you should start with a basic camera that you are comfortable and familiar enough with. A DSLR is usually preferable due to more manual-friendly options and settings, but a mirrorless camera will work equally as well. You should also consider using a tripod as this will be key in ensuring your shots are stabilized. As mentioned, it is quite important that you are familiar with manual settings and how to utilize them competently – things like shutter speed, ISO and aperture are key in astrophotography.
If this is a new area, then the learning curve can seem slightly daunting at first, so it’s best to start gradually, practicing with basic shots of the moon before gently progressing to trickier territory like far out clusters and nebulae. A wide-angle lens is always a good choice in this regard as it will allow you to get a clearer picture of the sky before shifting the focus on distant stars. It’s best to play around with the aperture, but usually f/2.8 and f/4 with an ISO between 500 and 1600+ will provide strong results.
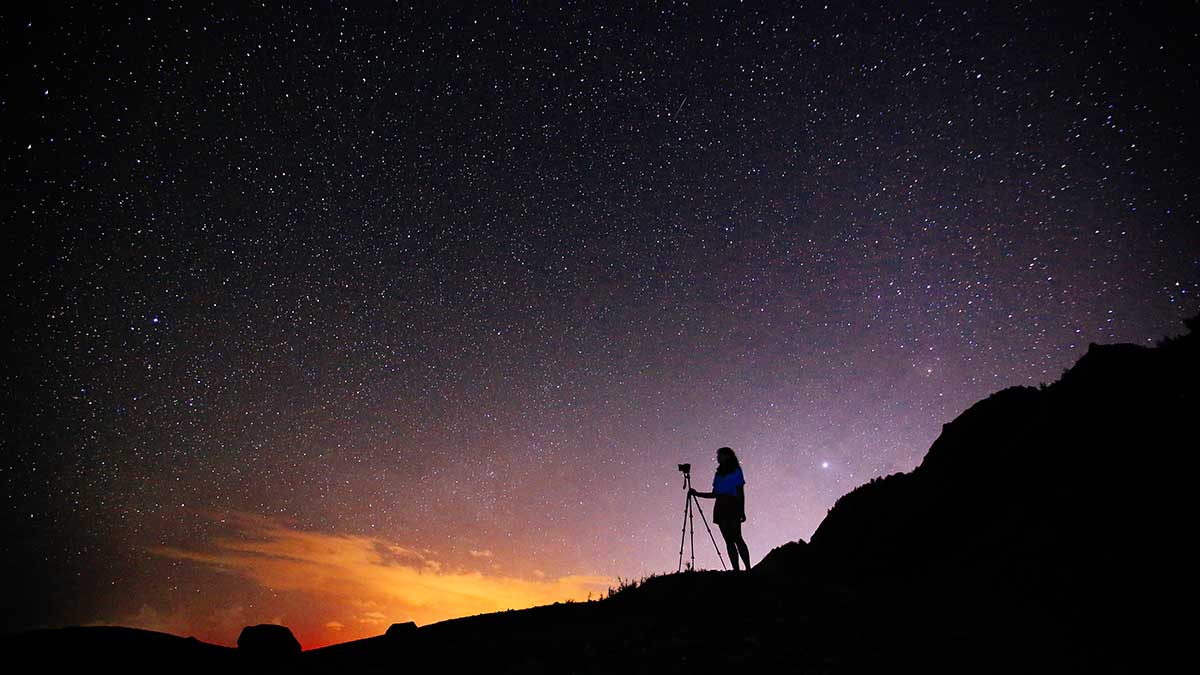
Another key area to consider is the use of location. It may be tempting to shoot from anywhere once you have the necessary equipment, but it is worth keeping in mind that in the modern age, light pollution is difficult to avoid. From streetlights to late night traffic, any artificial light entering the lens can distort your desired image and ruin the shot. Therefore, it is best to find a safe but slightly secluded location as this will allow you to capture fainter stars and satellites.
Best Cameras and Lenses for Night Skies:
What are the best cameras and lenses out there for shooting night skies? Well, the Nikon Z9 is a fantastic all-rounder in this area thanks to its lengthy list of features, one of which are its illuminated buttons which makes navigating all the buttons and dials a breeze even in the darkest night. Additionally, its ‘starlight view’ setting will brighten the display which will allow you to frame images in an easier fashion. It also provides improved low-light autofocus which can drop to -8.5EV, allowing the camera to fully hone in on images that would require heavy manual adjustments. Lastly, the option to switch to warmer display colours on the screen will help alleviate the harshness of white tones, which can be overbearing in dark environments.
On the other hand, the Sony A7S III is another reliable choice thanks to yet another display of impressive features. For example, it’s 12-megapixel sensor is immensely reliable in its ability to capture low light and boasts a fantastic pixel signal-to-noise ratio which will be of particular use for shots of the milky way. However, it is not quite as premium as Nikon’s offering and this is reflected in its price – the A7S III is £2,199.00 while the Nikon Z9 demands an eye-watering £4,499.00 which for casual hobbyists will simply be too cost prohibitive.
Star Trackers and Long Exposure Tips:
Cameras aside, you will also need specialist equipment if you want the best results. The Skywatcher Star Adventurer is a great option in the realm of astrophotography if you are shooting with a wide and medium focal length DSLR Lense and accompanying camera. It is a travel-friendly tracking platform that can be attached to most standard tripods and can be used for sidereal, solar and lunar tracking. It also comes with automated DSLR shutter release control which makes it incredibly useful.
It is worth noting that although astrophotographers will often use longer shutter exposures, they can also achieve strong results by combining shorter exposures in post-production. Once the images are taken, they can be layered digitally to provide sharper photos. You can also use image stacking to achieve a more polished image. Multiple exposures are a good way of capturing solar eclipses. This can be done by taking a wide-angle shot every couple of minutes.
Leave a Reply
You must be logged in to post a comment.