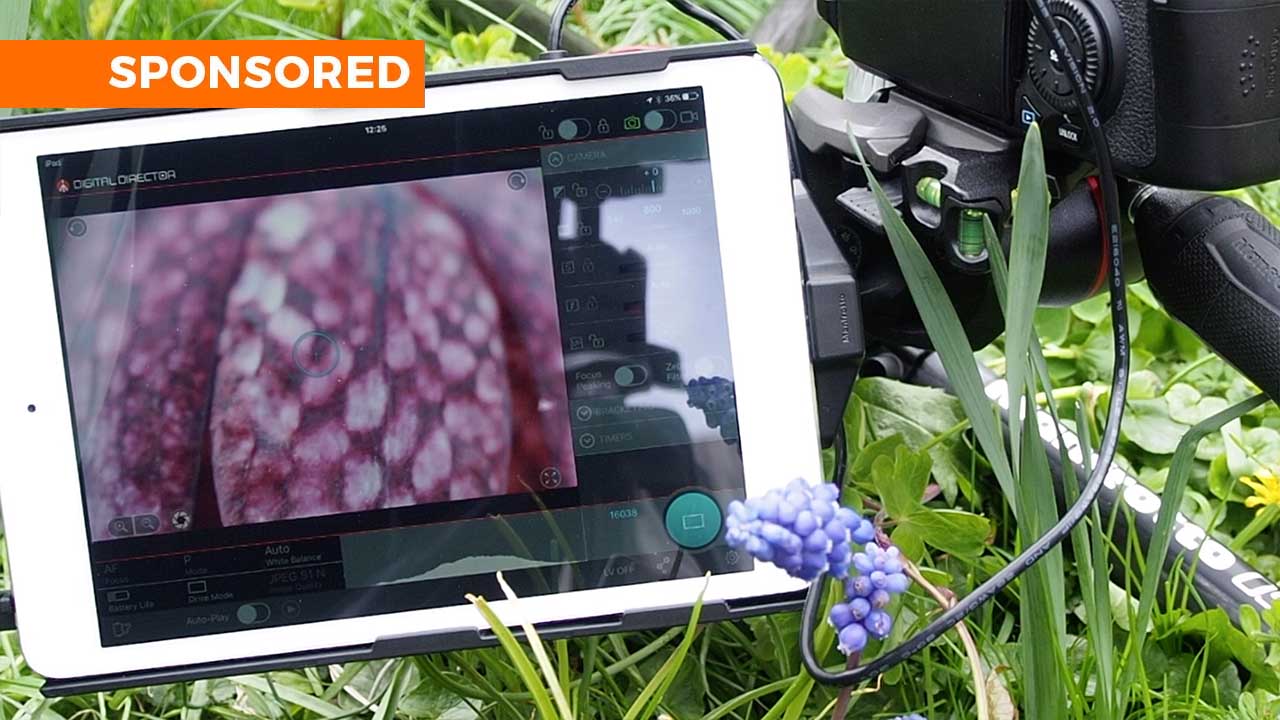
Manfrotto is well known for its tripods, but that’s not all that the company produces and alongside its extensive range of supports Manfrotto offers a huge range of other camera accessories. One of which is the Manfrotto Digital Director, a clever device that transforms your iPad into a fully featured control and preview screen for your Canon or Nikon camera.
The way the Digital Director works is pretty simply, plug into your iPad, then wire it directly into your cameras USB port and once the app has downloaded you’re ready to go.
Once opened, the interface of the Manfrotto Digital Director app will give you access to a range of camera features, even extending the functionality of your camera by offering features that you wouldn’t usually have.
One of those features offers superior focus adjustment and checking and is known as high-precision focus. In this video I’ll show you just how it works alongside a Canon SLR to capture some macro shots. I’ll also take a look at the kit that you need.
Alongside the Canon SLR, Canon EF 100mm f/2.8L Macro IS USM lens, SD Card and battery that are obvious kit essentials, I also needed a Manfrotto 055 tripod, Digital Director, an iPad and, for convenience, a Manfrotto Friction Arm to mount the the Digital Director on the tripod.
Setting up Manfrotto’s Digital Director
01 Connect the Digital Director to the Tripod
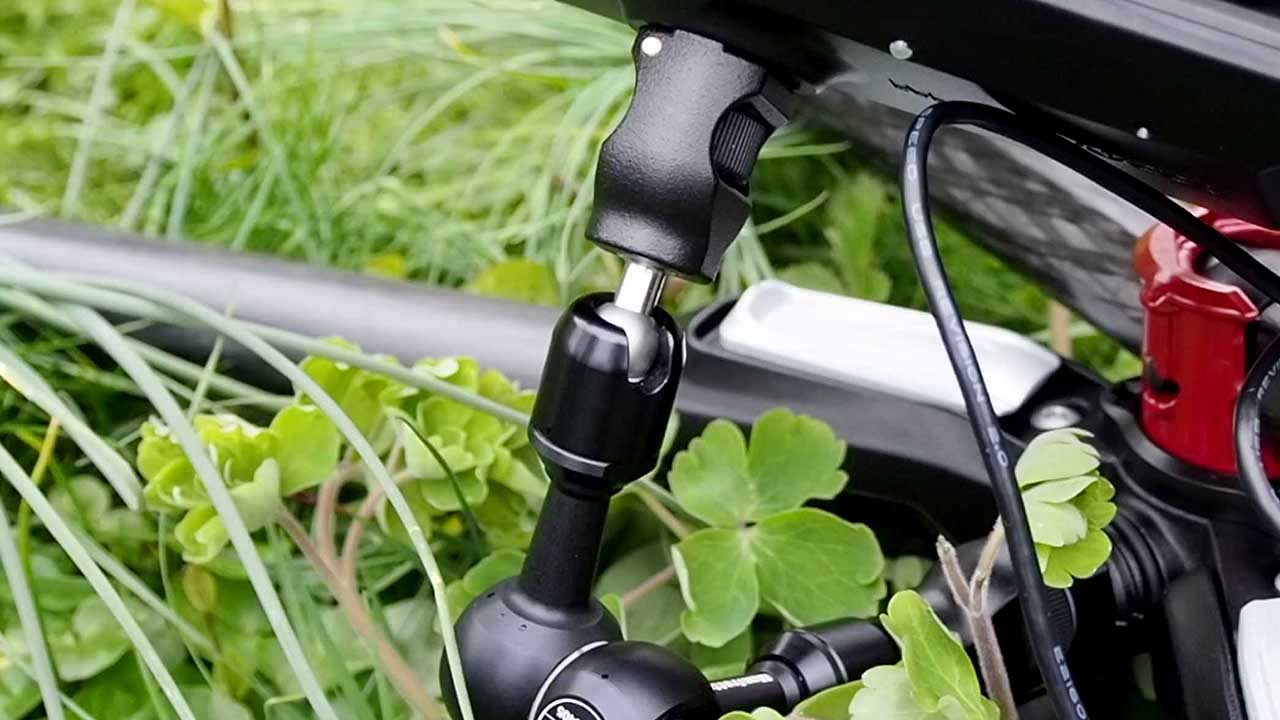 Start by connecting the Manfrotto Friction Arm to the Easy Link thread on the crown of the tripod and then to back of the Digital Director.
02 Link the camera and Digital Director with a USB cable.
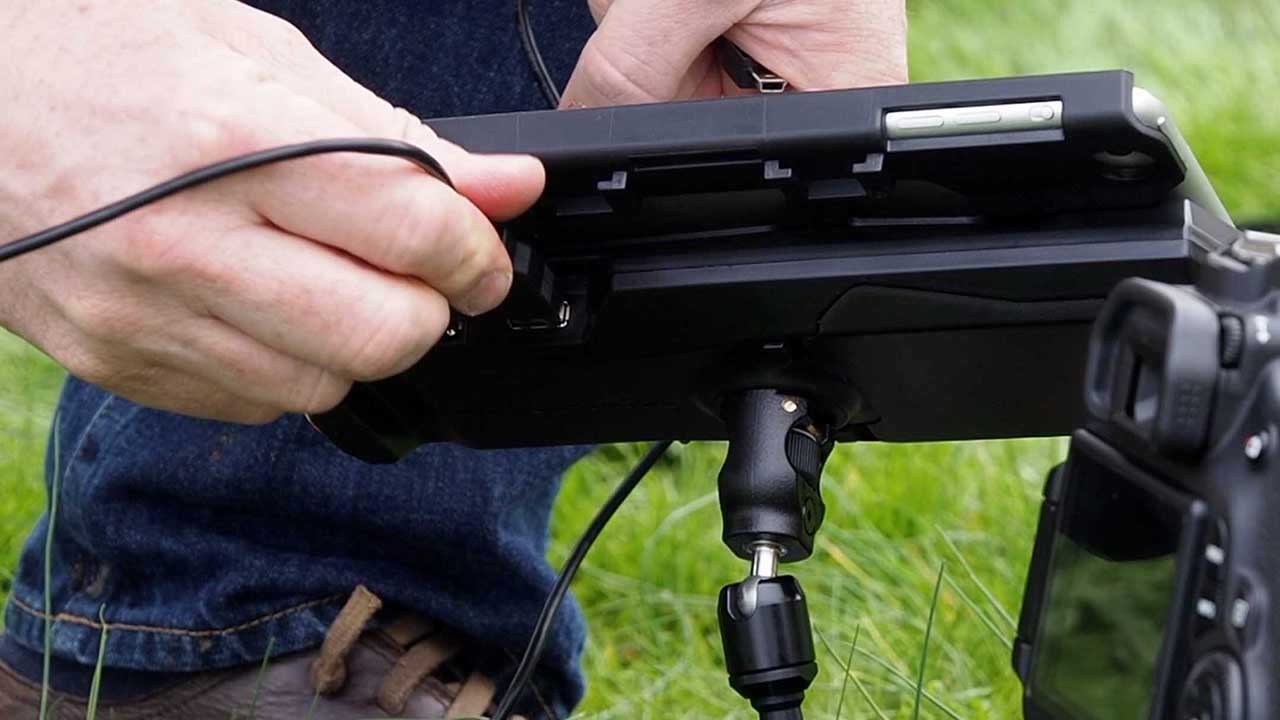 Attach the tripod base plate to the camera and attach it to the tripod. Then connect the camera and Digital Director together using a USB cable.
03 Open the Digital Director app on the iPad
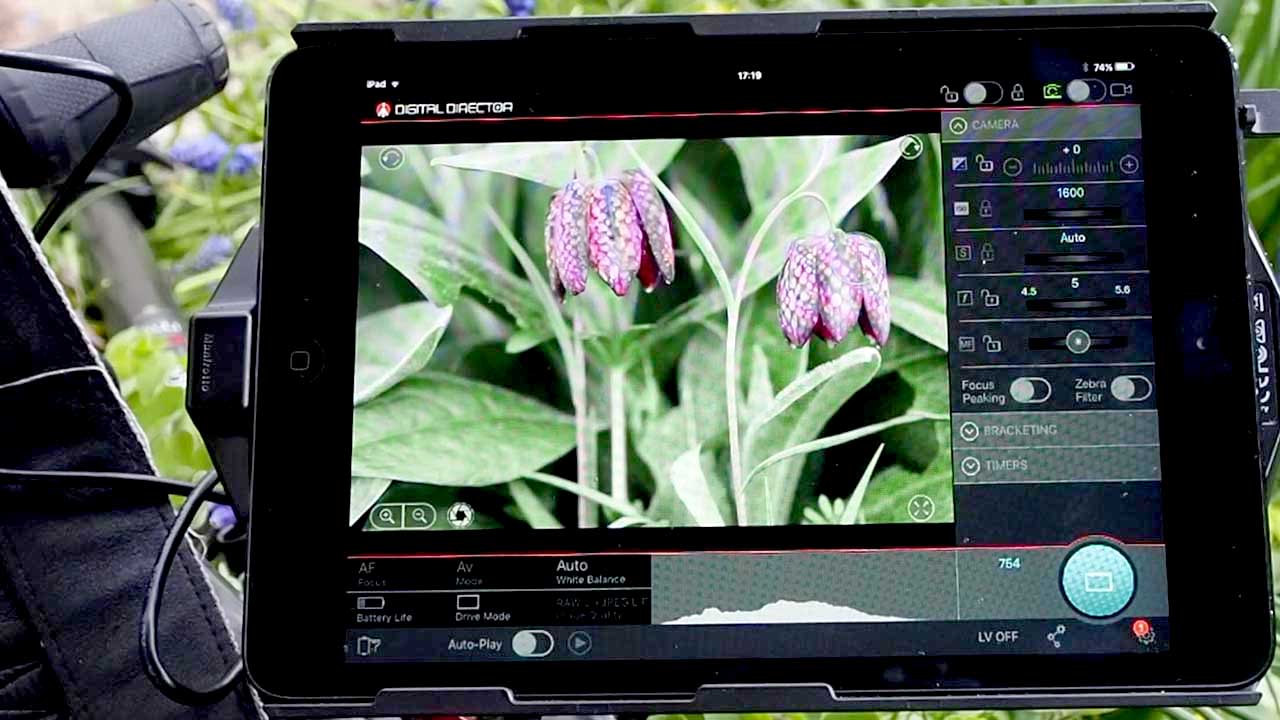 Switch on the camera, load and open the Digital Director App on your iPad (https://itunes.apple.com/gb/app/digital-director/id969939511?mt=8) The Digital Director interface and a live preview of the shot will now appear on the screen of the Digital Director.
Using the Manfrotto Digital Director’s high-precision focus feature
01 Tap the screen to focus
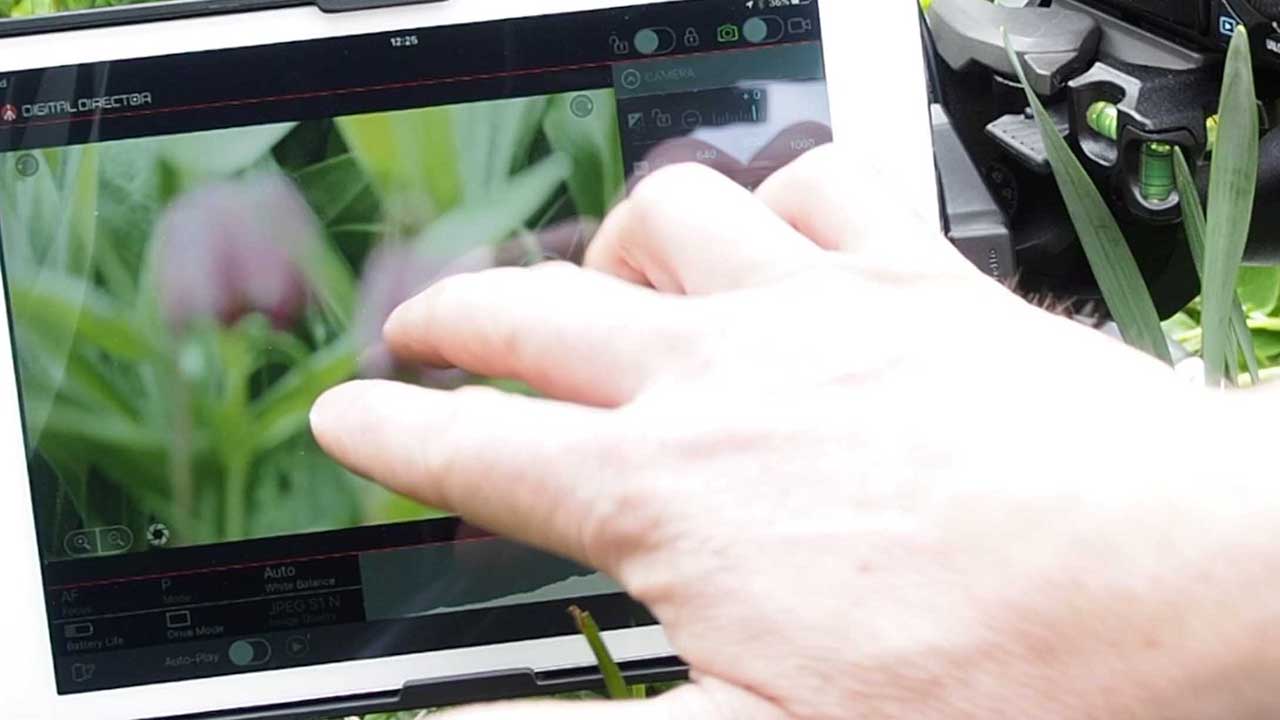 The iPad screen can now be used to give a large preview of the scene and you just need to tap on the point where you wish the camera to focus.
02 Use the Digital Zoom to check focus
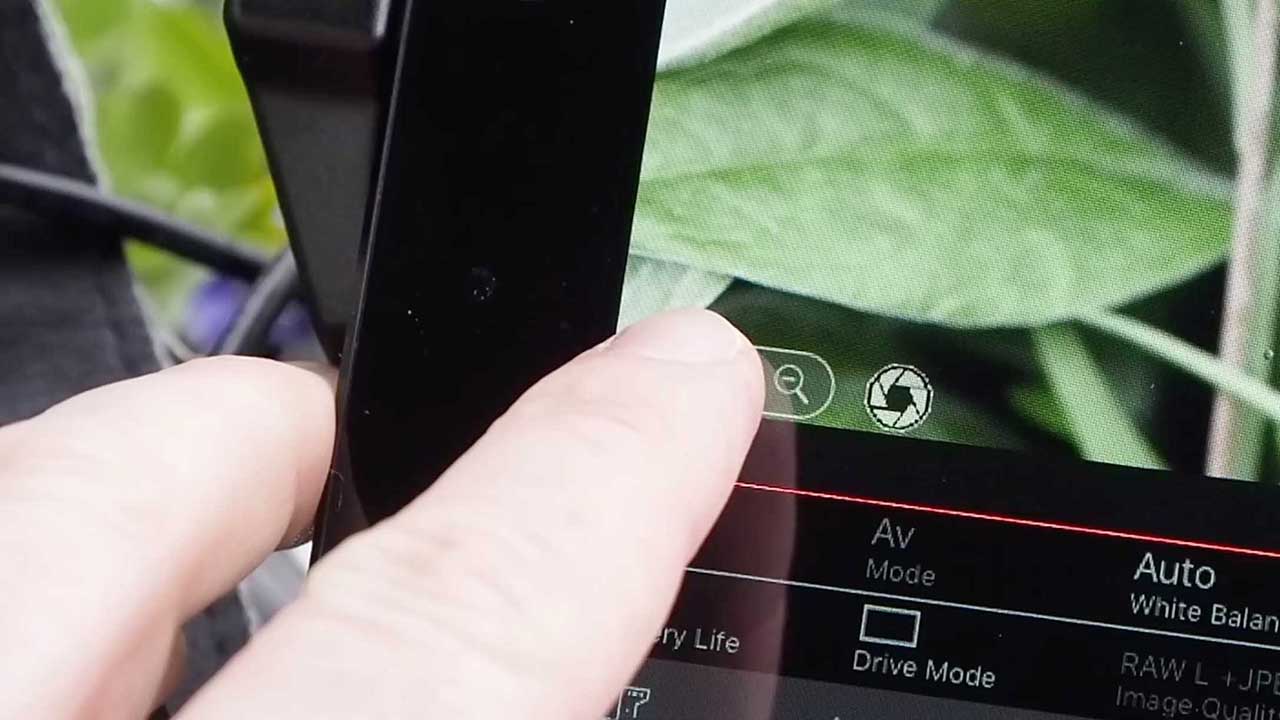
The digital zoom control is positioned in the bottom left of the screen, tap the + symbol to enlarge the preview to check focus.
03 Tap to check focus
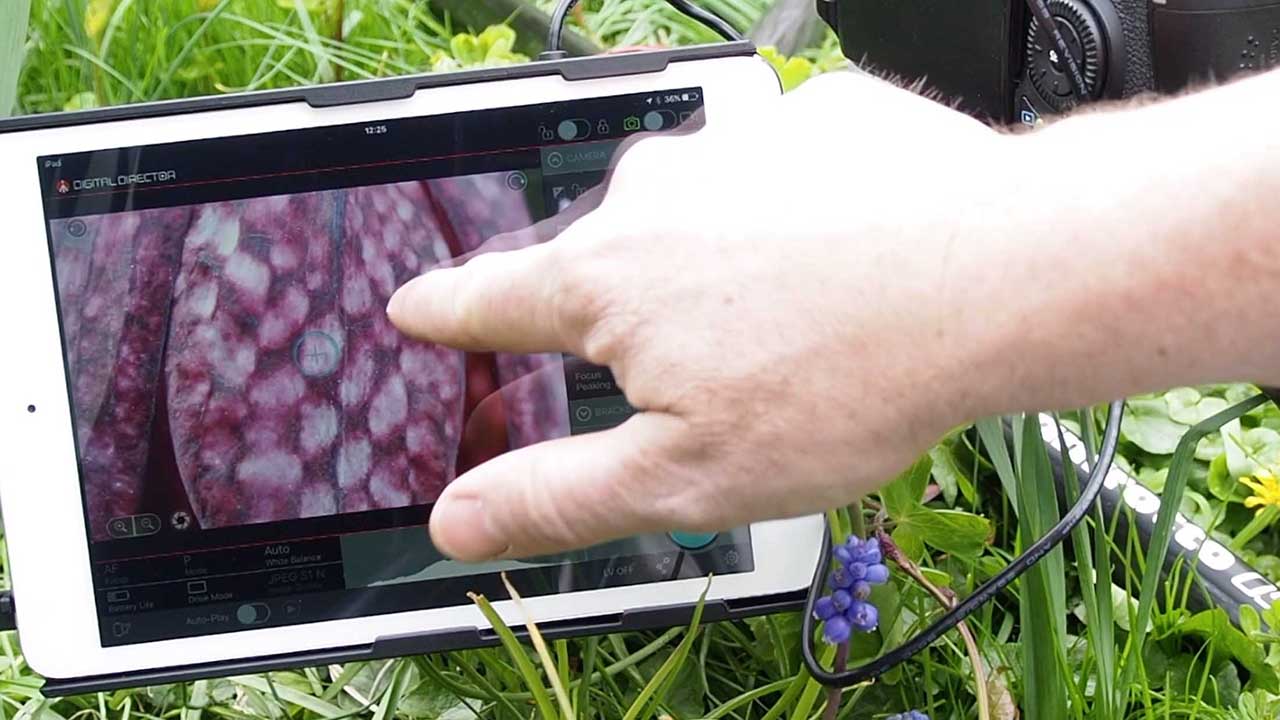 Tap around the enlarged preview to check focus.
04 Use the manual focus wheel
 For high-precision manual focus, use the focus wheel to adjust the point of focus.
05 Switch on high-precision manual focus control
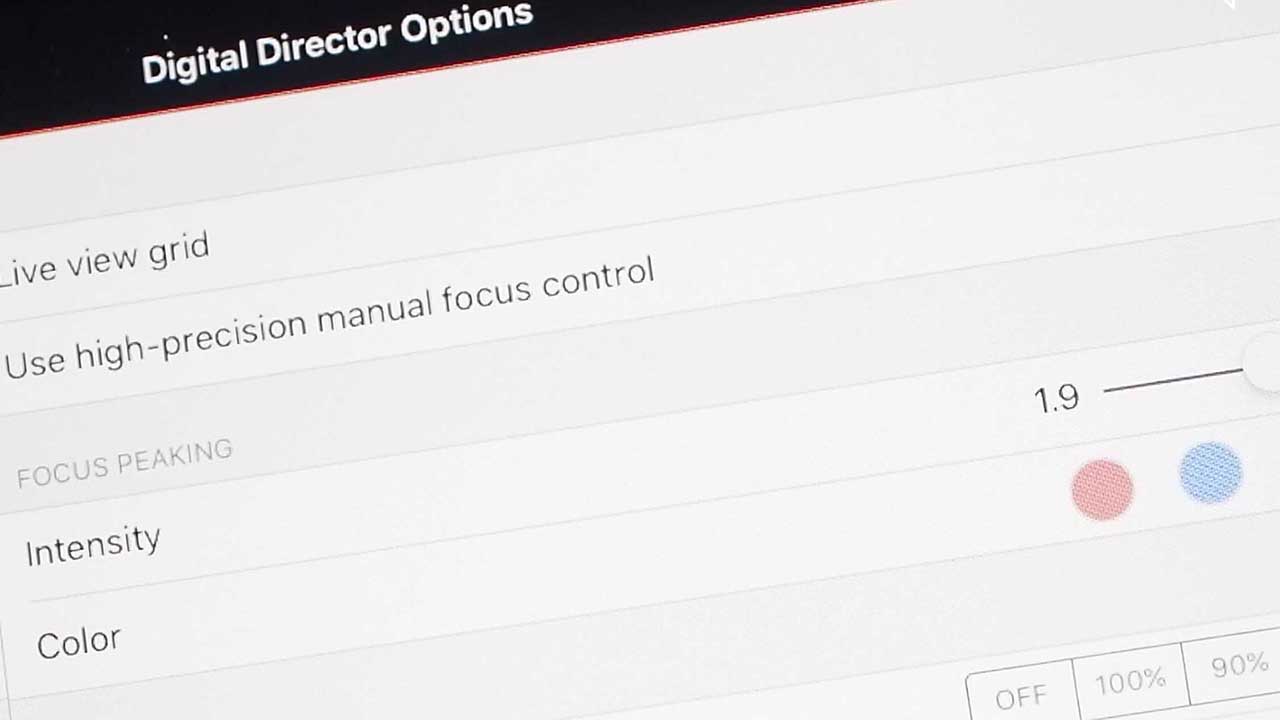
For greater manual focus accuracy, tap the Settings option and then select ‘Use high-precision manual focus control.
06 Use high-precision focus to adjust the focus point manually
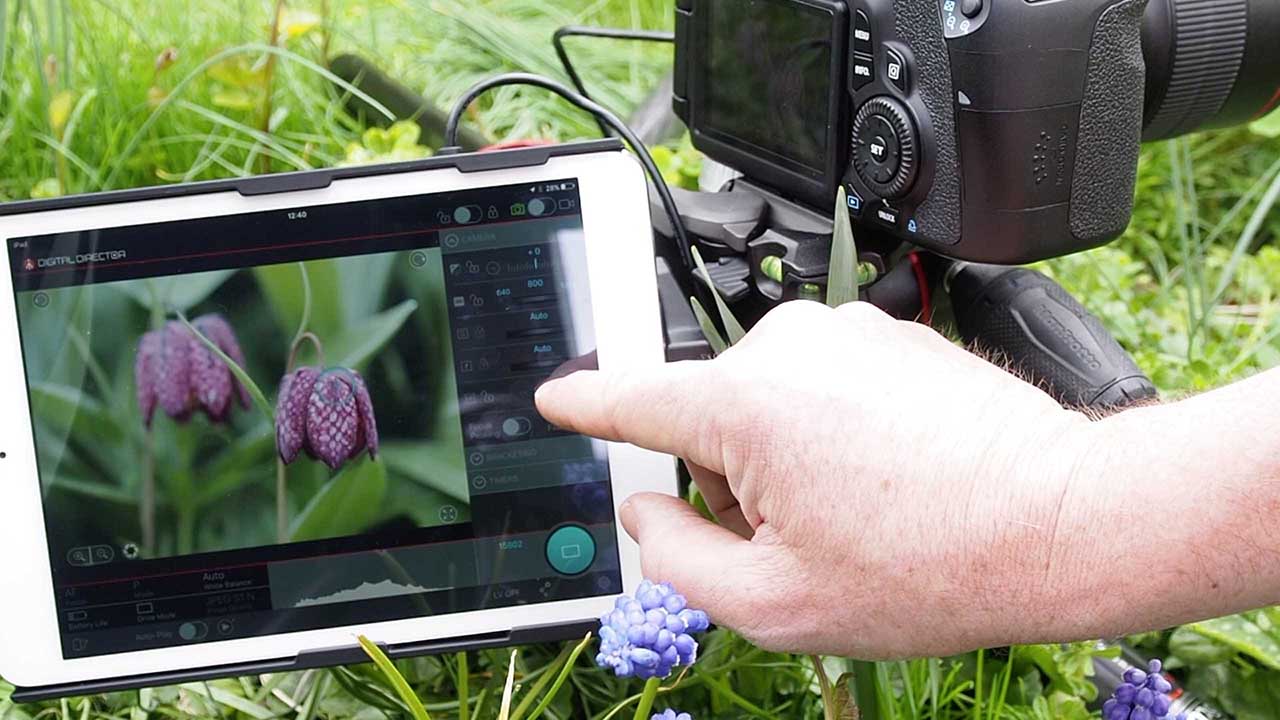 Switch back to the main interface and you’ll see the Focus Wheel has been replaced by a series of arrows enabling single to multiple step focus.
07 Use focus peaking
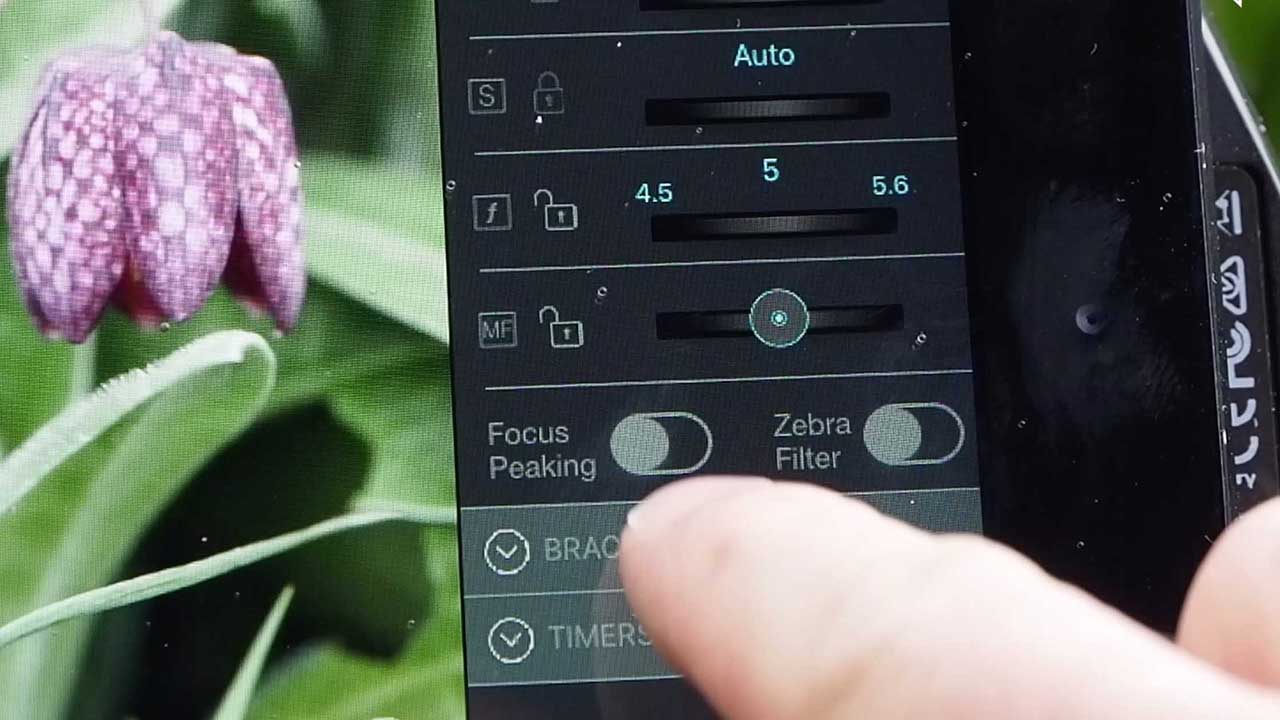
To further help with focusing, switch on Focus Peaking. This will add a mask overlay to the high contrast edges.
08 Change focus peaking colour
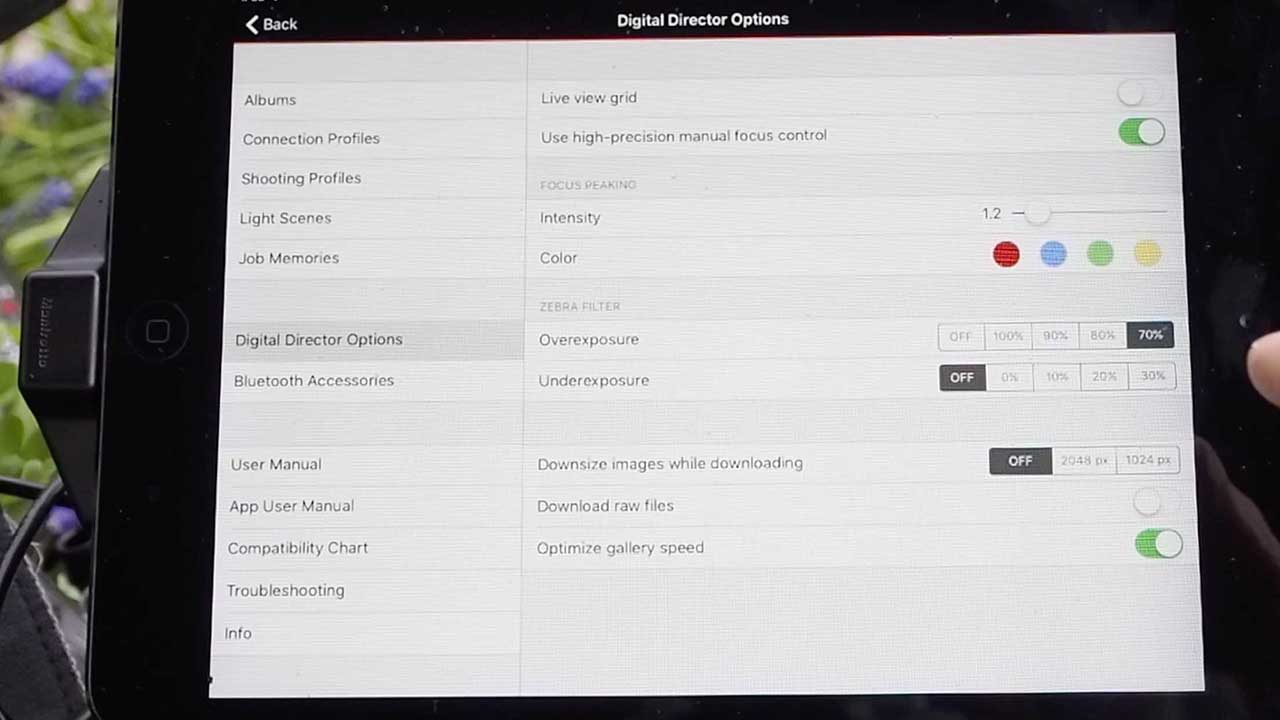
To adjust the Focus Peaking colour, tap Settings and in the ‘Focus Peaking’ options change the ‘Color’
09 Tap the shutter button to take the shot

Return to the interface and when the shot looks right tap the shutter button on screen to take the shot.
It’s easy to see how the Digital Director can help you to get better sharper shots, for more information check out manfrotto.co.uk
