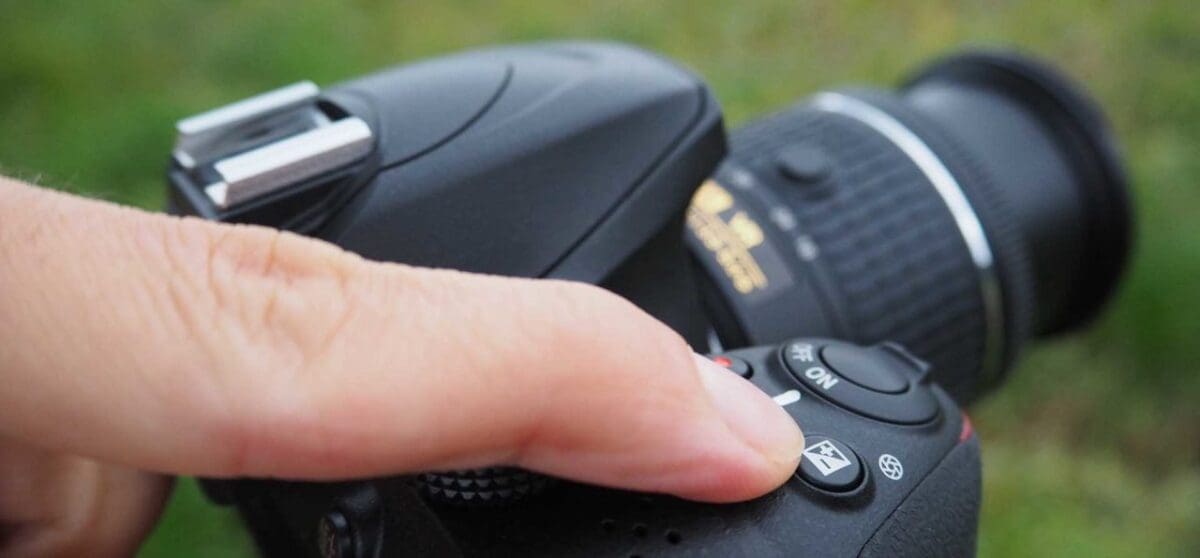
Chances are if you’re reading this that you bought the Nikon D3400 and it is your first venture into photography with an interchangeable lens camera. And while it’s exciting, we know that it can also be overwhelming when you suddenly have more settings at your disposal than you know what to do with!
One of the great things about shooting with an interchangeable lens camera like the Nikon D3400 is that it gives you total control over your exposure. From aperture to shutter speed and ISO to the exposure mode, you fine tune your settings to shoot the moment a balloon pops or the slow crawl of stars across the night sky.
One of the most versatile tools you have, though, is your Nikon D3400’s exposure compensation button. All interchangeable lens cameras will have this, but Nikon makes it very convenient to access on the D3400. In a moment I’ll explain how to use exposure compensation on your Nikon D3400, but first, let’s just explain what it does.
We explain what exposure compensation is in some depth in this tutorial, but in short: exposure compensation allows you to quickly add a little bit of light to a scene or, conversely, make it a little bit darker. Some scenes, like snowy landscapes, can be difficult for your metering system to get right. So a little exposure compensation can help you capture accurate colours and detail in highlights or shadows.
Exposure compensation is recorded in one-third stops. Most cameras will offer at least 3 stops of exposure compensation on either side (+/-) of 0.
Your Nikon D3400 provides +/-5 stops (EV) of exposure compensation in increments of 1/3 EV in the camera’s P, S, A, M, Scene and Night Vision modes. But you’ll probably find that most of the time you only need to dial in up to +/-1.
Setting exposure compensation on the Nikon D3400
Nikon makes setting the exposure compensation on the D3400 very easy, which is one of many reasons why the Nikon D3400 is such a brilliant camera for beginner photographers.
- Dial in your exposure settings and make sure your scene is sharp just as you normally would.
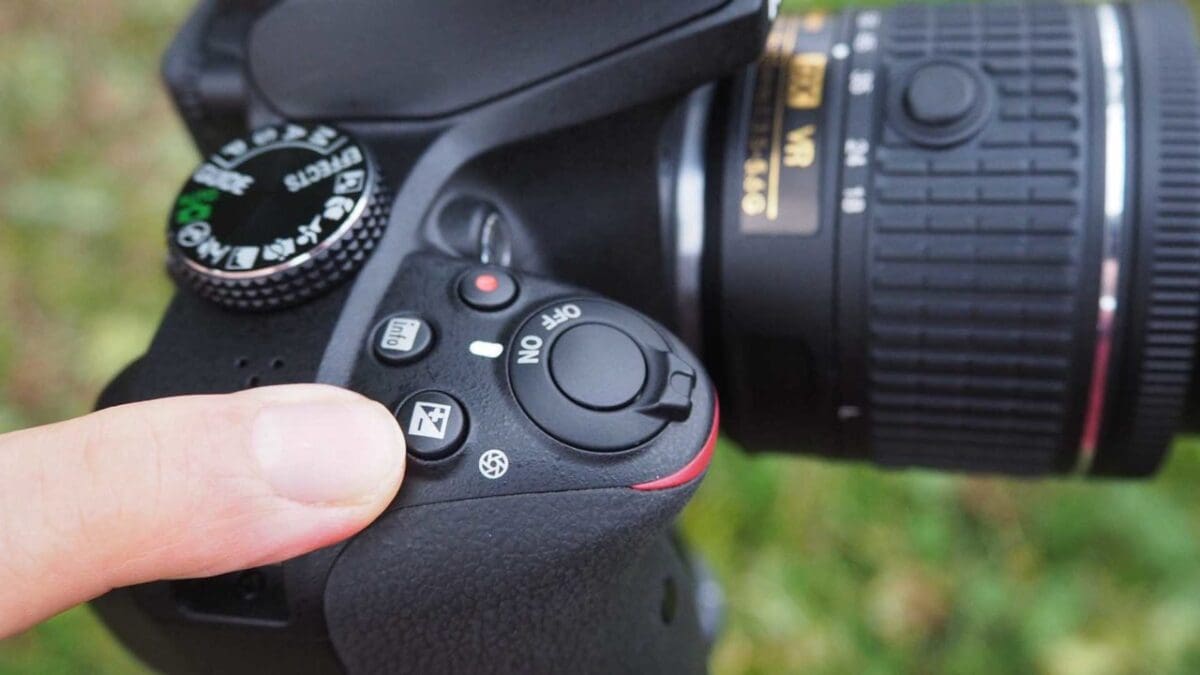
- Next, look for the little +/- button on the D3400’s top plate. It’s situated right next to the shutter button. You can see me pointing to it in the image above. Hold down this button.
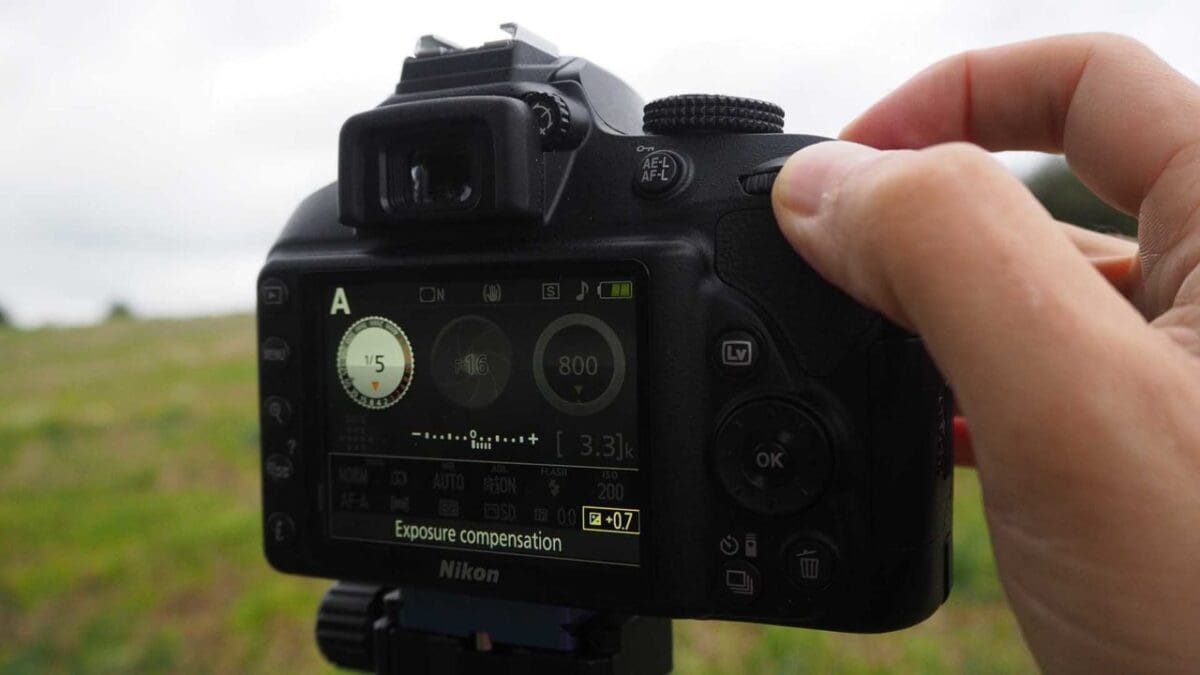
- While still holding down that exposure compensation button on the Nikon D3400 top plate, you’ll now see an exposure scale appear on the camera back.
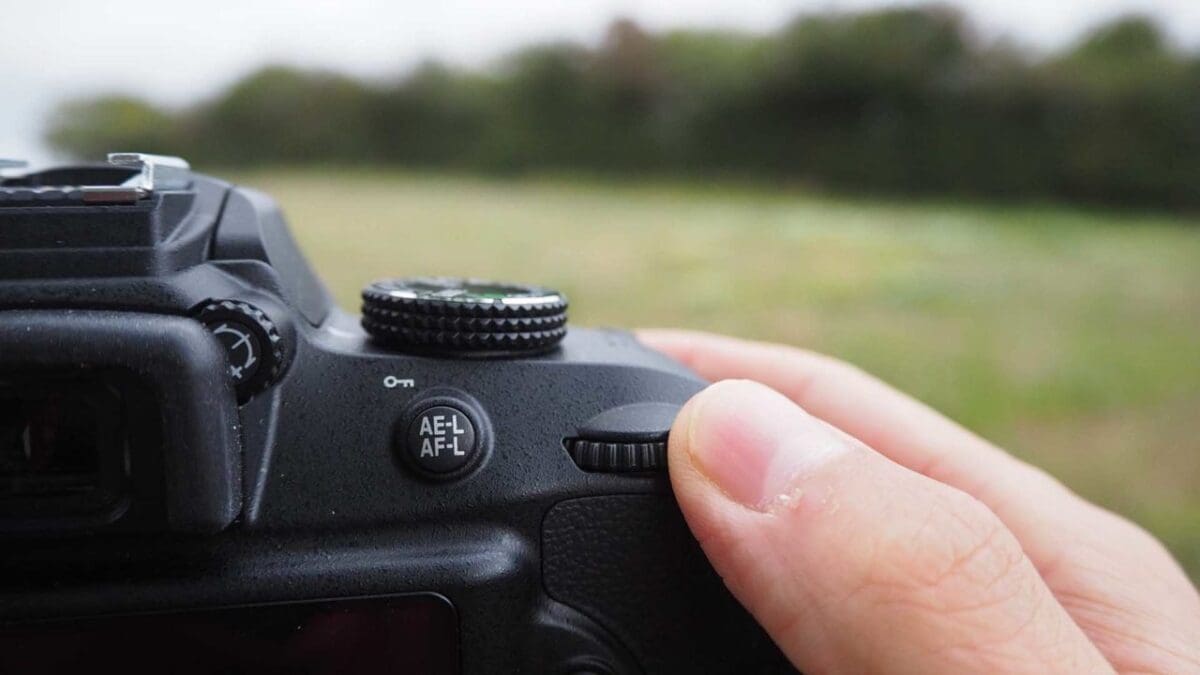
- With your thumb placed where mine is in the image above, scroll the wheel at the top right on the back of your D3400. When you hold down the exposure compensation button this wheel becomes the control via which you can add positive or negative exposure compensation.
- Scroll left or right with the wheel and you will see the scale advance in one-third stops.
And that’s it! There’s a bit of trial and error when it comes to exposure compensation. So you might want to take a few shots at different levels of compensation until you get an exposure you’re happy with.
If you’re still stuck, or if you have another question about using your Nikon D3400, don’t hesitate to drop us a line!
