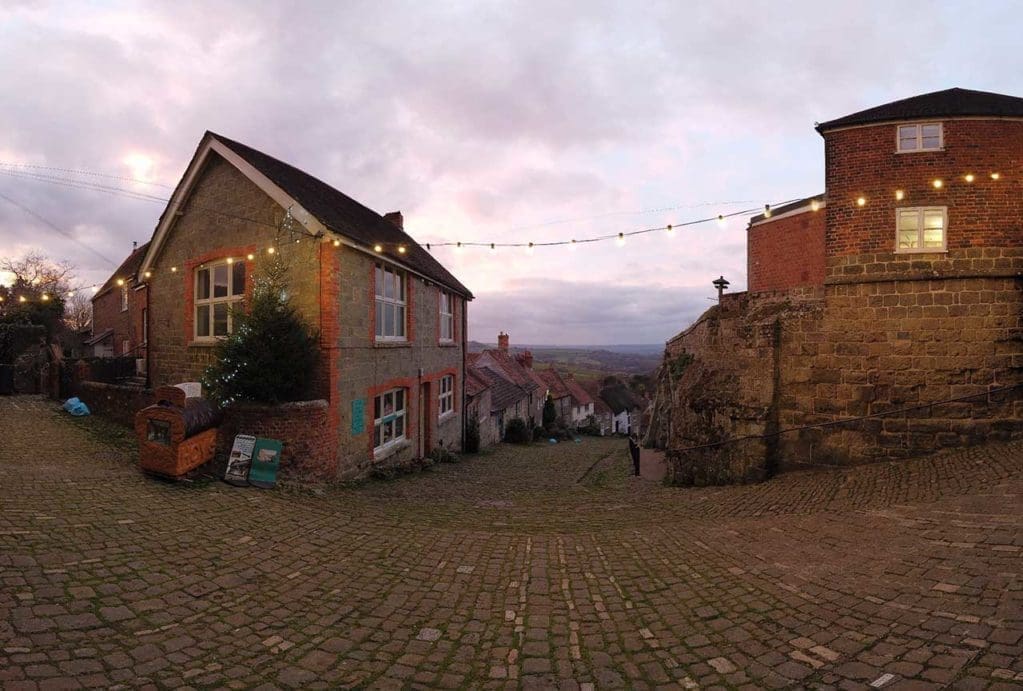
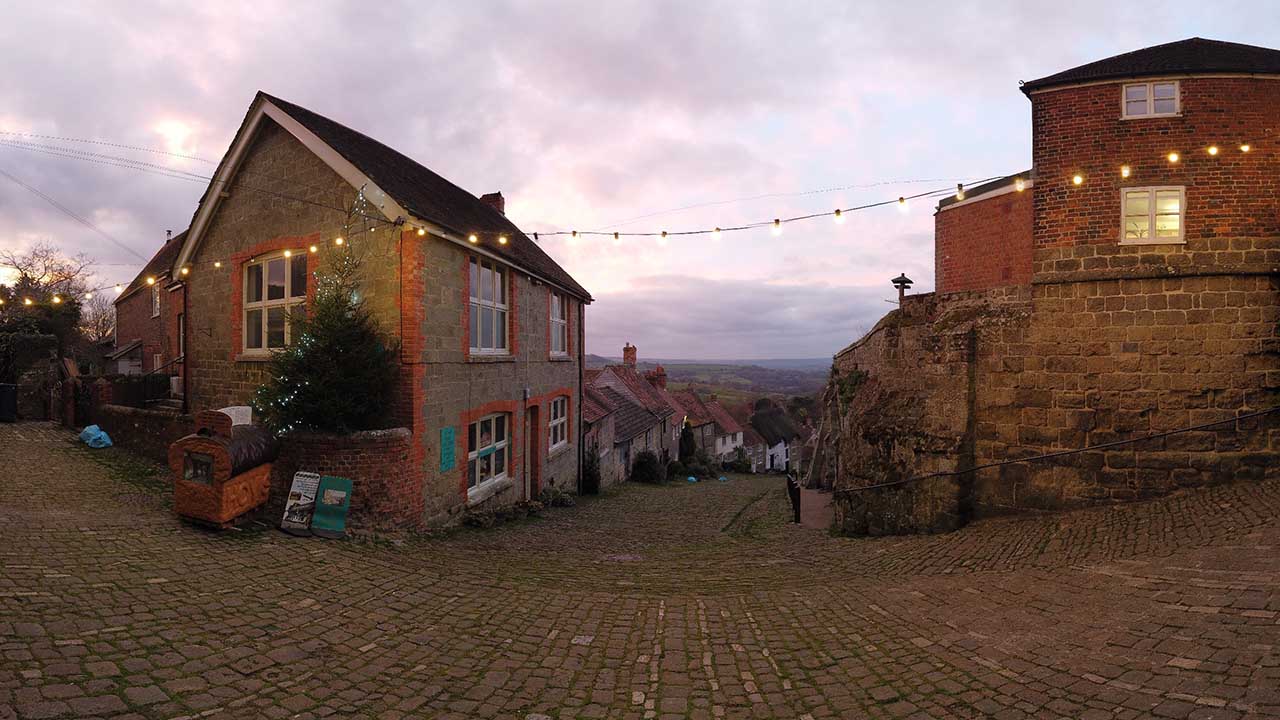
If you think the Osmo Pocket is just about video then think again. It’s packed with features that enable you to shoot fantastic stills as well.
During my test of the Pocket, the one stills feature that I kept coming back to was the Panoramic mode which was quick, fun and simple to use.
I found the best way to use the mode was with the phone adapter plugged in, and app opened. That way you could easily see the progress of the shot and get a good idea of what it is you’re capturing. You can also see the end result once it’s all been stitched together.
To active panoramic mode just swipe through the modes in the app, then once Pano is selected you have two options; 180º or 3×3.
Unlike shooting a panoramic with a normal stills camera the small Osmo Pockets gimbal keeps everything steady so no need for tripods or other supports, it can all be done handheld.
Osmo pocket Pano 180º
With this mode selected the Osmo’s small gimbal head rotates through 180º taking a horizontal panoramic.

Osmo Pocket Pano 3×3
When 3×3 is selected the Osmo Pockets gimbal head takes nine shots; three across and three down in three by three pattern. This creates a large rectangular image.

How to shoot a panoramic using the Osmo Pocket
- Select the Pano mode by swiping through the options in the app
- On the screen tap the 180º icon to select either 180º or 3×3
- Hold the Osmo up and in position and tap the shutter button
- The gimbal will move and take the shots, it’s important to stay still
- Once the sequence is complete the panoramic image will be stitched and ready to share
That’s it, all quick and very easy.


