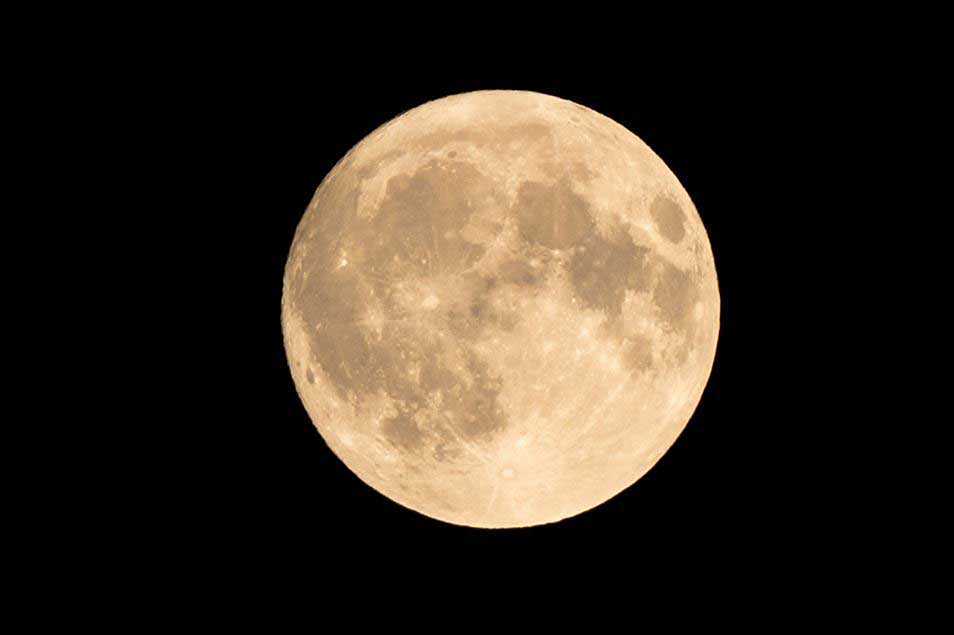
Supermoons usually occur every one to two years when the full moon coincides with its closest point to Earth during its monthly orbit.
The second full supermoon of 2016 will make its appearance on November 14, and marks a great opportunity for night photography enthusiasts to capture stunning images of a rare night sky phenomena.
To help you capture stunning supermoon images you can be proud of, Sony photographer and astrophotography expert Andrew Whyte explains how he’s photographed a supermoon using Sony’s G Master lenses.
01 Use apps & maps to research & prepare for your shoot
Information about moonrise times & positions are all readily available online and can be cross referenced with map data to help confirm if the shot you’re seeking is possible.
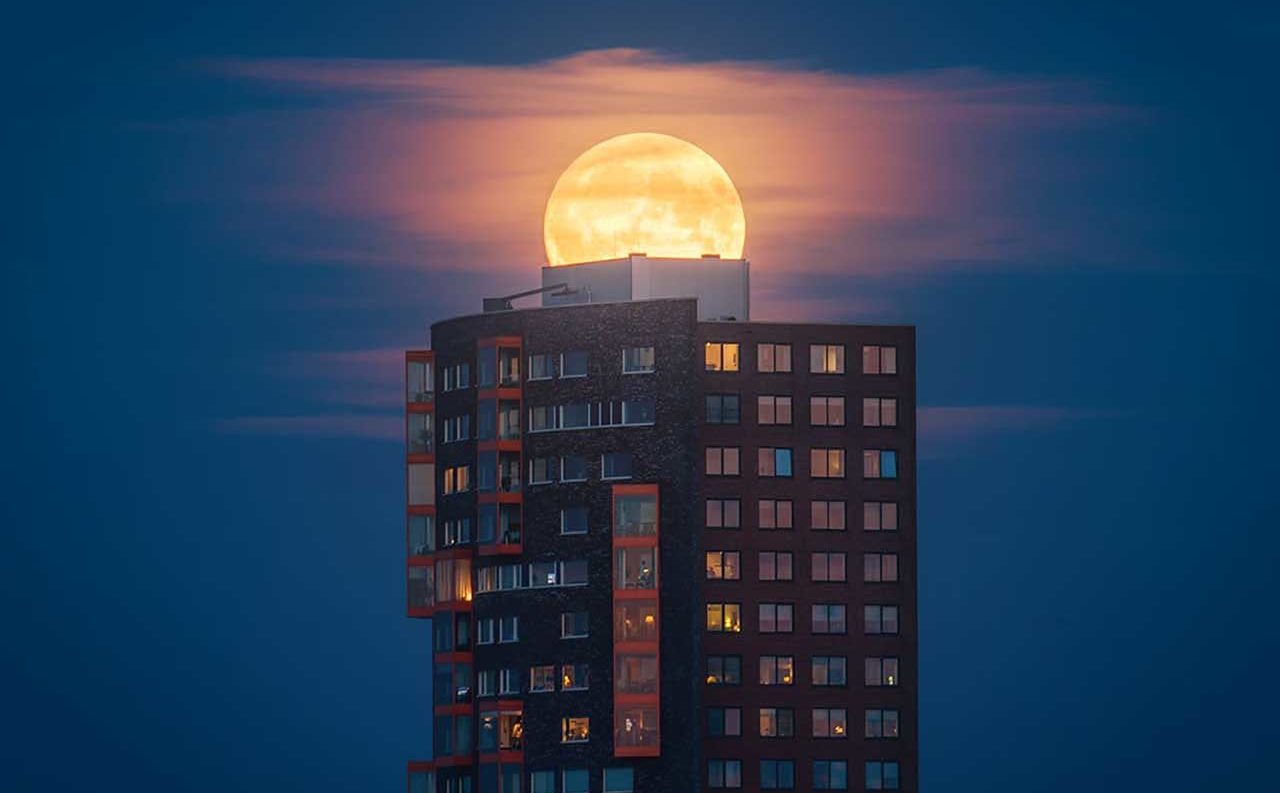
Try to include a landmark feature in your image but make sure there’s nothing in the background that can obstruct your view of the moon- tall buildings, for instance, or in more rural settings, a copse of trees or distant hilltops.
SEE MORE: How to photograph the moon
02 Do all you can to minimise vibrations
Anything that causes the camera to vibrate can lead to a loss of sharp detail in the final image. A solid tripod and cable release [or the Touchless Shutter app from the PlayMemories app store] helps to minimise such potential for movement.
It’s particularly important on camera/ lens combinations like the ones I used for this shoot, the α7R II & 70-200 GM, which combine very high resolution and incredible optical resolving power.

03 Take control of your camera
For consistent results you need to instruct the camera what settings to apply. I prefer to shoot in Manual mode but Shutter priority can also be used- these can be found respectively in the M and S positions on the Camera Mode dial.
In either case, it’s important that you tell the camera what shutter speed to apply, then adjust brightness using ISO (Manual mode) or the Exposure Compensation dial (Shutter priority).
Traditional advice is to select a shutter speed that’s numerically the same (or higher) than your lens length- so > 1/200 sec for a focal length of 200mm or > 1/400 for 400mm etc.
This helps avoid any further movement exaggerated by the longer lens. With a stabilised lens such as the FE 70-200 G Master and a good technique, you can comfortably halve this rule (for instance, > 1/100 sec at 200mm) and still retain sharp detail on static subjects.
SEE MORE: 8 night photography tips you’ll use forever
04 Focus- autofocus or manual w/ peaking
Particularly with telephoto lenses you sometimes have to compromise over which parts of your scene to have in focus. Choosing a subject that’s distant but large gives you the best chance of retaining sharp focus across the whole scene.
The moon is large enough and bright enough to allow you to use autofocus but you may prefer to focus manually.
The Sony α7R II features zoom assist and focus peaking to help you lock in the finest details- these functions firstly magnify the focus area within the viewfinder, then show small coloured highlights to confirm that the area is in focus. I find them invaluable, especially in low-light conditions.
05 Keep shooting and look for incoming subjects
Even the best-framed photo can be interrupted for better- or worse. From an inopportune passer-by in the foreground to a well-timed bird or plane in front of the moon- take a few photos in quick succession for each composition.
But watch ahead for anything entering or leaving the frame, as some “lucky” shots are really the product of the photographer’s vision and anticipation.
06 Stay out late & get creative
As the moon rises higher and the sky darkens, so arrives the chance to change your shooting style, for instance by silhouetting different subjects against the moon’s bright surface.
Look for interesting forms in tree branches, or wildlife on a hillside. If you’re with friends, ask them to pose in front of the lens and frame them in front of the moon.
Concentrating on a subject close to the camera helps to achieve the out-of-focus background [or ‘bokeh’], where individual points of light turn to soft overlapping circles.
READ MORE
How to photograph fireworks in single or multiple bursts
5 quick fixes to improve long exposures


