For several months I had toyed with the thought of printing myself rather than ordering from a lab. However I was put off by the perceived cost and consequently I rarely had the pleasure of seeing my work on paper aside from orders and products. That all changed this Christmas.
Moving into the world of printing had been extremely daunting for me, I didn’t know what to expect and I didn’t recognising the importance of factors such as colour profiling and paper selection. Despite this, I was excited at the prospect of being in control of my images from the first step to the last.
Screen Calibration
Have you ever looked at an image on the back of the camera and been excited at the prospect of seeing on the computer screen, only to wonder what went wrong when you do? That could because your screen needs to be calibrated.
Poorly calibrated screens misrepresent image colour, leading to inaccurate and poor post processing and disappointing printing results. Calibrating your screen once a month will help to keep your screen as accurate. It’s worth noting that your images may still look different on other screens or devices that are not calibrated.
Buy Epson SureColor SC-P600 Printer from Wex
Colour Profiling
Before moving into printing, colour profiles were a foreign language to me. I read article after article but was unable to grasp the concept.
My previous computer had been suffering from a colour profile mismatch, and in an attempt to fix it, I ended up investing in a new computer rather than rectifying the issue. Such was the breadth of my confusion and willingness to avoid the problem altogether!
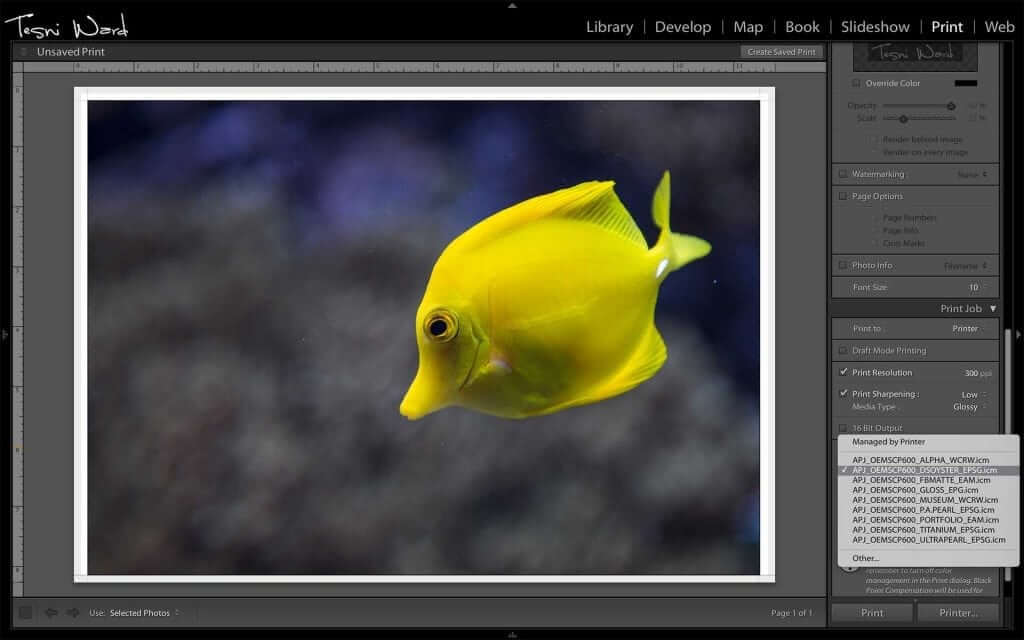
However, I now know that in simple terms, colour profiles are instructions sent from your post-processing software to your printer. It provides it with the information necessary to ensure that the print is a colour replica of the image you see on your screen.
Without this, your images will likely vary from what you see on screen – sometimes dramatically.

Choosing the best paper
For me, this was the most enjoyable stage of the process. With 8 different types of PermaJet paper ranging from gloss to fine art, I began to see my work in a way I’d not been privy to before. The anticipation waiting for the work to finish printing, comparing the noticeable differences from each individual paper was fascinating.
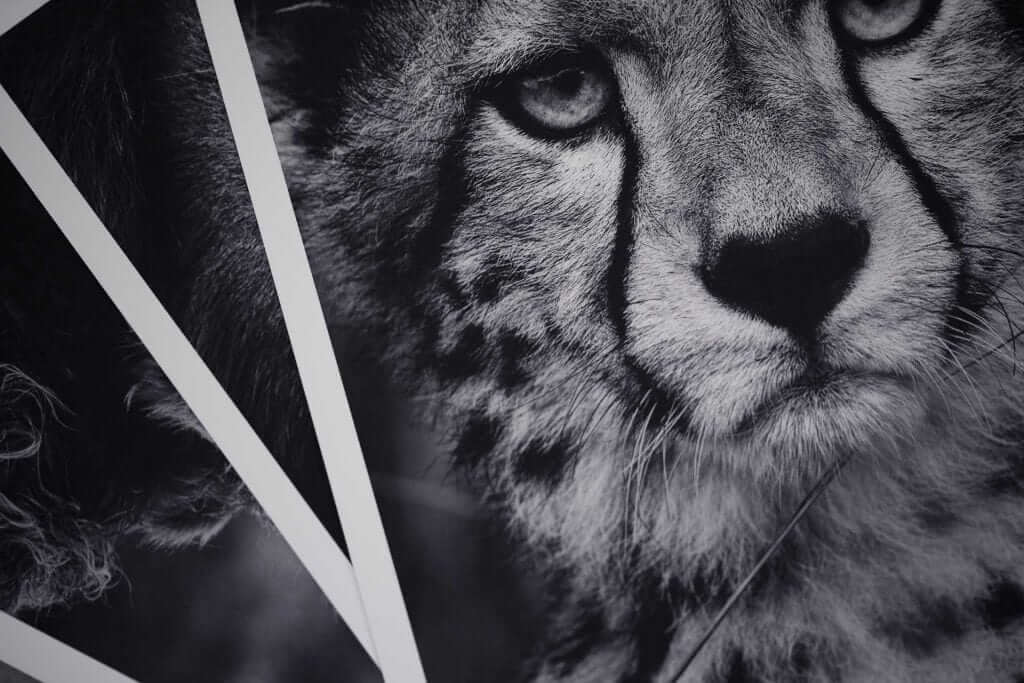
Some papers such as Portrait Rag seemed to produce the blackest blacks whilst others such as Museum Heritage seemed to give images a new dimension and additional pop to textures within my image.
It became quickly apparent that having one type of paper simply wouldn’t work for me, I would need 3-4 options. Each type of paper has different qualities and strengths, meaning I would be able to produce the highest quality work the vast majority of the time.
It also became apparent to me that it’s not a one size fits all game. Just as the way you frame, compose and execute your shot in photography, the finishing touches are equally important when printing.
Your own personal preference will be what makes your work unique, so don’t be afraid to try many different papers and go with those which speak to you the most
Why print?
In the earlier stages of my photography, I didn’t even consider printing. It was enough to view my images on a computer screen and that was as far as the process would go.
As I started to produce prints for customer orders I began to recognise how rewarding it was to view my images in print.
Prints feel more personal than an image from a projector or on a screen, it’s almost as if you have the urge to reach out and touch them.
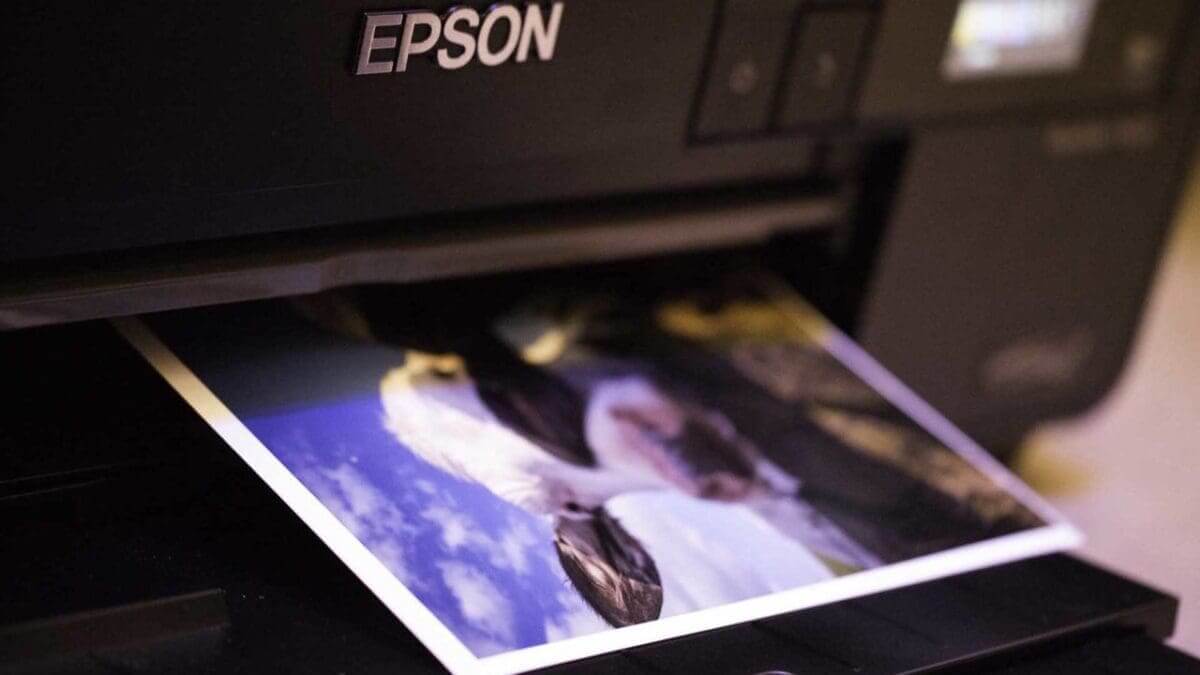
I can honestly say that learning to print for myself has been extremely rewarding and I still feel that excitement whilst eagerly awaiting an image to finish printing, watching it slowly emerge.
Of course printing is not without its own challenges, I have experienced paper jams and botched prints. I’ve also performed and numerous printer head cleans to keep everything running smoothly.
But for me this was more than worth the end result, knowing that I’ve been responsible for the first steps towards taking the image to the last; printing it off for display.

My Favourite Papers
PermaJet Museum Heritage 310 – I hated textured papers before I discovered Museum Heritage 310. The subtle texture on this fine art paper adds depth and texture to images.
PermaJet FB Matt 285 – This is a non textured fine art paper and I love the results it produces.
PermaJet Titanium Lustre 280 – When I first saw swatches of this paper I didn’t like it at all due to an almost metallic sheen, however when I started printing my own work on it I instantly fell in love. Something about it felt unique and gave images something ‘more’ than just standard paper.
PermaJet Oyster 271 – As a standard paper this is my favourite by far. Results are consistently outstanding.


