Your camera is a clever tool that can capture images across a wide range of challenging situations. But oddly – frustratingly – it can sometimes be difficult to capture in your images exactly how you’re seeing it through your eyes.
There are a number of reasons for this, and some simple methods to get it right. In this tutorial we’ll explain seven ways you can take more control over your exposures for images that match what you see.
01 Use manual exposure mode
The exposure systems in cameras these days are quite powerful, but they’re not always 100% accurate. And the key to getting a great exposure is to recognise these times when your camera needs some assistance, and then take control of the situation.
In probably half of these instances you can solve your exposure problems by dialling in some exposure compensation. A positive value will increase the exposure and brighten your image, while a negative value – eg -1 EV – will darken it down.
For those other times, though, manual exposure mode is the best way to get the look you’re after – particularly when shooting in high contrast conditions on when the brightness of the background keeps changing.
A good example of when you’d want to use manual exposure mode to capture what you see is if you were shooting live music. If you’ve ever been to a gig, you’ll know that the light is changing constantly. This will inevitably confuse your camera if left to its own devices.
For the best exposure, set your camera to manual mode then set the aperture, shutter speed and ISO to expose your subject correctly. Then it’s just a case of waiting for the light to fall in the right place and be quick to take the photo.
Now, you might notice that your exposure meter display will show your recommended settings shift, sometimes quite dramatically, as the light on your subjects on stage gets lighter and darker, and this can provoke the fear that you’ve got it all wrong!
But as long as the original light you exposed for remains the same strength, those settings you dialled in manually will still deliver a correct exposure.
02 Use your spot meter
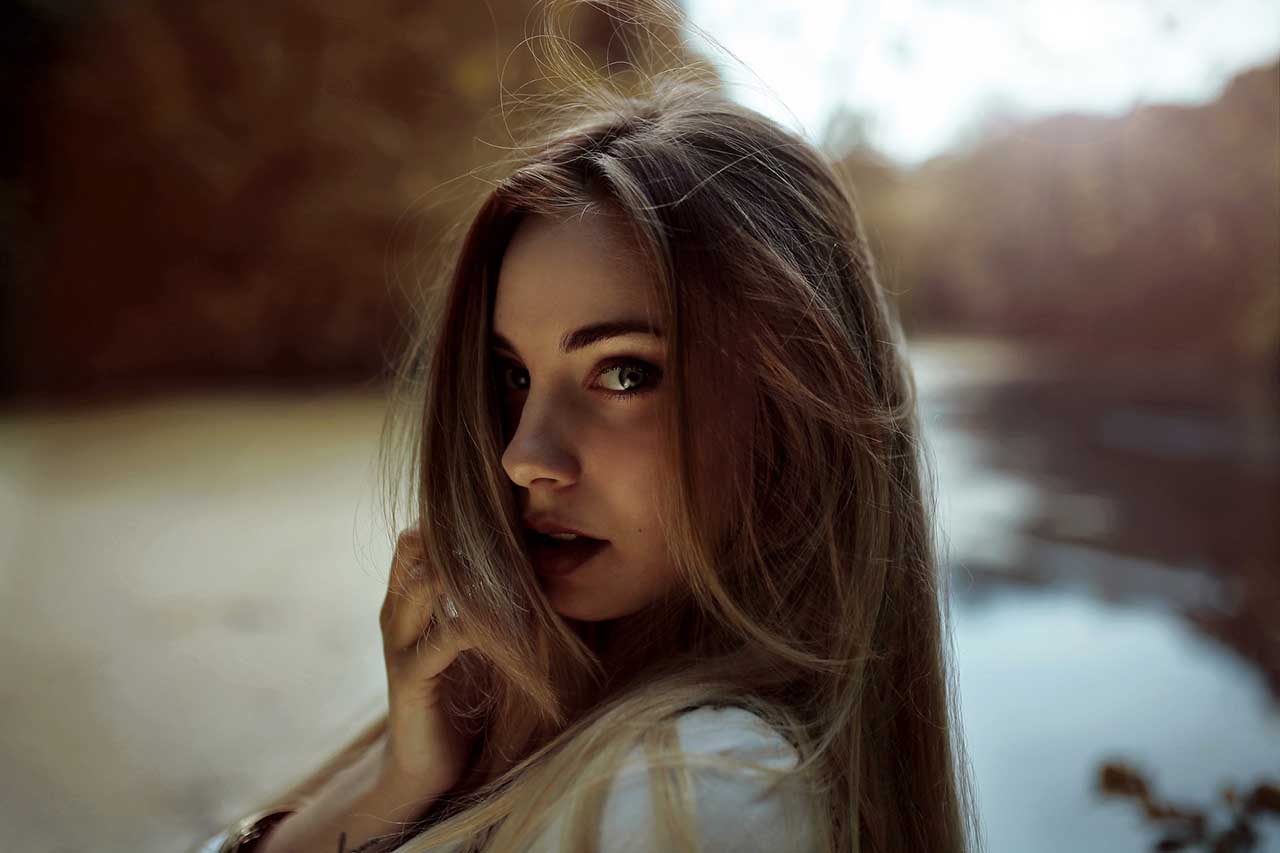
Your camera’s spot meter function is also designed to cope with difficult – and changing – light conditions like these. In particular, your spot meter will help you capture what you see when your subject is backlit or standing before a background that is much lighter or darker than itself.
Normally your camera’s light meter will take in the light across the whole of your frame and provide a suggested exposure. In most instances this works fine, but when a subject is backlit, for example, that bright background is going to skew the light meter’s measurement of the light in the scene.
Your spot meter is designed to take a reading from a small area of a scene, such as your subject’s face as she stands on the beach with a brilliant sunset behind her.
The ‘spot’, so to speak, is usually around your active AF point, but sometimes it might be an area marked around the centre of your frame. If you’re in doubt as to where yours is, consult your camera’s manual.
I often use spot metering when I’m in manual exposure mode so I can get that precise reading from a critical area of the scene and select the appropriate aperture and shutter speed settings for my chosen sensitivity value.
Then, if I recompose the image, or the subject moves, the exposure will stay the same.
03 Use a small aperture
The most powerful lens you have with you is your eye. Even in low light when our irises are fully dilated, we can see everything in focus (sometimes with the help of a contact lens!).
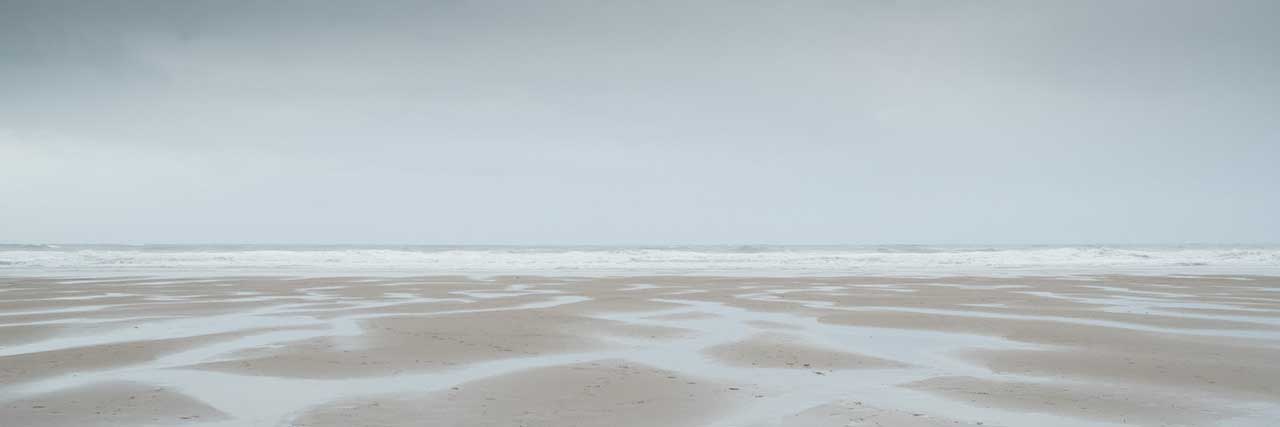
If you want to replicate this maximum depth of field that you see with your own eyes, then setting your aperture to one of the higher f numbers (eg f/16 or f/22) is the closest you can get.
A small aperture creates a large zone of sharpness, and you can maximise the effect further by focusing one third of the way into your scene. Doing so will render details sharp from the foreground through to the background.
04 De-clutter your scene
As good as our eyes are, sometimes it’s our brains that let us down. What I mean is that when you stare at a scene for so long your brain has a habit of ignoring objects around the focal point that we’re concentrating on.
This happens a lot in travel and landscape photography, where a landmark or beautiful vista can distract us from an ugly pylon or car parked within our field of view.
It could be anything. Unwanted distractions can really spoil an image, and I find them more frustrating than making an error with my exposure because they’re something you can easily fix by re-composing.
Before you take a picture, take a moment and step back. Look at the edges of your frame in live view. Look for any extraneous clutter and frame your subject tightly when composing so that you capture what you’re seeing in your mind’s eye.
05 Custom white balance
While our brains may let us down sometimes when ignoring compositional clutter, they are quite adept at interpreting the colour information they receive from our eyes.
When we see an object we know to be white, we see it as such (or very close to) no matter what the light source may be. Basically, our brain is able to tune out, dissolve, de-filter, whatever you want to call it, the colour casts that result from a wide variety of light sources.
Your camera’s Auto White Balance mode is configured to replicate this brain function, and when you stop and think about it, it’s really quite remarkable how accurate they are.
In natural light of any kid, your automatic white balance does an admirable job of producing an accurate white tone. Only in artificial light conditions does AWB start to fall down.
How will you know this? You might notice a green colour cast in your images if shooting under fluorescent light, for example, while candle light might give your photos a dark orange tone.
Your camera will have a number of preset white balance options for situations like shade and fluorescent lighting where the auto mode might struggle, but the best way to ensure you get the tones you’re seeing is to set a custom white balance.
Your camera’s manual will explain exactly what to do for your make and model, but typically you set a custom white balance by taking a photo of a neutral grey or white subject (a piece of card is ideal) in the same light as your subject and then setting this as the standard, which tells your camera to use this tone as the reference image for setting a custom white balance.
And that’s it. Once your camera is set to Manual or Custom white balance you should be able to produce neutral images in that lighting.
06 Make HDR images
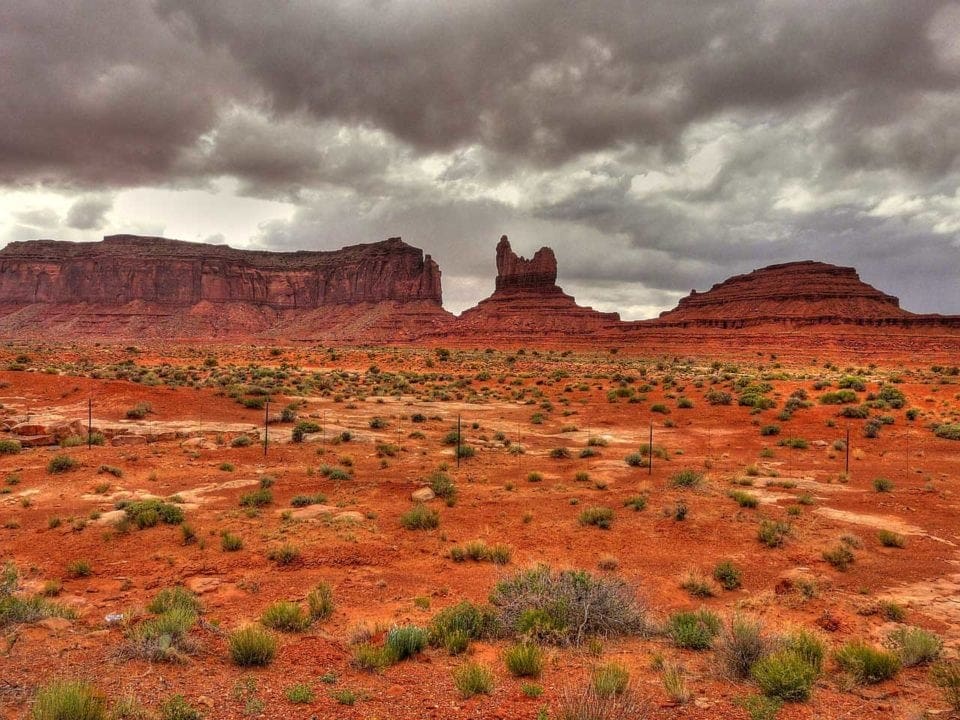
In the early days of High Dynamic Range images many resulting photos had a tendency to look like crayon drawings. But as software and techniques have become more refined over the years, results have become much more subtle and representative of what we’re actually seeing through those fantastic eyes of ours.
Our eyes can see a much wider range of tones than a digital camera can record in a single image. We see much more shadow detail and tonal variations in highlights, which from a lot of cameras will render as deep blacks and burned out areas of an image.
Cameras struggle with high-contrast scenes. Even the good ones.
With high dynamic range photography you can replicate what your eyes are seeing by taking a series of images, one exposed for the highlights, one exposed for the shadow areas and one ‘correct’ exposure.
You then combine these images to create one photograph that has a wider range of tones than your camera can capture in a single frame.
Remember: the aim isn’t to see every single detail in a shadow as a mid-tone, but to reveal a little taste of what is there.
There are specialist HDR software packages such as Photomatix and HDR Efex Pro, but it’s possible to produce similar effects using regular image editing software such as Adobe Photoshop CC and Elements.
In fact you can do it with any photo editing software that supports layers.
07 Use an effective focal length of 50mm
Back to our eyeballs again… did you know that human eyes have an angle of view that’s roughly equivalent to 50mm on 35mm (which is full-frame format)?
This is the same using a 30mm or 35mm lens on cameras with APS-C image sensors, or a 25mm lens on a Micro Four Thirds body.
Using a lens with an effective focal length of 50mm enables you to compose images more easily in your mind because the framing is so close to what we see.

Cool, Thanks