iPhone may be just one model in a crowded mobile phone market but being Apple, it has a massive following. In this feature, I’m going to take a look at how to shoot better iPhone video.
Don’t worry Android users we’ll take a look at Android video use next.
What you’ll learn
- How to open the iPhone Camera App
- How to select the Camera App video option
- How to change video resolution and frame rate
On all the latest iPhone models accessing the camera to shoot stills and video is as simple as tapping the Camera App. This App already comes installed as part of the phones standard interface, so there’s nothing you need to do to get started.
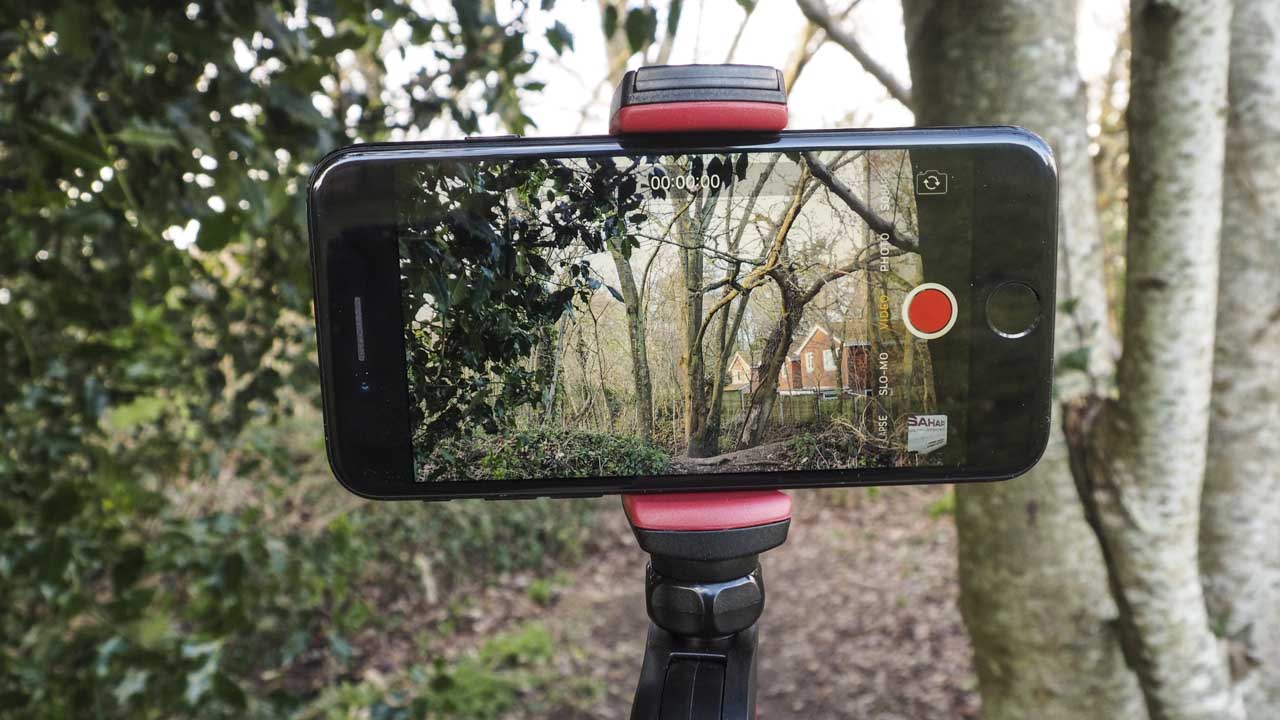
As default, the mode will be PHOTO which makes sense as that really what most phone users will want. However to switch to video just swipe right.
Then if you want to capture slow-motion swipe right again and select SLO-MO, easy!
Using the Camera App to shoot photo’s and swiping right to select video etc. might all seem blatantly obvious, so now let’s get into what else you can do with the Camera App’s video option.
First, let’s look at the resolutions and framerates, you can read more about these and what they are in our How to get started with video article. These settings are often know as the quality settings and we’ll use that term to generically refer to the resolutions and frame rates.
Now let’s see how to select them.
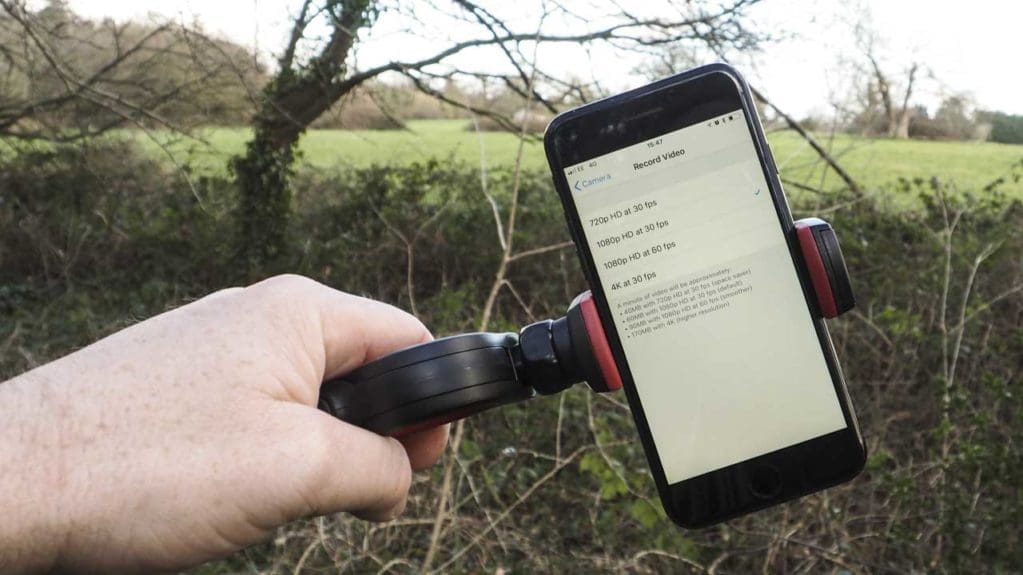
How to select video resolution and framerate on the iPhone

- Minimise the Camera App by taping the home button
- Tap Settings
- Scroll down to Camera and select
- Tap Record Video
- Select the video frame rate and resolution you want
- For smooth footage tap 1080p at 60fps
- Minimise the Settings by tapping the home button
- Open the Camera app and make sure that video is selected
- You’re now ready to shoot video at 1080p at 60fps
You now know how to adjust the iPhone’s video resolution and frame rate from the default selection of 1080p at 30fps to 1080p at 60fps. This is all very well and good but why would you want to change the settings and what do they mean?
Which iPhone video resolution and frame rate should I use?
For the majority of iPhone’s you only have four options using the standard Camera App. Here’s a break down of what they are and when they should be used.
- 720p at 30fps – Only use this video mode if you’re limited for space on your iPhone.
- 1080p at 30fps – The default mode set by Apple, it’s a good all-round setting and will ensure that you always capture decent footage. If your scene or subject contains action, then the motion may seem a little jerky.
- 1080p at 60fps – If you have the space on your iPhone then crank up the frame rate. The higher frame rate comes into its own when shooting a scene or subject with motion. Those extra frames will ensure that the motion stays smooth, but there is a price as files will be 33% larger than those filmed at 30fps.
- 4K at 30fps – If you’re phone has space, and you’re not capturing fast-paced action then why not. 4K will enable you to capture the highest quality video. It also has the advantage that when you start to edit your footage, you can recompose the shot by cropping in
You should now have a good understanding of how to get started with the iPhone’s video feature and how to adjust the video quality settings.
You should also know when and where to use those quality settings.
The next stage is to get out there and shoot some video – experiment with the settings and see where your creativity takes you.


