
The topic of focusing for video shoots is not as straightforward as you may think. Aside from the obvious manual or autofocus choice you also have technique, technical and creative choices to make. To try to make things more clear Steve Fairclough examines some of the key things you’ll need to consider when focusing for videos…
What you’ll learn
- The importance of manual focusing for video
- The AF options for shooting video
- Using Live View for video
- Locking focus
- Focus pulling explained
- How to isolate a subject
- Best accessories to aid accurate focusing
What you’ll need
- A camera with control over manual focus settings
- In-camera AF options for video shoots
- A steady camera support – tripod, gimbal or monopod
- Focusing accessories – focus pullers, monitors, loupes
If you’ve been following this series of blogs on the basics of shooting video by now you’ll have realised that the amount of considerations you need to take into account for video outnumbers those you require when shooting stills.
Unfortunately, it doesn’t get much simpler when considering focusing for video as shooting moving footage is a tad more complicated than, for example, using an autofocus system to shoot a still of a moving animal. But, fear not, with a few simple pointers we can help you to better understand how to focus when shooting your videos…
Manual focus is best
As with stills, the manual focus option is very handy when it comes to shooting video footage. It means you keep control over the focusing in the scene and don’t have to rely on technology to do the work for you. You‘ll find most pro filmmakers will use manual focusing as their go-to method of focusing and it is probably best to use it around 90% of the time.
Certain scenarios (many of which are examined below) do lend themselves to using AF for shooting video but it’s usually best to switch to manual focus when shooting videos. AF systems can be sluggish to adjust and if a subject is moving there is the risk that an AF system may hunt for it or suddenly pop from one plane of focus to another. To avoid this you’ll have to focus manually. If in doubt, stick to manual focus!
AF options for video
The Canon EOS 70D DSLR was a groundbreaking camera on its release in 2013 as it saw the introduction of the Dual Pixel CMOS AF technology. This technology was developed to provide smooth focus tracking in movies and fast AF for stills in Live View mode. Essentially it was meant to give more control over focus for movies. Without delving too deeply into the technical side of things with face and object tracking engaged on the 70D, Movie Servo AF follows a chosen subject as it moves or when a scene is recomposed.
Nowadays many DSLR cameras offer AF options for shooting videos. For example, Canon now offers a ‘Movie Servo AF’ option in the EOS 5D Mark IV. This can be turned on and off or paused and within it various AF methods are available. These include a Tracking mode, FlexiZoneAF Multi and FlexiZoneAF Single. Tracking uses facial tracking technology and is a simple way to track the movement of a subject, such as a talking head, with a stationary camera.
FlexiZoneAF Multi will automatically focus on the largest subject in the foreground but allows you to tap on the rear LCD screen to shift focus to a different option (maybe something in the background of the scene). FlexiZoneAF Single allows you to manually set focus wherever you want in the frame just by tapping the touchscreen at the point where a person or object you want to be in focus is.
The key to using AF for filming is being fully aware of what your camera will and won’t do and which shots you actually can shoot with the autofocus system and which you will need to manually focus on. You don’t want an AF system to start hunting for focus away from your subject, for example.
It may sound like a broken record but remember to write down your shot list and include exactly what type of focusing you plan to use for each shot, even if it’s only a few seconds long.
Mirrorless options for video
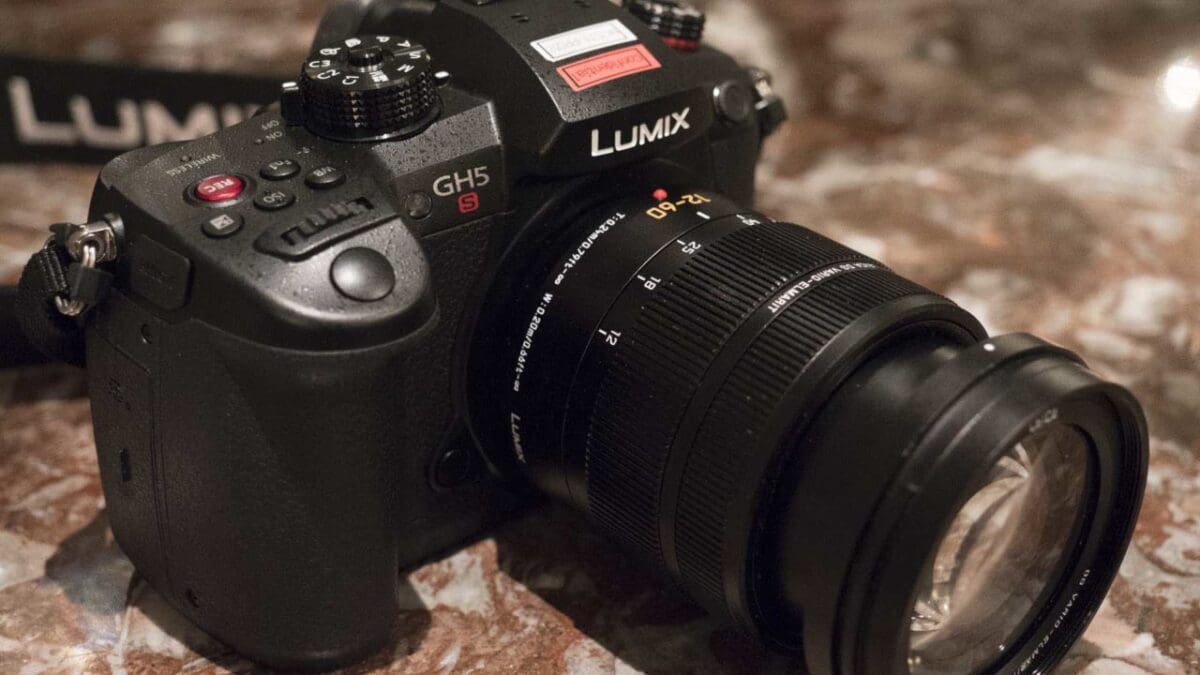
For many years shooting digital video used to be the domain of DSLR cameras but nowadays you have the option of a number of advanced, mirrorless cameras, such as the Panasonic GH5 and the Sony a7R II, that also offer AF (and manual) options for shooting video.
Again you’ll have to make a decision on when to deploy AF based both on the shooting scenario and the breadth of the AF capabilities of the camera for video.
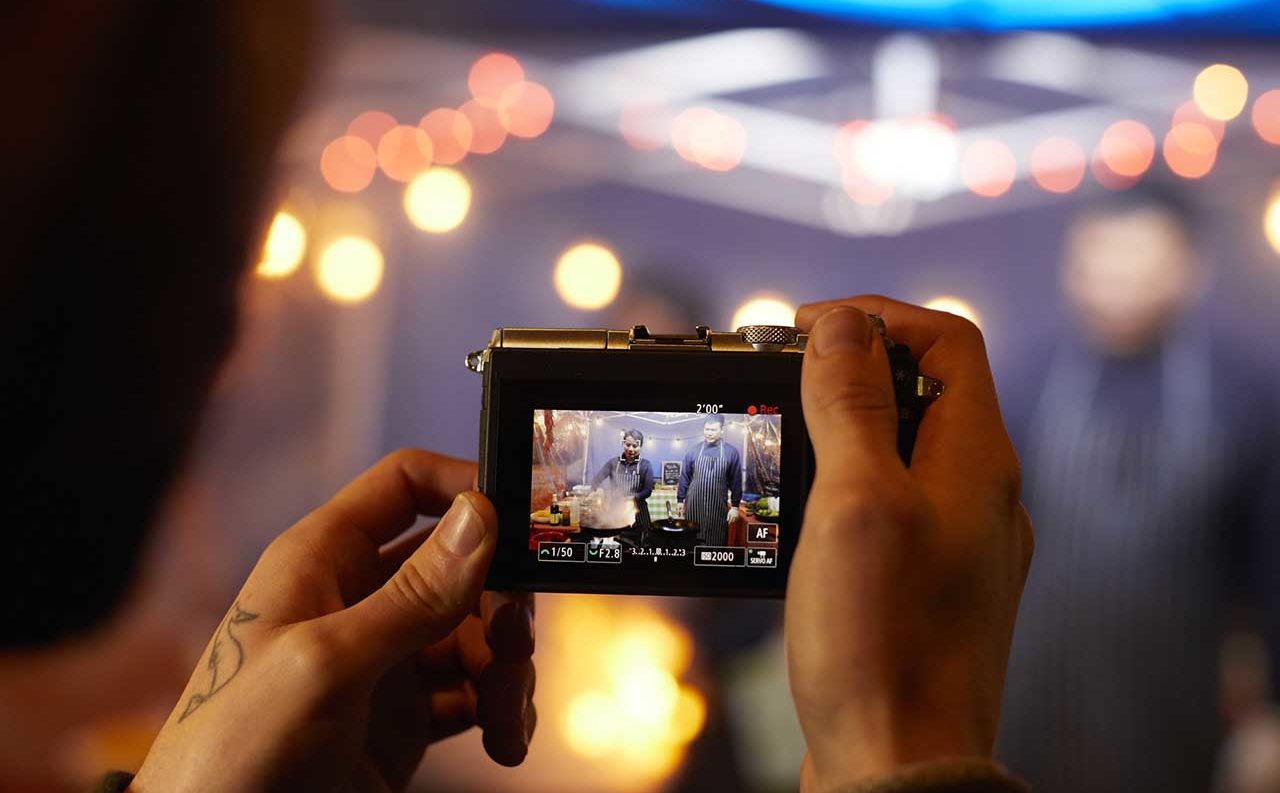
Using Live View for video
The Live View feature of DSLRs was previously used as a key tool to ensure accurate focus on a person or object within the frame by lifting up the camera’s mirror to show a video image of exactly what the camera and lens combo is seeing. It also allowed you to zoom in – usually by 5x or 10x – on focus points on the rear LCD screen to check exact focus on specific areas of the frame.
This accuracy potentially means Live View can be used for shooting video but it does require a series of menu adjustments and camera settings to do so. Most Live View systems use a choice of AF modes – such as face detect/priority, wide, normal and tracking – so you need to decide if the available AF modes of your camera match your planned shooting scenario.
Locking focus when shooting video
For filming subjects or vlogs a great technique is simply to lock focus and keep the same distance from yourself or your subject at all times. If you’re on the move you’ll have to deploy a gimbal or easily movable steady support, such as a Glidecam, but you must maintain the same speed and relative distance as your subject in order to keep them in focus at all times.
Focus pulling
You’ve probably watched any number of films or TV programmes and seen focus in the same frame switching from the character/subject in the foreground to the character/subject in the background. This is focus pulling aka rack focus. It is best done by manually focusing on your subjects and by opening the aperture as wide as it can go, usually around f/2.8 or f/4.
You will have to keep the camera as still as possible and switch your lens to manual focus before executing the ‘pull’. Before shooting you also need to check out exactly the direction and exactly how far you want to move the focusing ring to switch the point of focus.
Many filmmakers deploy a follow focus rig on which you can mark the points of focus so you can execute a smooth focus pull to exact points. If you start to shoot a lot of pull focus situations it may be worth investing in such an accessory that will help you execute focus pulls smoothly and accurately.
Isolating a subject
In many TV programmes and feature films a shallow depth-of-field is often used creatively to focus on and isolate the subject. One of the advantages of shooting video with a DSLR that has a large sensor is that you can reproduce this look and give your videos a ‘filmic look’.
In the past video cameras with smaller sensors couldn’t replicate this shallow depth-of-field, which is why most amateur videos have front-to-back focus.
You can try using careful focusing and a shallow depth-of-field to give your videos a cinematic effect but it’s best not to go too crazy on using this style as overusing it may make it look like you can’t film in different styles. To do so use a wide aperture from about f/2 to f/5.6, depending on the lens and exactly how much of the scene you want to have in focus.
Accessories to aid focusing
As well as what you can focus on in-camera, via AF or manual focusing, there are a variety of accessories that can help you focus the scene accurately when shooting video. One of these is the loupe.
A loupe attaches to the camera, covering the rear LCD so you can bring the camera to your eye as if you were using a large viewfinder to frame your scenes. Different loupes offer different variations of magnification to help you see and focus accurately.
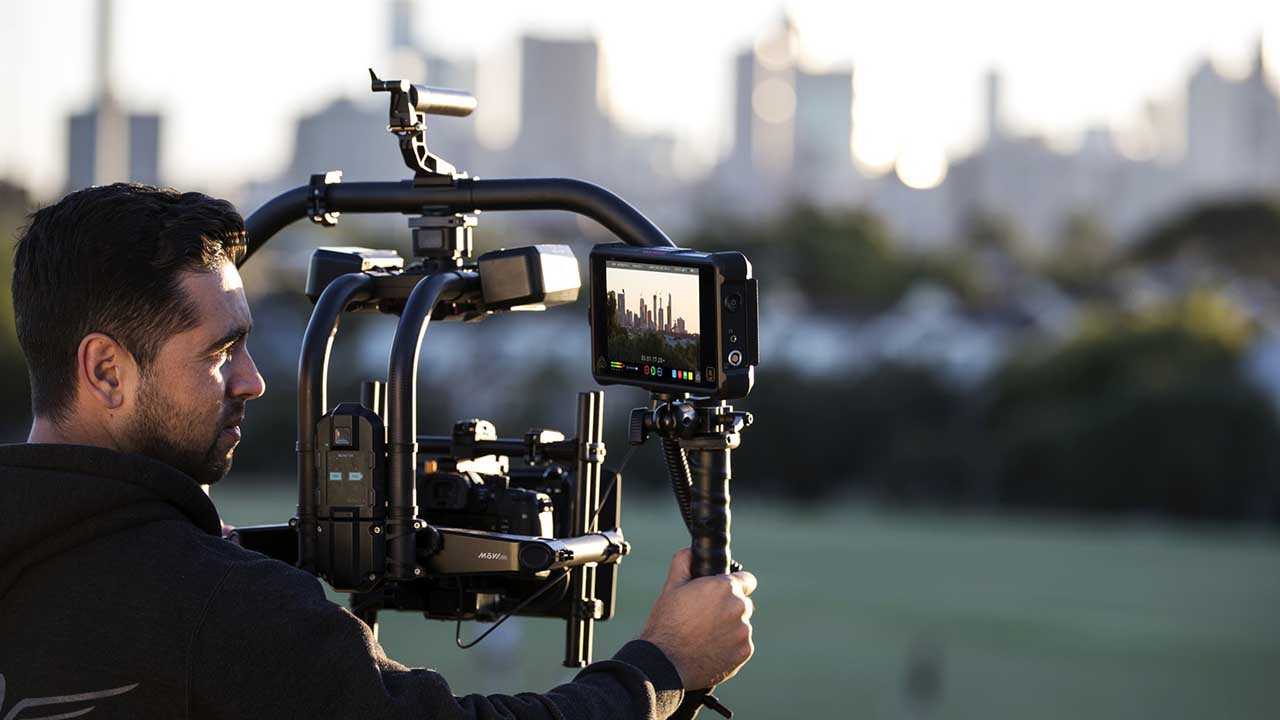
Another accessory is the external monitor – these are produced by companies such as Atomos and sometimes double up as both monitors and external recording/storage units. They are often helpful when shooting video as if one person is operating the camera other people can view the footage off-camera as it is being captured. An external monitor can also be useful for the videographer who simply wants to view the scene unfolding before his camera on a larger display than that of the camera’s built-in LCD panel.
A third accessory worth noting is the aforementioned follow focus system that will attach to the lens and allow the camera operator to more easily control the motion of the focus pull. You need to take a little bit of time to get used to using one of these but they can be invaluable for focus pulls. An affordable option is the FocusShifter, which was specifically designed for videography using DSLRs or mirrorless cameras.
Planning = creativity
You can see from all of the above that, unsurprisingly, adjusting focus settings for shooting videos is a more complicated affair than doing so to shoot stills. Don’t be afraid to experiment and to find out what type of focusing works best for you. As a good rule of thumb, don’t rely on AF if you’re not guaranteed the accurate focus results that you want.
However, it’s important to realise that with a bit of pre-shoot planning and preparation you can actually use focusing in a very creative way to enhance your videos. Creative focusing can add depth, impact and power to your storytelling, so investing time in planning how you’re going to focus during each shot of your film will be worth it when it comes to working with your footage in the edit.