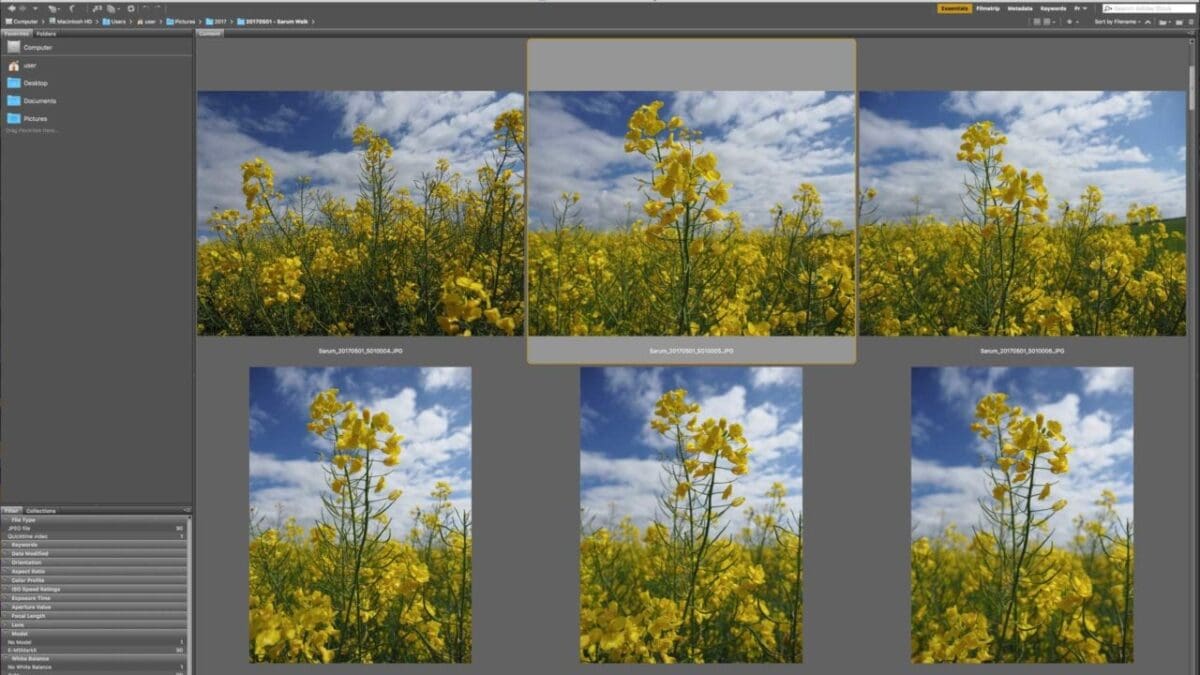
Ask most people about the state of their image library and inevitably they’ll raise a guilty smile. It’s one of those housekeeping tasks that will forever remain near the top of your to do list but will never actually make it too the top.
Even the most organised of photographers rarely finds the time to have a really good image sort and clear out. Tackling the last few years of images is a daunting task and one that’s probably best left till the winter, however there are a few things you can do now to help reduce the amount of unorganised images filling up your hard drives.
Really it’s all about getting a system and sticking to it. Many like to organise their image libraries manually in a way that they understand but few others do, whilst others would prefer to allow a piece of software to do it for them. Either way there are certain naming conventions and folder structures that I have found work for myself and others over the years, and thankfully it’s easy and straightforward to set-up in Adobe Bridge.
Before we start let’s look at the process of downloading your images to your computer. This may seem obvious but the steps can be kept brief as a helpful guide to those just getting started.
1/ Remove memory card from camera and place card in card reader or plug your camera via USB into your computer
2/ Load Adobe Bridge and use the Photo downloader to download and organise images
3/ Check the images have copied across
4/ Eject the card / camera from the computer
5/ Reinsert card into your camera
6/ Use the camera Format option to wipe the card
Your camera’s images are for the most part stored on a memory card in your camera. When it comes to downloading your images from the card to the computer you have a few choices:
Download direct from the camera through a USB link from your camera to your computer
Remove the memory card and pop it into a memory card reader attached to the computer
If your camera has built in WiFi use this to transfer the images from your camera to the computer of cloud storage.
In this tutorial we’ll just look at the USB from camera or card reader option. I would recommend buying a card reader as this will inevitably be the easiest route.
Kit required:
- USB cable between camera and computer
- Memory Card Reader
- Adobe Bridge
How to download and organise your image in Adobe Bridge CC
Step 01: Load the card
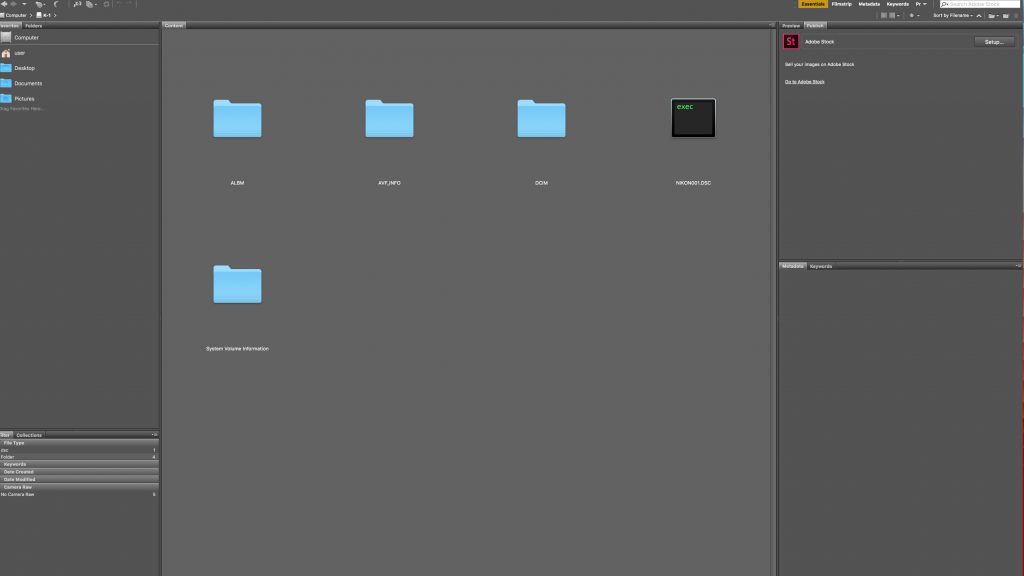
Either remove the memory card from the camera and insert into a memory card reader, or connect your camera through USB to the computer and follow the connect options specified by your camera. You should see the memory card appear as a disk on your computer.
Step 02: Get Photos from camera
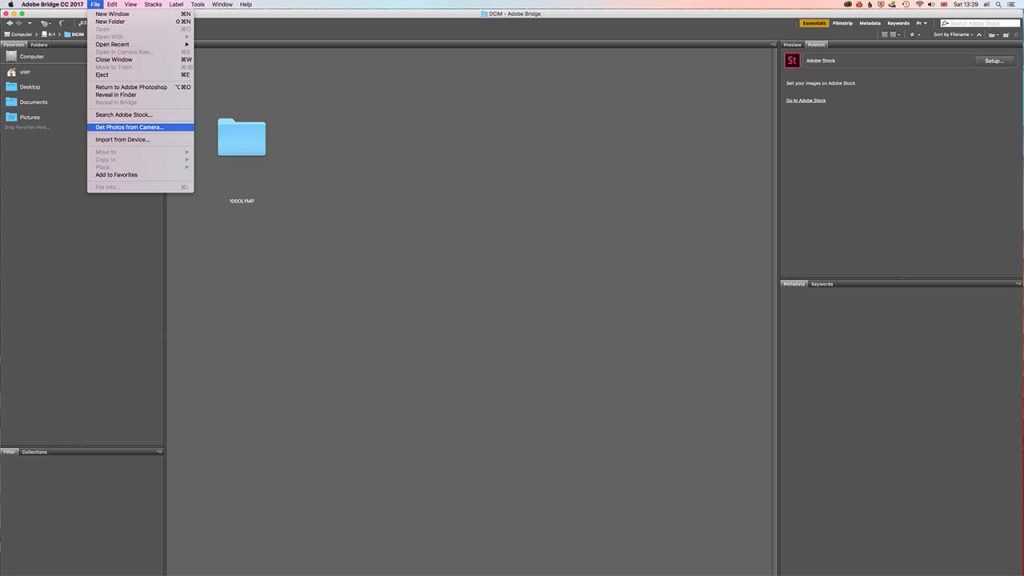
Load Bridge and from select File > Get Photos From Camera, you’ll be asked if you want Photo Downloader to Automatically open when you insert a card, click to make your selection and click OK to open the Standard Dialog. At the bottom of the screen Click Advanced Dialog.
Step 03: Advanced Dialog
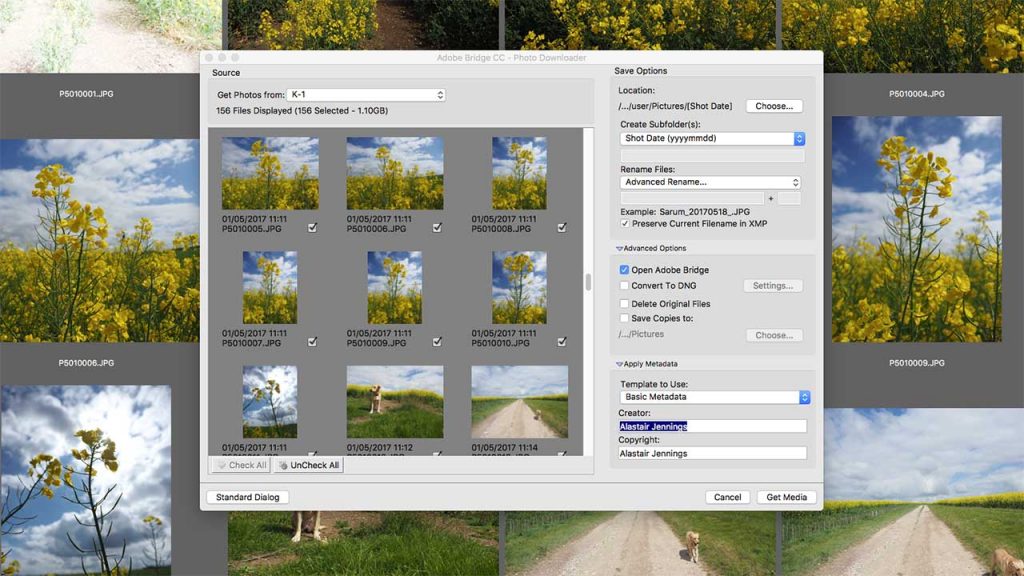
The Advanced option just enables you to see the thumbnails of the files that you’re importing. Usually I wipe a card after I’ve downloaded all files but you may want to import just a few of the files that are on the card or separate RAW and JPEG files into seperate folders.
Step 04: Create Sub Folders
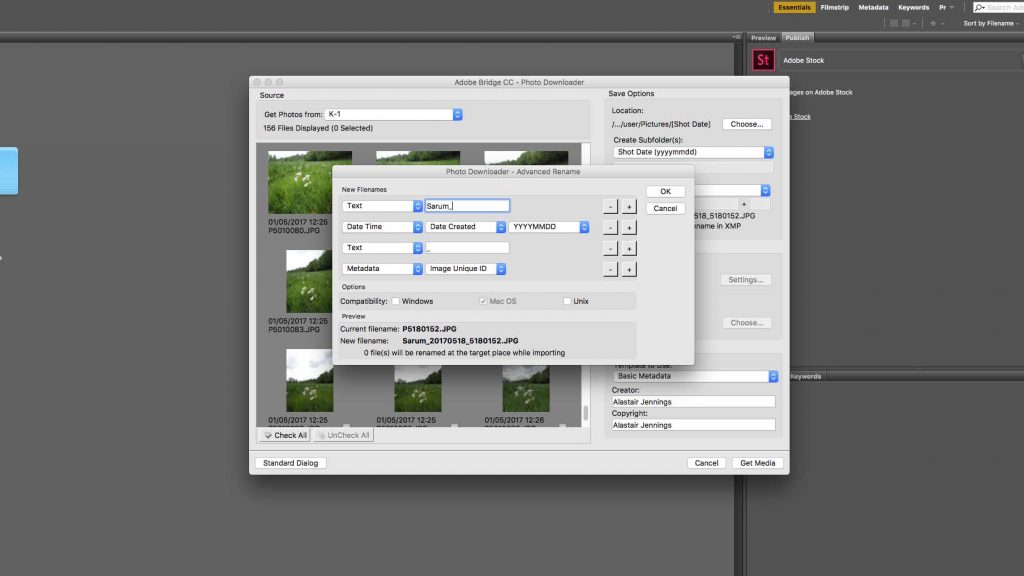
The first option enables you to select the folder structure, as default this is YYYYMMDD. I find this works well, you can then rename the files, here I like to keep the camera unique file ID so click Advanced Rename and in the options layout adjust the file name structure. I’ve opted for something descriptive followed by date and image unique ID.
Step 05: Import our images
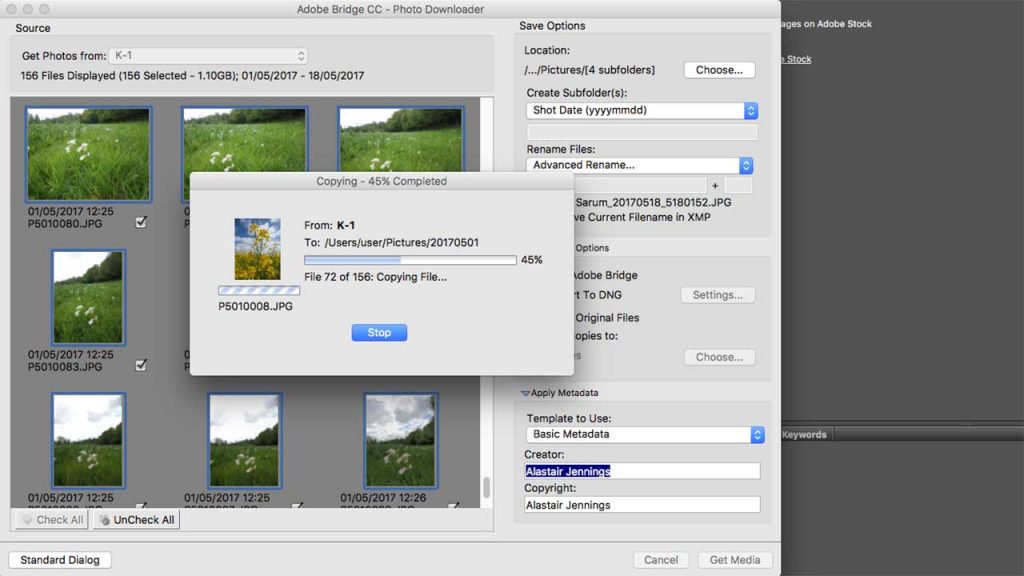
Click OK and now you’re ready to import the files. The default destination for the files to download will be into your computers Pictures folder. You can easily change this by clicking the link and selecting a new location, I tend to create a folder named after the year and direct all folders and files into the folder. Make sure the files you want to download are selected and click Get Media.
Step 06: Check your files
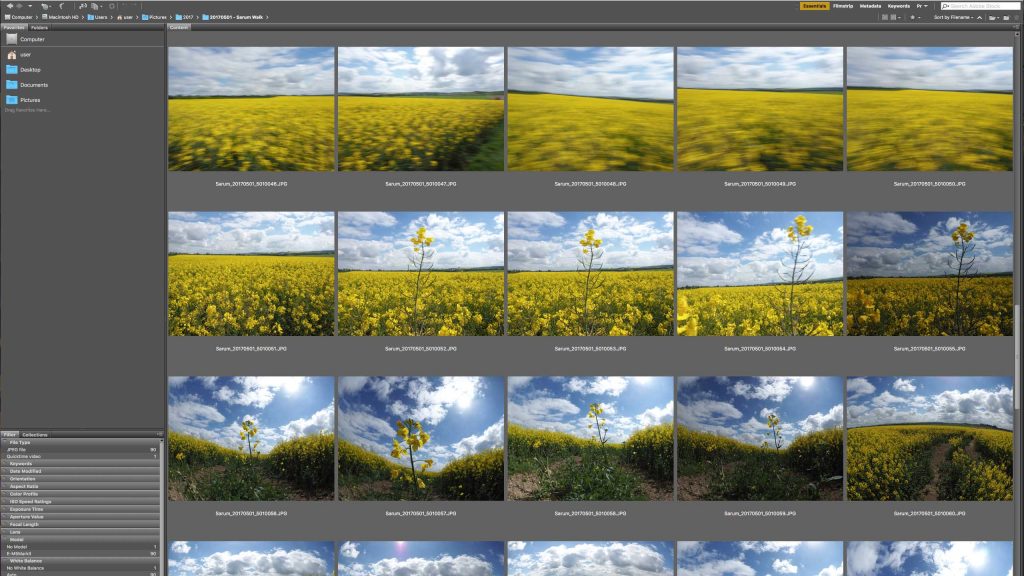
After the files have downloaded and you’ve returned to Bridge click the Pictures folder, then the year if you’ve created a folder for this and you should see all of the images with the date folders. Have a look through each folder just to make sure all images have downloaded.
Step 07: Add to the folder names
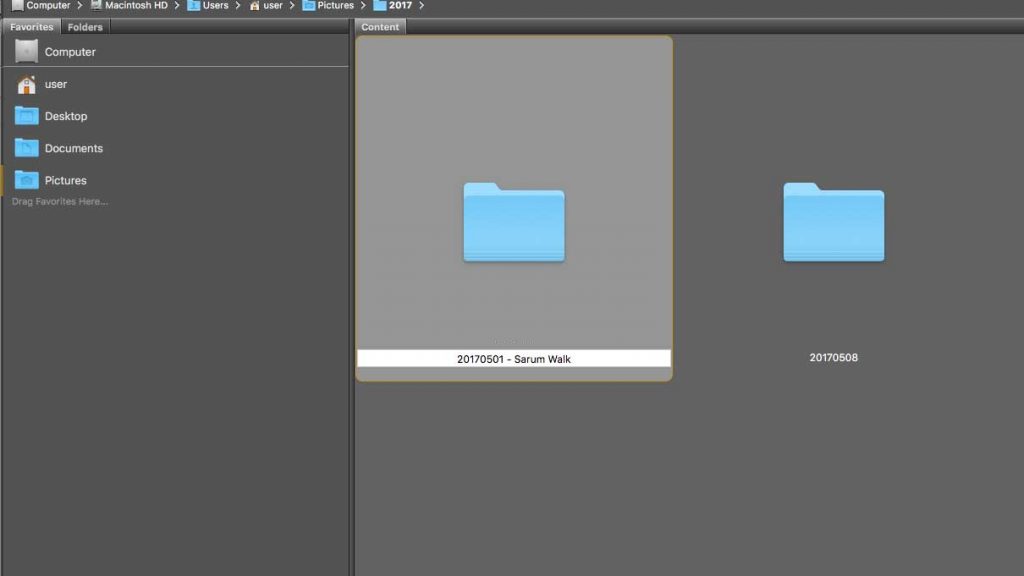
At the moment the folder names tell you the date the images where shot but they’re not very descriptive. During the download process we got Bridge to rename files so that they were more descriptive now let’s do the same for the folders. In Bridge Click one of the folder names twice so it highlights and add “ – Description” to the end of the folder date name.
Step 08: Format the card
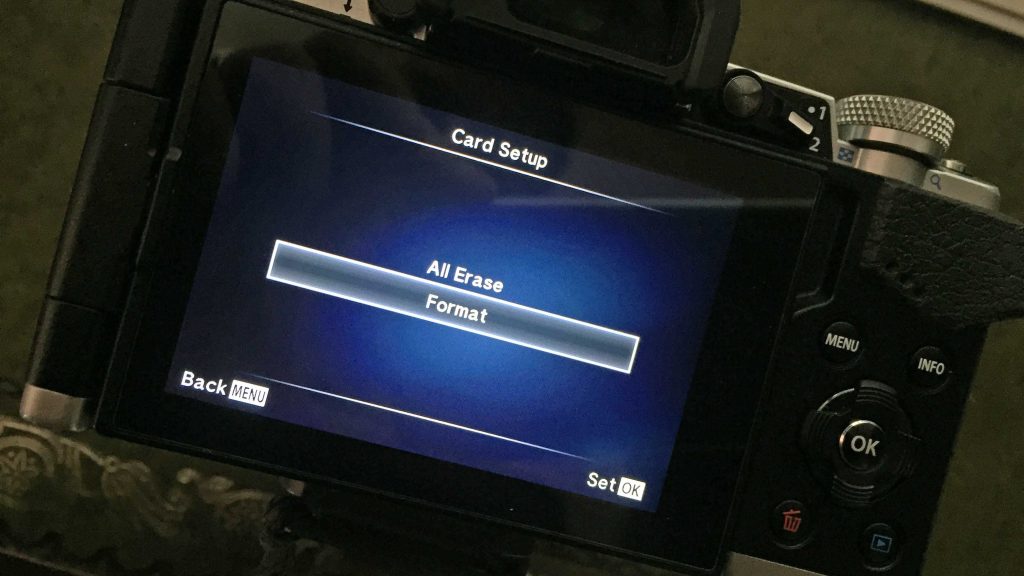
Now the images are downloaded and on your machine it’s safe to delete the images from the memory card. The best way to do this is in the camera, this just makes sure that the card is fresh and ready to use the next time you need it. First make sure you eject the memory card from your computer then place the card into your camera and find the format option to clear the card.
