This is the last in the present series of articles on colour management, so I thought I would round off with some recommendation for equipment you can use for best results.
Obviously you want to use a good camera, but practically any decent quality modern camera is capable of delivering superb results if you use the right photographic technique, allied with a fully colour managed workflow.
First of all, I am great believer in shooting right for colour management, so that means accurate exposure, white balance and good lighting. If you take these steps before pressing the shutter button, everything imported to your computer is already in a good state and will require very little post-production work.
For accurate exposure I am a big fan of Sekonic light meters, which appear to have the best technology these days. They have a range of highly accurate digital meters from the pocket sized L-308s right up to the new L858-D, which is the most advanced light meter in the world.
Poor exposure negatively affects the dynamic range of your images, so you can literally lose a big chunk of useful image data, simply through lazy metering.
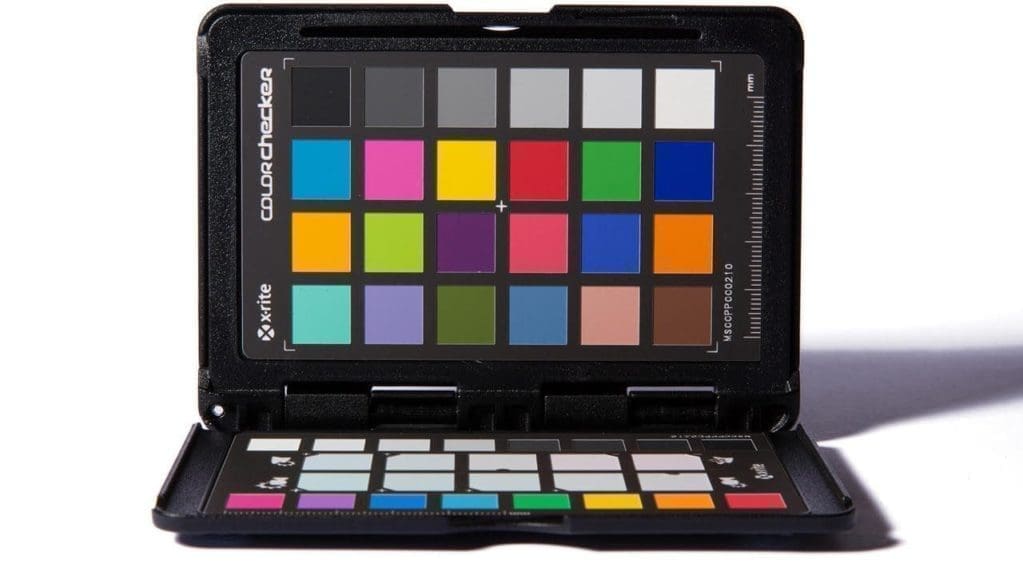
I can highly recommend the the X-Rite ColorChecker Passport Photo as an all in one tool that will allow you to set a custom white balance and create profiles for your camera, so that all your colours come to life and remain consistent among your different cameras under a range of lighting conditions.
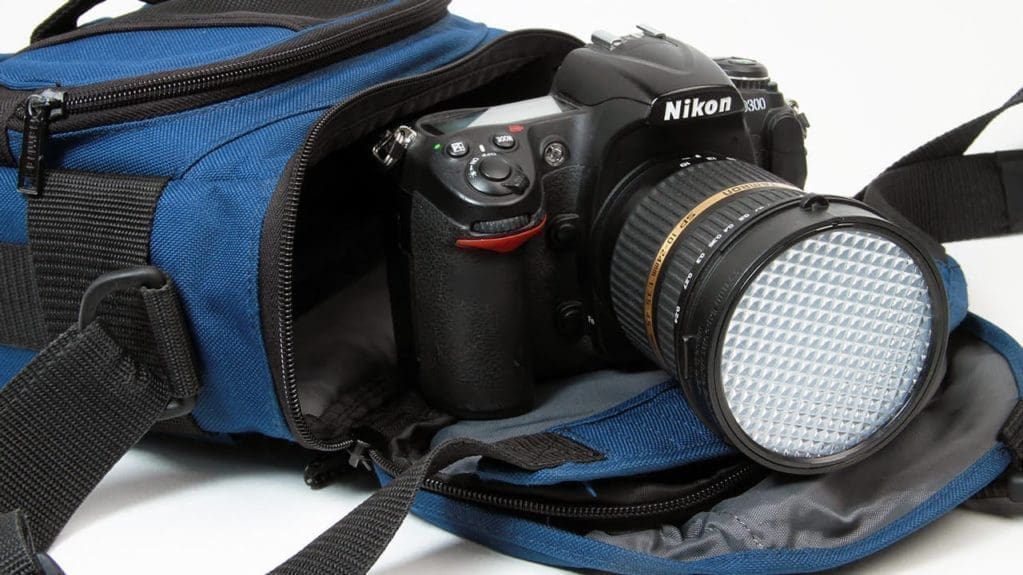
There are times when I’ll reach for the ExposDisc instead to set the white balance, especially in poor weather conditions or near splashing water, because they are extremely robust and deliver good results in easy steps.
For computers it really doesn’t matter these days whether you use a Mac or PC, since they both offer great compatibility to the same displays, printers, scanners, software and even videos cards in most cases.
If you work on an image in Photoshop it’s essentially the same on either platform. Having said that, I am happier overall using a Mac and one of the reasons is that Mac OS has a consistent interface for printing, whereas it varies from printer to printer in Windows, which is generally more fiddly.
I personally favour external displays over alternatives like the iMac and for photography purposes the BenQ SW2700PT PRO is hard to beat as a wide gamut display, offering value for money. It has a large 27” screen and covers 99% of the Adobe RGB colour space, which is ideal for photographic editing.
For calibrators you can spend an awful lot of money for high end professional devices, but very few photographers need these and they are aimed more at colour management specialists or prepress printers working on big budget print jobs, where even small error can be extremely expensive.
For most photographers you either want a colorimeter that will calibrate your monitor beautifully or a spectrophotometer that can do the same job or also profile your printer profiles.
For a colorimeter I use the i1Display Pro, which is a wonderfully accurate device for calibrating your display and works with X-Rite’s advanced i1Profiler software or a number of 3rd party alternatives, such as BasICColor or the excellent SpectraView II made by NEC for their own monitors. If you are happier with a more entry level solution you could start with X-Rite’s ColorMunki Display.
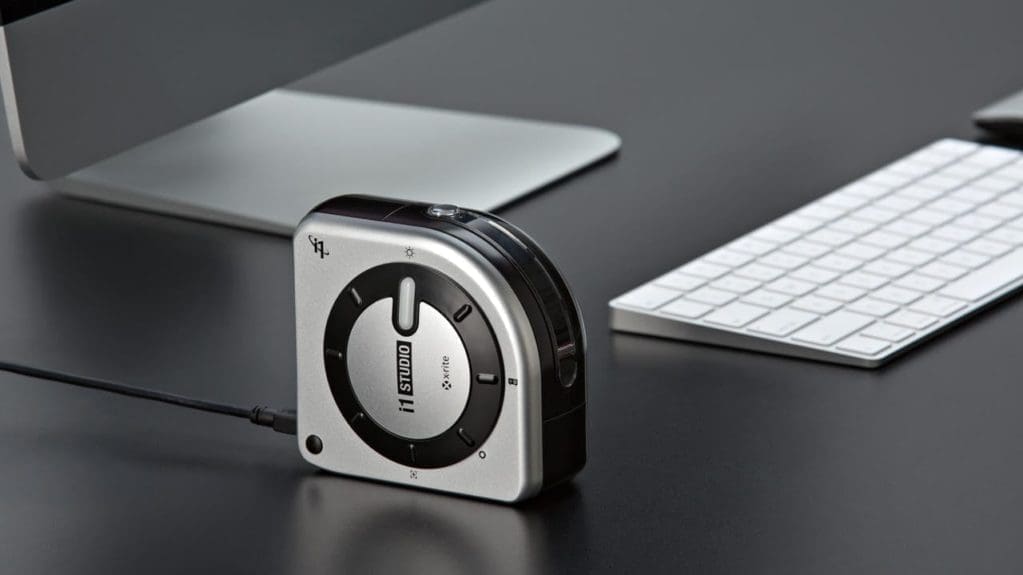
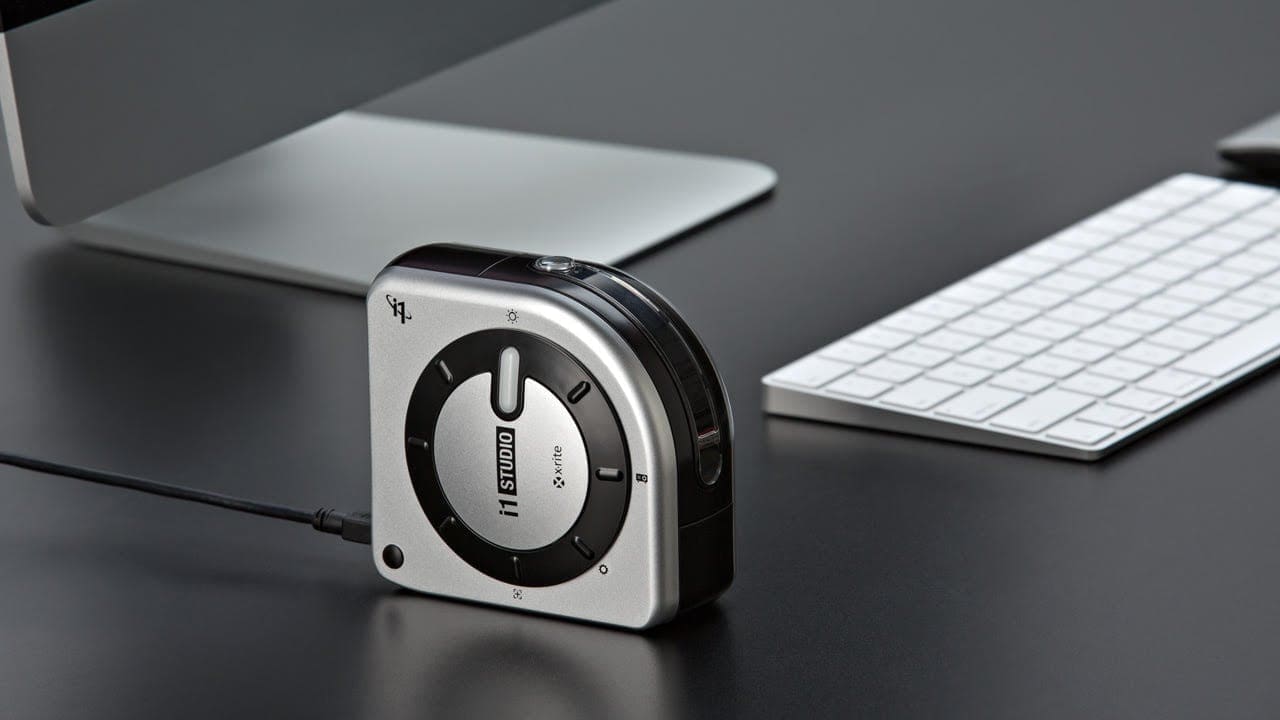
X-Rite have recently introduced the i1Studio to replace the ColorMunki Photo as their most popular spectrophotometer and they have upgraded the software, so it now produces better results than ever.
You can use this to calibrate displays, printers, projectors and even scanners, so it’s one device that will last you many years and cover all your profiling needs.
Ashley Karyl ~ Author of Colour Management Pro https://colourmanagementpro.
