Setting up holiday lights at home is a labour of love, but ultimately worth all the effort when you capture those striking seasonal images you can be proud of.
In this quick tutorial the photography experts at Dreamstime have compiled a list of helpful tips for capturing holiday lights at home and overcome the common challenges many photographer face.
01 Plan your shoot
The first thing to do is plan out how, what and where you will be shooting. You may have ideas of your own or may be drawing inspiration from images you have been impressed with over time.
If you need shots showing your home lights at different times of the day, like dusk or late night under the stars, prepare accordingly. Shooting time lapse series’ and capturing in HDR and slow shutters will require tripods and sometimes, more than one camera.
Flash fills can be used to highlight the paint texture of your home, vegetation, landscape elements and other details which would otherwise be missed in a natural light setting. HDR technique can also help bring the best of ark and light areas in the scene.
Evening times when the sun is just setting on the horizon is often the best time to shoot as it captures not just the artificial lights but paints the landscape in the “magic light” which is perfect to capture the amazing natural surroundings of your decorated home.
02 A word about light décor and color combinations
Home decorators can choose between lit lights and running lights and then the most notorious flashy ones that you have no control over.
Some people would switch to DMX or other light controller and use RGB or even RGBW (for pastel colors) to decorate and provide controllable color tones and create mood lighting effects.
You could also use chasers with speed control to achieve harmony in the way your lights behave. This would make shooting easy and allow you to continue shooting at different color combinations and settings making your home look dramatically different with each tone.
But if you are in for simple lights, don’t worry – you can use slow shutter speeds to capture every color flash in your light when using random flashing light.

03 Preparing camera settings
Your camera settings will decide how dramatic your photos appear. For example, a wide angle shot highlighting a garden statue with the home lit up in the background can be a shot of a lifetime.
For this you would need a wide-angle lens, flash fills for the house and the statue (consider soft light or flash fills). Avoid very high ISO to avoid excessive noise.
Using RAW format is always better than a direct jpeg or other format, it allows for more control in post processing. Just like any other shoot, it’s a good idea to know how different settings like aperture, shutter speed and ISO tend to affect the final photo.
After a few practice shots, it’s a good idea to save your camera settings as custom modes so you don’t have to play much with the dials and settings at the last moment.
04 Pick your favourite lens
It’s all about the lens when it comes to the magical light affects you want to see in a photo. For example, the number of diaphragm blades in the aperture decides the number to star streaks that lights make when shot with your camera (even number of blades create equal points and odd make double the number, 5 blades make 10 points and 6 blades make 6 points).
Wide angle lenses create dramatic landscape photos showing a wide gamut of elements around your house so if you want your landscaping or neighbourhood to show up in the photo, it’s a good choice. A common looking shot can be dramatised with a wide angle lens shooting with full wide setting from a distance to include your entire neighbourhood!
05 Getting the best Bokeh
Lenses with wide aperture like 2.4, 2.2, 2.0, 1.8 or even 1.2 are available for the best bokeh you could create (1.2 being the widest). The more the aperture opens, the more light goes in, hence they are called “fast” lenses.
Fixed lenses with wide apertures are quite common and mostly used as portrait lenses. Shooting with a wide opened aperture will give a beautiful blur to background elements.
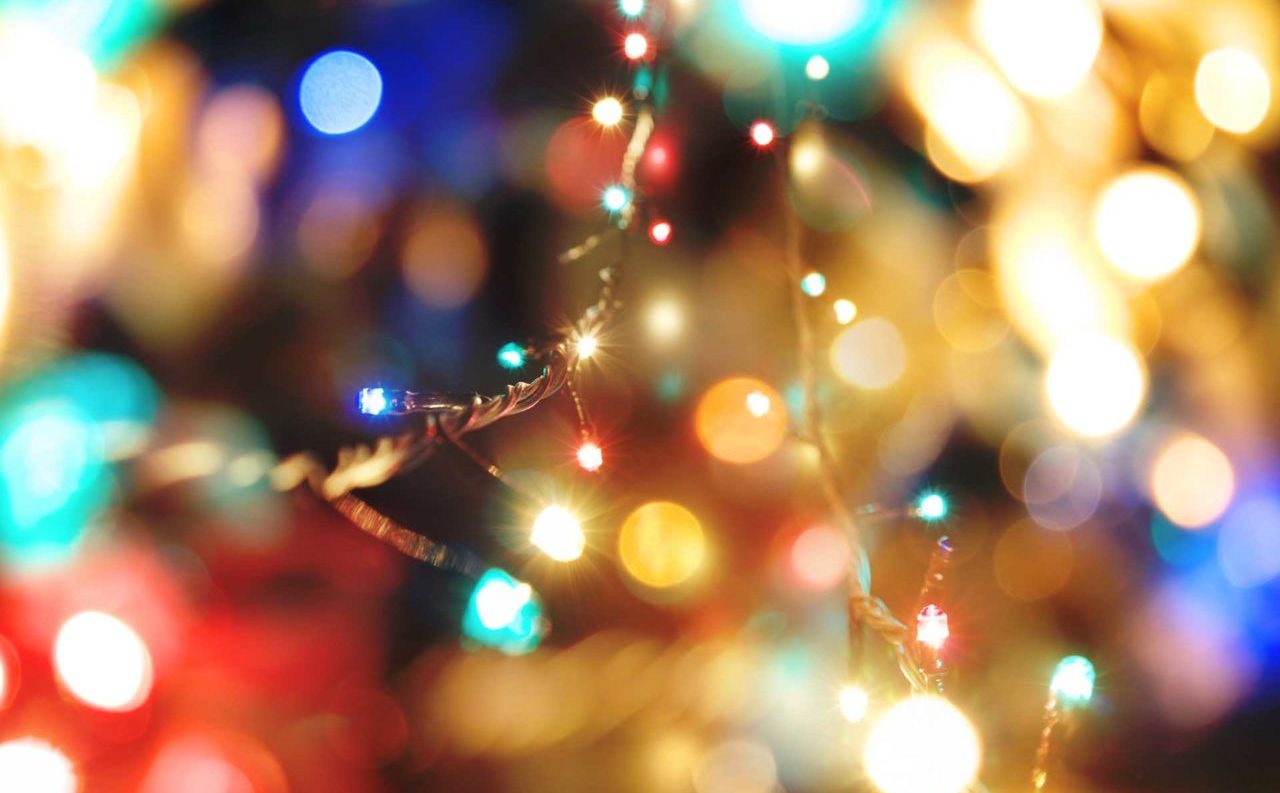
If you are shooting a string of lights with one bulb in focus and the rest of the string is out of the focal plane, those other lights will blur out, gradually creating a “bokeh” effect.
Taking a reasonably practical lens like 35 to 55 MM can make shooting good bokeh a piece of cake. It is worth noting that you can either keep lights as the main subject or lights as the background.
06 Create a story
No photo collage is complete without the participants around your life filling them. Let it be a photo story. Learn to include your loved ones, friends, pets and favorite possessions or passions.
This life connection is what will make them your best photos. So go on, celebrate, cherish and shoot togetherness and love!
07 Go with the flow
When executing the shoot and post processing, remember that no one takes the perfect shot with one go, take as many photos you could think of. Try different angles, lenses, lights, and settings.
You never know which one might turn out to be the most inspiring shot of all times.
Next, post process them using a good image editor, like Adobe’s Lightroom. You could put more red or blue in the image to make it bolder, adjust or take away a single color or just keep a single color and fade every other color out.
The moods and affects you can create this way are unlimited. Crop and rotate your photos in case it suits the subject at hand or just take a wild spin with filters and special effects.
Remember, not to alter the original RAW and save the output as different files. This will allow you to manipulate them again and give you a fresh start in case you want a different result. It’s like keeping a film negative, you never throw them away.


