


Shooting food photography might sound easy enough, but anyone who has tried it knows the real challenges of lighting, composition and ensure you get the look you want. To help you along, Jessops offers these six quick tips…
01 Double bake
This requires a little planning, but it’s worth it if you’re taking your cake shots seriously. Always try to make two of your chosen recipe so you’ve got a “stunt double” for the camera. This means you can prod, poke, slice and dice your model, and still have a delicious untouched version to tuck into later on.
02 Natural light
The easiest light to work with is natural: site your impromptu studio near a large window out of direct sunlight and you should have plenty of illumination to make your cake shine on camera.
You can also use propped-up white card or foil-covered blocks opposite your window to bounce light back into dark areas of your cake, or add highlights to shinier subjects – just make sure your reflectors stay out of shot!
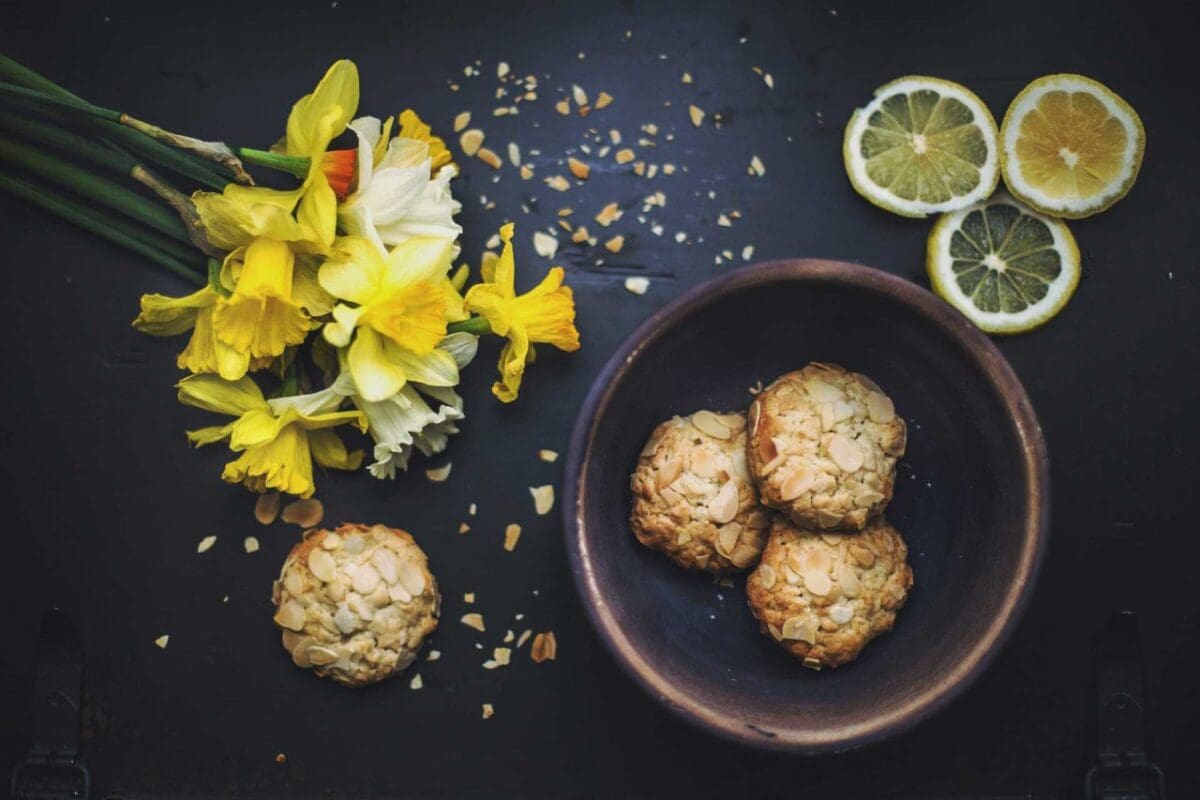
03 Set the scene
Your cake might look the part, but your plates and table also need to be able to complement your subject. Make sure you select your cleanest, chip-free crockery, and don’t choose patterns that’ll make the scene too busy. A folded (clean) tea towel is also a great way to add colour to a shot without making it too complicated.
04 Change your point of view
Change your point of view for a more interesting photograph. For instance, try getting down to the cake’s level and shooting alongside it, or standing above and taking a flat-lay style photograph.
You could choose a lifestyle background such as a marble slab or wooden panels – plain backgrounds work more effectively with complicated subjects, and vice versa. If you’ve created macarons of many colours then try a simple, clean background to ensure they stand out from the crowd.
05 Think deep
Controlling depth of field is the key to creating delicious-looking baking photography. You’ll need a DSLR or mirrorless camera to achieve this, or a compact with a wide aperture lens.
Choose an aperture of around f/2.8 or f/4 and focus on a key detail of your bake – perhaps an icing feature, or a layer of jam in the middle of a slice. This’ll blur out the background and give you that professional feel to your pictures. Make sure you check your background before you shoot!
06 Fill the frame
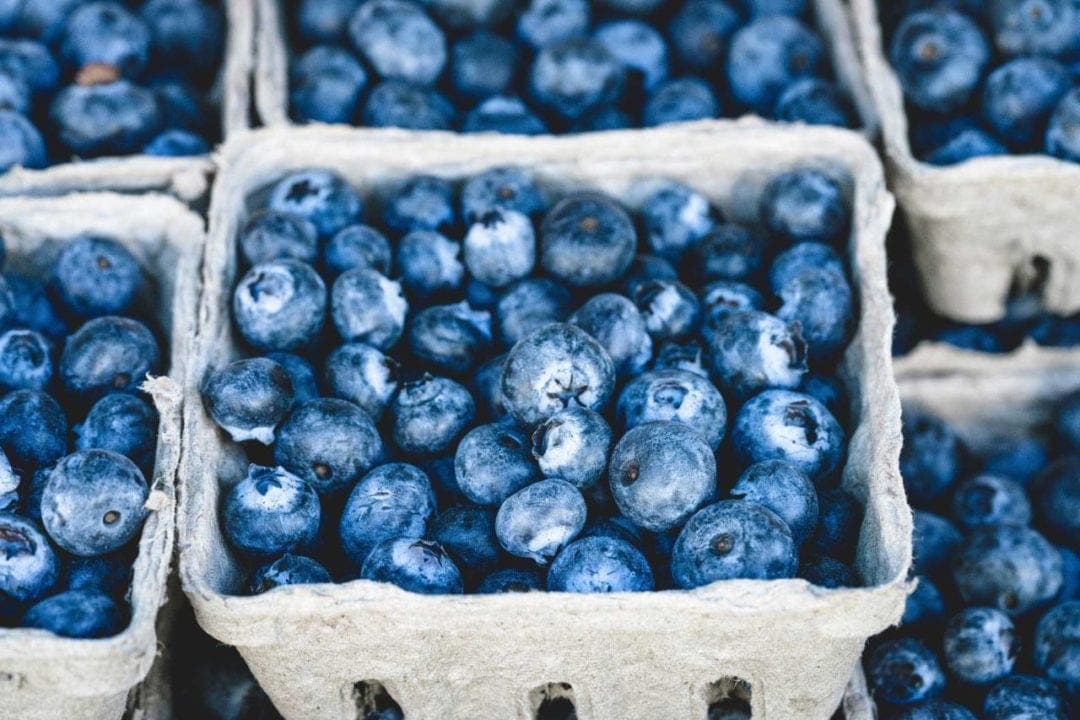
If you’ve baked something in vast numbers (such as cookies or fairy cakes) then make sure they’re filling the frame: having a couple hanging off the edges of the photos will make it look as though your cakes go on and on forever.
For more great advice on how to spice up your food and still-life photography, check out Jessops’ series of macro workshops.
READ MORE
10 quick food photography tips
25 portrait photography tips for stunning pictures of people
Setting up the background as well as the lighting are two of the most important factors in food photography. And I am completely agree with the fact that proper food decoration can make a shot looks better always.
Great, glad you enjoyed the post
Thanks for Sharing this information.