When you first start out in photography you can sometimes feel pressured to learn everything at once. This can cause a sense of dread at how steep the learning curve is to reach the heights of where you want to be.
In this quick tutorial we’ll show you how to accomplish six beginner photography techniques that will provide the foundation for just about everything you’ll ever want to do with your camera.

01 Get subjects sharp
For the most part, the autofocus system on your camera is going to be fast and accurate enough to produce sharp images. This doesn’t mean, though, that you can’t give it a little boost. In the default set-up your camera will attempt to discover the subject for you and then choose a suitable autofocus point.
Typically it assumes the subject is what’s closest to the camera and the centre of frame. If this isn’t the scenario you’re working with, you should definitely find out how to set the AF point yourself. Give it a few goes and you’ll be a regular pro at it.
You can find the correct mode in your camera’s manual. Look for something called Single-point or Multi-point mode. After you find and activate the right mode, it may be necessary to press a button to engage it before you can select the AF point.
Using the navigation buttons on your camera, choose the AF point that comes closest to overlying your subject. Cameras equipped with touchscreens require just a quick tap to set the focal point.
02 Freeze movement
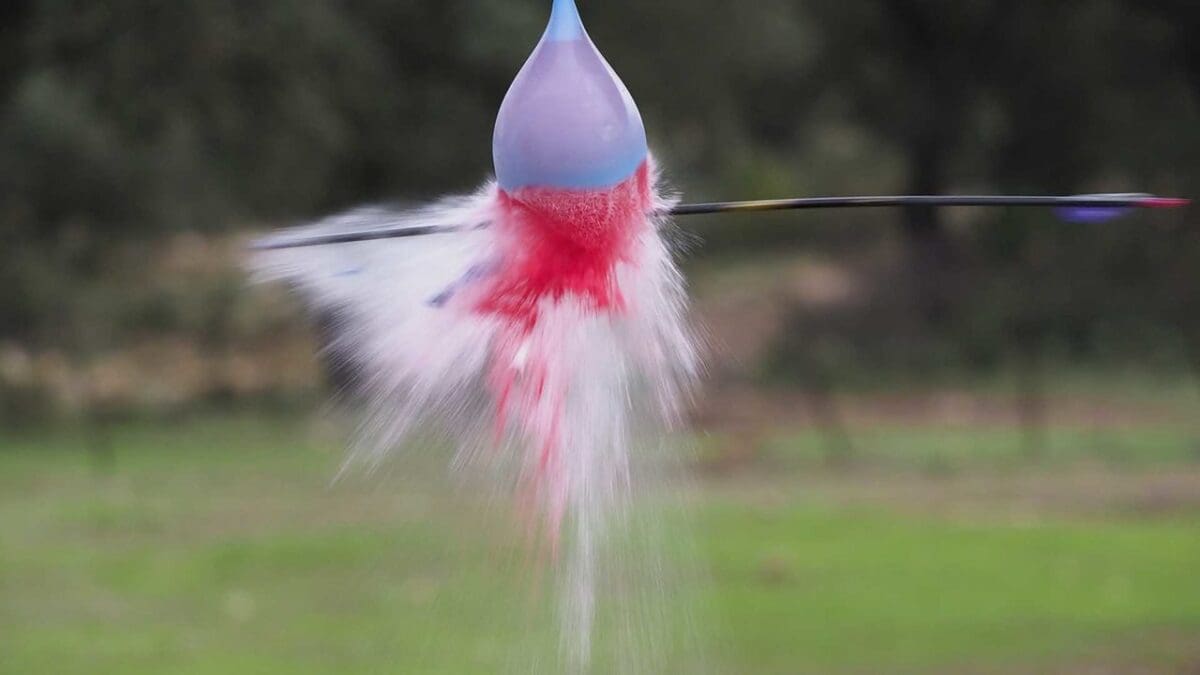
You’ll need a fast shutter speed if you want to capture sharp images of moving objects. Setting your camera to the ‘Sport’ scene mode is one way to do this, but you can exact a bit more control by using shutter priority (Tv or S) mode instead.
Just like the name implies, shutter priority mode allows you to determine the shutter speed. In turn, the camera takes care of aperture settings to ensure correct exposure.
In some cases, the camera won’t allow you to set as high a shutter speed as you like. This is where you need to increase the sensitivity (ISO). Set this value to Auto and the camera will adjust it for you.

03 Blur backgrounds
One great thing you’ll soon discover about using a good camera is that, unlike your smartphone for instance, it lets you control the depth of field (the area of acceptable sharpness within a photo). One of the biggest factors that determines depth of field is aperture.
Depth of field can be restricted with a large aperture (corresponds to a small f/number such as f/4 or f/2.8) to create a blurry background, leaving only the space directly in front and behind the point of focus sharp.
Aperture priority (Av) mode is the best way to manage aperture. In this mode, you determine the aperture while the camera sets the shutter speed accordingly.
If you’re shooting in low light, the camera may set slow shutter speed, which can result in blur. Try upping the sensitivity value to facilitate faster shutter speeds or mounting your camera to a sturdy tripod to prevent movement.
Depth of field can also be restricted by simply setting up closer to your subject or zooming in.
Finally, try to increase the distance between your subject and the background by moving the subject forward. Doing so will create a shallower depth of field, blurring the area behind your subject.
04 Stop beach or snow scenes looking dark and dull
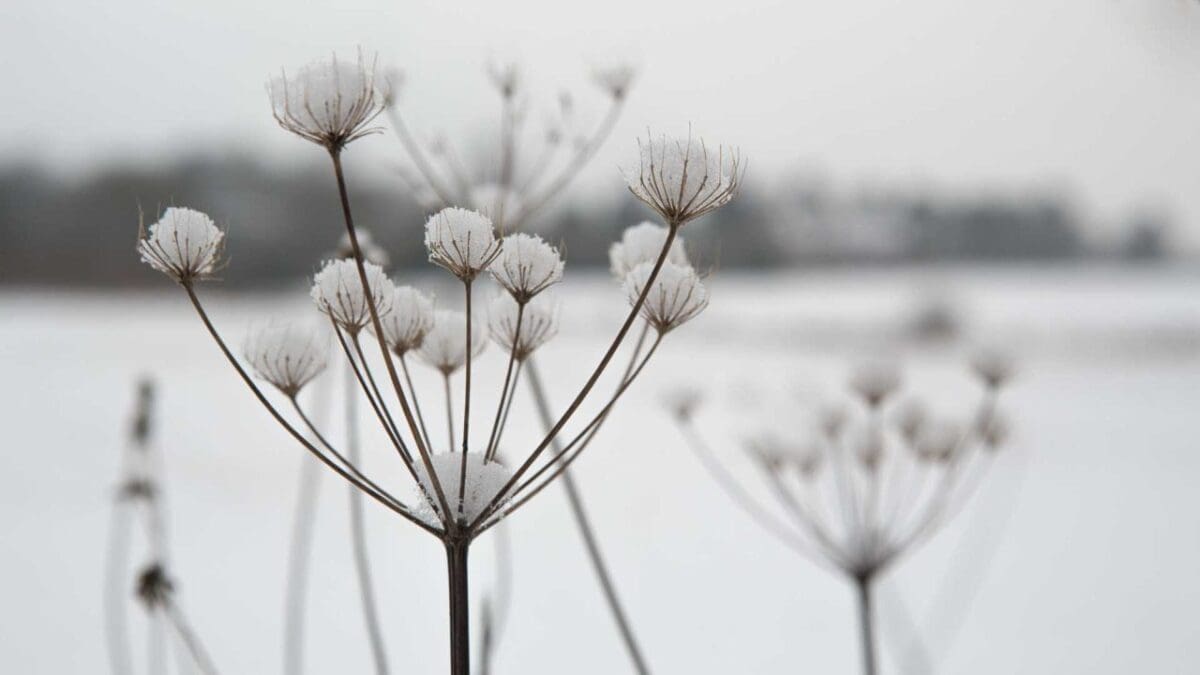
One reason people shell out the money for a decent camera is that they want to improve on their holiday photography, be that beach shots or photos of the ski slopes. Both of these scenes can be tricky to capture because of their brightness.
Very bright settings can mislead cameras to produce underexposed images that are dark and dull. While using a Beach/Snow scene mode can help circumvent this problem, it also takes away your control of shutter speed and aperture.
You’ll be better off using aperture priority, shutter priority or program mode and using your camera’s exposure compensation control. The camera determines both aperture and shutter speed in program mode, but you can adjust both of them at once to arrive at an arrangement that’s suited to your image.
To use your camera’s exposure compensation control to account for that mistaken underexposure, simply dial in a positive value. Most scenes will benefit enough from an increase of +1EV, but be sure not to disregard the image on the back of the camera and the histogram.
Try not to burn out large areas of highlights and make sure there are some white pixels in the image. You’ll want that histogram trace to just reach the far right side of the graph.
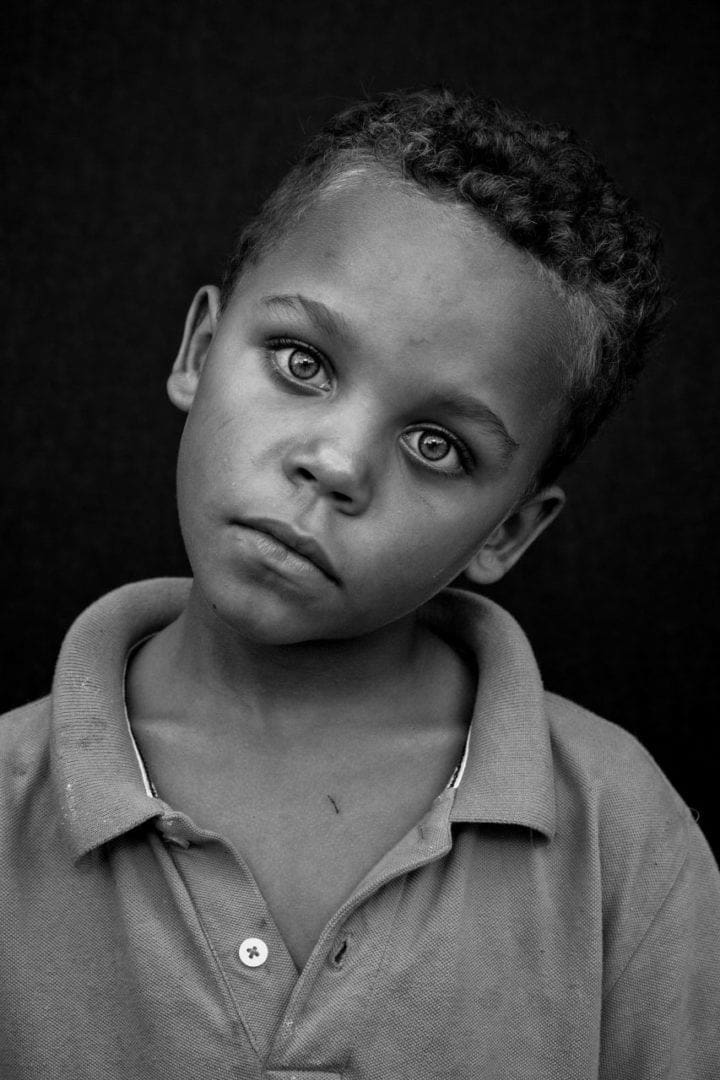
05 Take better photographs of children
A lot of people buy a camera when welcoming a new arrival to the family. They want to capture the best images possible of their children. While learning how to take control of the settings on your camera will definitely help you take better pictures of your little ones, it’s oftentimes the composition that’s the most important.
To begin with, don’t look down on your child with your camera. Rather, shoot at their eye level. This will result in more natural looking shots. You’ll also want to clean up the background as best you can so the emphasis is on your subject, not clutter.
Sometimes it’s just a matter of finding that angle where you have a clean background. If you absolutely can’t de-clutter, restrict your depth of field to blur the objects in the background and diminish their impact.
You want your shots to look natural when you’re photographing children. This is easier to do if they aren’t aware they’re being photographed. Use a long focal length to shoot from further away while the kids are at play.
Try going to the park on a bright overcast day for a setting free of severe shadows. Just make sure to set your white balance to Daylight instead of Auto to produce nicer colour in your images.
Since the children will be moving, you’ll want to use continuous autofocus mode and continuous drive mode so your camera will adjust its focus accordingly and you can shoot the entire time the shutter release is pressed down. Relax and take loads of pictures. You wouldn’t want to miss one of their fleeting expressions.
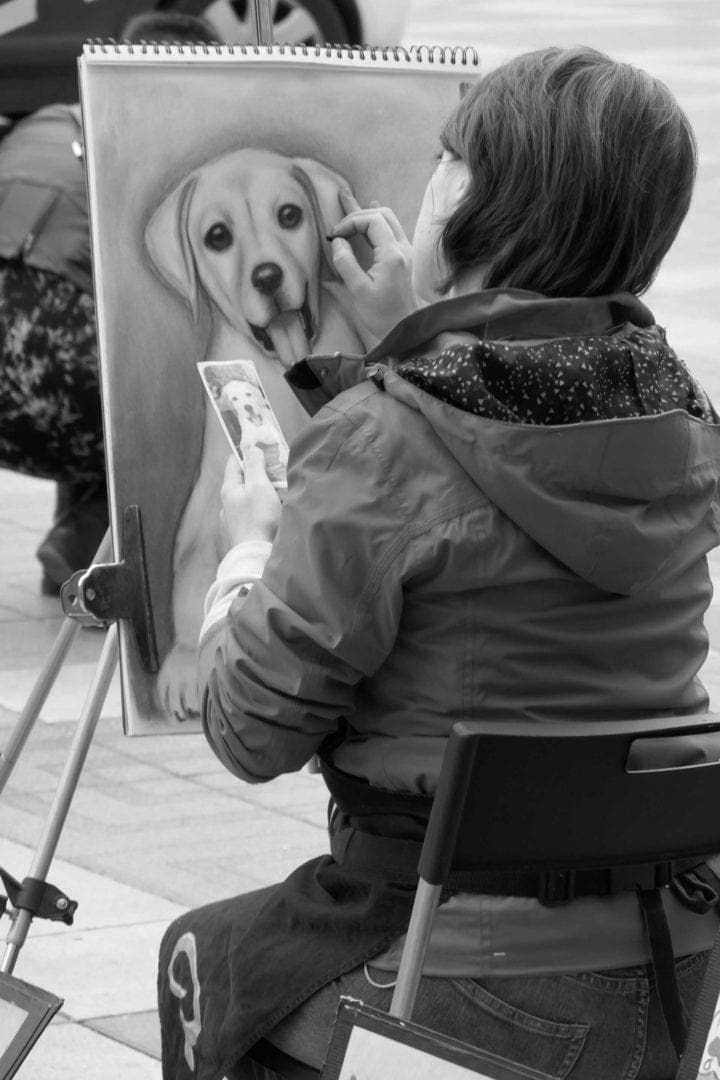
06 Make black and white images
Creating black and white images is not as difficult as most novice photographers may think. With image editing software packages such as Adobe Photoshop Elements or Photoshop CC, you can produce monochrome images quite easily.
This can also be accomplished in-camera, which may be more appealing to most beginners.
Your camera’s black and white option is typically found under Picture Style, Picture Control or Film Simulation mode. Once you’ve selected the appropriate mode, the colour image will be converted to a black and white JPEG.
Most cameras will allow you to modify certain aspects such as contrast, which generally needs a bit of a boost in this case.
This conversion only works if you’re changing colour images to black and white – you can’t convert monochrome images into colour JPEGs. You can, though, use the Monochrome Picture Style while shooting raw and JPEG concurrently and the raw files will retain all of the colour data.
