Babies are probably the most photographed subjects in world, yet they are notoriously difficult to work with. It’s virtually impossible to communicate direction to a baby, leaving both photographer and subject quick to impatience and irritability. Sure, baby photography can be greatly enjoyable, but we’ve all been in that touchy spot teetering on frustration. Wouldn’t it be nice to forgo some of that stress? These 49 fabulous baby photography tips and tricks will hopefully remove some of your tension.
Baby photography tips for planning a shoot
1. Choose the best time
We’re all creatures of habit, including babies. Perhaps with the exception of newborns, nearly every baby is going to be used to doing certain things at certain times of the day. Consult the parents to determine when the baby will likely be at his/her calmest and try to shoot during this time. While this isn’t completely foolproof, it will likely increase your chances of a cooperative baby.
2. Know your lighting
After you’ve determined what time of day you’ll be shooting, pick an optimal location to photograph. In this case, the subject matter points to natural light sources. Try to find a spot near a window or glass door, but keep in mind that light, just like babies, can change.
3. Disrobe beforehand
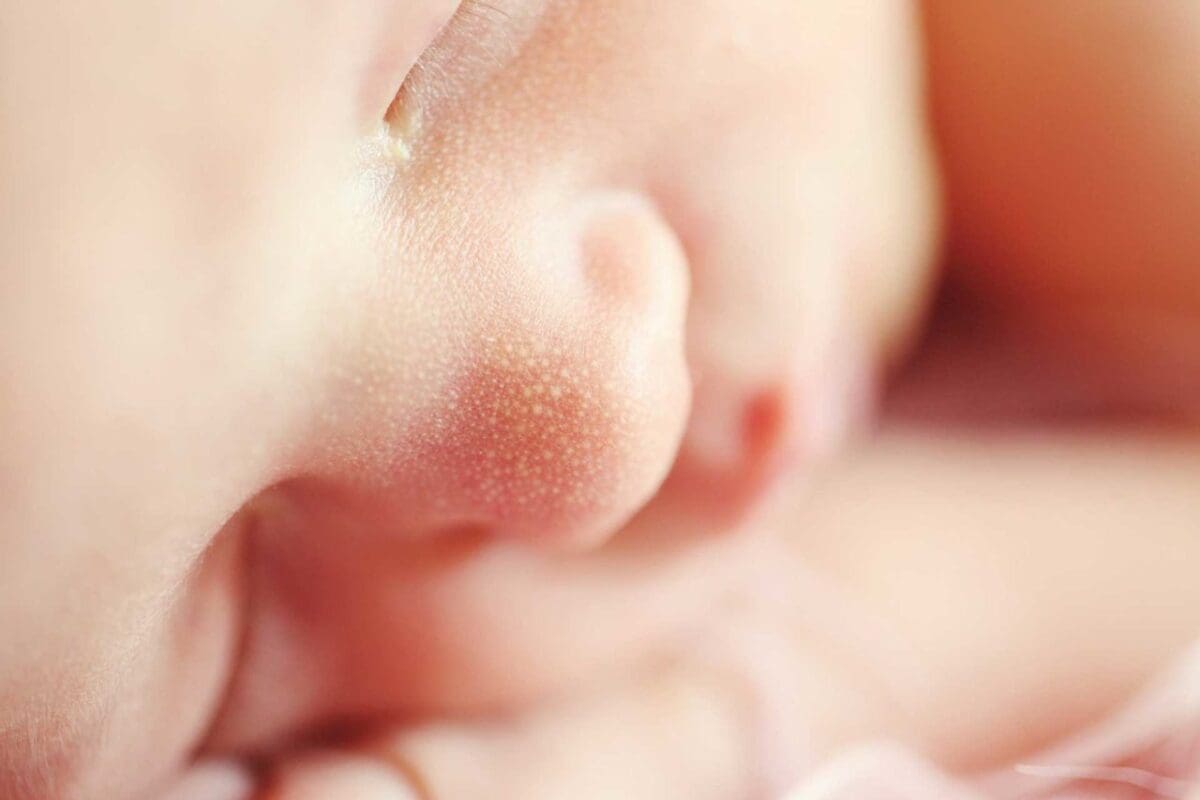
Many newborn shoots are done without the baby wearing any clothes. Baby skin is sensitive and their clothing is prone to leaving marks, so it’s a wise practice to remove any clothing well before shooting to allow the baby’s skin to adjust.
4. Colour choice
If you’re shooting the baby with its clothes on, consider how his/her outfit interacts with the background you’re shooting on. Yes, even baby clothes can clash!
5. Prepare your equipment ahead of the shoot
Time is of the essence when you’re shooting babies. A generous estimation would be 10 minutes of shooting time. Have your lenses cleaned and your equipment within reach before that clock starts ticking to ensure the maximum amount of time with your subject.
If you’re lucky, you’ll get maybe 10 minutes of shooting time with a fidgety baby. Don’t waste that by cleaning lenses, checking your bag for the lens you need, etc. Have everything you need, cleaned and within easy reach before you start shooting.
SEE MORE: 22 newborn photography tips every parent should live by
6. Provide enough time
Just because your actual shooting time may be small doesn’t mean you shouldn’t plan for the unexpected. Take into account potential tantrums, nappy changes, feeding, etc. Give yourself a wide berth of time, just in case.
7. Employ resources
There are loads of websites out there (Pinterest is a biggie) that are packed to the gills with staging and posing suggestions for photographing babies. Make use of these resources and peruse them ahead of time.
8. Make a list
As we’ve stated in nearly every point thus far, babies are temperamental. You never know how long their photogenic mood is going to last so be sure and have a list of the shots you want to take. This way, you can tick them off as you go rather than wasting precious time trying to remember them.
9. Use a tripod
Tripods definitely come in handy when photographing babies because it leaves your hands free to pose or distract the baby to elicit the expressions you want (for older babies). Of course, like with the rest of your baby photography preparation, you’ll want to set up your tripod ahead of time.
10. Baby photography apps
Yes, there’s an app for that. Don’t discount your smartphone when it comes to photographing the little ones. There are several free apps out there for both iOS and Android that will play amusing sounds to help attract the baby’s attention to your lens.
11. Prop it up
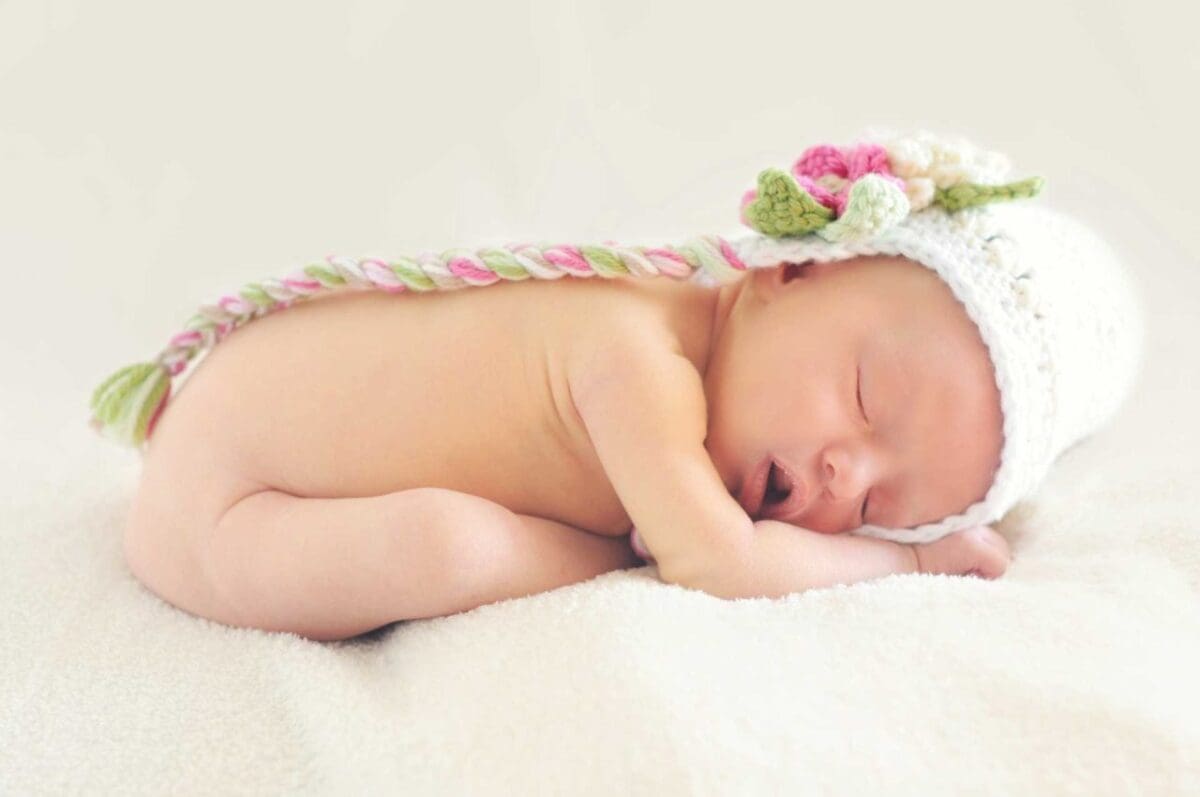
Websites like Etsy feature marketplaces just rife with sellers looking to unload all sorts of suitable props for baby photography. Hats, bows and cocoons are some of the more popular choices, but don’t be afraid to get creative in your selections. Plus, you can always re-sell any items you buy once you’re done with them.
12. Keep an eye out for baskets
Speaking of props, don’t forget about baskets. They allow you to pose a baby in a way that is both practical and timeless (think newborns or small babies). Keep your eye out for shallow ones that will display the baby nicely. Home stores such as Homebase or Ikea typically have some good finds. If you can’t come across a shallow basket, simply pad the bottom of a regular one with towels, blankets, or cushions.
13. Blank space
Again we’re dealing with preparedness here. You don’t want anything getting in your way of capturing the baby doing something great. This is precisely why you should format your memory card before each shoot. You can rest assured that the best moment will come the one time you don’t.
SEE MORE: 11 toddler photography tips for gorgeous portraits of your child
Baby photography tips for during the shoot
14. Always in raw format
It’s typically always good practice to shoot in raw format, but particularly with babies. If the shots you manage to grab are a bit off you can easily fix them in Photoshop.
15. Experiment with focus points
Traditional “rules” tell us to focus on the eyes, but it certainly doesn’t hurt to break those rules every once in awhile. Try different focal points, such as the baby’s hand or feet while blurring the rest of them, and then go back to the face. Each photo will have a totally different look and will typically work well together as a pair.
16. Keep calm
This one may seem a bit obvious, but it’s important to keep calm during photo shoots with babies. Sure, they can’t communicate with us a traditional way, but they are undoubtedly receptive to our moods and feelings. It’s quite likely that if you’re stressed about the shoot, the baby will be too.
17. Keep quiet
This is where your quiet or silent shooting mode will come in handy. Babies, as we all know, can be easily distracted and even scared by loud beeps and shutter releases. As an alternative, you could play some soothing music to mask your shutter noise.
18. Pick the best aperture
Wide apertures are well-suited for most portraits, including baby shots. Try an f/1.4 or f/1.8, but keep in mind that slight movements of the baby can throw off the focus due to the very shallow depth of field. It might be the case that something a bit narrower such as f/2.8 would better. It’s wide enough to blur the background while at the same time giving you a bit of wiggle room when it comes to slight movements.
19. Keep on shooting
Don’t focus all of your concentration on the formal shoot. Breaks in the shoot due to routine baby care can provide convenient opportunities for impromptu lifestyle shots that show the family interacting with the baby. Try to steer these interactions toward natural light to grab a striking shot.
20. Make a montage
If you follow the advice in the previous step, you’ll end up not just with beautiful posed shots, but all the moments in between. Photos of feedings, changings, and the baby’s things add realism to the posed shots, creating a well-rounded set of images. Turning these photos into a collage or montage will provide a nicely thorough expression of the day’s shoot.
21. Shoot in aperture priority
Since you’ll most likely be using wide apertures for baby portraits, shoot in aperture priority mode to give yourself the freedom to work quickly without having to concern yourself with setting the shutter speed. Select your aperture according to your desired depth of field.
22. Shoot in burst mode
Burst mode is especially convenient if you have an infant on the move. Shooting in this mode will allow you to capture all of the baby’s movements. Silent burst modes are even more optimal as the rapid shutter speed sound can be a little alarming to babies.
23. Bounce the flash
The flash can be very harsh for babies both big and small, but if you find that you absolutely need to use it, use an external flashgun indirectly by bouncing it off the ceiling or an opposite wall. The results will likely be more natural and less interfering.
24. Warm your hands!
It can be easy to forget how sensitive babies are. Be sure to give your hands a good rub to warm them up before touching any bare baby skin. The last thing you want to do is disturb the baby with cold fingers and have to start from scratch.
25. Same pose, different backgrounds
Using the same pose/angle works well for newborns, but it can work for older babies, too. Switching out backgrounds helps create that desired montage look we discussed in tip 21. If you don’t have a background holder, simply attach large pieces of card or material to a wall, or look for a volunteer to hold them up for you.
26. Pick the best lens
As we discussed before, wide apertures and shallow depths of field are perfect for babies. It supplies that wistful, innocent look that’s so well-suited for youth. A good starting lens is a 50mm f/1.8, which can be purchased fairly cheaply. Really anything that opens up wide, such as f/1.4 or f/1.8 will work well.
27. Try out a macro lens
Macro lenses can be surprisingly versatile, allowing you to not only pick out small details on the baby, but they also offer a classic portrait length (such as 60mm or 100mm) and open wide (typically f/2.8).
SEE MORE: Family portrait ideas for people who don’t shoot portraits
28. Don’t lose focus
You probably won’t have much luck convincing a baby to sit perfectly still for a portrait. A fidgety subject means you’ll have to refocus between shots, or switch to continuous AF to keep up with the movements.
29. Bring a change of clothes
Babies can be quite messy, so if you’re shooting somewhere other than its home, make sure to have a spare set of clothes on hand. This is not only practical but also creates some variety in the shots.
30. Reflect the light
Whether or not you use a reflector can have a serious impact on your portrait shots. This is especially true for baby shots because you’re going to want to avoid using artificial light. Some reflectors are composed of several different panels, each creating its own type of light. A white reflector creates neutral, even light, a gold reflector will cast warmer tones, and a silver reflector creates harsh, cold light.
31. DIY Reflector
Reflectors are actually quite easy to make yourself. By covering one side of a large piece of white card with foil, you can create a double sided reflector that’s just as efficient as store-bought one.
32. Choose the best ISO
Shooting a moving baby in natural light means you’re going to need a mid-high ISO to achieve a fast shutter speed. ISO 400 is a good start, but you may need to push it to ISO 800 or 1600 to achieve the focus you want.
Don’t be afraid of a little noise, it’s better than an image that’s out of focus. Set to the top limit of your camera’s automatic ISO (if it has this feature) to save even more time while shooting.
33. Clean up operation
Be prepared for messes with baby wipes. It’s not as easy to remove spots and specks after the shoot in Photoshop as it is to clean the baby in person during the shoot.
34. Focal lengths
Don’t go for that giant lens when you want a close up of the baby. These can be frightening and overwhelming for babies. Best avoid wide angle lenses, too, as these can tend to result in a distorted look.
Instead, make use of longer focal lengths (50mm or above) when you want a close up, and if you’re using a zoom lens, be sure to use the telephoto end.
35. Always be ready
Babies are impulsive and unstructured, and it’s the moments that result from this behavior that you’ll want to capture. Try to increase your chances of doing so by keeping your main camera near the area where you spend the majority of the time with the baby.
If you have another camera on hand, stash it in a part of the house that’s further away from your main camera. This way, you won’t be sprinting across the house when the baby does something amusing.
36. Fast shutter speeds
Newborns typically don’t move all that much, so a slower shutter speed will do. Infants, on the other hand, can be quite squirmy so you’ll want to use a shutter speed of 1/100 or quicker.
37. Focus on the eyes
Babies tend to communicate a lot of emotion through their eyes, so not unlike your other portraits you’ll want to set the focus point to the baby’s eye. If the baby moves you’ll have to refocus.
38. Rosy glow
Bath time typically brings a bright rosy glow to the baby’s face, which is lovely to photograph. A quick rub with the towel will dishevel hair for even more cuteness, and the towel can be used to frame the baby’s face for the shot.
39. Ring the changes
A compilation of images of a baby throughout time can be a nice thing to share with family and friends. Chose one spot in which you’ll photograph the baby every week or so for a year. The changes are sure to be evident.
40. Get down low
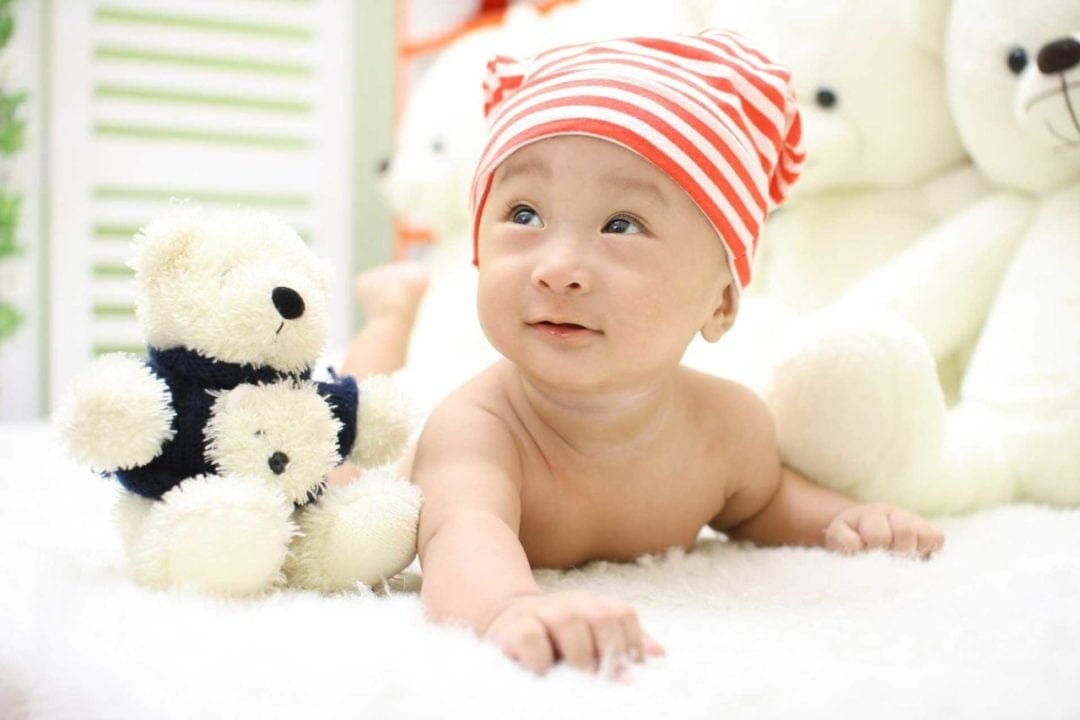
Just like you would in other situations, try unusual angles to capture some interesting shots. For instance, put the camera on the floor and point it up at the baby – face or feet, it doesn’t matter! Articulating screens can be particularly useful for framing shots in this case. Just play around with different angles and see what happens!
41. Keep it simple
Toys and baby supplies usually abound wherever the baby is. You don’t want to distract from the baby in the shot, so try to keep your background free of distractions. A stray rattle or teddy bear can peek out from behind the baby and steal the show.
42. Know when to stop
Don’t try to push it when the baby gets irritable or stressed. All you will accomplish is upsetting the baby further, and you really can’t get any good shots anyway when the baby is cranky. Simply take a break and have mum or dad attend to the baby’s needs. They’ll calm down eventually, and then you can start up again.
43. Sentimentality
Sentimental items can make useful props for your baby shoot. Family heirlooms and other emotional items can help make that connection between the baby and older generations of the family. Ask mum or dad, they’ll be sure to have something around.
44. Soft textures
Have the baby lie on a soft rug or blanket. They’ll enjoy the way the texture feels against their skin, and the texture will create a nice background too.
45. Catch the light
Ideally you’ll be shooting near a natural light source, like a window or glass door. You can position the baby so that the light shines down on it from above, creating a catch light in its eyes. This will result in a beautiful, natural illumination in the baby’s face.
46. Toys as props (and distraction)
Most babies older than six months can sit up without help. For these babies, try using toys as props and interactive tools. It’s all about capturing expressions, and a baby is likely to create some great ones if he’s playing with a favourite toy, or maybe even something new!
47. Use the golden hour
When you’re shooting outside, make use of the golden hours. These hours occur right after sunrise and just before sunset. At these times you’ll find your subjects are flooded with natural, flattering golden light.
Make use of the sun’s low position in the sky to create a halo effect around your subject’s head, or maybe add flare for a whimsical look.
48. Get to know them
This step only applies to babies other than your own. Build trust with the baby by spending some time with them before the shoot. Let them get to know you with a little playtime and some cuddling. This way, they’ll be more likely to oblige you when you point a big camera in their face.
49. Different framing options
Traditional rules of composition, such as the rule of thirds, can certainly be helpful in child portraiture, but don’t be afraid to bend and break these guidelines. For instance, try positioning the baby right in the middle of the frame and see how that turns out.
READ MORE
25 portrait photography tips for stunning pictures of people
Best camera settings for window-light portraits
