

Panasonic has announced a raft of firmware updates to some of its cameras, including the Lumix S1 and S1R. As well as improving their performance, this firmware introduces some new features, including adding Profoto wireless transmitter compatibility. Follow the link to find out more about the latest firmware upgrade.
It’s not difficult to upgrade the S1 and S1R’s firmware, but it’s important to do it correctly. With that in mind, here’s a set-by-step guide.
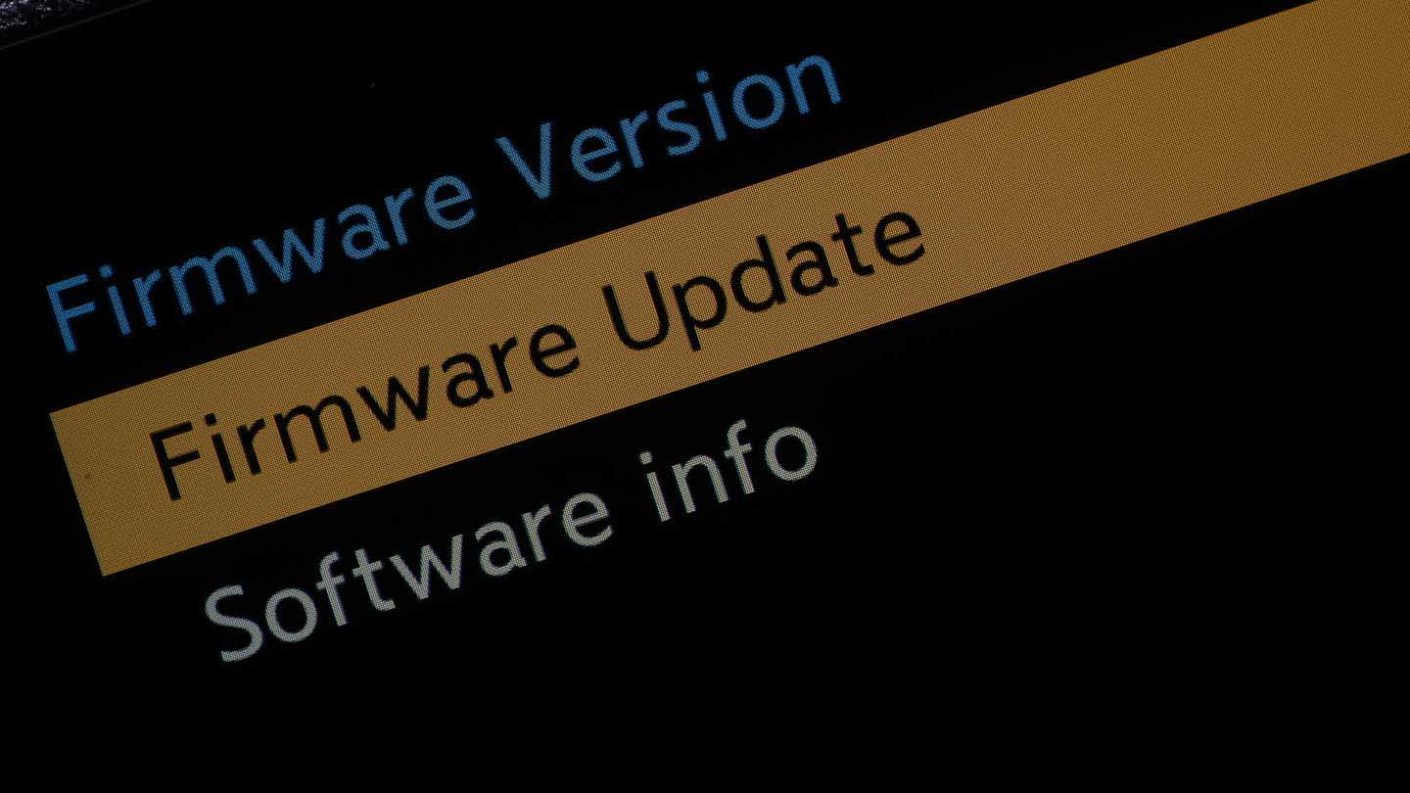
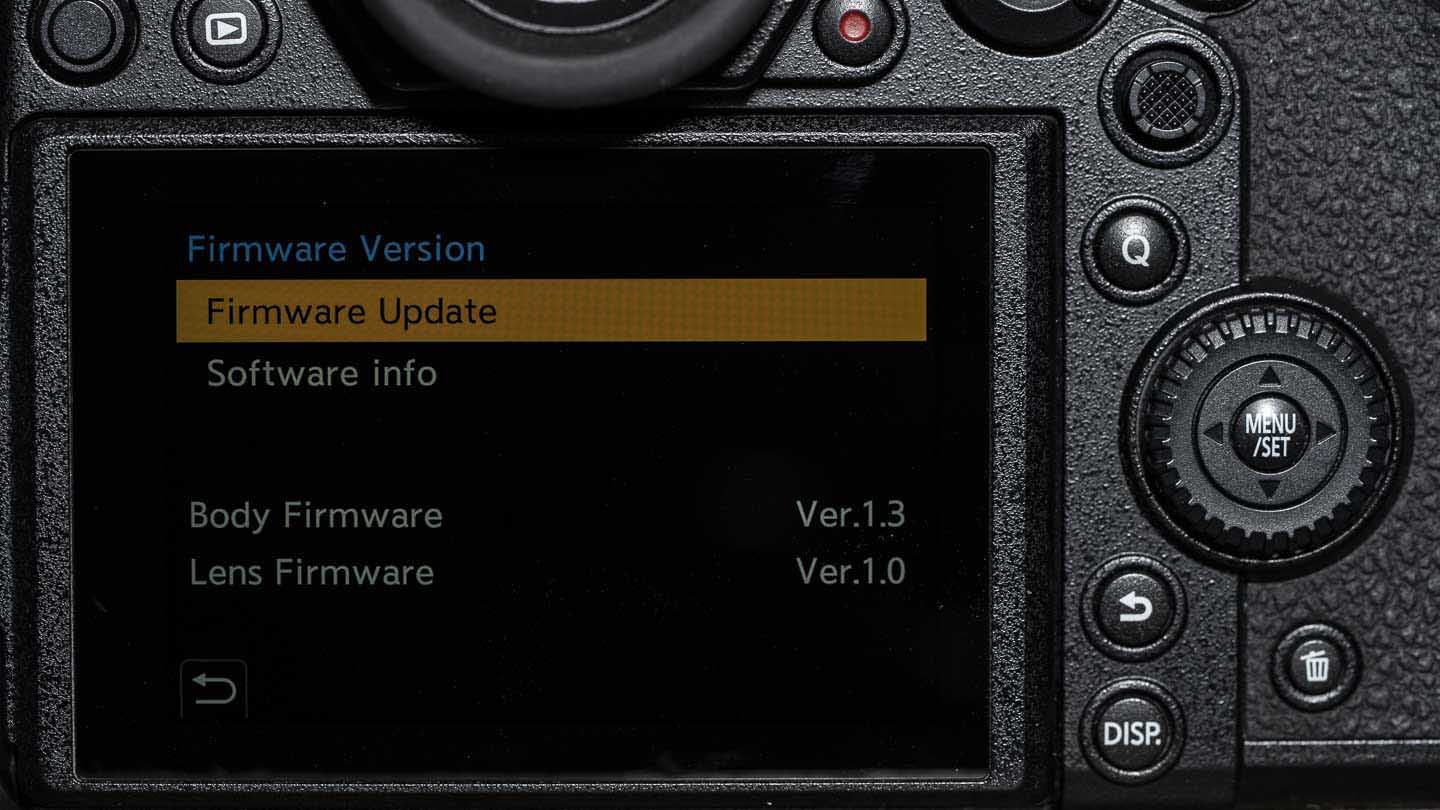
01 Check current firmware version
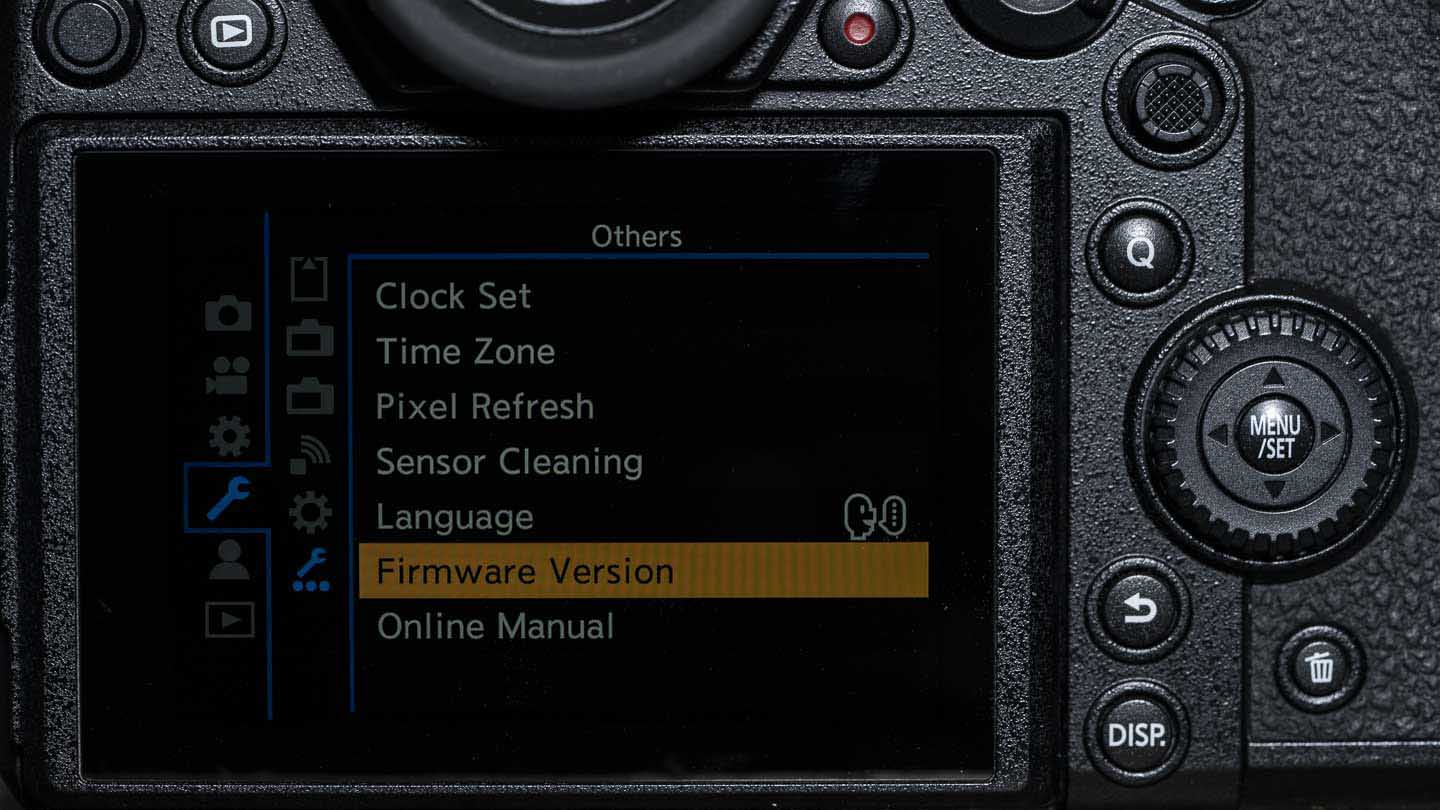
Scroll to ‘Firmware Version’ in the set-up (spanner icon) menu and press OK to reveal the current version.
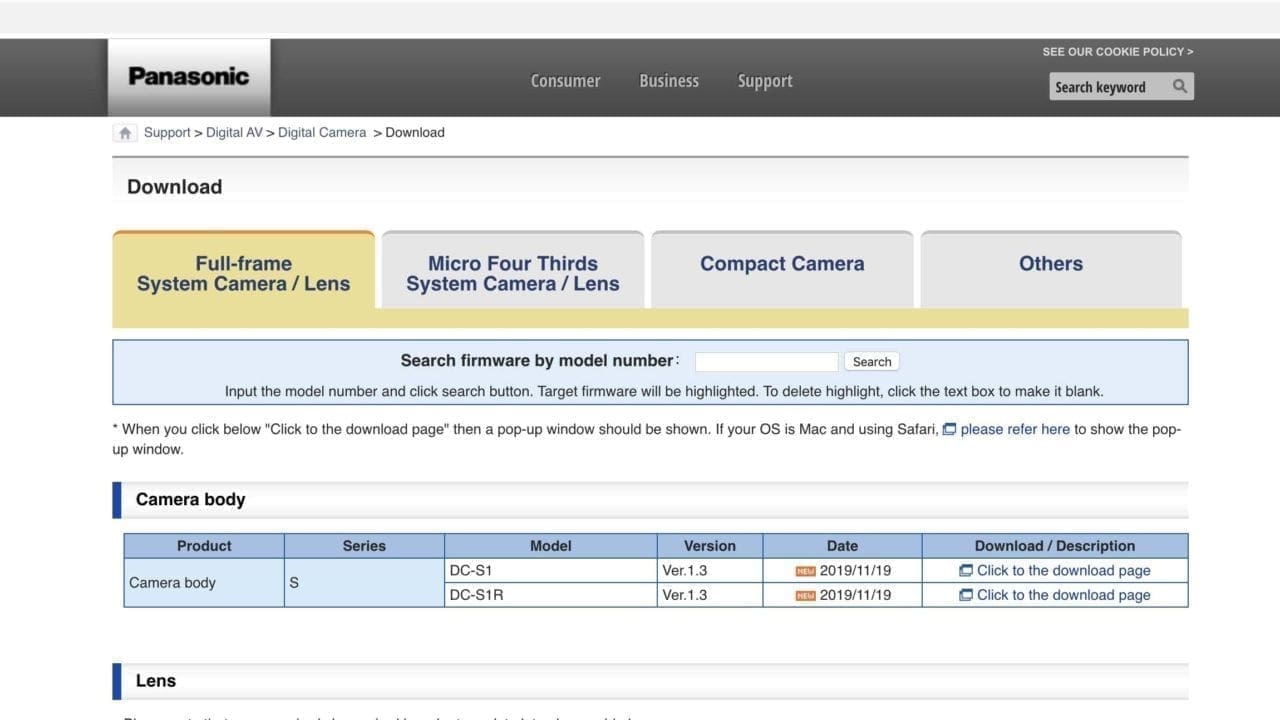
02 Open the Firmware Download Website Page
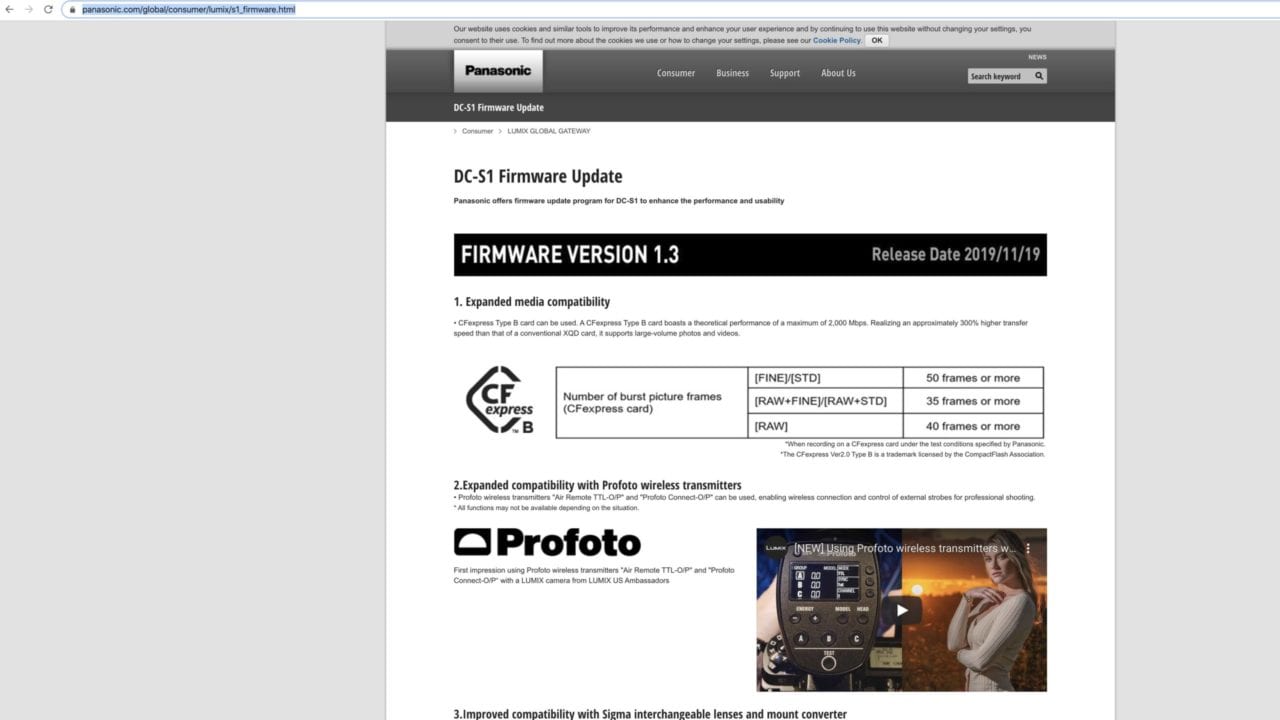
Open your internet browser on your computer and follow this link to the firmware update page on Panasonic’s website. Then scroll down and click on ‘Firmware Download’. In the new page that opens (see below), click on ‘Click to the download page’.
03 Download the new firmware
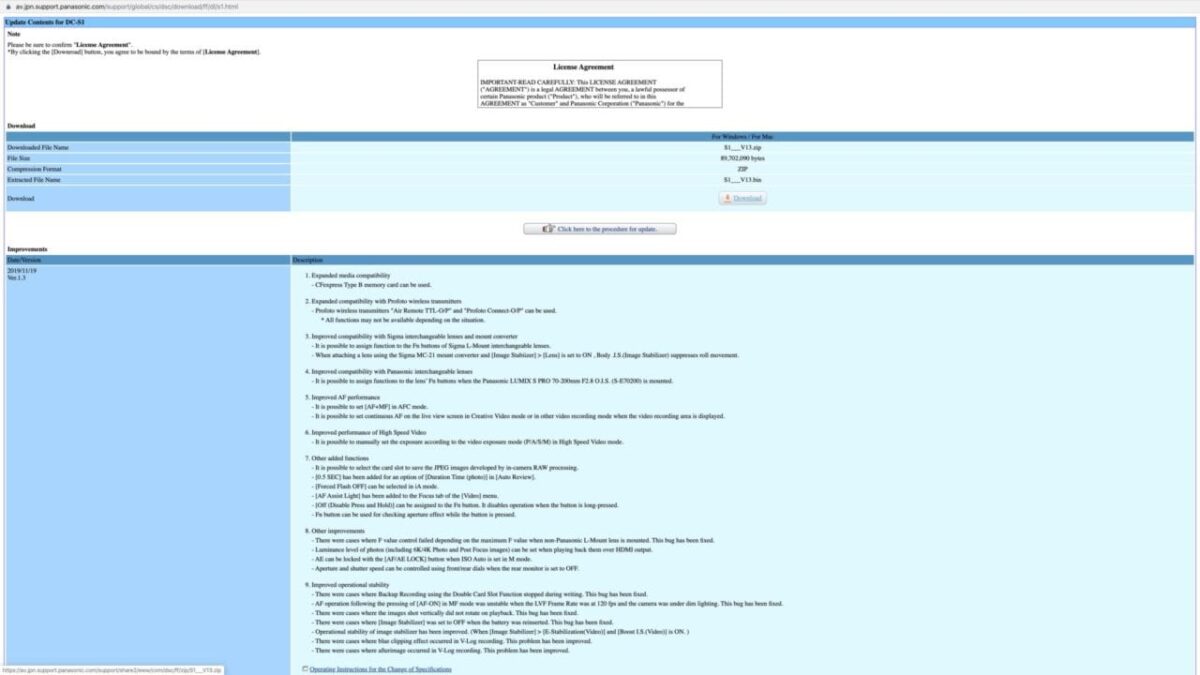
You should now see a ‘Download’ button, click on it to download the firmware to your computer.
04 Unzip the File
The firmware is supplied in a compressed or zipped format. It may unzip automatically, but if not, double click on it to uncompress it.
05 Prepare a Memory Card
Insert a memory card into your camera and format it in the usual way via ‘Card Format’ in the set-up menu.
06 Copy The Firmware

Take the memory card from the camera and insert it into a card reader connected to your computer. Drag the Firmware file (a .bin or .plf file) onto the memory card. It should be in the top layer of the file structure as shown above, and not in the DCIM or Private folders.
07 Prepare the Camera
Check that the camera battery has at least 50% charge left then turn the camera off. Insert the memory card into the camera and flick the power switch to ‘On’.
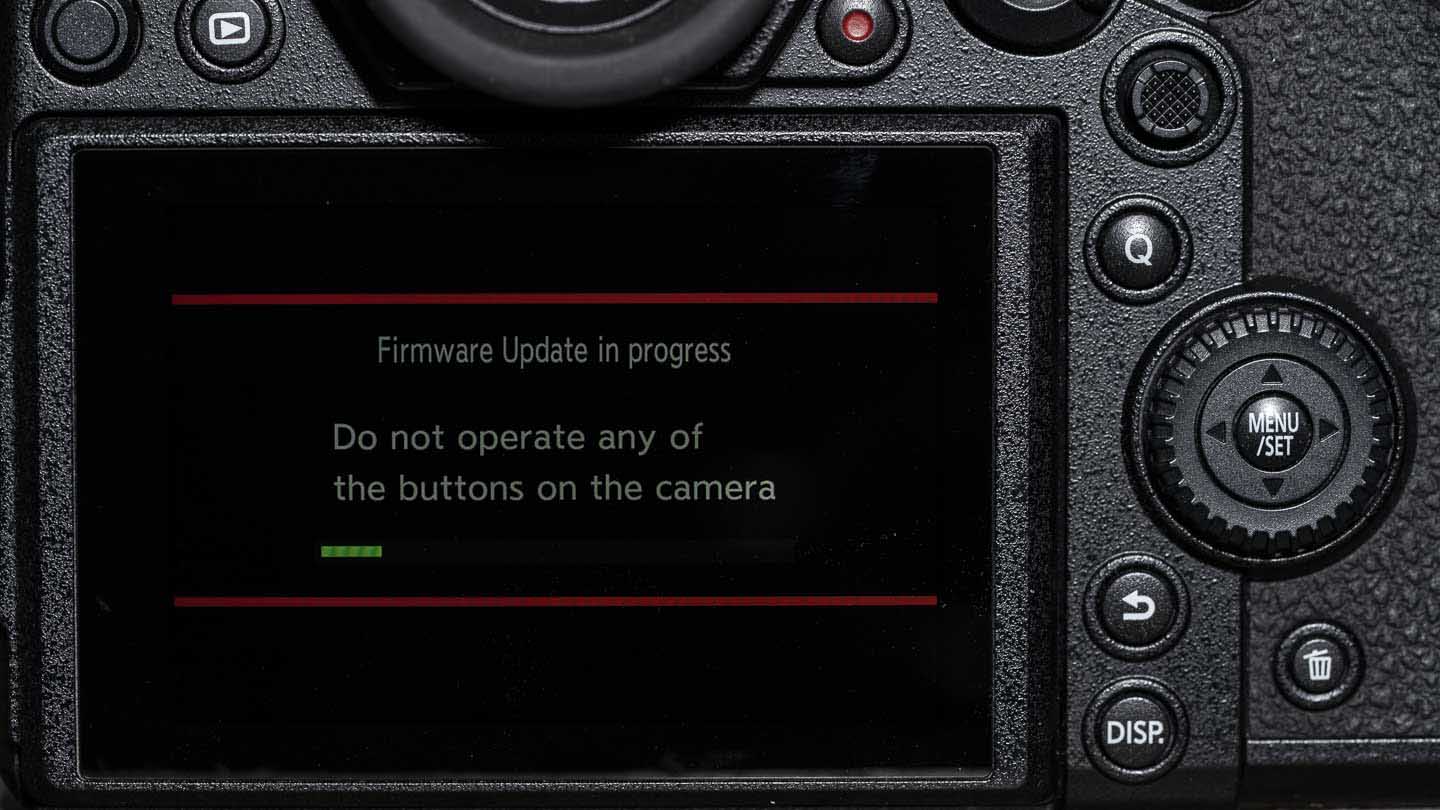
08 Update the Firmware
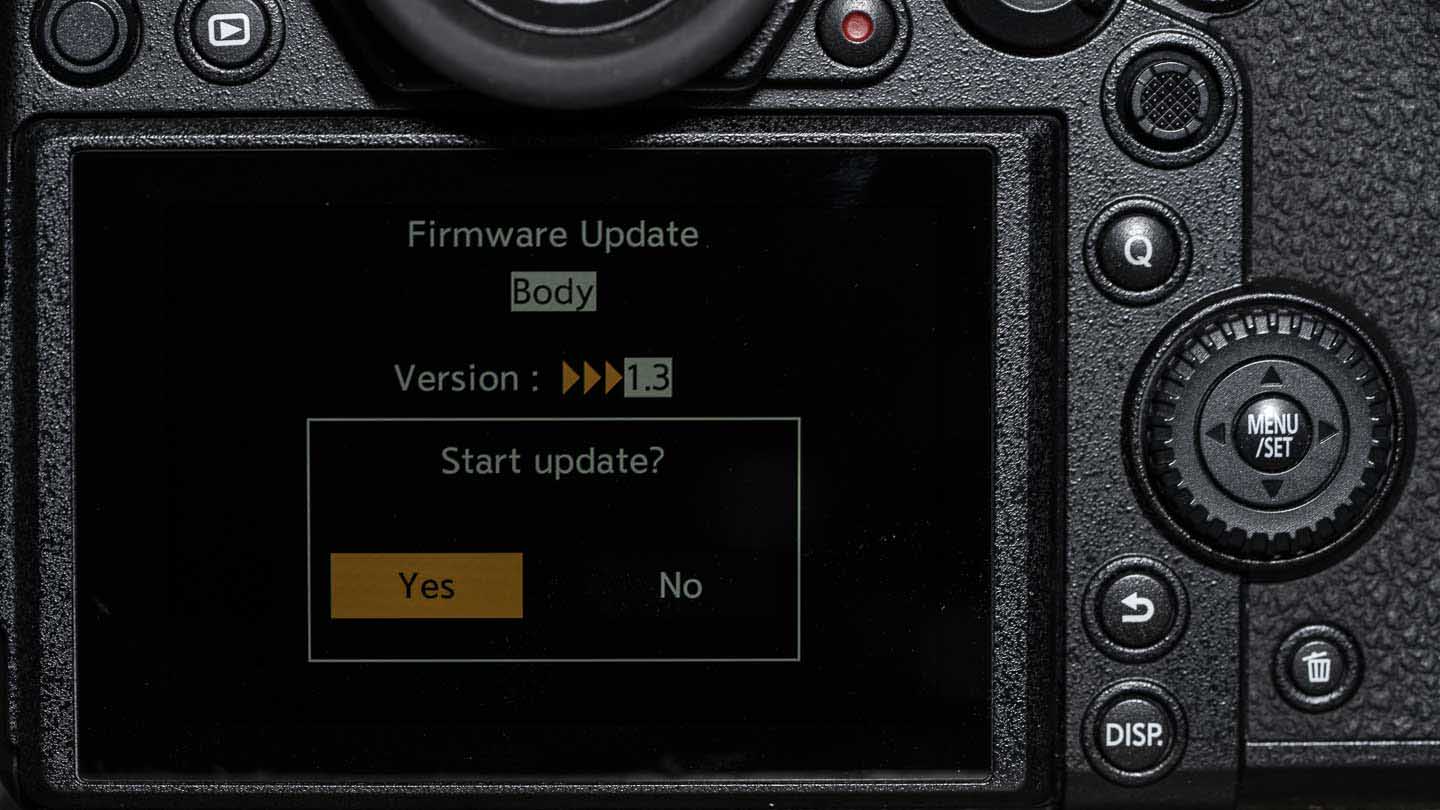
Now press Menu/Set and scroll to ‘Firmware Version’ in the set-up (spanner icon) menu and press ‘OK’. Highlight ‘Yes’ in the box that appears and press ‘OK’ again. The firmware will take a few minutes to upload, don’t turn the camera off until it is complete.
09 Check the Firmware Version
Scroll to ‘Firmware Version’ in the set-up menu and press OK to check that the firmware has updated to the latest version.
Very useful information, thanks a lot for putting it out !
I would like to add that if you download the firmware upgrade you have to unzip it (while already on the SD-card, and delete the ziped file) or else the camera won’t recognise the file being there and won’t be able to perform the upgrade.
Thank’s for the tip Hugo – we’ll take a look
I unzip the downloaded file on the computer and then copy the firmware files to the SD card.