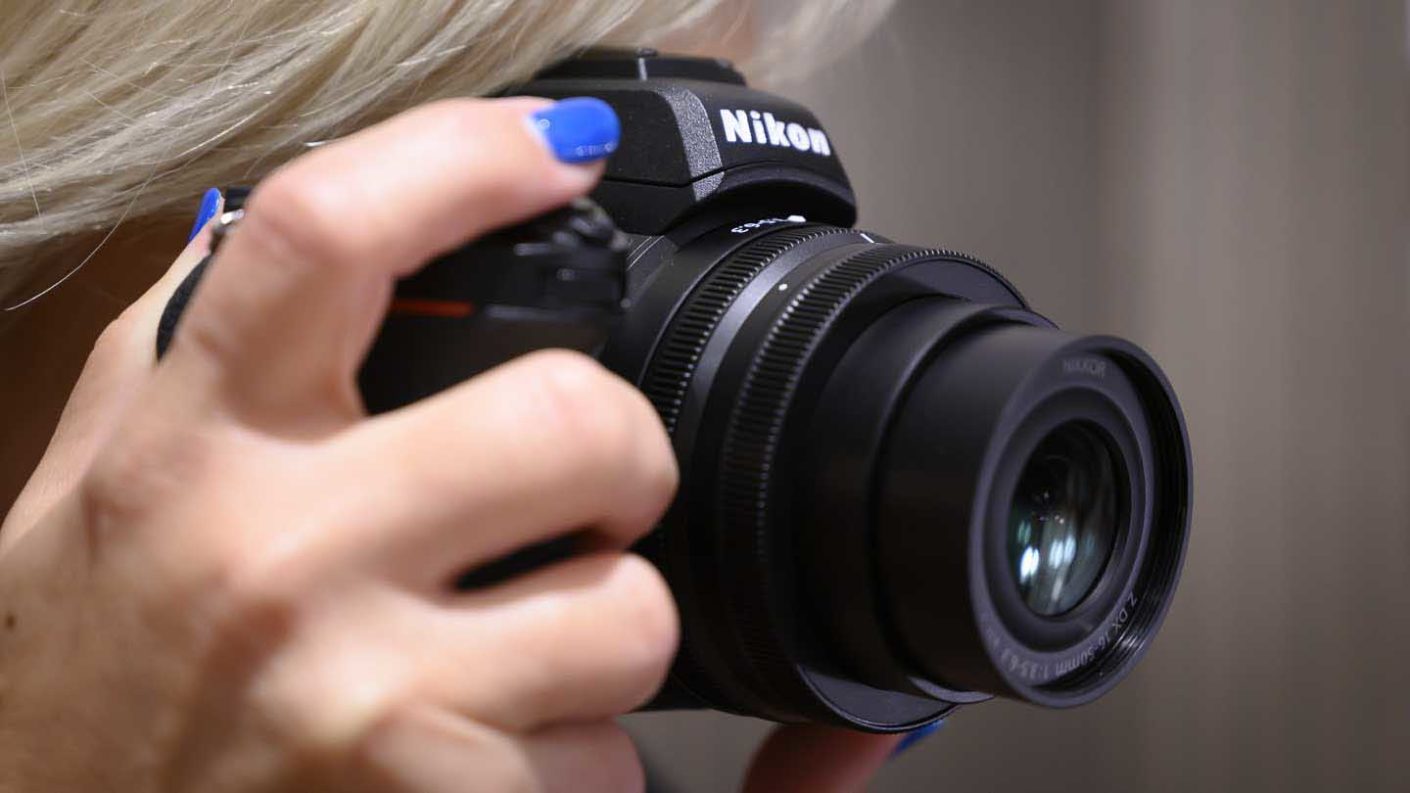


If you’ve made the leap up from the world of camera phones and compact cameras and bought your first serious camera you may be wondering what you should do before you take your first photo with it. In fact, even if you’ve just opened the box of the next in a long succession of cameras, the chances are that you’ve forgotten what some of the first keys stars are to setting up a camera for the first time.
Whichever camp you fall into, this post outlines all the keys steps that you need to take to set-up your camera for the first time so you’re ready to start shooting.
01 Charge the battery
 Before you can do anything with your camera, you need to charge the battery. If your camera was supplied with a battery charger, pop the battery in it and connect it to the mains to start charging.
An increasing number of camera batteries are charged via a USB connection and in some cases, there’s no battery charger included in the box with the camera. If this is the case for you, put the battery in the camera and find the right cable in the box to connect your camera to a USB charging port.
02 Format the memory card
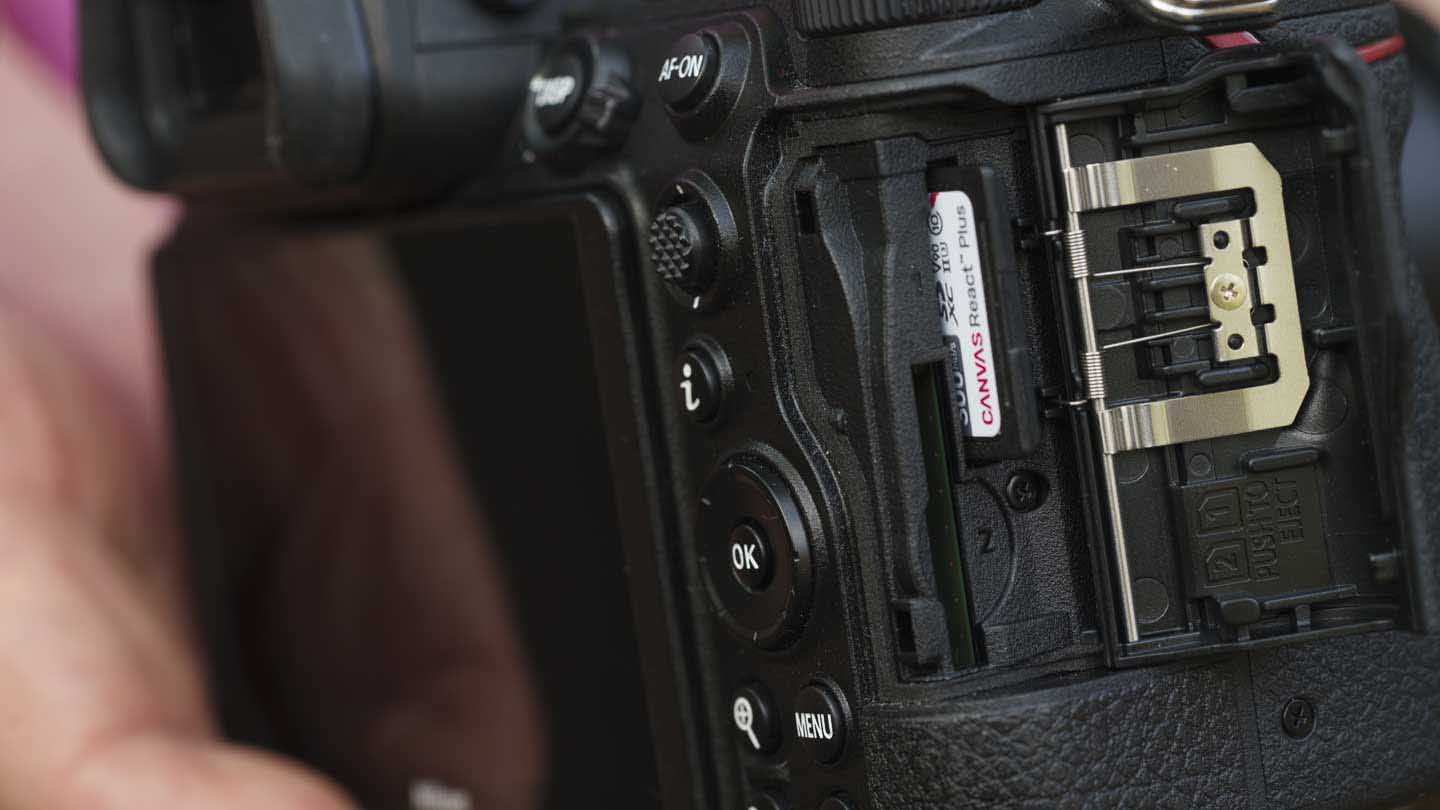 Even if you’ve got a brand new camera and a brand-new memory card, it’s a good idea to format the card as soon as you’ve inserted it in the camera.
Formatting the card deletes anything that’s on it and gets it ready to start work with your camera.
If you’re using an old card that already has images or files on it, make sure you’ve downloaded everything before you insert the card in the camera and format it.
To format the memory card, simply press your camera’s menu button, find the Format option and follow the on-screen directions.
03 Set the image quality and size
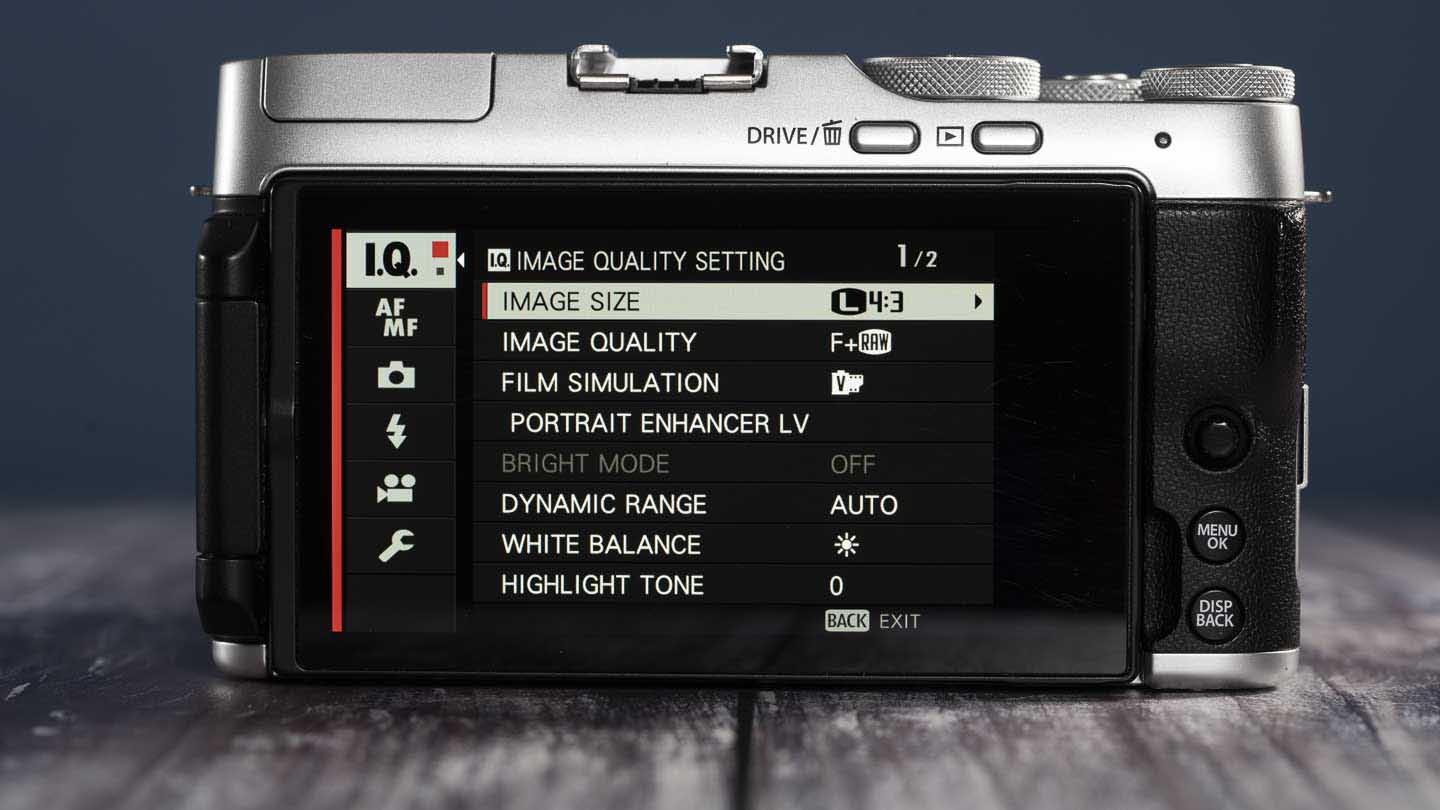 You want to get the best from your new camera, so use the camera’s menu system to set the image quality to Extra Fine or Highest Quality JPEG, and then set the size to Large.
You may be thinking, won’t this take up more room on the memory card I just formatted? And the answer is yes! You’ll burn through more storage space, but isn’t the reason you upgraded to a DSLR or interchangeable lens camera because you wanted to take better quality images?
You can also try your hand at processing raw files, if you want. These files capture more detail and generally produce better results, but they have to be processed and converted to Jpegs before you can share them.
These days the raw conversion software that’s supplied free with your camera is usually made available via a download link rather than as a disk in the box. Have a look through the paperwork in the box, or search the manufacturer’s website to find the correct link.
You can also use third-party image-editing software, such as Capture One Pro, DxO Optics Pro or Photoshop Elements, but you will need to make sure that your camera’s raw files are supported.
You can even set your new camera to shoot raw and JPEG images simultaneously. We’d recommend at this stage that you don’t just shoot raw files exclusively.
04 Set the sensitivity (ISO)
Adjusting your camera’s sensitivity, or ISO setting, determines how much light your camera needs to take a photo.
High sensitivity settings such as ISO 6400 are handy for shooting in low-light conditions, but the higher your ISO setting, the more noise will creep into your images. Low settings in the ISO range produce the best-quality images but they can only be be used when there is lots of light.
In these early stages of your photographic journey it’s probably best to set your camera’s sensitivity to automatic and let the camera decide which is best.
05 Set the white balance
 Like with sensitivity, your new camera’s automatic white balance (AWB) setting is probably the best starting point at this stage. Your camera is generally pretty accurate and should produce images with natural colours and neutral tones in most types of conditions.
Once you’ve grown more confident with using your camera’s controls you can begin to experiment with the white balance settings that are designed for specific lighting conditions. You can even take full control and try setting a manual value!
In the meantime, if your camera isn’t delivering the colours you expect, try using one of the preset white balance settings and check out the result.
06 Check the metering mode
We recommend setting your camera to its Evaluative, Matrix or Multi-zone/segment metering, which is a good general-purpose mode that will suggest the most practical exposure settings in most conditions.
If you’re using a mirrorless camera, its viewfinder and screen can preview the impact of the camera settings that are selected, so you’ll see if the image is going to be too dark or too bright and adjust the exposure compensation accordingly.
07 Set the focus mode
 You can focus the lens automatically by using the camera’s autofocus (AF) system, or you can focus manually by rotating the lens’s focus ring with your hand, but you need to let the camera know which method you plan to use.
When autofocus is selected, the camera will try to focus on whatever subject is sitting under the selected AF point.
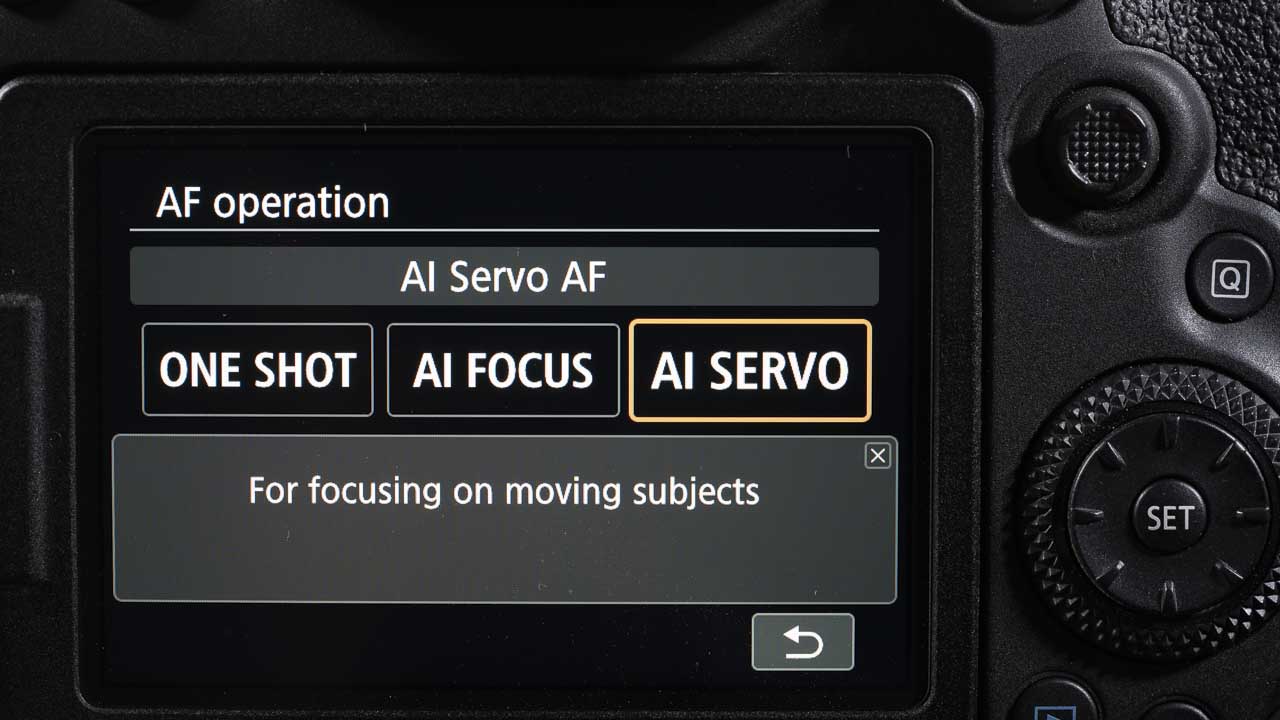
Check the camera over to see if there’s a control to set the focus mode directly, or press the menu button and locate the focus mode control. You will find that there are two (or sometimes more) AF options, Single AF and Continuous AF (AI Servo on Canon cameras) mode.
At this stage, we suggest setting your camera to its Single AF mode. This setting focuses your lens when you half-press the shutter release button.
If there’s an Auto AF mode, this is also useful as the camera will switch to continuous AF mode if it detects the subject is moving.
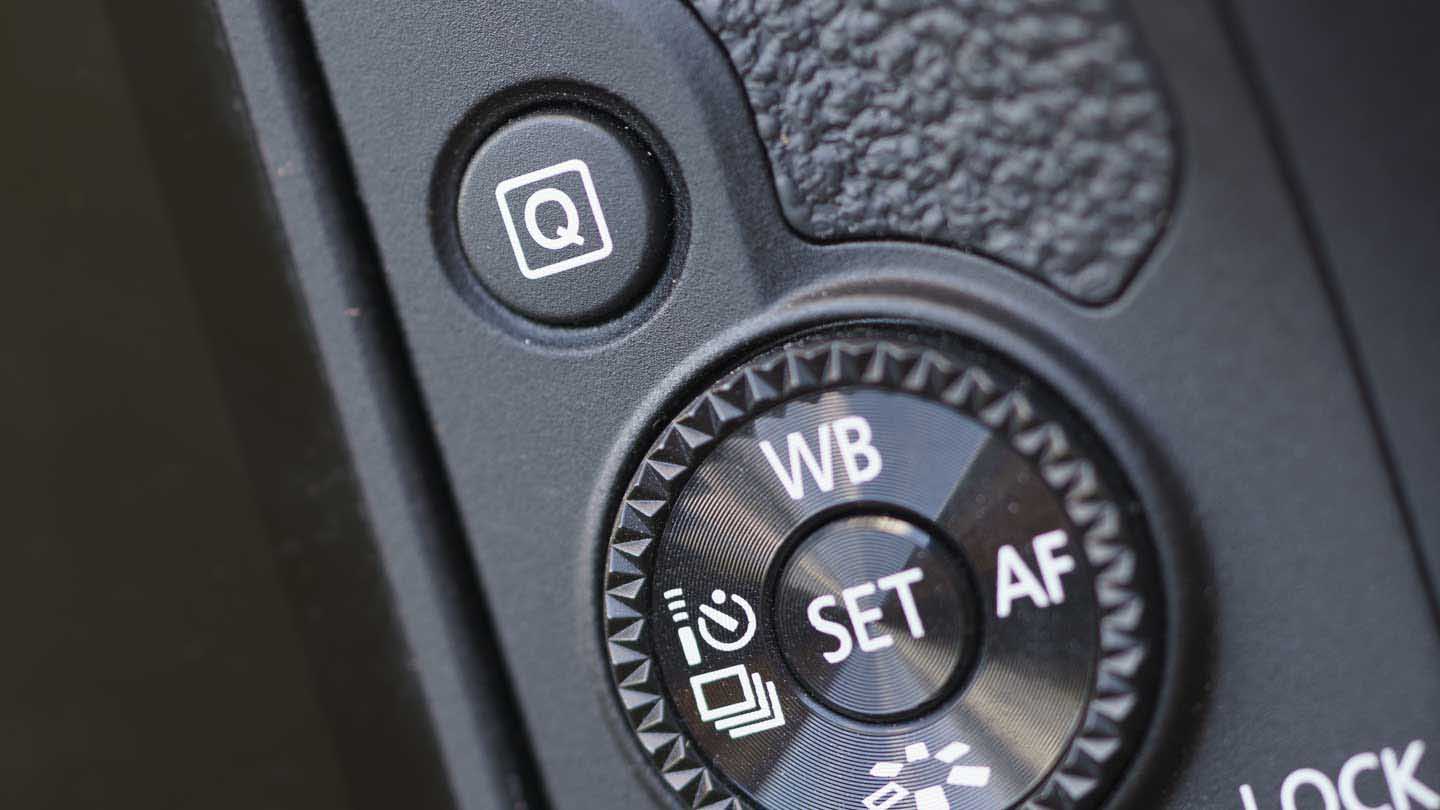
08 Set the drive mode
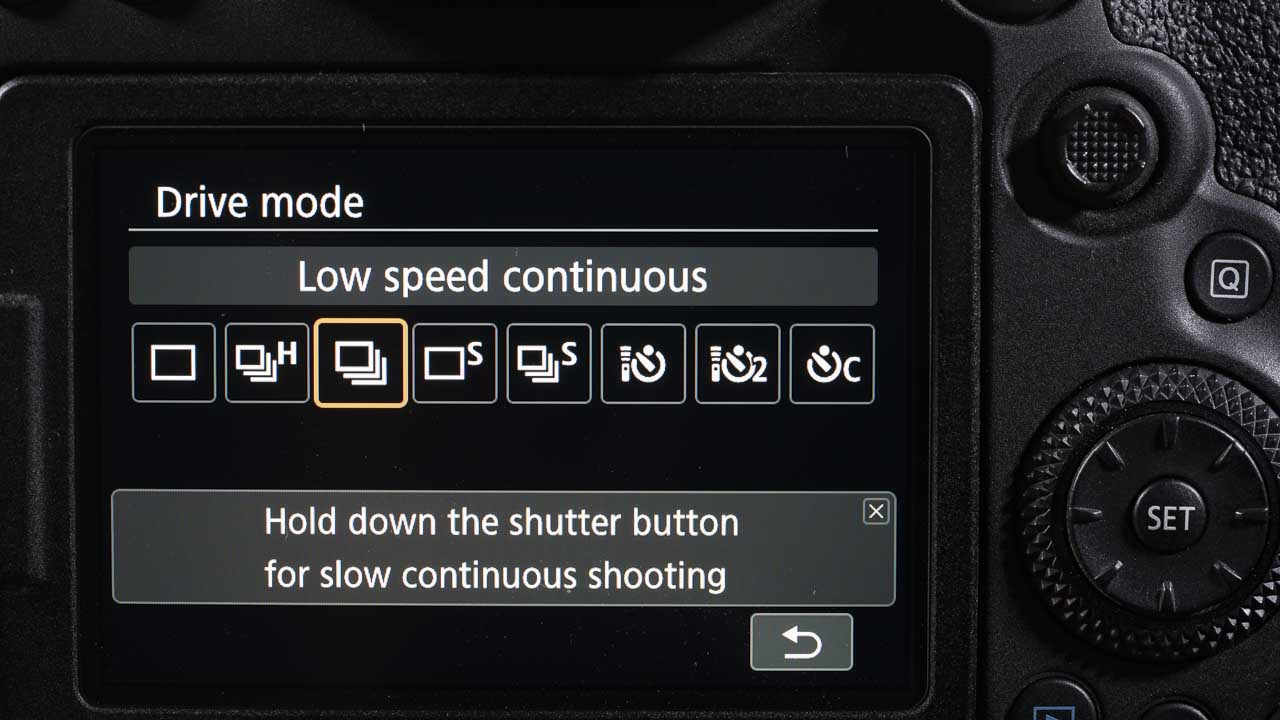 Your camera’s drive mode is an important control for when you’re photographing a moving subject. Setting the drive mode to its continuous shooting setting will enable you to take a sequence of images in quick succession (you will want to set the camera to Continuous AF mode as well if the subject is moving).
For as long as you keep the shutter release button pressed down (or until the buffer or card becomes full) the continuous shooting mode will allow your camera to keep firing the shutter to capture images.
Conversely, if you want to capture just one image at a time – which you probably will in most situations – set the Single-shot mode.
09 Select the exposure mode
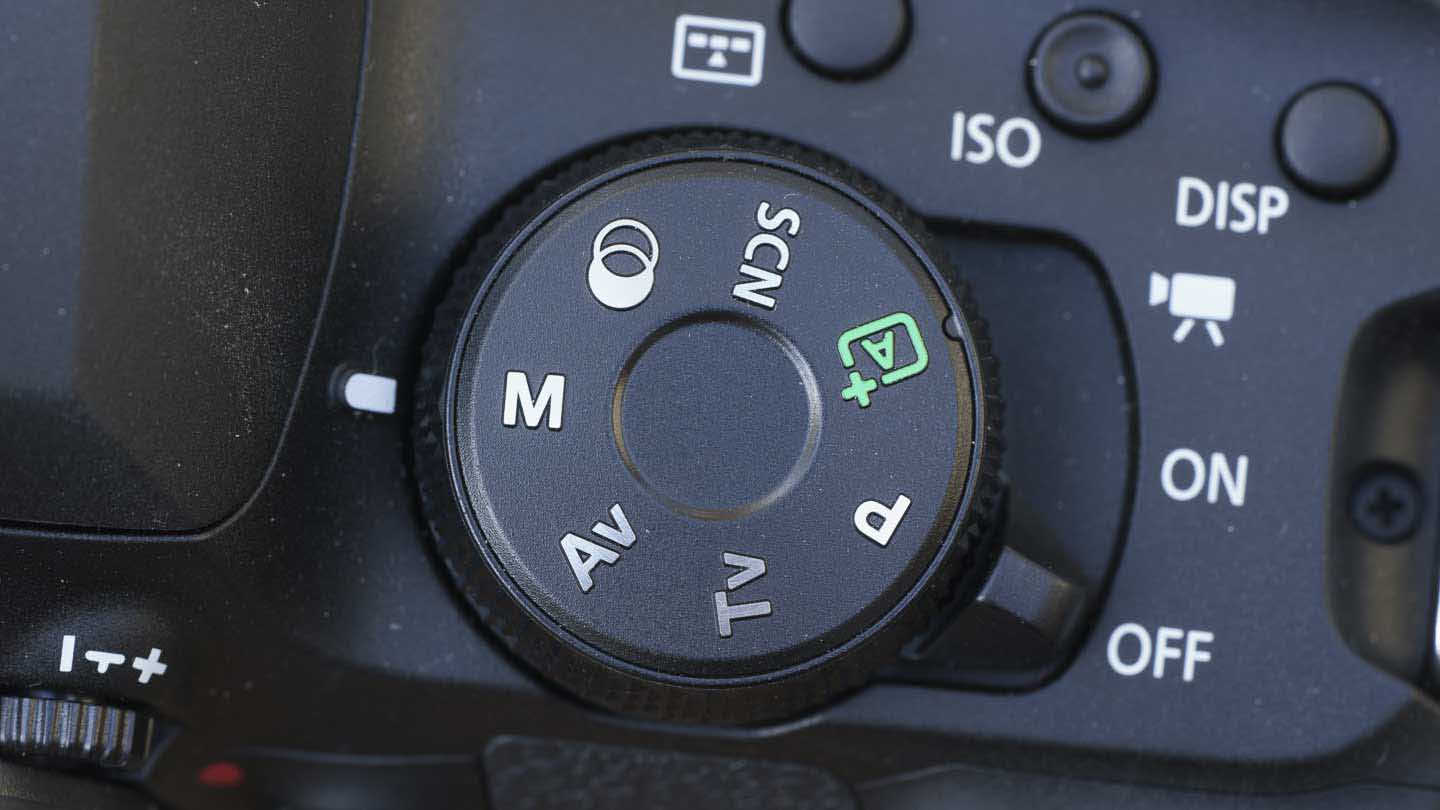 This is perhaps the most important setting. Setting your new camera to Automatic (Auto) or Program exposure mode instructs it to decide which shutter speed and aperture settings are best given the lighting conditions. This can be a great option for beginner photographers who want to concentrate solely on getting their composition right.
However, if you want to take more control over your exposure you might want to try one of your camera’s Scene mode options, such as Portrait, Landscape or Sport. These modes tailor the exposure and colour settings to better suit the subject.
Over time, as you grow more confident and accustomed to your camera, you might want to take even more control by using options like the aperture and shutter priority modes.
In aperture priority mode you set the aperture while the camera determines the best shutter speed.
It’s worth remembering that setting a small aperture (which is represented by a large f/number, such as f/22) creates lots of depth of field, which mean a lot of your image will be in focus.
However, a large aperture (which is represented by a small f/number, such as f/2.8) restricts the depth of field so that only a small section of the image on either side of the main focal point is sharp.
Using the same principle as Aperture priority, Shutter priority mode lets you set a desired shutter speed, for example, to freeze a fast-moving subject, and the camera then determines the appropriate aperture setting.
And finally, in Manual exposure mode you take total control and set both the shutter speed and aperture. On your Live View screen or in your viewfinder you will find the camera’s meter indicator to help guide you. Generally, you want the meter indicator to rest in the middle to provide an even exposure.