


Shooting a timelapse video can be incredibly rewarding, but in the past it required quite a bit of work on the computer. Thankfully, modern cameras have simplified this a great deal and now many models from beginner to pro offer a timelapse mode, including the Canon EOS Rebel SL2 / EOS 200D.
In this tutorial I’ll show you how step by step how to record a timelapse video on the Canon EOS 200D / Rebel SL2. This Timelapse mode was a new addition to the EOS 200D / Rebel SL2 over its predecessor, the 100D / SL1 and is great fun to use – and very easy!
Once you familiarise yourself with the camera’s menu system, it’s a simple case of enabling a few options, setting your intervals and setting it free. Here’s how…
How to set up a timelapse on the Canon EOS 200D / Rebel SL2
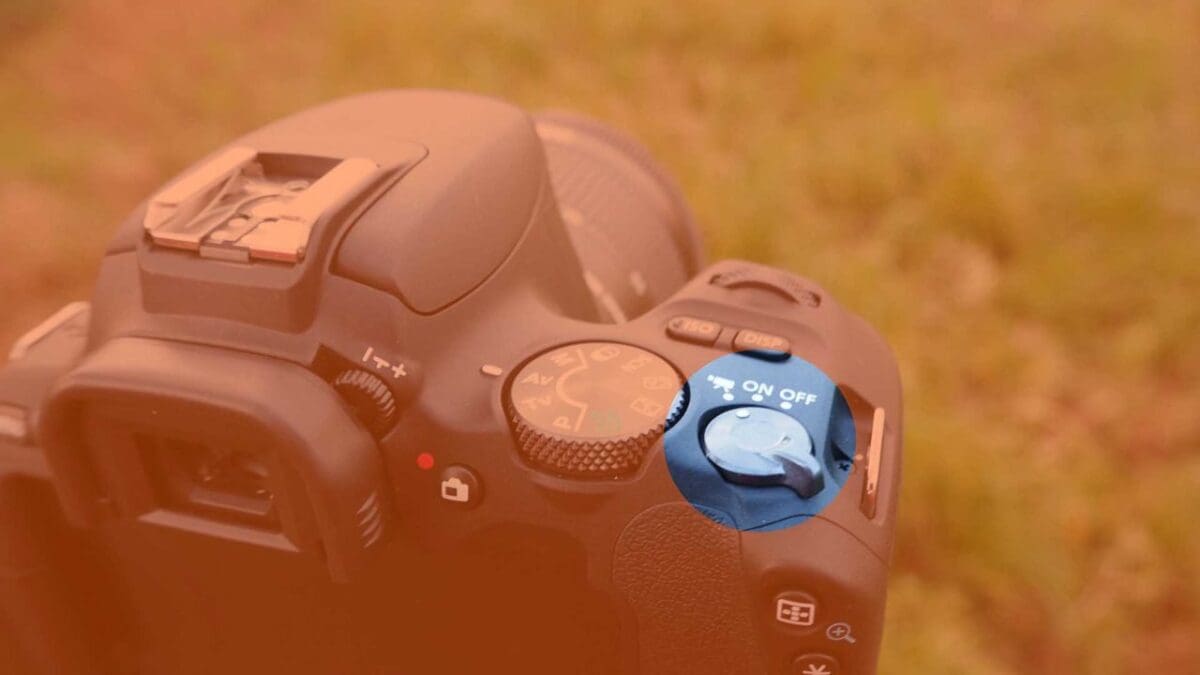
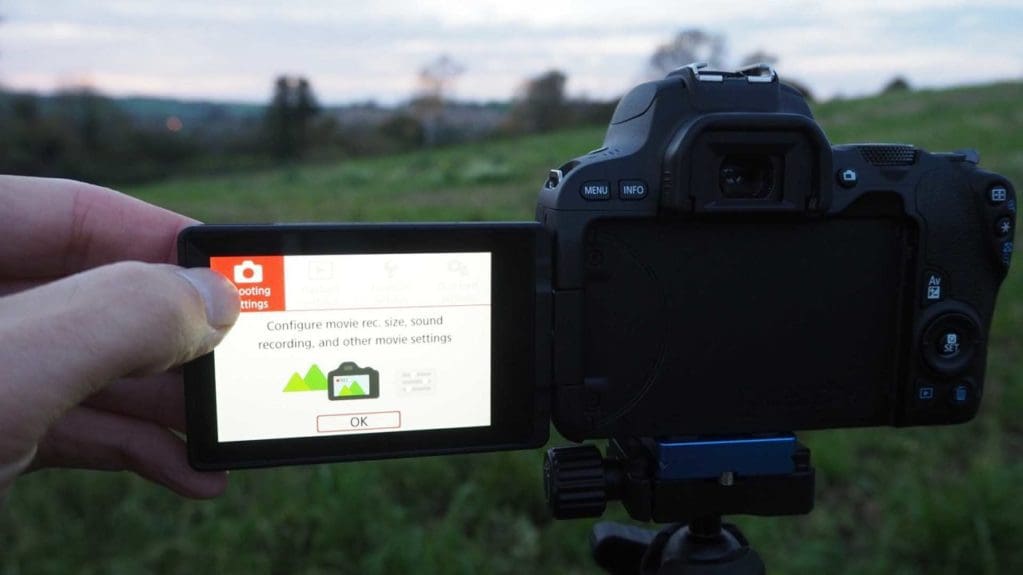
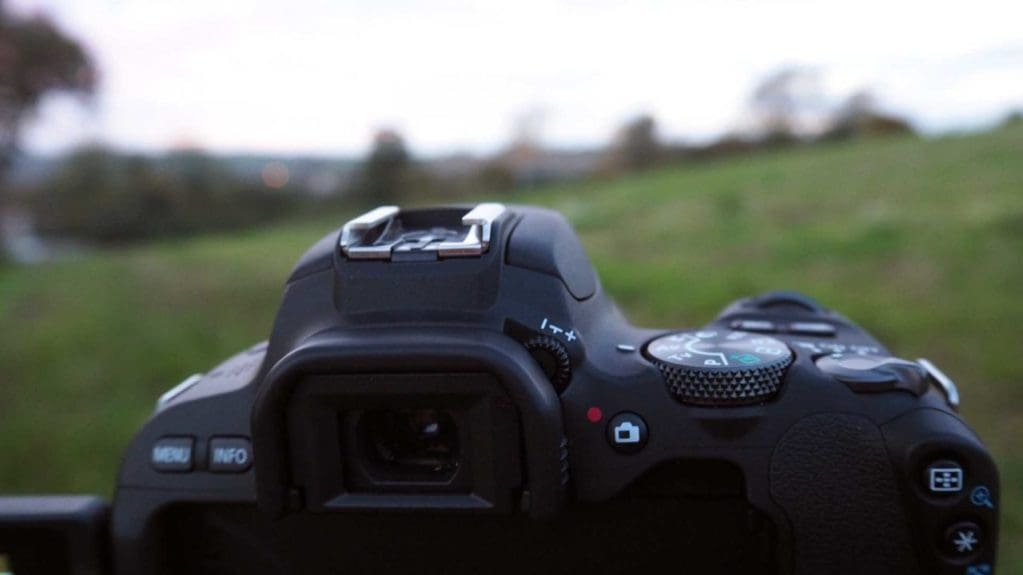
- First set the 200D / SL2 to its movie mode to access the movie settings. To do this simply turn the On/Off switch to the left past On to the little cinema camera icon. You can see it in the image above.
-
- If you press the Menu button you’ll now notice that your Shooting Settings have switched from still images to video.
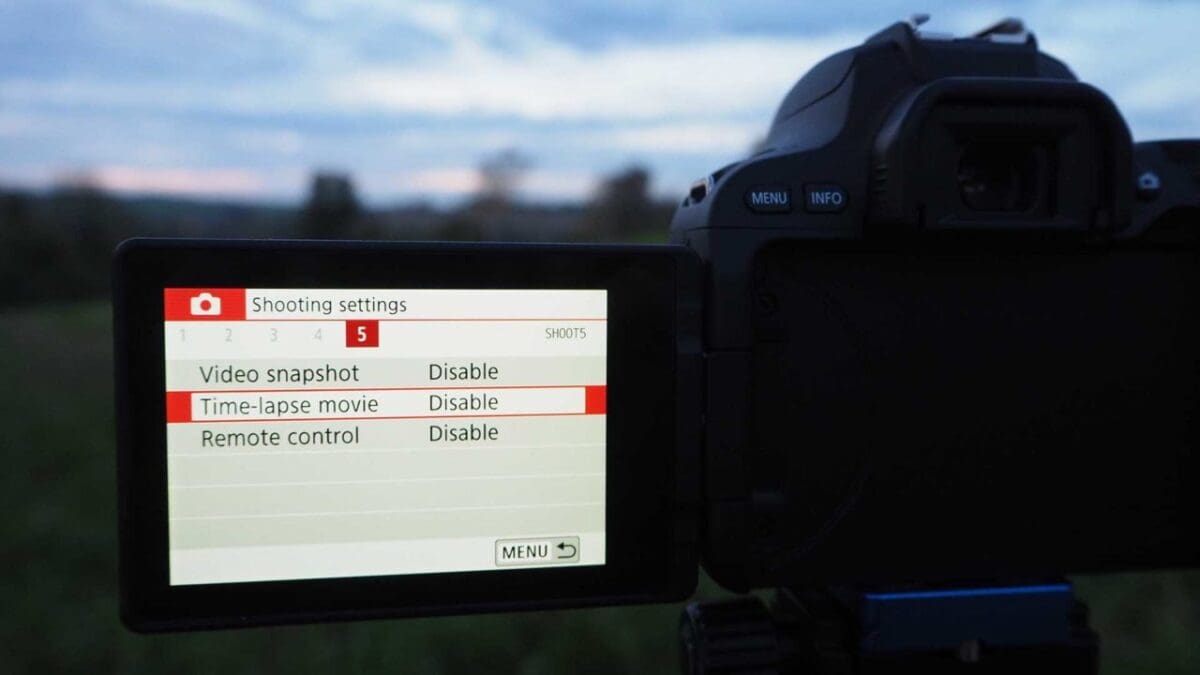
- On page 5 of the video Shooting Settings you’ll find the option for Timelapse movie, which is set to Disable by default. Press this option on the touchscreen.
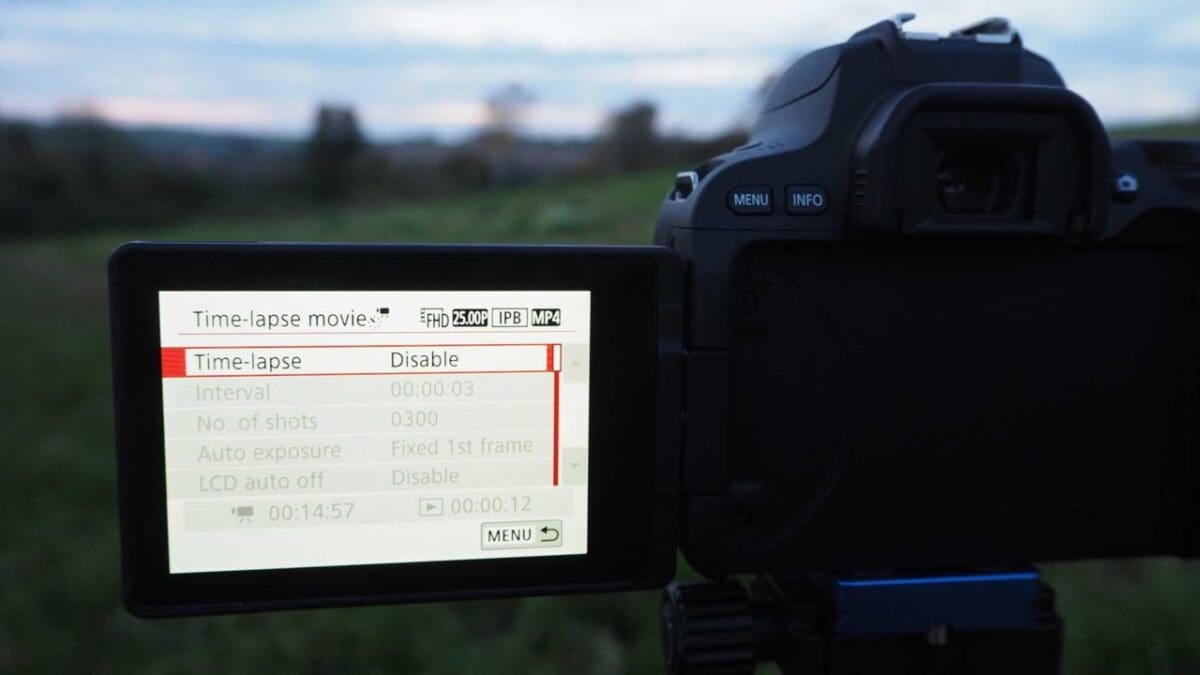
- You’ll now be in a Timelapse menu where all the options are greyed out apart from the top one where it says Timelapse – Disable. Press this option and Enable Timelapse.
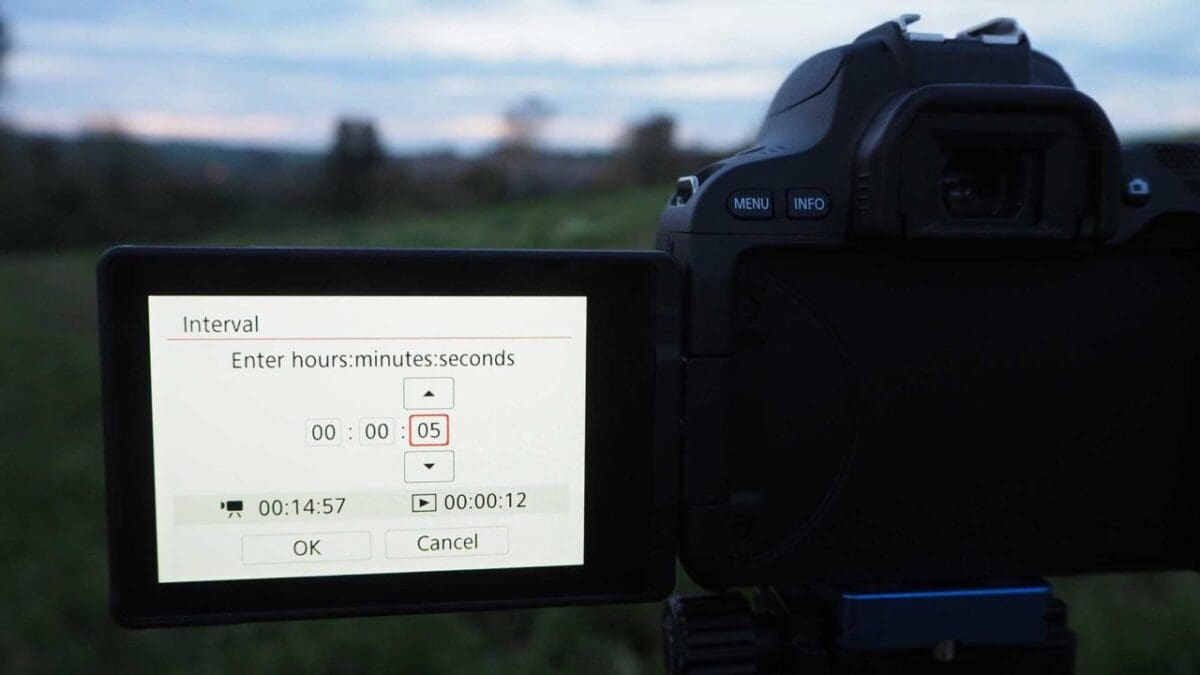
- You’ll now find that all those greyed out options are now available. From here you can set your Interval. This is how often your 200D / SL2 will take a photo. I selected a 5sec interval, pressing the arrow on the touchscreen. Then press OK. You can set an interval as quick as 1sec or as long as 99:59:59.
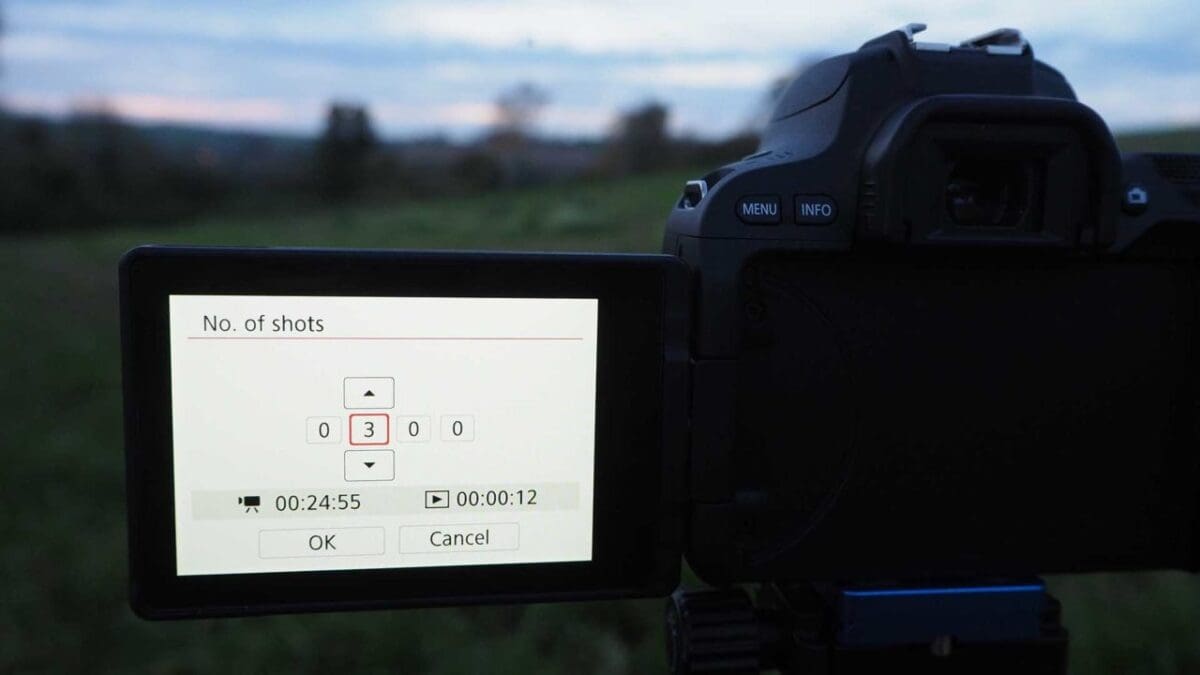
- Back in that Timelapse menu again, next you’ll want to select your number of shots. I chose 300 shots. You can choose as many as 3,600 or as few as two. Canon provides a handy guide on the bottom of the screen, as you can see above, which indicates how long it will take to record all these images in the timelapse and how long the resulting video will be. As you can see from my example, I spent nearly 25 minutes recording images for a video that was only 12secs long!
- It’s worth noting that each frame is shot with the exposure adjusted to match the brightness of the scene, and certain settings like white balance will be automatically set for each frame if they are set to Auto.
-
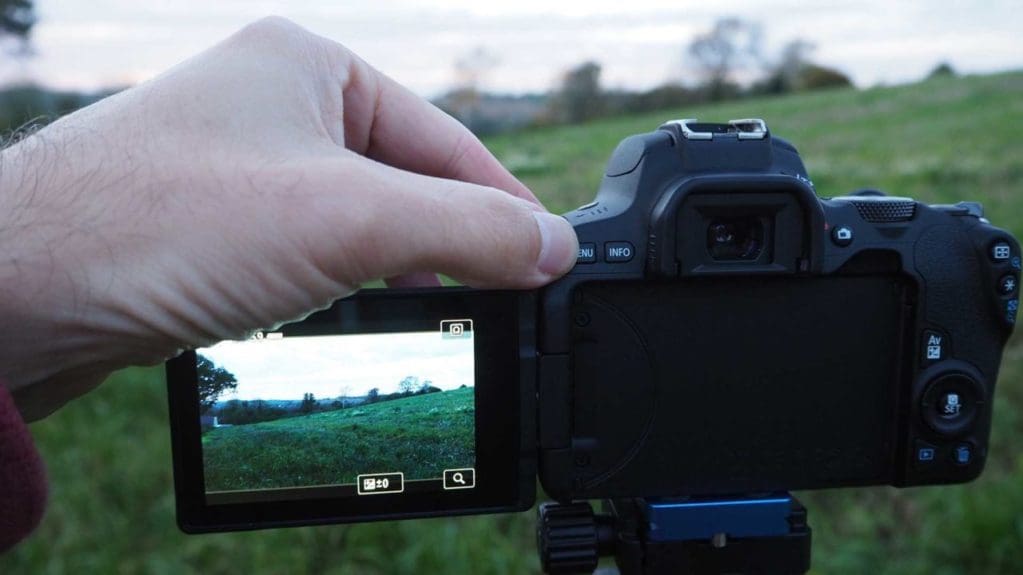
- You’re now ready to record. With the EOS 200D / Rebel SL2 in its video mode you start recording by pressing the live view button, indicated above, which doubles as a direct video control as you can see by the red dot next to it.
- It’s also worth noting that you can turn off your LCD screen during the timelapse process to save power. Before you press record, in the Timelapse menu is an option called LCD Auto Off. Simply enable this, and your LCD will power down during the process. That said, if your timelapse is longer than 30 minutes, the LCD will turn off at this point anyway.
- You can also disable the beep your 200D / SL2 will make as each image is taken, again in the Timelapse menu before recording. Select Beep as img taken and Enable.
- Get yourself a cup of tea and relax. Your Canon EOS 200D / Rebel SL2 will handle the rest! When your timelapse is complete, the EOS 200D / Rebel SL2 will generate a 1080p video in both .mp4 and .mov formats from the images it took.

When your set number of shots have completed, your Canon 200D / SL2 will automatically cancel the Timelapse movie mode and your video will be ready to view in Playback.
A couple final things to note: your Canon 200D / SL2’s AF will not work during timelapse shooting. However, the camera records images with the electronic shutter for silent operation.
Hi do you get shutter wear using this method