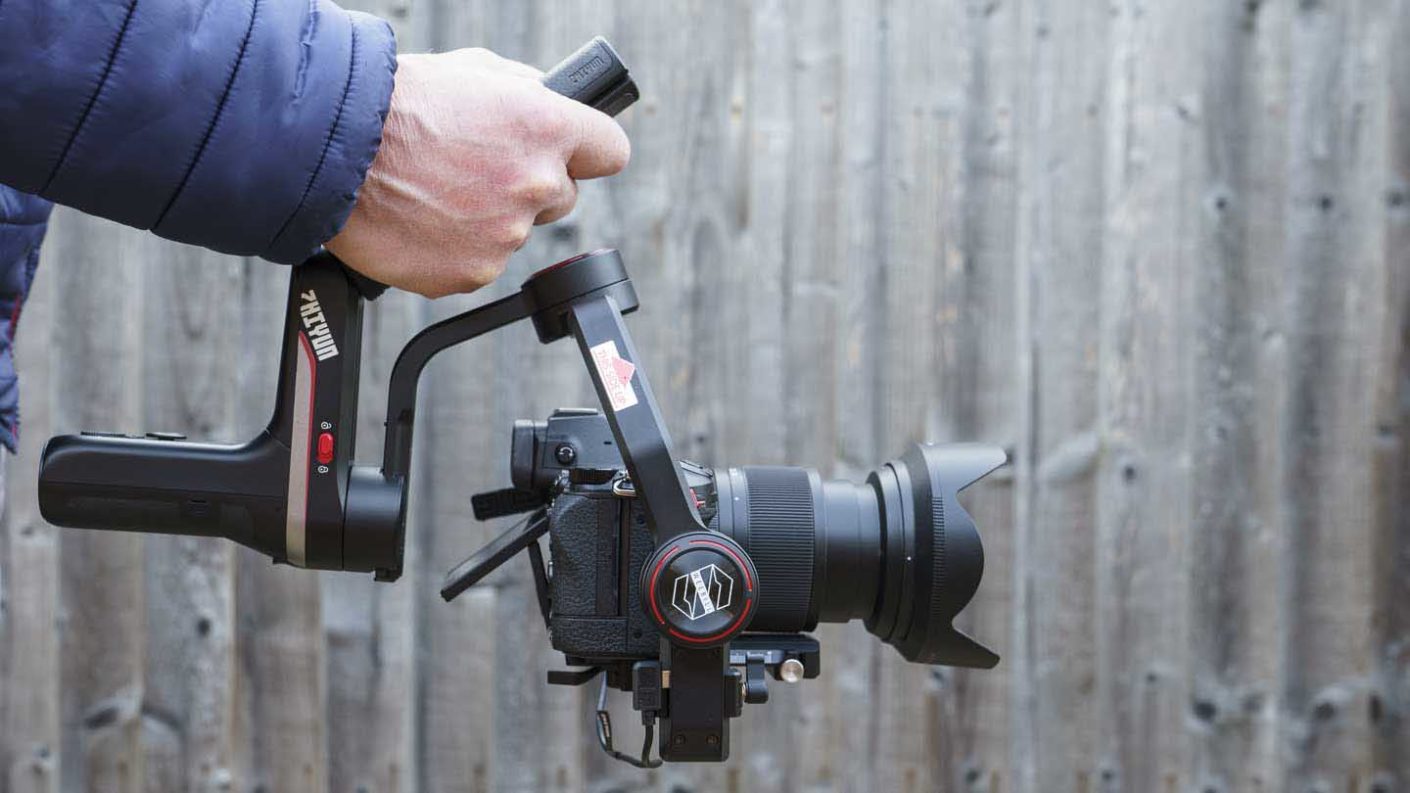
On the whole, the build quality of the Zhiyun Weebill-S is very good, especially taking the price into consideration. The gimbal arms and motor surrounds are made from metal and feel very strong. The body itself is a little plasticky, but its okay.
I have had a few issues with the axis locks sometimes being tricky to unlock. The tilt axis lock is the main culprit and sometimes it’s seemed stuck fast but I’ve always managed to resolve the problem by jiggling the camera little in the tilt plan while pushing the lock switch.
At 926g without the tripod and batteries, the Weebill-S is about half the weight of the Zhiyun Crane 2S, which makes it considerably more attractive to carry on the off-chance that you might want to use it. It’s also preferable for long shoots, but of course, it’s not designed to work with big cameras such as the Canon EOS-1D X Mark III or the Blackmagic Design Pocket Cinema Camera 6K Pro like the Crane 2S.
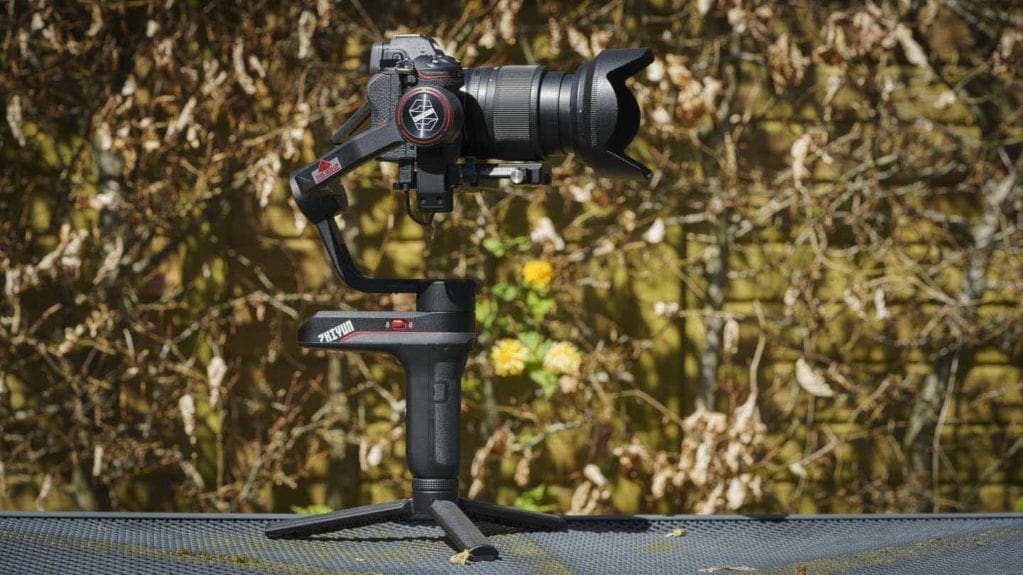
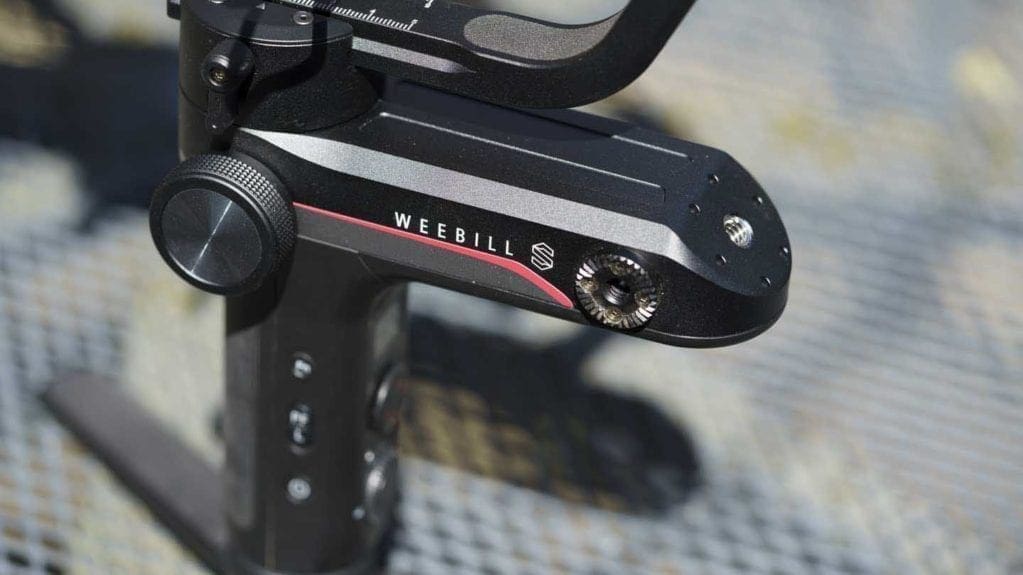
Like the Weebill Lab, the Weebill-S has an upside-down L-shaped body or handle. This has pros and cons. On the plus side, there are threads in both ends of the L to attach the supplied tripod which doubles up as a handle extension.
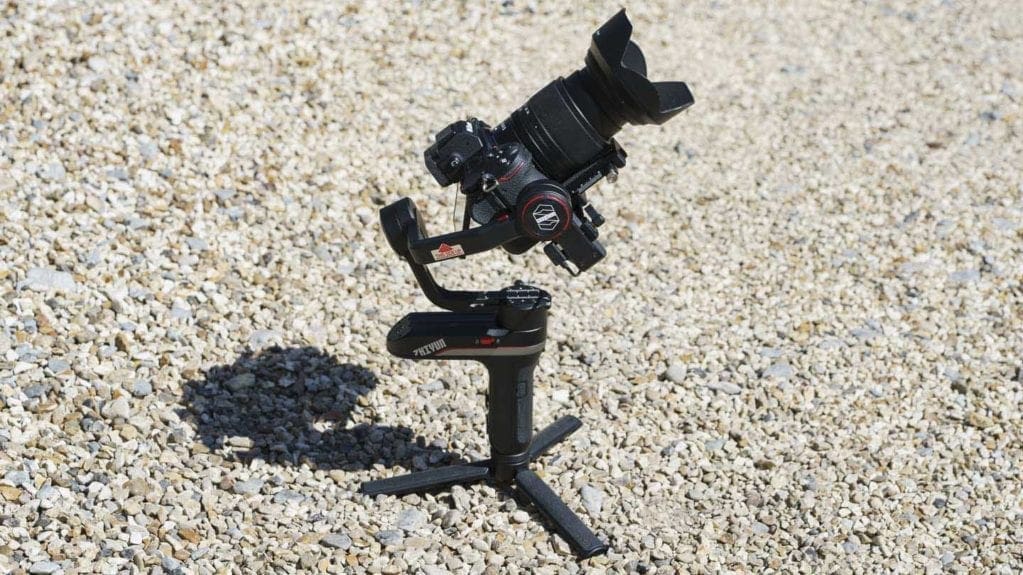
With the tripod/grip on the bottom of the gimbal, you have an extended grip so there’s room for both of your hands. Plus, the tripod legs can be splayed to enable the Weebill-S to stand upright.
As well as providing a convenient and safe way to put the gimbal down, the tripod is useful for when you want to control the gimbal remotely using Zhiyun’s free ZY Play app.
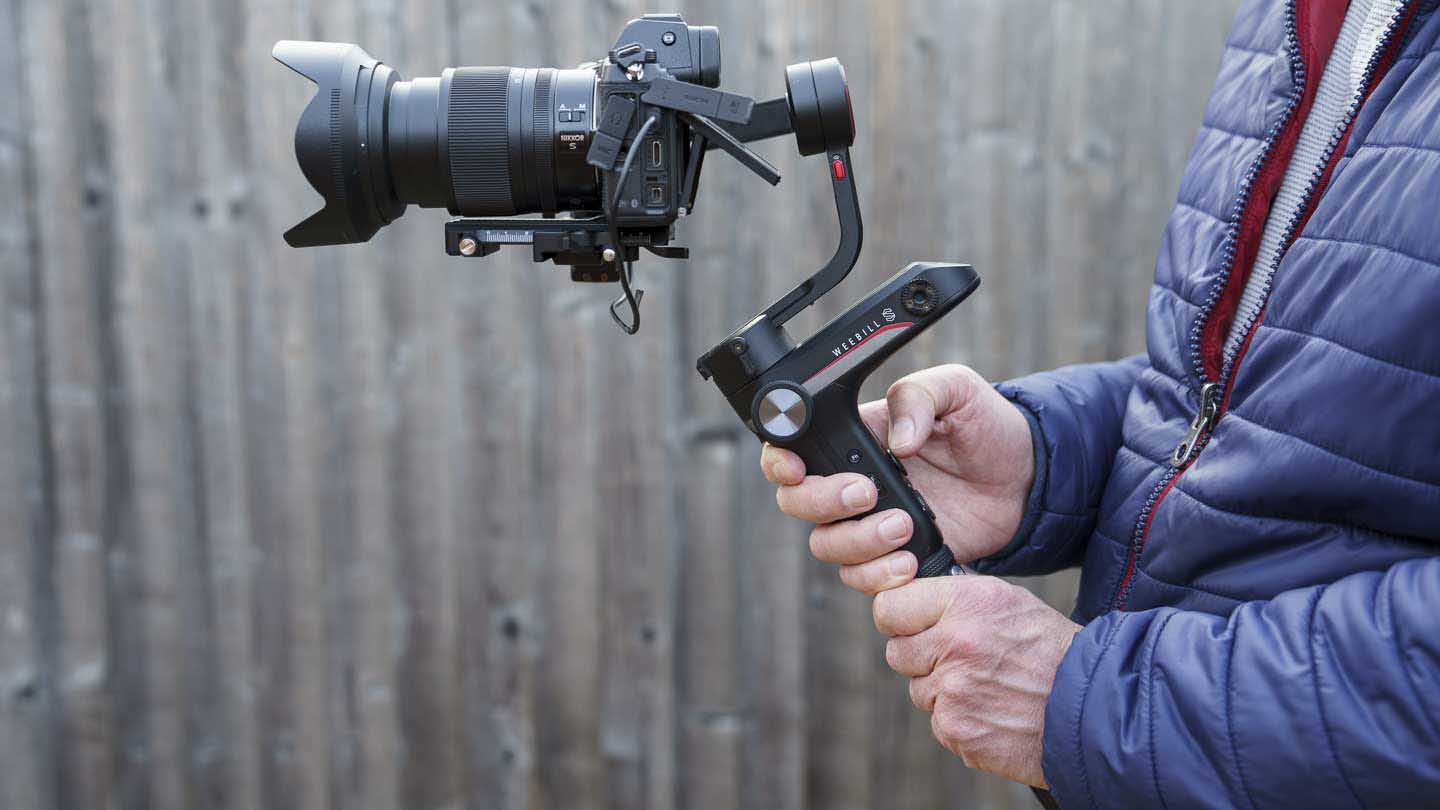
With the tripod/handle attached to the top part of the Weebill-S, you have a sling grip that’s useful for shooting from below waist height.
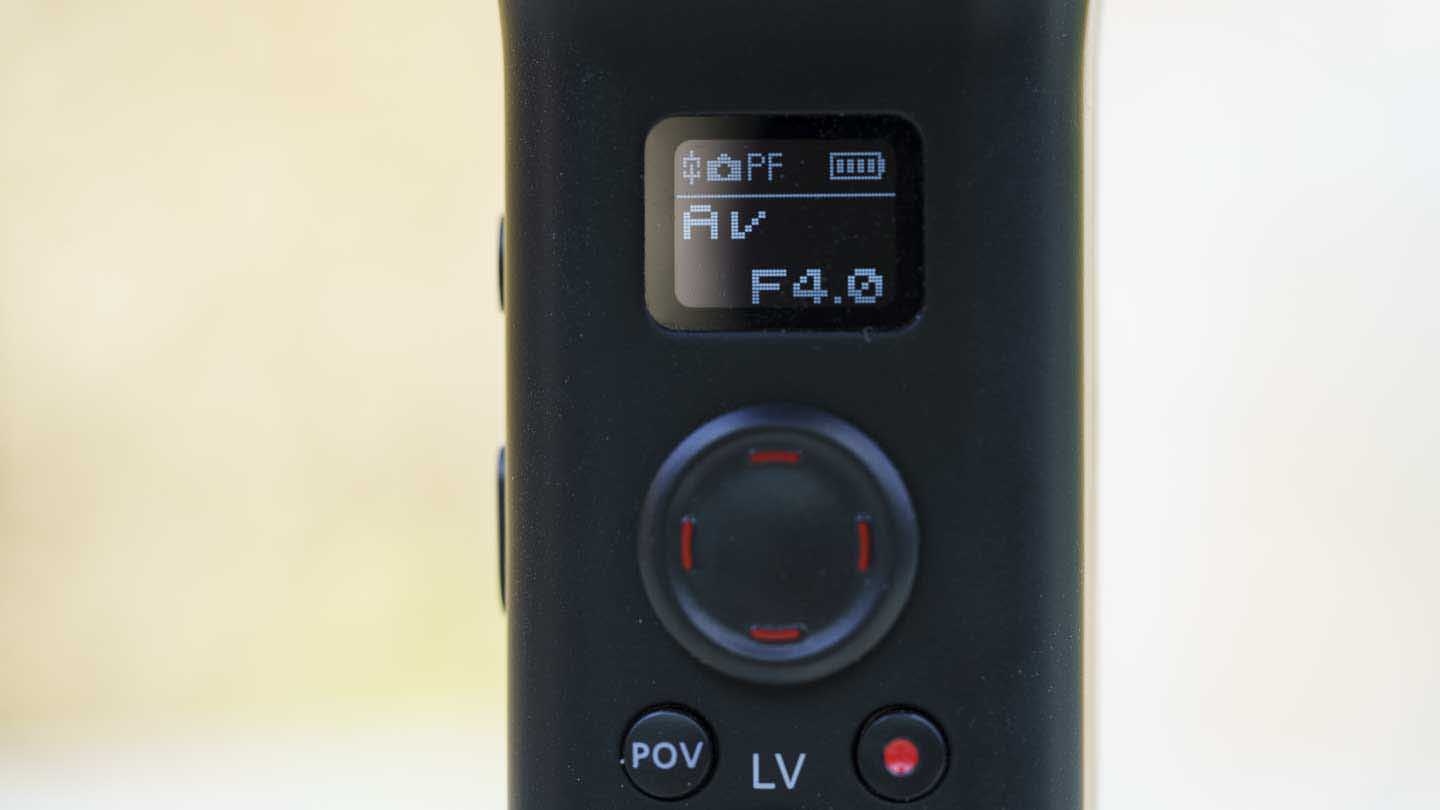
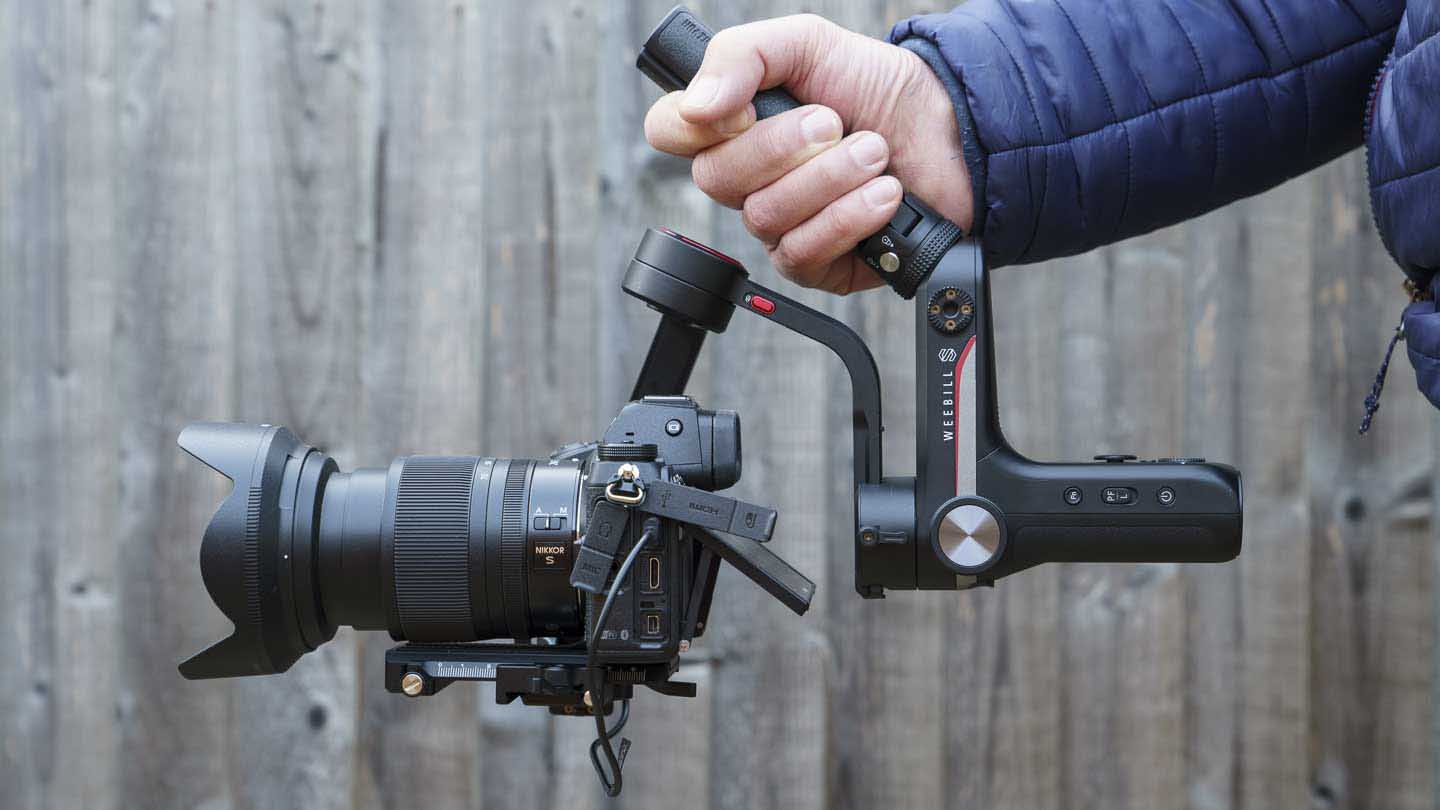
The downside the L-shaped body of the Zhiyun Weebill-S is that status screen can be hard to see because its sometimes obscured by the top part of the body. You could argue that it also makes the additional handle/tripod necessary, but the shape makes the Weebill-S very compact and the two attachment points make it more versatile.
Setting up and balancing the Zhiyun Weebill-S
The Zhiyun Weebill-S is pretty straightforward to set-up, the first step is to unlock all the arms and move them into their working positions before looking them again.
Next, you need to connect the release plate to the camera. If you’re using a big lens on a small camera, there’s a riser plate that’s designed to lift the camera so that the lens doesn’t rest on the release plate.
Now double-check that all of the locks are closed and slide the release plate into position, checking that the safety lock engages.
Before you start to balance the camera on the Weebill-S, make sure that you have it set-up exactly as you intend to use it. Take the lens cap off and fit and filters that you want to use, for example, and if your camera has a tilting or variable screen, move it to the position that you plan to use it in. Also fit the cable that attaches the camera to the Weebill-S.
Balancing the Zhiyun Weebill-S isn’t hard, but if you’ve never balanced a gimbal before, give yourself 20-30minutes. You’ll get faster over time – and you’ll get plenty of practice if you swap lenses or cameras on a frequent basis.
It’s important to balance the camera carefully on the Weebill-S as it will give better performance and battery life – plus the motors will last longer.
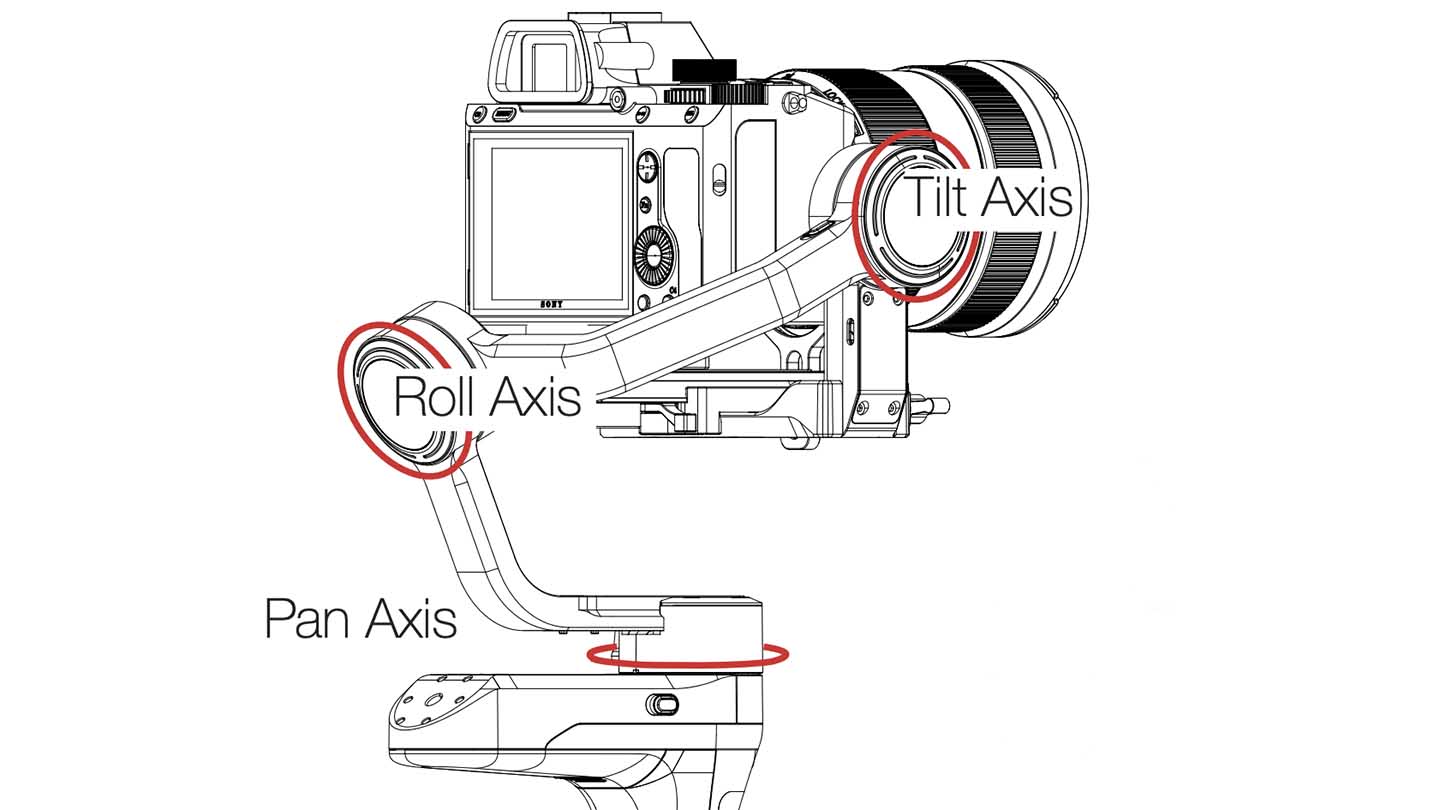
The aim in balancing is to get to a point where you can move the camera with your hands to any angle on the gimbal when it’s powered off and it will stay in position. To do this, you need to balance the camera around each axis in turn.
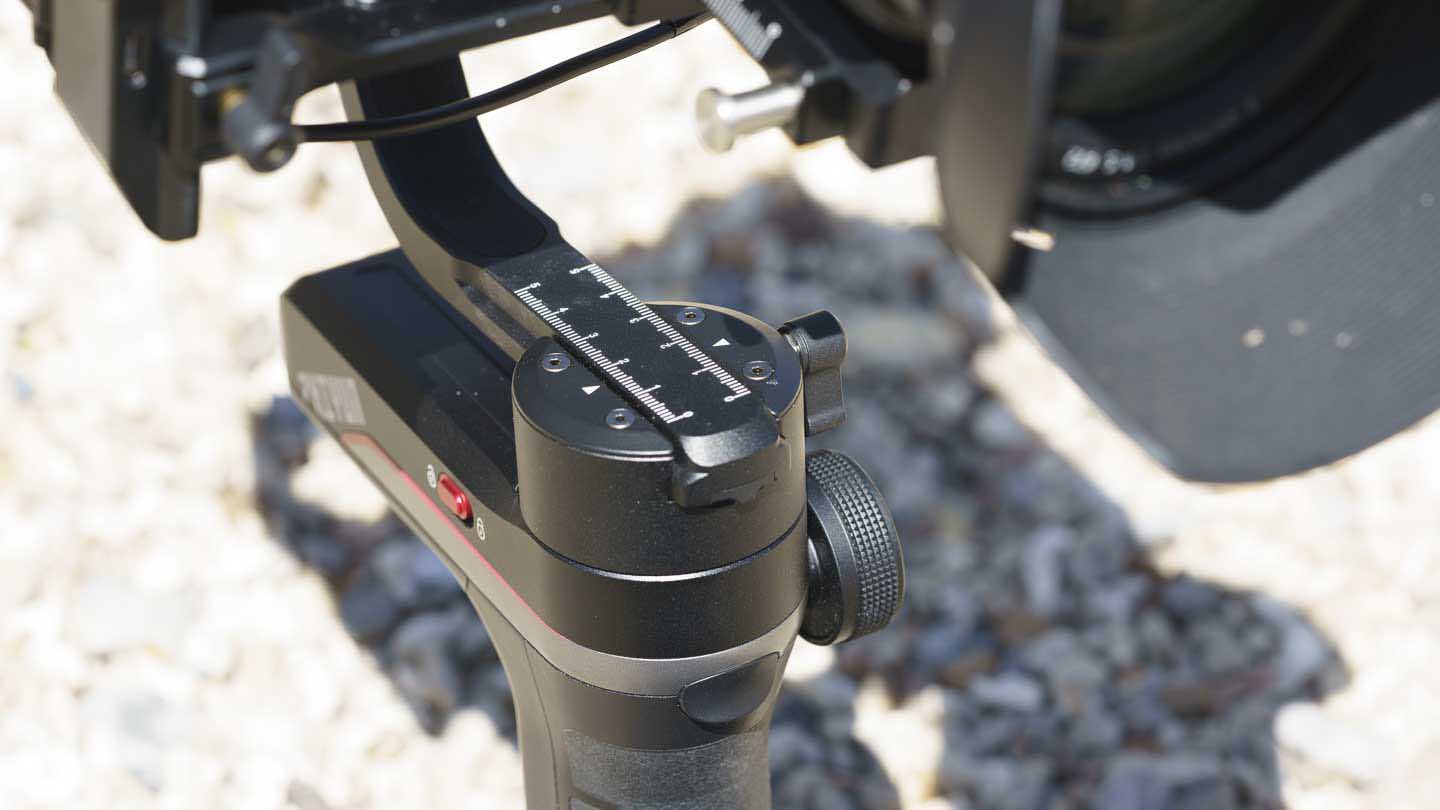
Start by unlocking the tilt axis and with the camera facing forwards, move the camera and release plate forward or backwards until it doesn’t tip in either direction. Then tilt the camera upwards through 90° and adjust the height of the plate it’s sitting on until it doesn’t tip forwards or backwards – there’s a thumb screw to release and the plate.
Once that’s done, lock the tilt axis and unlock the roll axis. This time you need to move the camera to the left or right until it stays level.
Finally, move on to the pan axis. This time you need to keep the roll axis unlocked (as well as the pan axis) and flip the gimbal on its side. Move the gimbal forwards or backwards on the handle to get it to balance.
Follow the link to watch a video tutorial about how to set-up and balance the Zhiyun Weebill-S.
Once you’ve finished balancing the gimbal, it’s worth setting it on its tripod on a level surface and activating the Auto Tune feature via the menu. This activates the motors, assessing and tuning their responses.
Using the Zhiyun Weebill-S
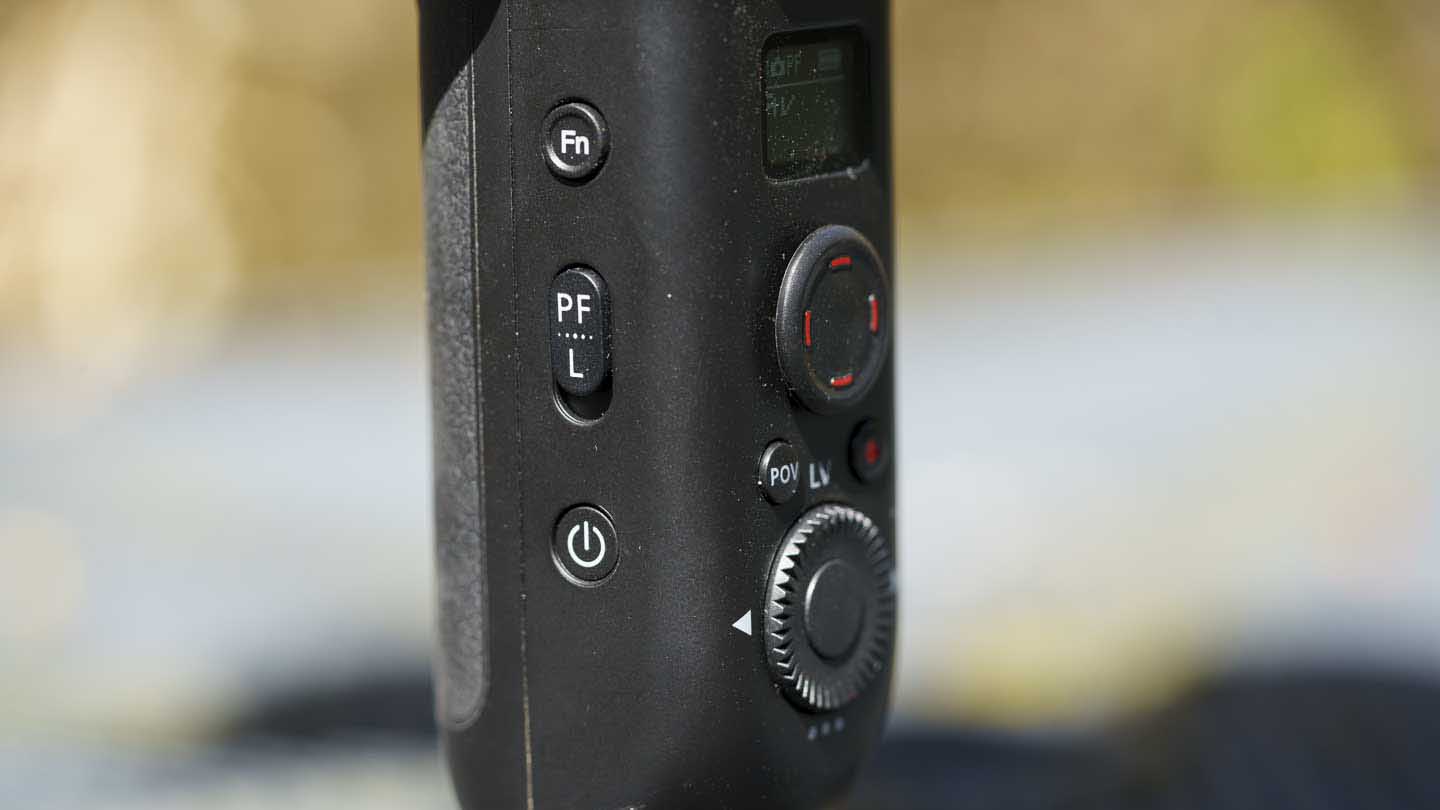
It doesn’t take long to get to grips with the basics of using the Zhiyun Weebill-S. There’s a small collection of controls on the body/handle with single or double presses switching between the modes. Pressing the POV button, for example, activates Point of View mode and double pressing it activates Vortex mode.
A sliding switch on the side of the body swaps between Pan Follow and Lock mode. By default, pressing the Fn button activates Go mode.
Whichever mode you’re in, pressing and holding the trigger on the front of the body activates Follow mode while double-pressing the trigger centres the camera.
There’s a pad-like joystick for moving the camera and beneath that, there’s a control dial and pad for accessing and navigating the menu. The menu is where you’ll find options to specify the make of camera that your using and fine-tune aspects such as the speed and direction of the movement in Vortex mode.