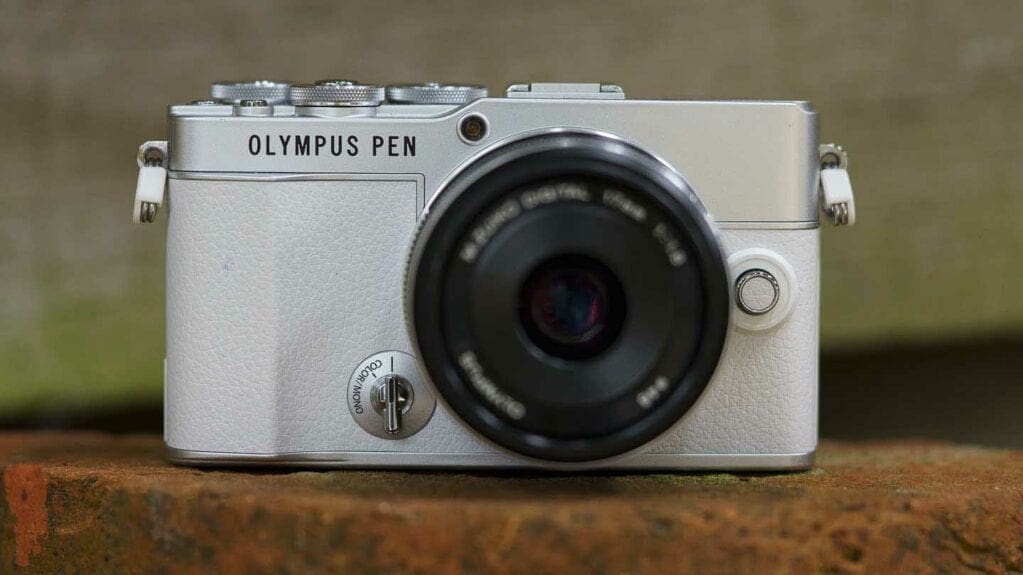
Like other Olympus Pen cameras, the E-P7 has a rectangular, rangefinder-like shape. This is in contrast with Olympus’s OM-D series of cameras which have a mini-DSLR shape with a bump at the middle of the top plate for the viewfinder.
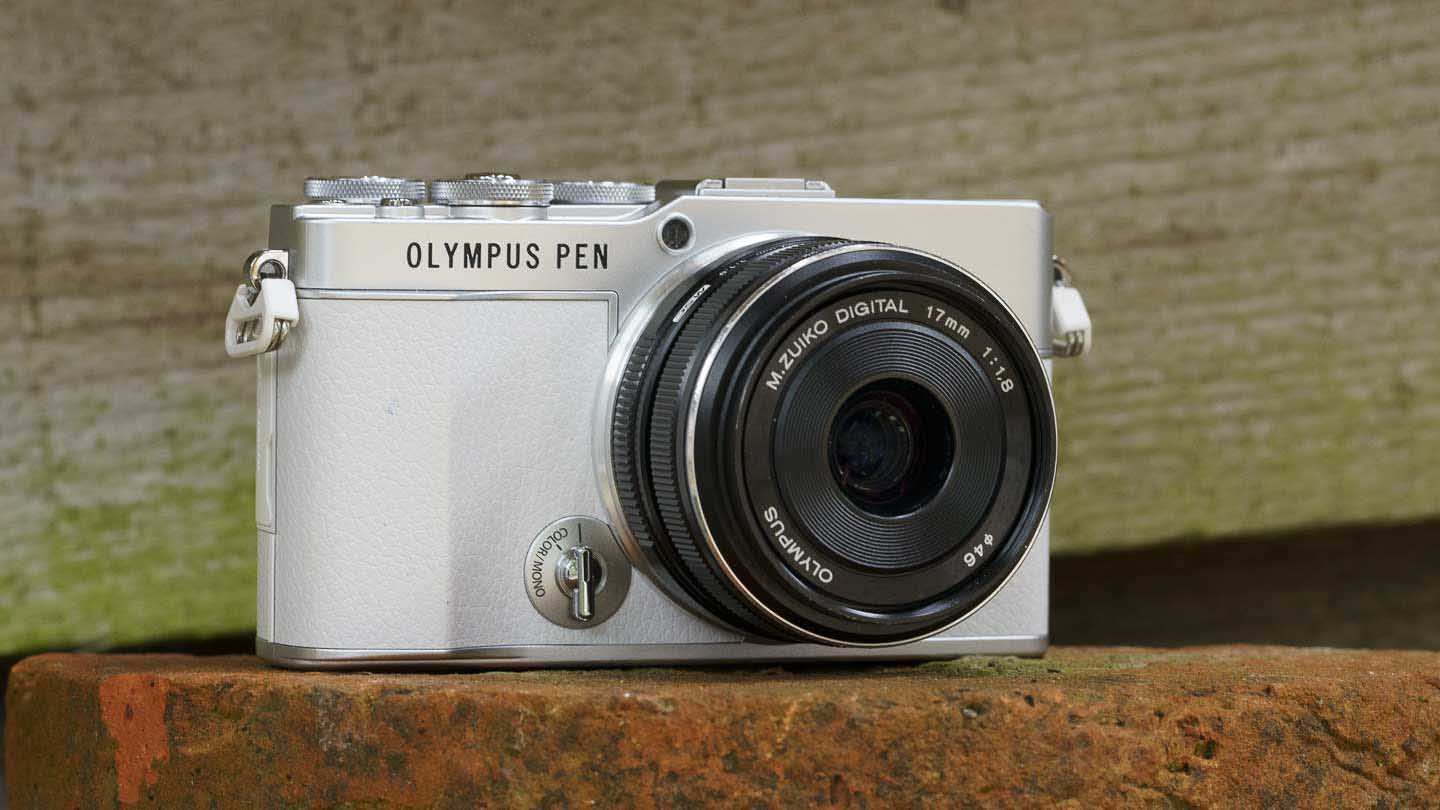
It’s a fine-looking camera with clean lines and retro styling. On the front, there’s a shallow grip while on the back there’s a small thumb rest. Together they give enough purchase when a small lens such as the M. Zuiko Digital 17mm f/1.8 or M. Zuiko Digital ED 14-42mm f/3.5-5.6 EZ is mounted, but it feels less secure and front-heavy when a larger lens such as the M. Zuiko Digital ED 12-40mm f/2.8 Pro is mounted.
Paired with the M. Zuiko Digital 17mm f/1.8 (effective focal length 34mm) or the M. Zuiko Digital ED 14-42mm f/3.5-5.6 EZ (effectively 28-84mm), the Pen E-P7 makes a neat little camera that won’t take up much room in your bag or weigh you down. It weighs just 337g with a battery and card, and adding the ED 14-42mm f/3.5-5.6 EZ lens takes it to 430g.
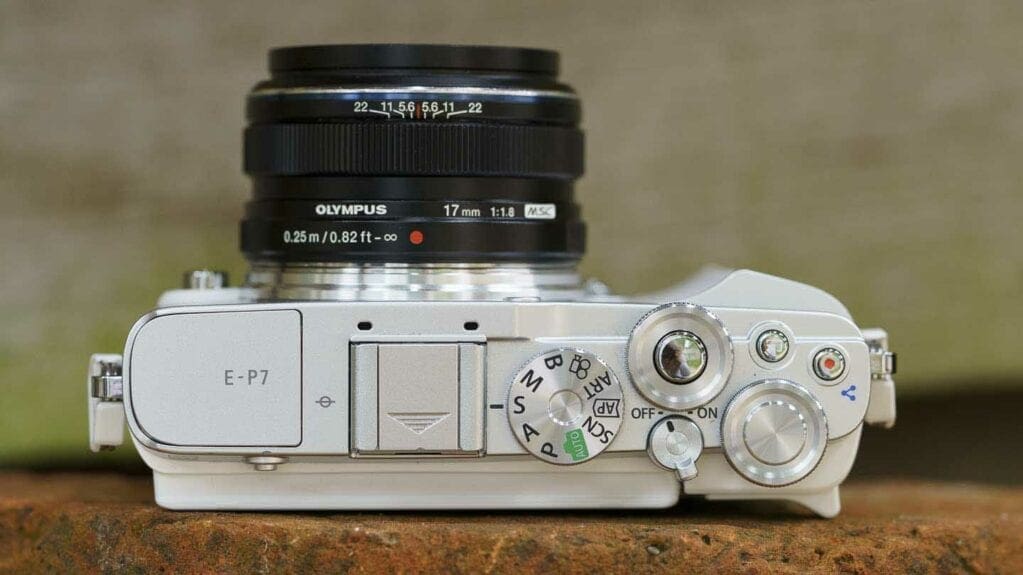
Olympus hasn’t said much about the construction of the E-P7 but it appears to be predominantly made from plastic with a metal lens mount and metal dials on the top plate. These controls feel well made and have a nice action, plus the camera responds quickly to their use.
It’s great to see dual control dials on the top plate as this makes adjusting the exposure quicker than using a single dial combined with a button.
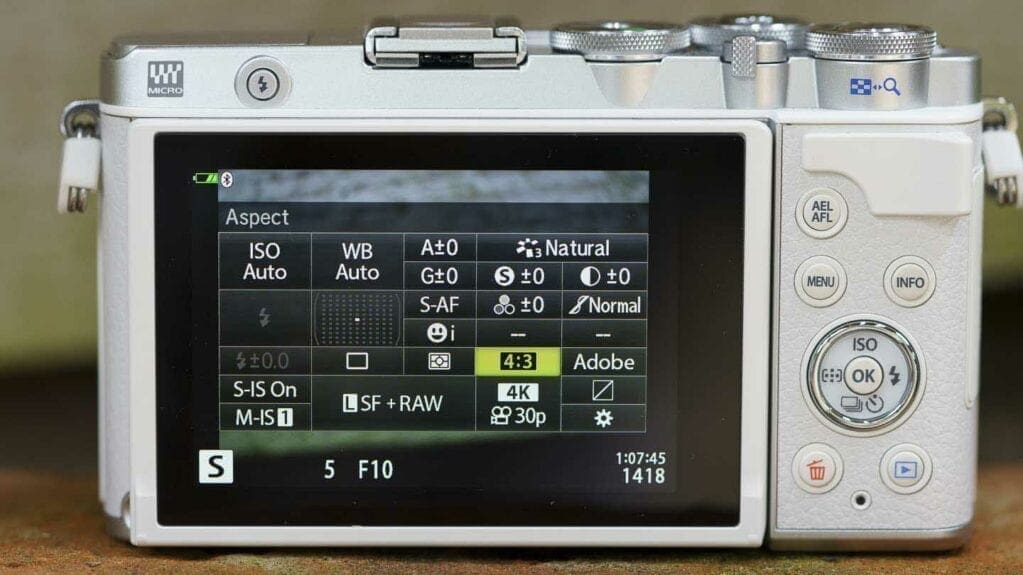
The mode dial has settings to select Auto, program, aperture priority, shutter priority, manual, bulb, video, Art Filter, Advanced Photo and Scene mode. The Art Filter setting is useful for swapping to a Filter quickly, but you loose control over the exposure (other than exposure compensation), so it’s best to access these modes in the same way as the Picture Controls, via the main menu or the Super Control Panel (SCP) that pops up on the screen when the ‘OK’ button is pressed.
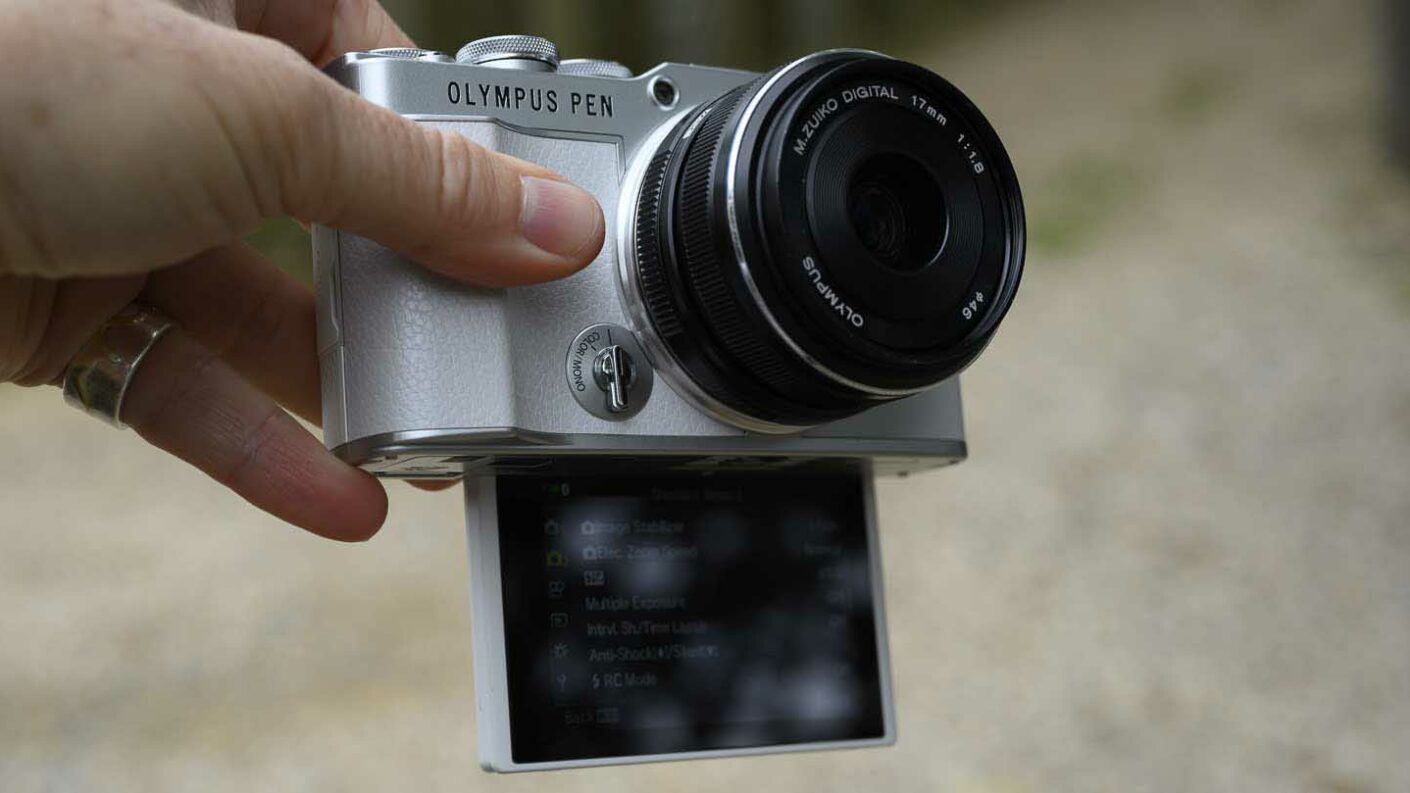
Olympus arranges some of its smartest features in the Advanced Photo (AP) mode and it’s here that you find options such as Live Composite, Live Time, Multiple Exposure, HDR, Silent, Panorama, Keystone Compensation, AE bracketing and and Focus Bracketing mode. Live Time and Live Composite mode are particularly useful because they make it easy to shoot long exposures. Instead of having calculate (or guess) how long the exposure should be, you see the image build up in the screen on the back of the camera and stop the exposure when you’re happy with the image.
Live Composite mode is especially useful for light painting and photographing fireworks or light trails.
In addition to these familiar modes, the Pen E-P7 also has a selection of Color/Monochrome Profiles that are accessed via the dedicated switch on the front of the camera. It’s not possible to access the Picture Controls or Art Filters via this switch.
Discover more about Live Composite mode and how to use it
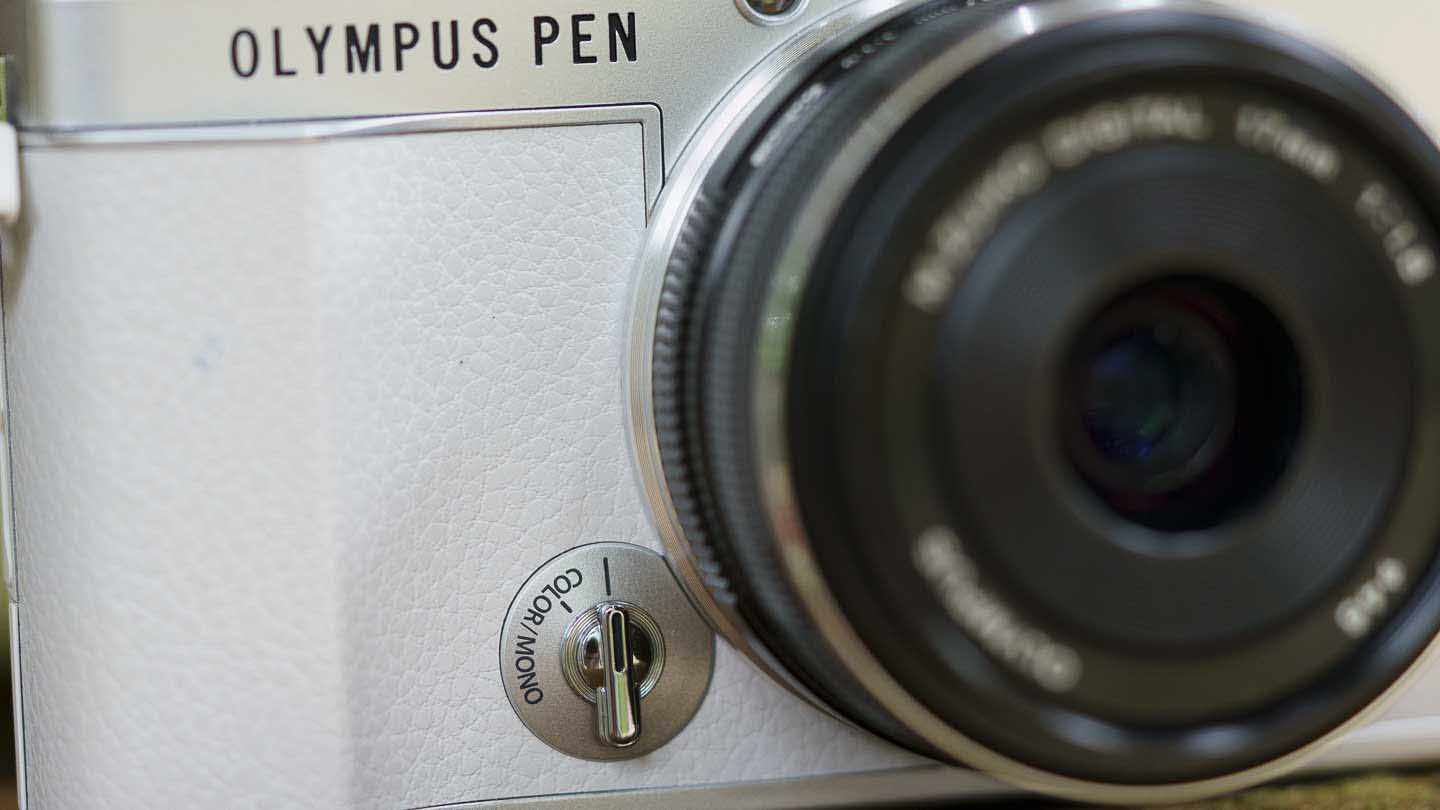
There are 8 profiles available for selection when the Color/Monochrome switch is flicked in the right direction, four monochrome and four colour.
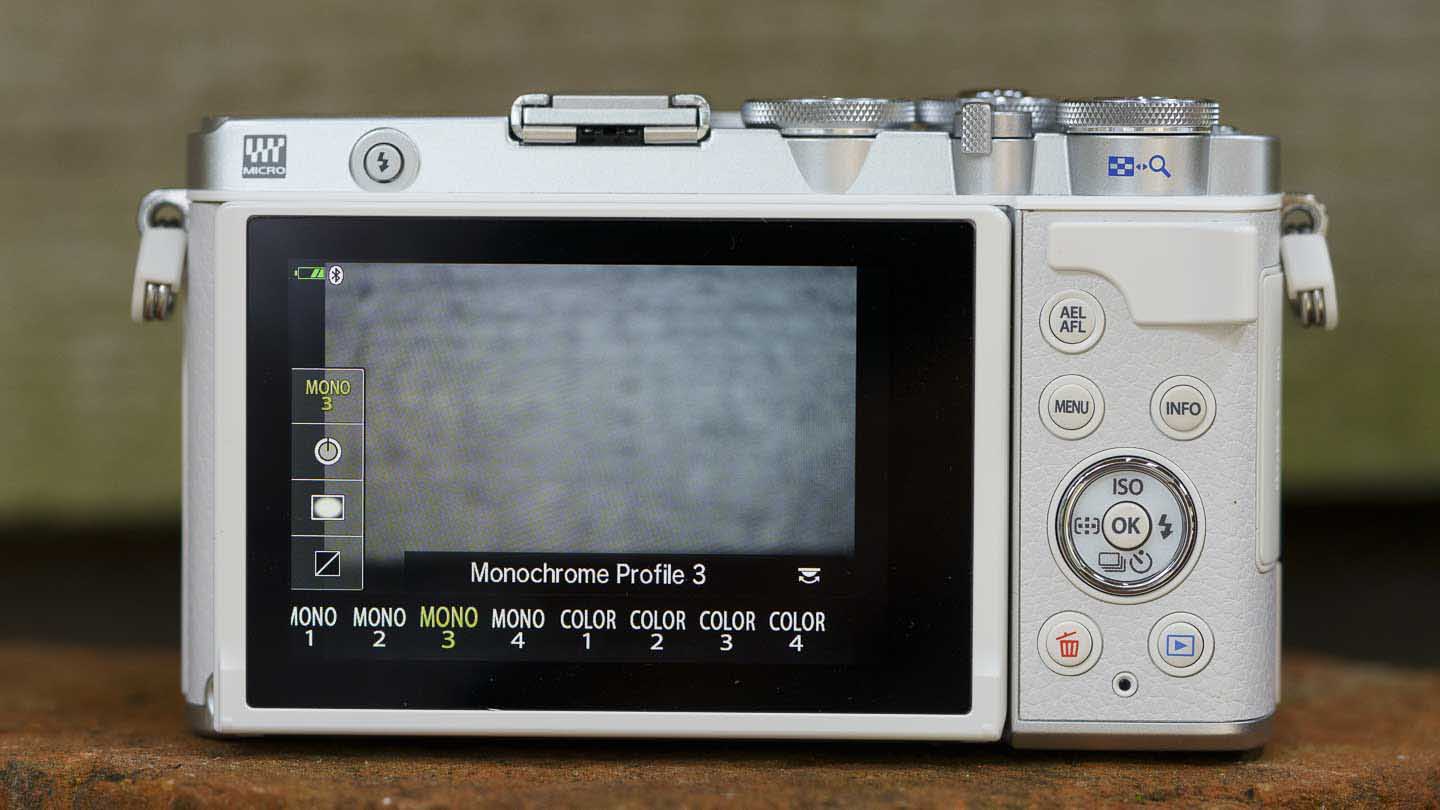
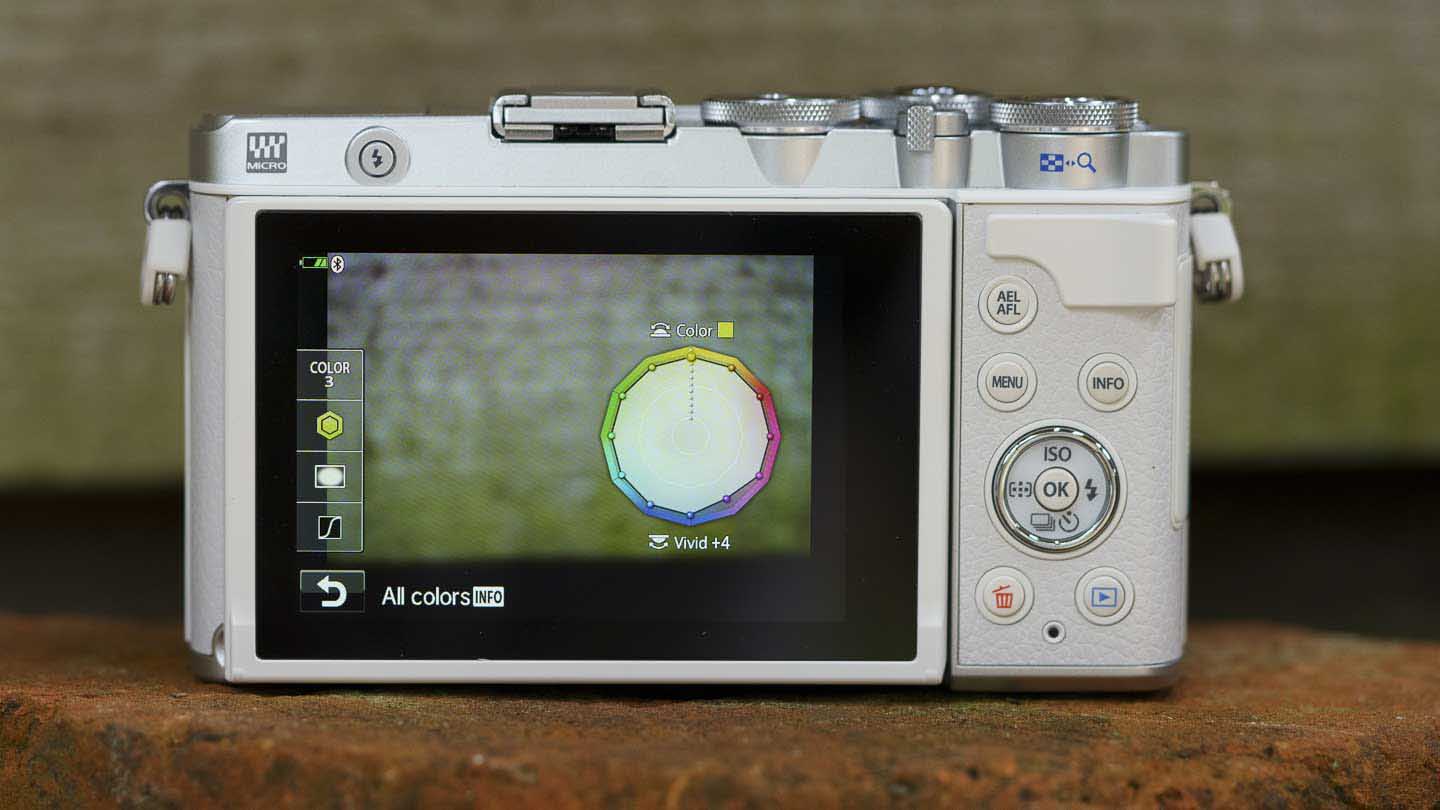
Each of these profiles is customisable and you can adjust the contrast using the Highlights & Shadow Control and/or the vignetting using the Shading Editor. It’s also possible to replicated the effect of using traditional colour filters with the monochrome profiles and adjust the saturation of up to 12 colours by up to +/-5 steps for the colour profiles. The coloured filter and saturation adjustments are made using a type of colour wheel control on the camera’s rear screen.
Unlike the Art Filters and Picture Controls, the Color/Monochrome Profiles can’t be used with video, they’re just available for still images. However, it is possible to shoot raw and Jpeg files simultaneously so you can have the Jpeg with the effect and the raw without.
It would be nice if these different colour treatments could be more unified so that they can be accessed, activated and adjusted in the same way. Also, do they really need three different names? The Art Filters and Color/Monochrome profiles are effectively Picture Control modes with a few additional options such as the ability to add a frame or vignetting – depending upon which one you have selected.
While I’m at it, names like Mono 1,2, 3 and 4 and Color 1, 2, 3 and 4, aren’t very helpful when you’re trying to decide which to use.

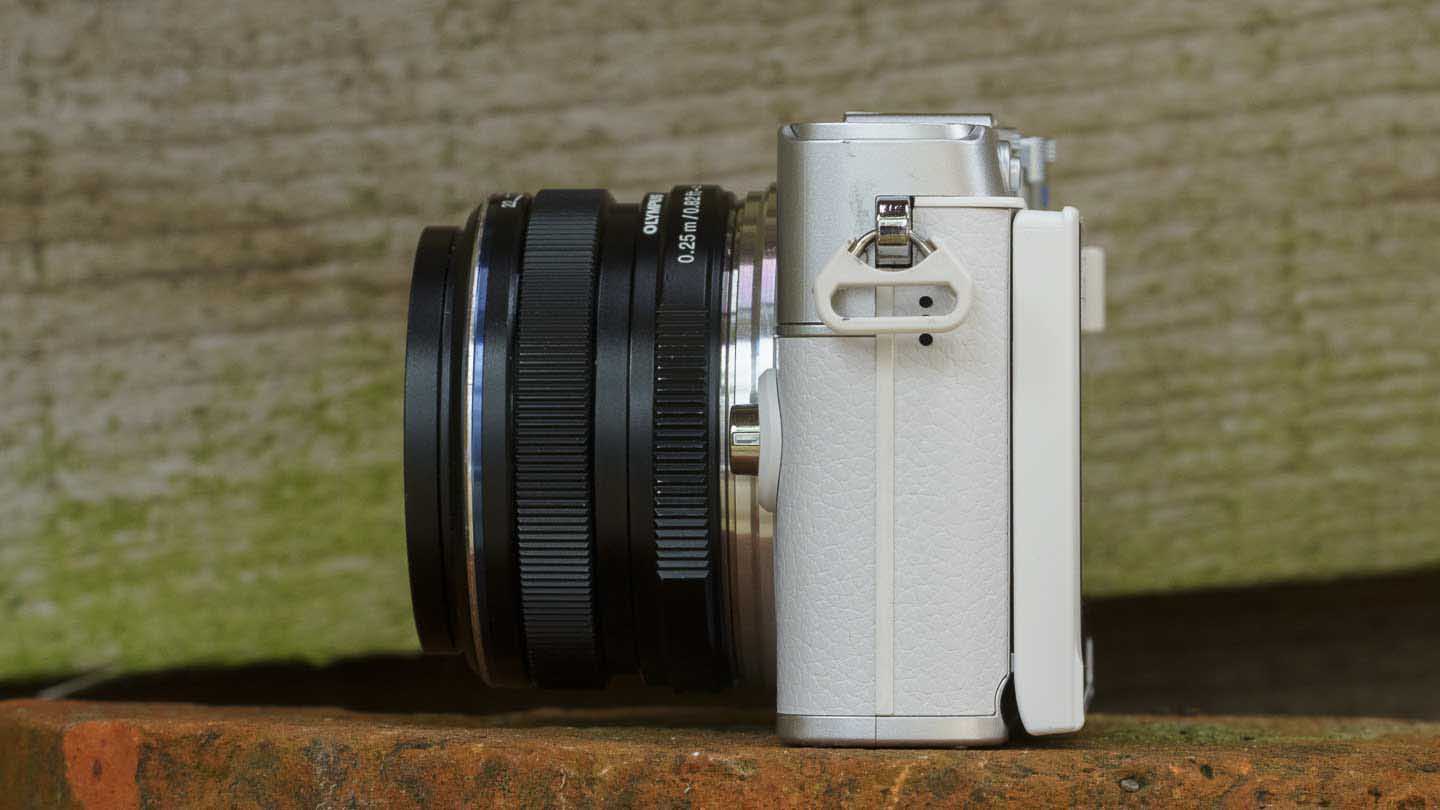
Although it doesn’t have a viewfinder built-in, nor the ability to accept an external viewfinder, the Olympus Pen E-P7 has a tilting screen that can be angled up through 90° to make it easier to see from above and down to so it can be seen from below. It can also tilted down through 180° so that it’s visible from in front of the camera, which is useful for selfies and vlogging. However, even with the Live View boost on, it’s hard to see fine details or assess the exposure and colour in bright conditions.
A screen that flips under the camera is also presents problems if you need to support the camera on a tripod – the tripod head obscures the view of the screen.