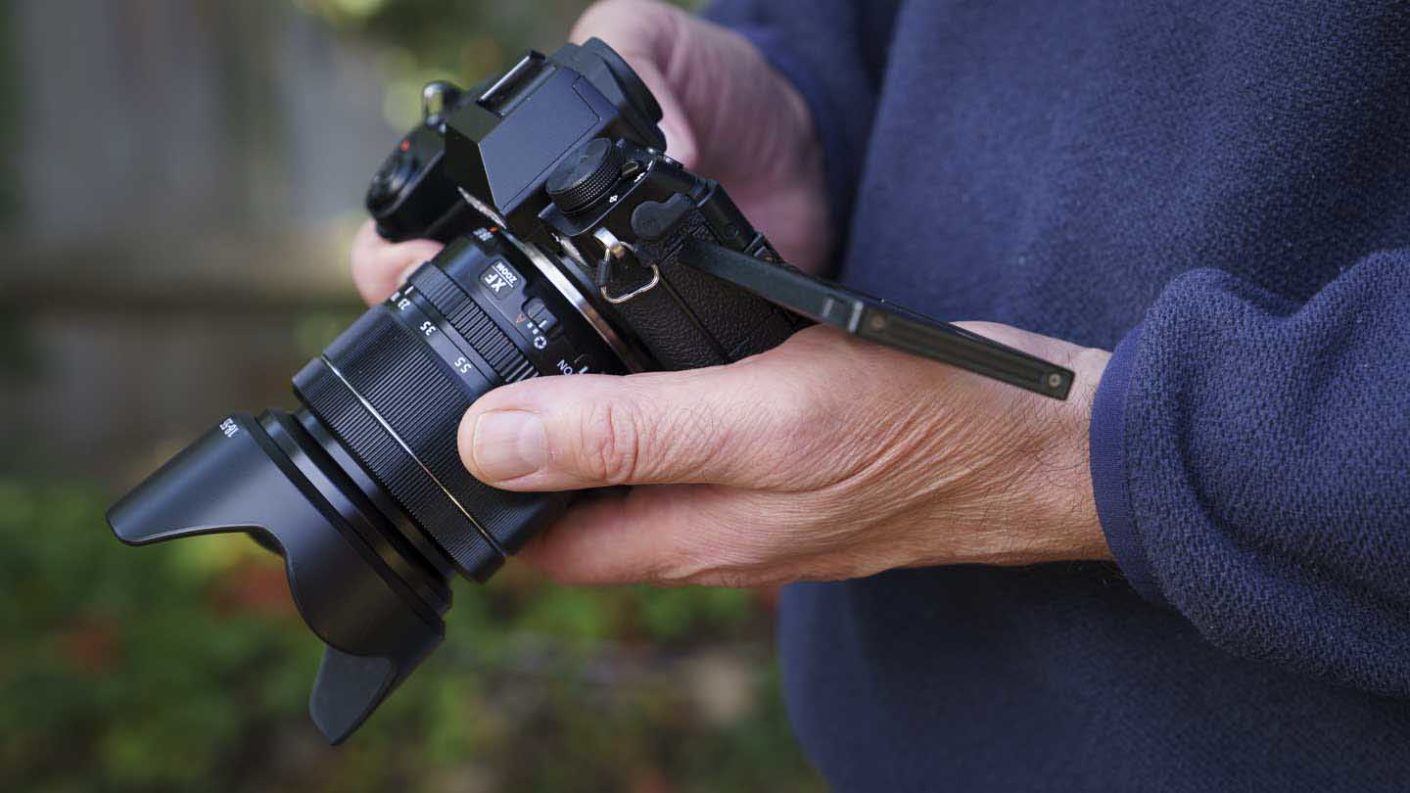
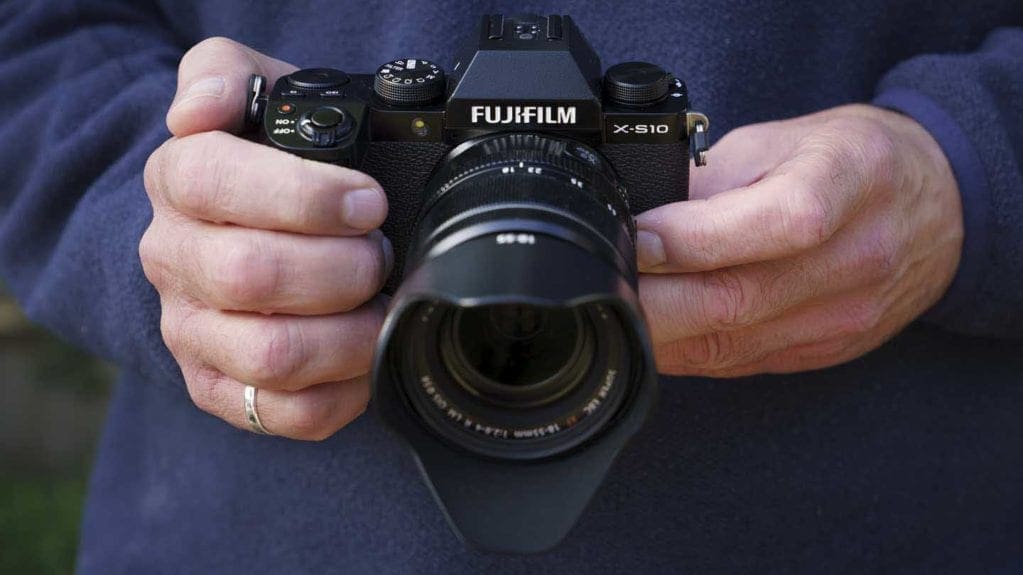
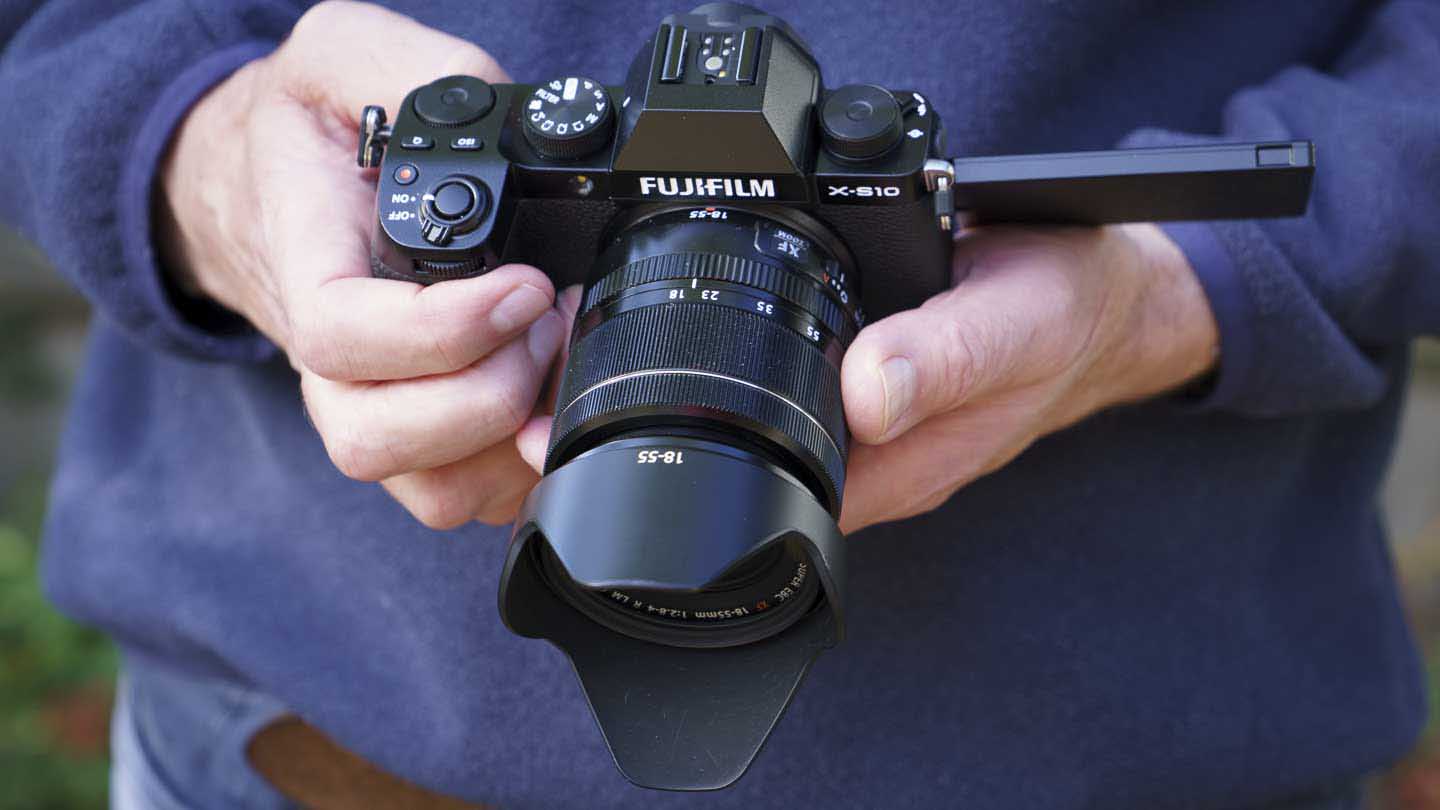
Fujifilm has made the X-S10’s body from magnesium alloy, which gives it a very sturdy feel in your hand. There’s also an excellent grip on the front with a well-placed thumb-ridge on the back of the camera. With the XF 18-55mm f/2.8-4.0 R LM OIS kit lens mounted, the X-S10 fits comfortably into my hand and feels well-balanced. It’s also a camera that you can use one-handed if you need to.
One disappointment on the build quality front is that the X-S10 isn’t weather-proof.
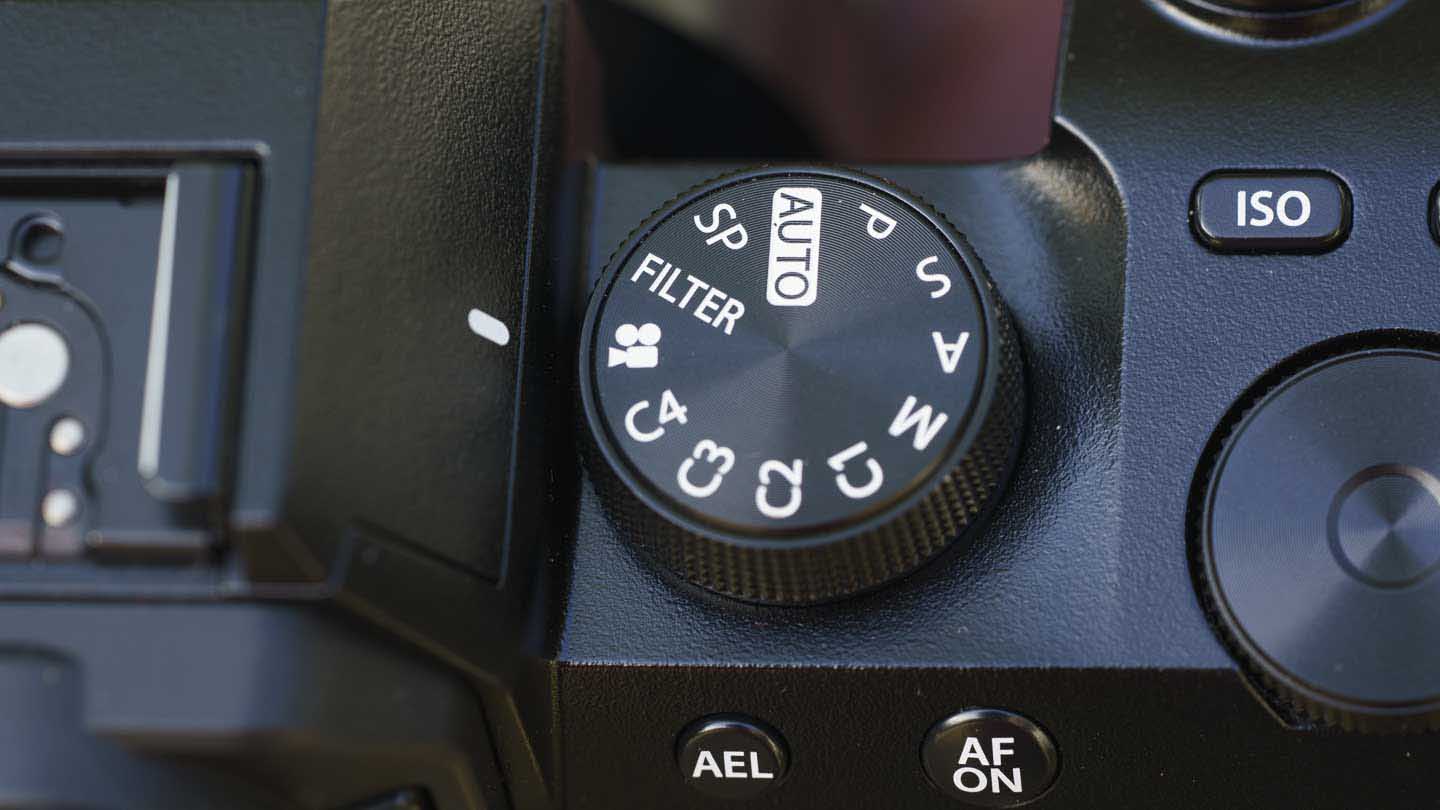
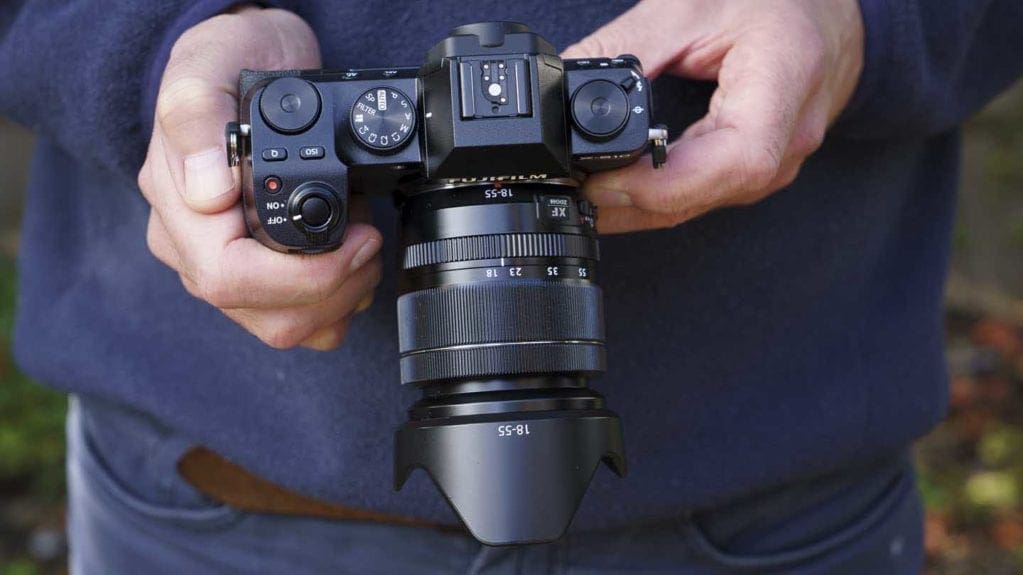
Control layout
At first glance, the Fujifilm X-S10 could be mistaken for the Fuji X-T30, but look again and you’ll see that the control arrangement is quite different. For a start, instead of the traditional exposure dials, there’s a PASM-type mode dial. That means it looks a bit more familiar to the non-Fujifilm faithful. Someone with a Canon or Nikon DSLR, for example, who’s looking for a small mirrorless camera is likely to feel much more at home with a mode dial than traditional exposure controls.
Front and rear dials on the top-plate give control over the exposure settings. The X-S10 is still compatible with lenses with an aperture ring, but you have the choice over whether you want to use the ring or the command dial to adjust the aperture setting.
If the aperture ring setting is set to ‘A’, the front command dial is used to adjust the aperture in aperture priority and manual exposure mode. The pre-production sample that I used doesn’t have the option to switch the function of the front and rear dials, but the firmware isn’t final so this may be changed before the camera goes on sale.
In Auto and the semi-automatic exposure modes, the front command dial is used to adjust exposure compensation.
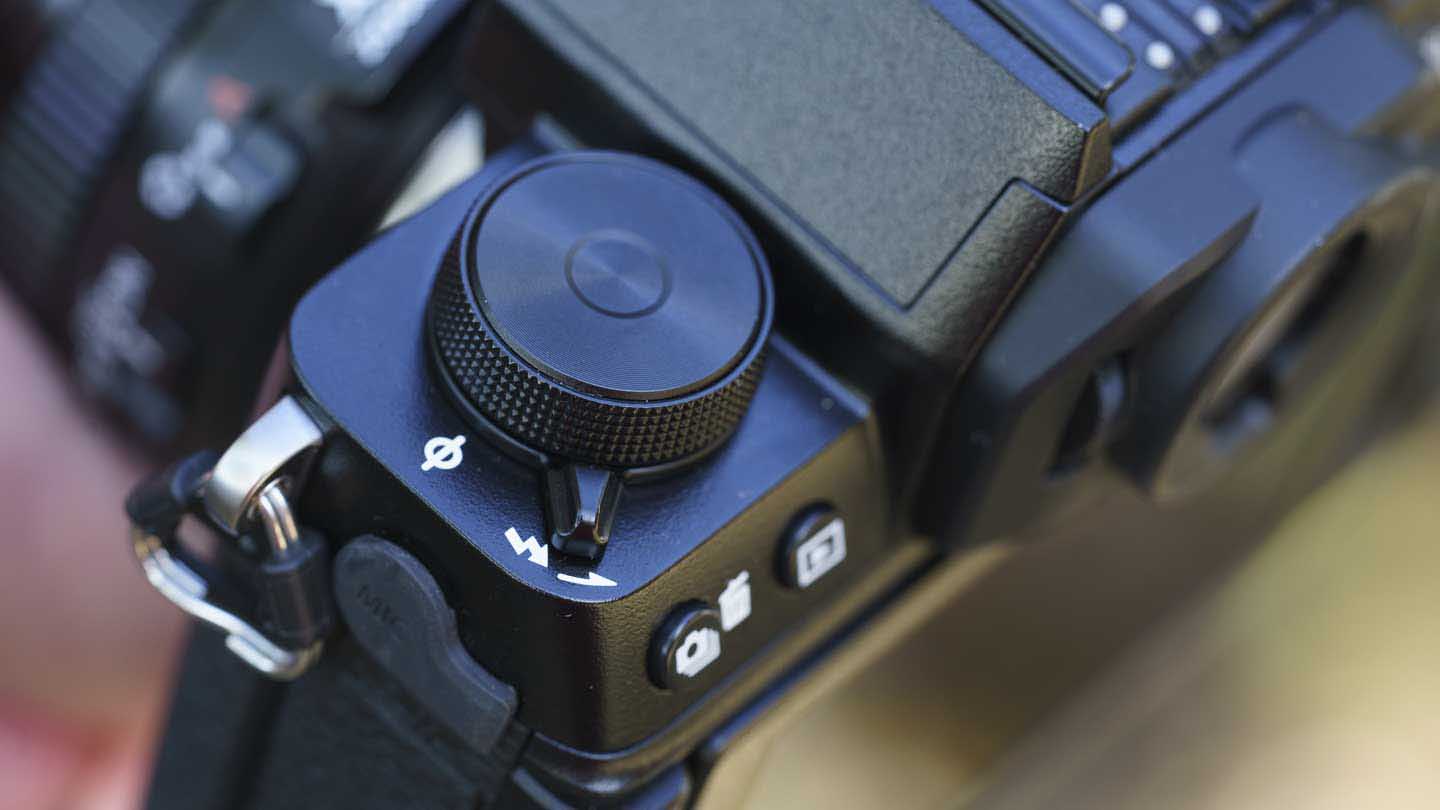
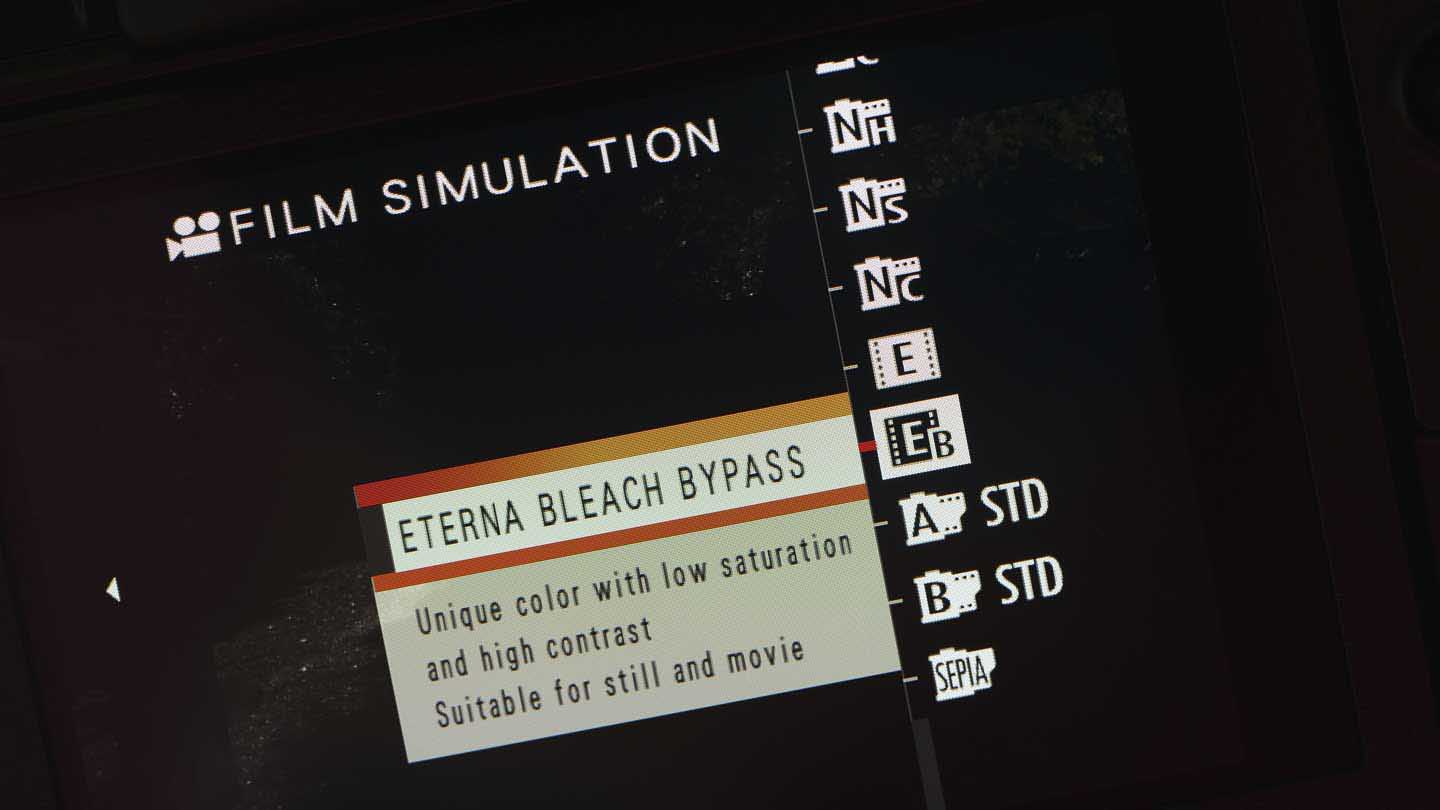
Over on the left of the top-plate, there’s a function dial and a sprung switch to pop-up the flash. By default, this dial is set to adjust the Film Simulation mode (there are 18 in total), which is handy, but it can be set to also adjust exposure compensation in manual exposure mode. That’s useful when you’ve got the sensitivity (ISO) set to Auto. Alternatively, the dial can be turned off but it’s hard to imagine why you’d want to do that.
On the back of the camera, just below the function dial, there are two buttons. One accesses the drive mode options in shooting mode and is the delete button in playback mode, while the other is the playback button.
The drive mode button gives access to all the features you’d expect including the bracketing options (auto exposure, ISO and white balance), plus the HDR, panorama and multiple exposure settings.
It’s great to see that Fujifilm has enabled up to 9 images to be composited in-camera and that the blend mode can be set to additive, average, light or dark.
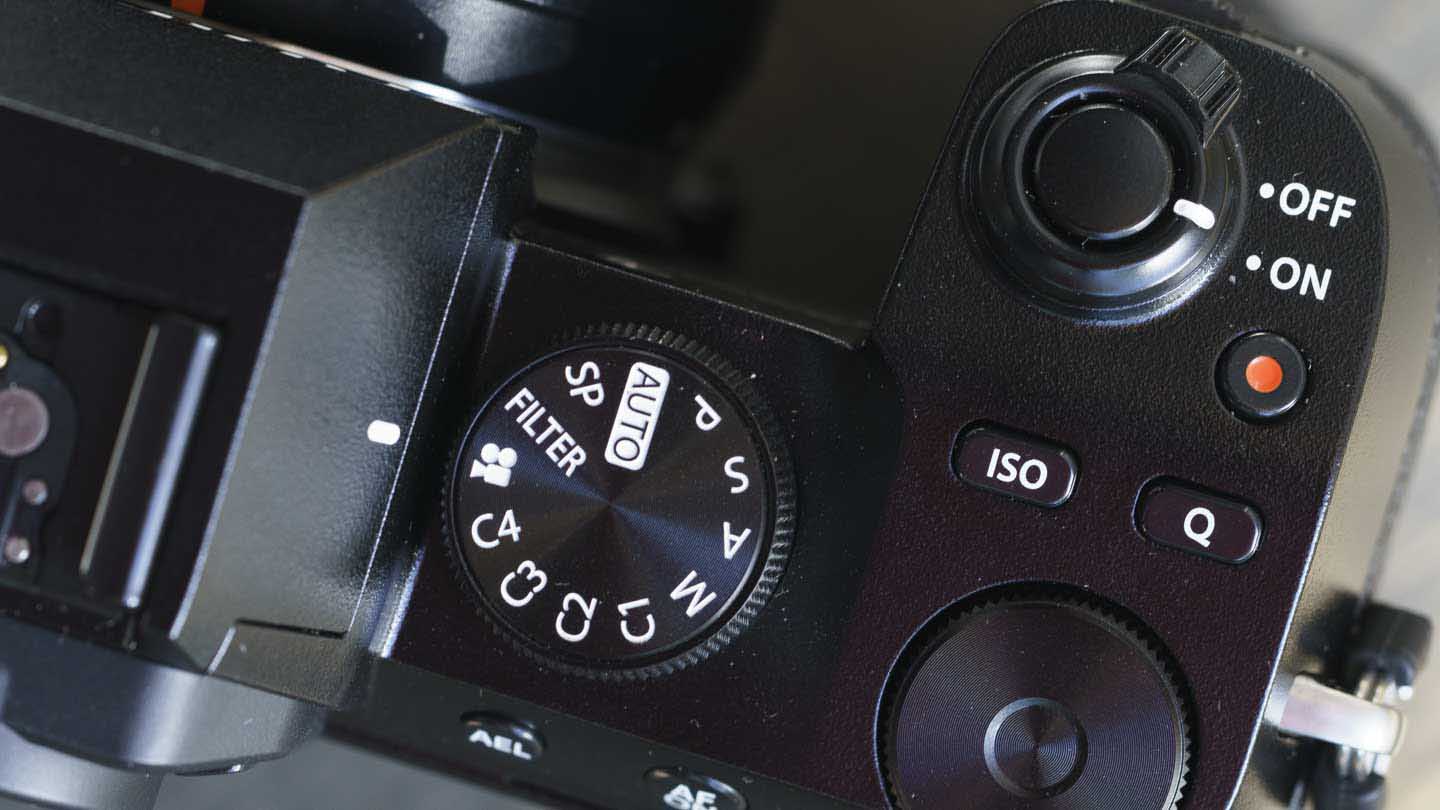
Between the shutter release and the rear command dial on the top of the camera, there are three buttons. The one nearest the shutter button is the video record button. This responsive and easy to find when you have the camera to your eye – you don’t always want to use the rear screen when you’re shooting video.
Further back, there are the ISO and Q (Quick menu) buttons. I occasionally pressed the Q button when I reached for the ISO button when I was looking in the viewfinder but I think with more time using the camera, I would find the right one instinctively.
I tend to use the rear screen on a camera when I’m navigating a menu, which means I’m usually looking at the back of the camera. That makes the location of the Q button the top of the camera a bit strange, but it also means that it’s out of the way (so it’s not pressed accidentally), and the back of the camera has plenty of room for my thumb.
I can live with that location, but others may wish to use the custom settings to change the function of another button, such as the AE Lock or AF On button on the back of the camera to access the Quick menu. The Q button can then be given the function of the other button.
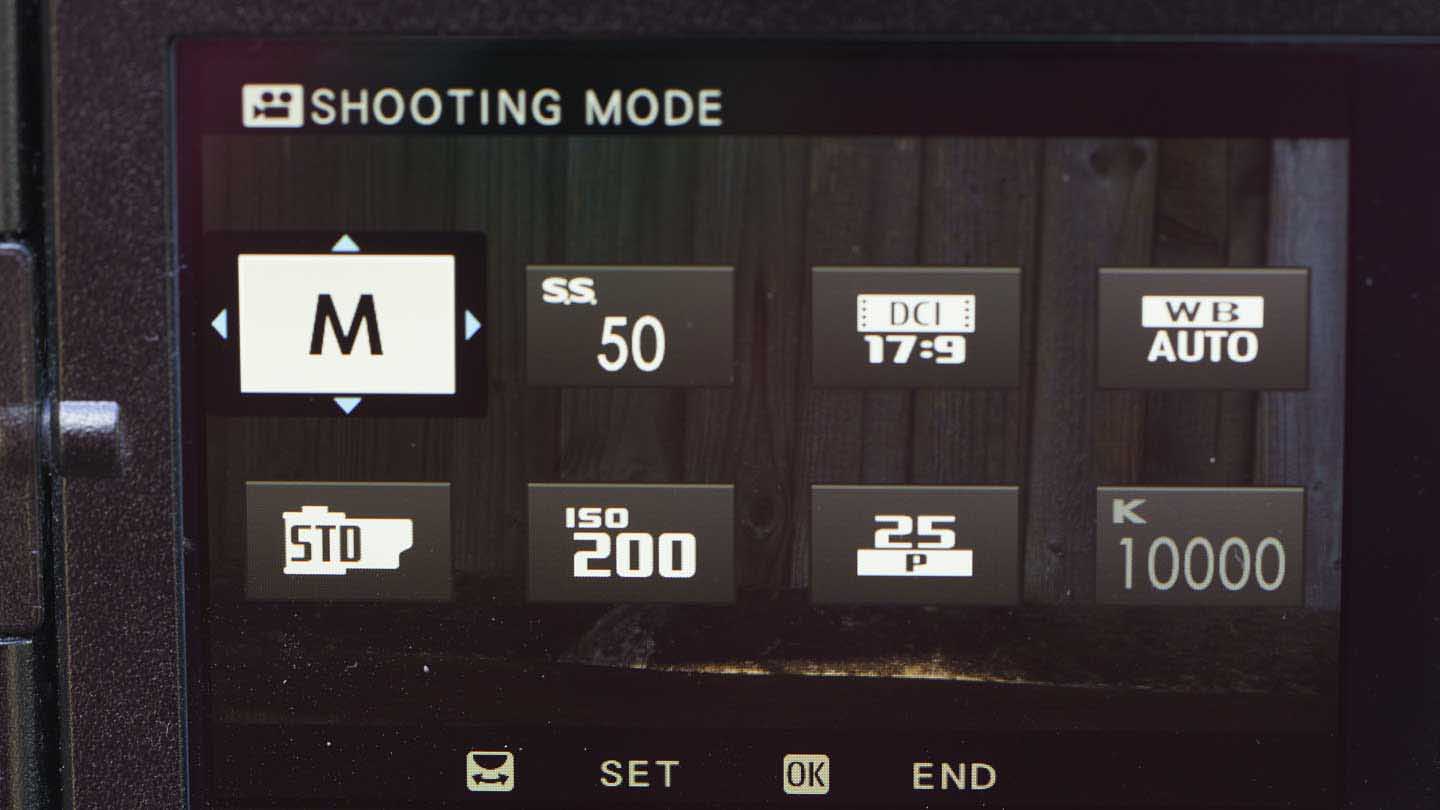
Stills and Video Menus
No matter what setting is selected on the mode dial, you can record video by pressing the record button. However, if video is selected on the dial, the main and quick menus are tailored to video. That means you don’t have to sift through options that you don’t need.
Also, when you switch from aperture priority, for example, to video mode on the mode dial, the exposure settings are as you left them last time you use the video mode. That’s very handy!
There’s an option in the menus to set the exposure mode for video recording.
Fujifilm X-S10 Viewfinder
Like X-T series cameras such as the Fujifilm X-T200 and X-T4, the Fuji X-S10 has its viewfinder in the centre of the top-plate. This makes it look like a retro-style mini DSLR.
With 2.36million dots, the viewfinder shows plenty of detail. It’s not as large as the X-T4’s viewfinder, so you’re aware that you’re peering in past the surround, but it’s still good.

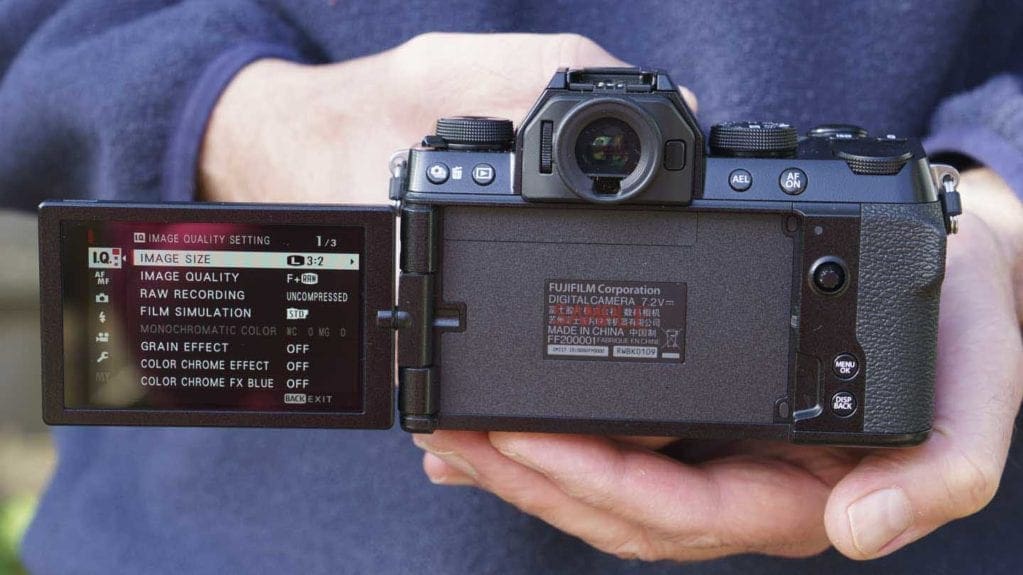
Fujifilm X-S10 Screen
On the back of the Fuji X-S10, there’s a 3-inch vari-angle touchscreen. This also provides a clear view but in bright sunlight, I’d like to be able to make it a little brighter than the maximum +5 value currently enables.
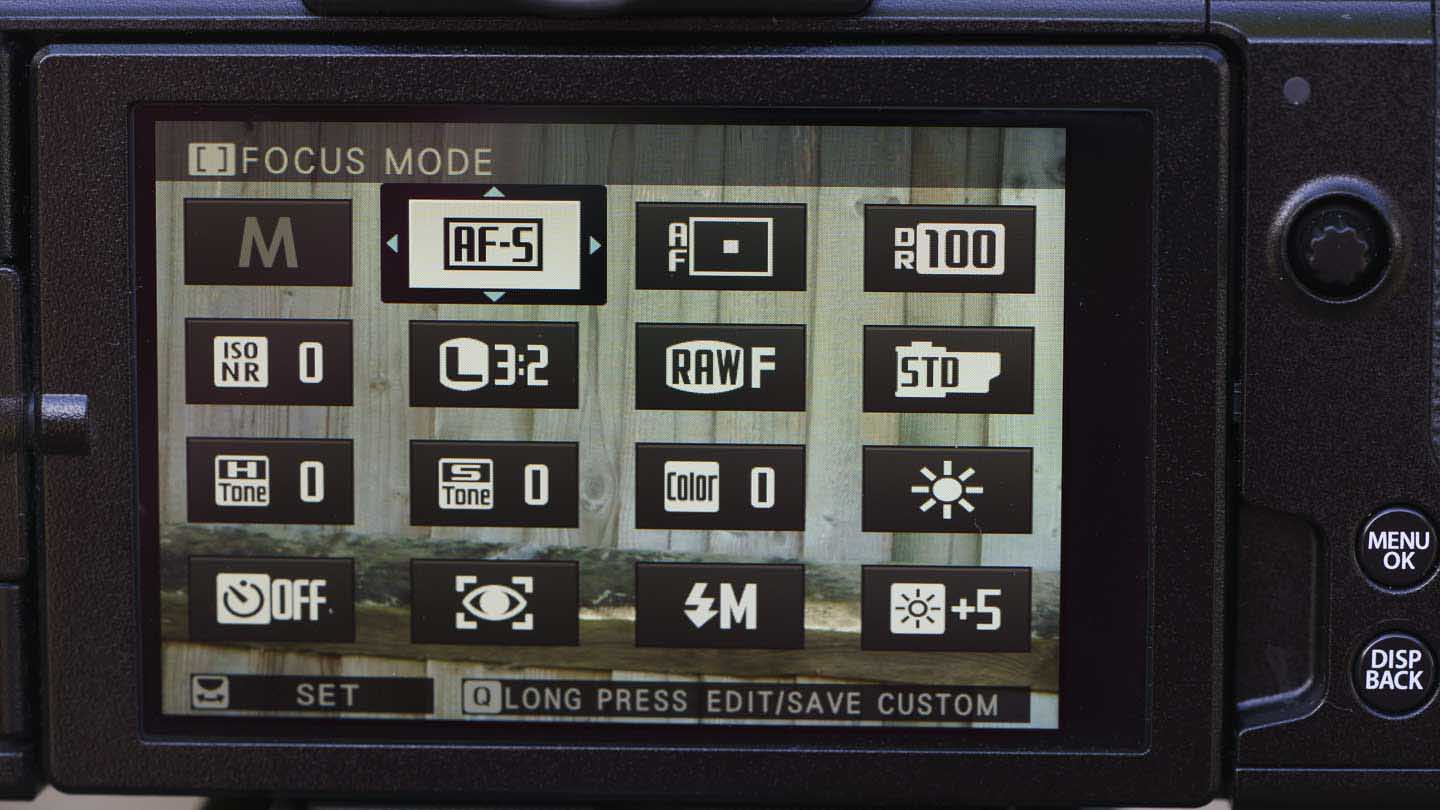
The screen is responsive to touch, and if the option is activated in the menu, you can use swipes to access key features.
Although the main menu options can’t be selected by touch, the Quick menu options can, which speeds up the process of adjusting settings.