DxO PureRAW 2 is designed to be easy to use and not add a long series of complicated steps to your usual workflow.
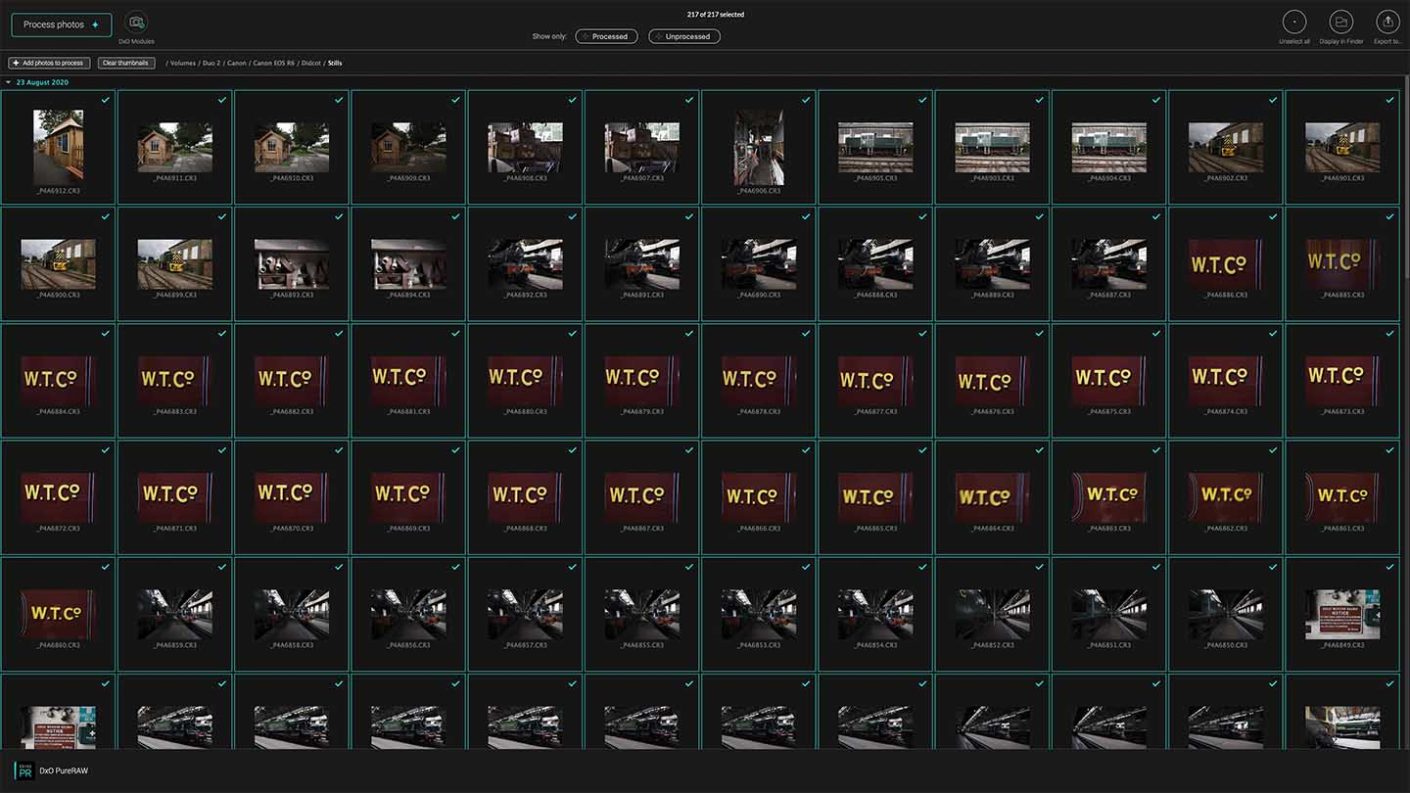
The simplest approach, after opening DxO PureRAW 2 is to import a folder of images from wherever they’re stored on your computer or drive. Helpfully, if you select all the images in a folder, DxO PureRAW 2 only selects the raw files as it’s these that you need to work with. Alternatively, you can drag and drop the images into the DxO PureRAW 2 screen.
Even when the images are on a fairly slow external drive, the thumbnail view of DxO PureRAW populates quickly after the images are imported.
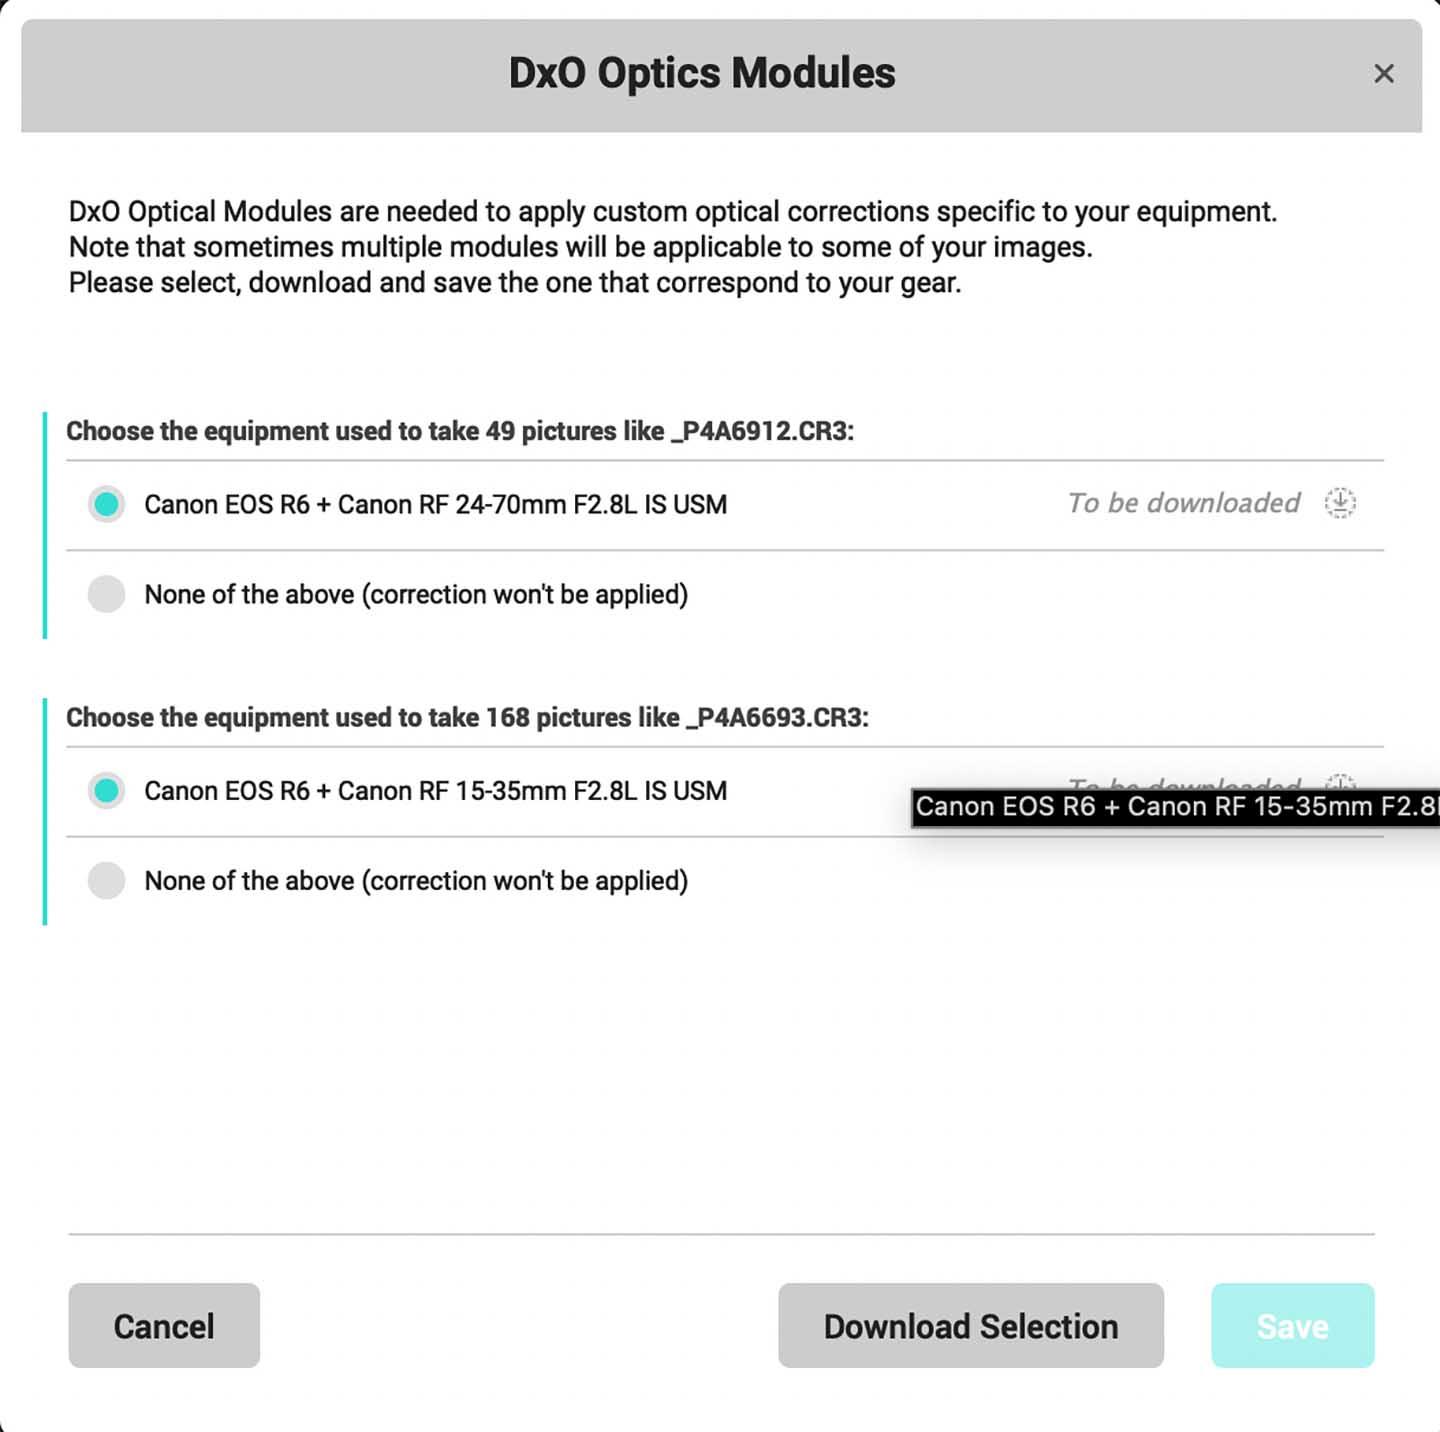
With that done. you’ll be prompted to download any optics modules if they’re not already on your computer. DxO PureRAW uses the image EXIF data to identify the camera and lens used to capture the images and automatically finds the required modules for download.
The next step is to ensure that the images you want to process are selected and click on ‘Process photos’. This brings up a simple dialogue box that gives you a few options for how the images will be processed.
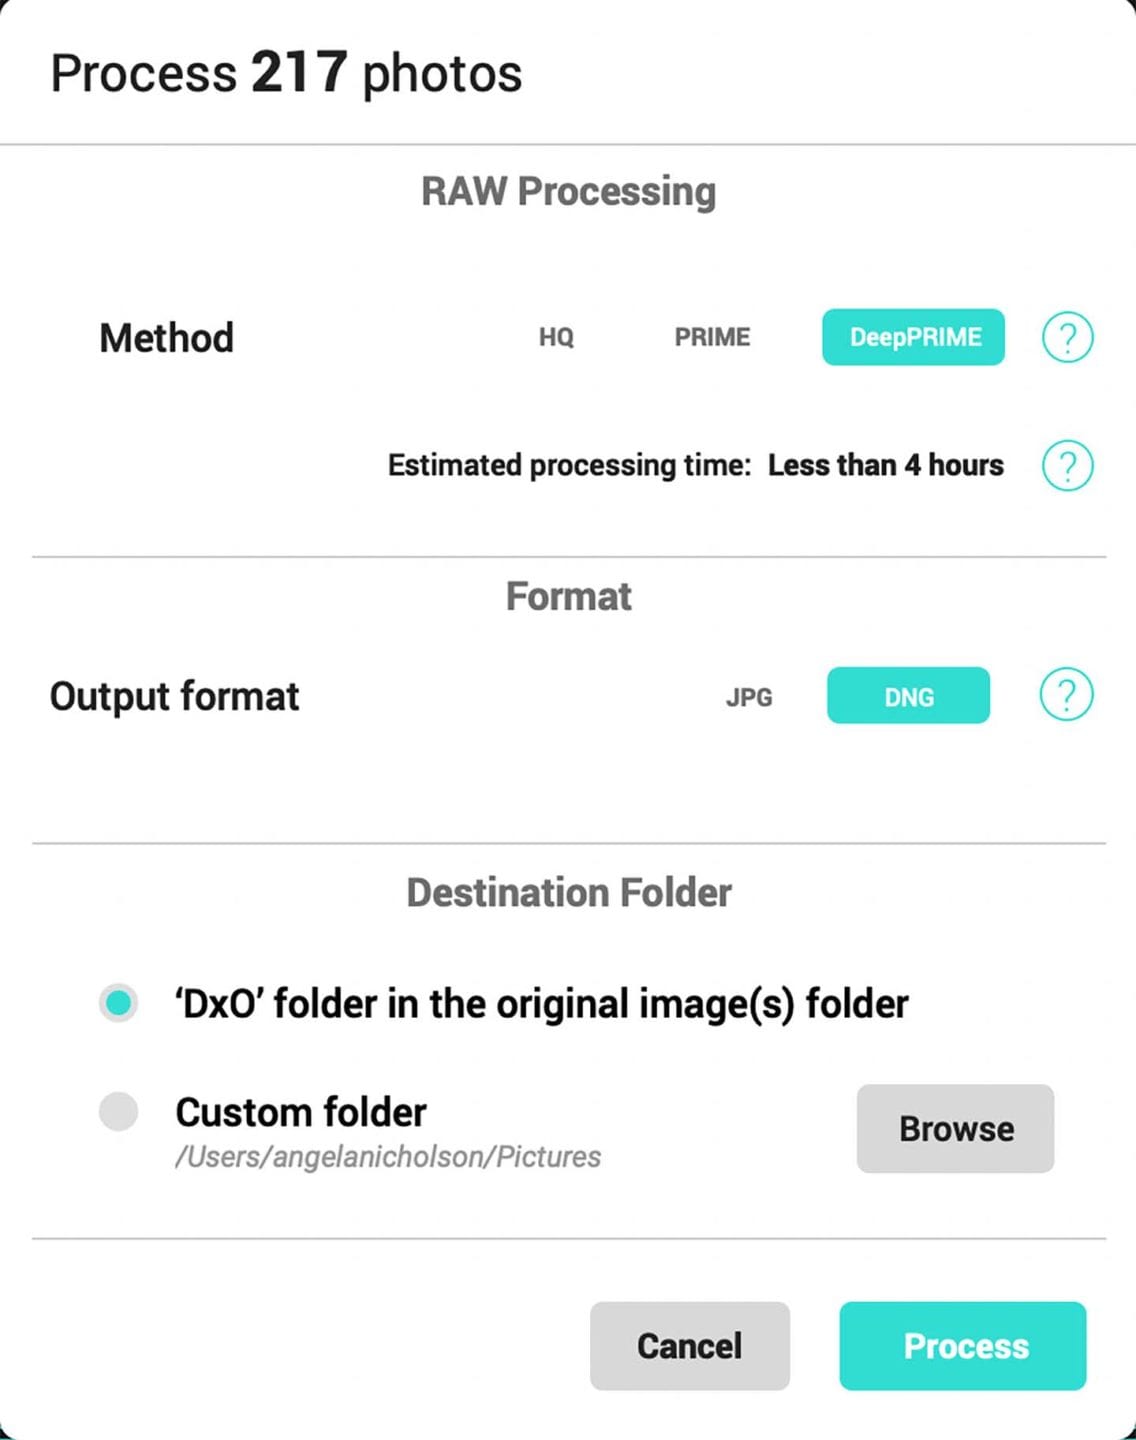
The first option allows you to select the type of noise reduction that you want to apply, HQ, Prime or DeepPRIME. DeepPRIME gives the best results, but it also takes the longest to apply. Fortunately, it doesn’t take quite as long as the software indicates. A batch of 217 raw files from the Canon EOS R56, for example, was estimated to take ‘Less than 4 hours’, but it only took around 20 minutes. Technically, that is less than 4 hours, but…
The next decision is what format you want the image to be output in, JPG or DNG raw. For most photographers, the default setting of DNG will never change.
Version 1.5 of PureRAW introduces the option to turn the ‘Global lens sharpening’ and/or ‘Lens distortion correction’ off under the DxO Optical Correction header if you’d like to. In most cases, this can be ignored but when a lenses has been used for its distortion characteristics, for example and ultra-wide lens, you might want to keep the effect.
Lastly, you need to decide where you want to save the new files, in a ‘DxO’ subfolder in the folder with the original images or in a folder that you select or create yourself.
With those simple decisions made, you just need to hit ‘Process’ to set things rolling. As the images are processed, they appear one-by-one in the selected output folder. From here, you can process them in your preferred editing software as you would normally.
An alternative approach is to select the images that you want to edit, but rather than selecting ‘Process’, click on ‘Export to’ in the top right corner. This gives you the option to select the software that you want to use and opens the DNG file(s) in it. If you like, you can select to export the original file at the same time, which means you can compare the results as you make the same adjustments.
Unlike the original version of PureRAW, PureRAW 2 can be used as a plugin for Lightroom Classic. Consequently, users just need to right-click on one or more raw file and select ‘Export’ followed by ‘Process with DxO PureRAW 2’. The software creates DNG files in the same folder.
Alternatively, DxO PureRAW 2 can be used directly within Windows File Explorer and macOS Finder. It’s just a case of right-clicking on the files and choosing the option that you want to use to get processing.