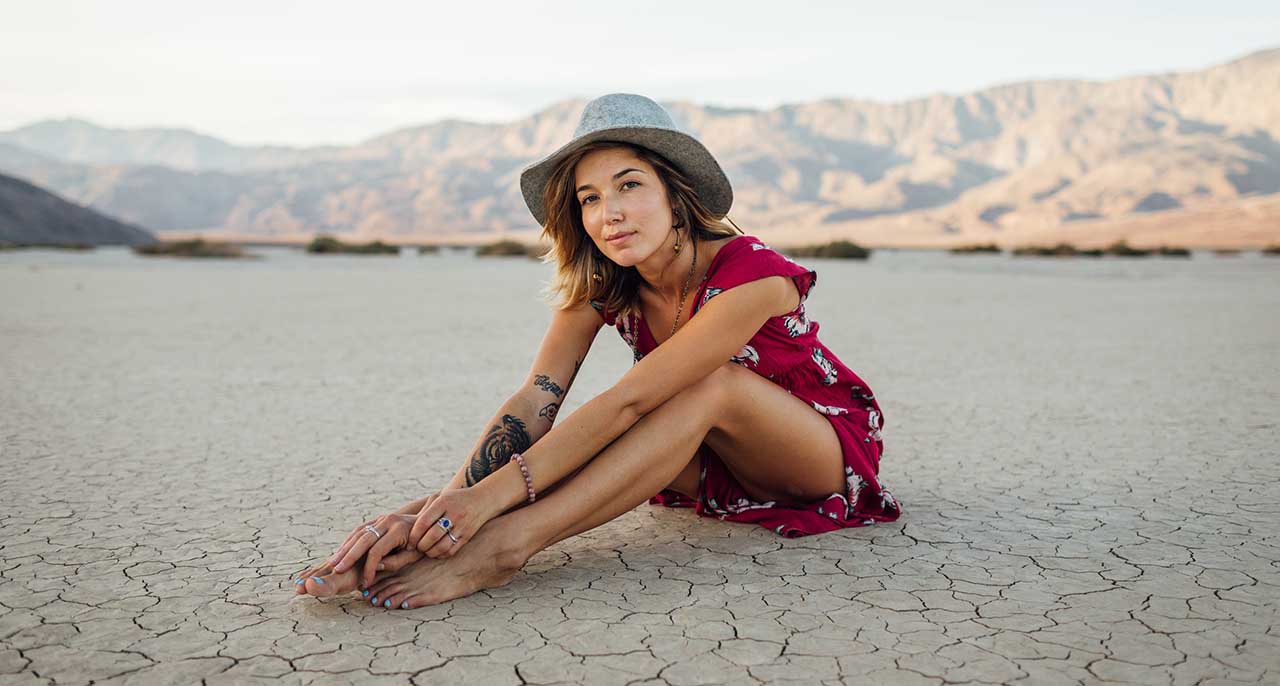


Nothing spoils a nice portrait like unnatural skin tones and odd colour casts. In this simple tutorial we explain our five-point plan for shooting successful colour portraits.
01 Shoot raw files
We say this a lot, but setting your camera to shoot raw files really is the best way to get natural skin tones in your portraiture. Raw files are effectively digital negatives and retain more data for you to work with at the post-processing stage than do JPEGs.
This means you have more flexibility, if a skin tone is wrong, to make adjustments and bring it up to what it should be.
02 Find the right light
Getting the light ‘right’ is paramount for good portraiture and will ultimately save you time on your computer trying to tweak skin tones in your raw files.
As a general rule it’s best to avoid harsh, direct sunlight, if shooting outdoors, and shoot in shade instead. Softer light produces more even illumination and avoids creating deep shadows and strong highlights on your subject’s face.
That said, avoid shooting in the depths of shadow, as light levels are likely to be low. Instead, shoot at the edge of the shadow, just a few steps away from the full brunt of the sunlight.
You’ll find that there is more light in these parts of the shadow, which enables you to use faster shutter speeds. As an added bonus, you’ll also find that the light in the background will fall off, making your subject stand out. This will give your portrait more impact.
A simple hack in these situations is to find something with a reflective surface that you can place near your subject to bounce more light into the scene.
03 White balance
If you’re shooting raw files like we suggested in No. 1 it’s not the end of the world if you shoot a portrait with the wrong white balance setting enabled. Raw gives you that flexibility to adjust a skin tone.
However, it’s good practice to get it as close as possible to correct because it gives you the best chance of assessing the success of an image before editing it on a computer.
A simple grey card can be invaluable in these situations because it can help you make a quick and accurate custom white balance adjustment. What’s more, you can include it in a test shot or two to allow you to make the necessary white balance adjustment when editing the raw files.
All you have to do is simultaneously open all the raw files in your raw editing software (we use Adobe’s Camera Raw and open them by selecting them all in Bridge, then hitting enter), then select the White Balance tool and click on the grey card in your test image.
Camera Raw will automatically apply the adjustment required to make the grey card neutral to all of the selected images.
04 Exposure
While you don’t want to burn out your highlight areas, it’s usually best to overexpose caucasian skin a little because it makes it look slightly smoother.
This is where the popular landscape photography technique of exposing to the right shows its worth, as it allows your camera to gather the maximum amount of colour data. Provided the skin isn’t actually burned out, you can always darken it as necessary post-capture.
When you expose to the right, you want to pay very close attention to your histogram and set an exposure in which the majority of the pixels in the image – in other words, the peak on your histogram – are bunched towards the right side of your exposure graph.
However, a large peak should usually be avoided at the furthest right-hand point of the graph, as this indicates that significant areas have been burned out.
05 Colourspace
If you shoot raw files your images will be recorded in the Adobe RGB colourspace automatically. However, if you specifically want JPEG files (or raw + JPEG files) you need to select this colourspace before you start shooting.
The alternative colourspace, sRGB, is usually set by default on your camera and this offers a more restricted colour gamut.
Images shot in sRGB colourspace often tend to be a bit flat. There’s also less data available if you need to make post-capture adjustments to colour.