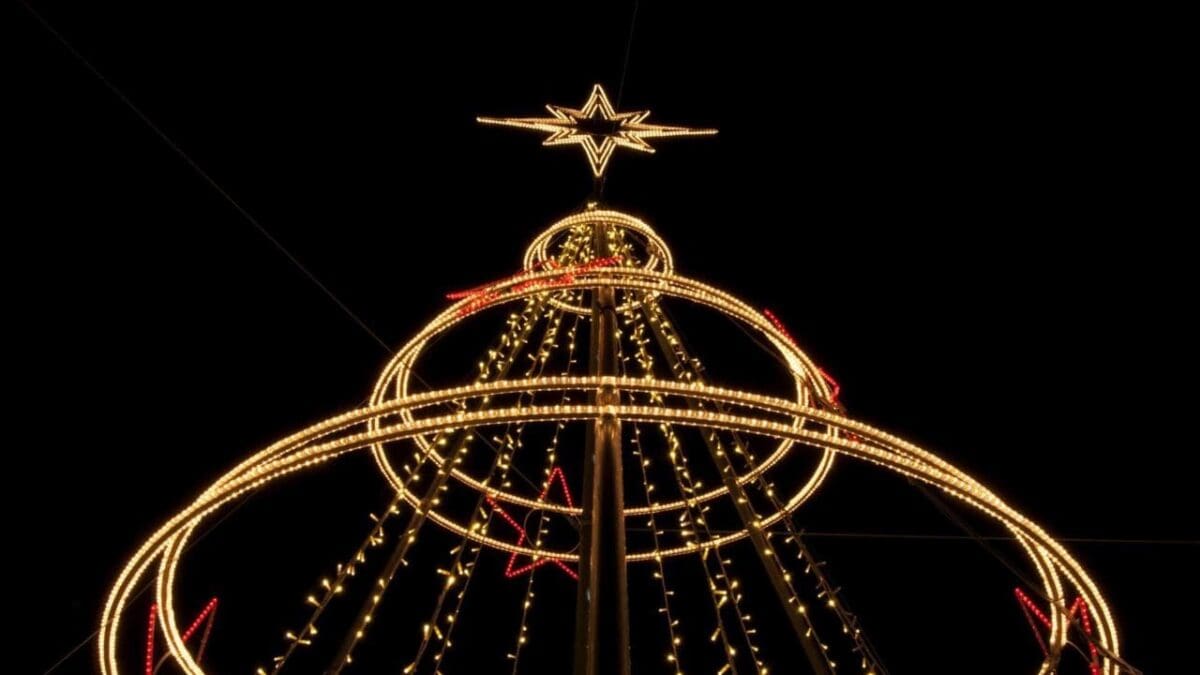
You don’t have to live in a big city to see attractive Christmas lights, every little village seems to have at least one household that makes that extra effort each year and puts up some outdoor lights.
They’re great photographic subjects and if you play your cards right you might get a shot or two that can be turned into Christmas cards for next year. Let’s take a look at how to get it right. First, let’s think about what gear you’ll need…
What gear you’ll need
- A camera that allows you to shoot manually
- Tripod
- Shutter release cable
Because you will be shooting at longer exposures, you’ll want to use a camera that offers you manual control over the exposure process. This doesn’t necessarily mean you must have an interchangeable lens camera. Plenty of compact cameras and smartphones offer full manual control.
A tripod might seem like it goes without saying, but how many times have you tried to grab a shot in front of the tree without one. Set your camera on a tripod for ultimate stability. And if you can, use a shutter release cable to prevent touching the camera and vibrating it during the exposure.
A beginner’s guide on how to photograph Christmas lights
- Mount your camera on a tripod
- Ideally attach a shutter release cable. If you don’t have one, set your camera’s self-timer to 10secs in the drive mode menu.
- Set your camera’s metering mode to centre-weighted. This will give you the best result when shooting bright lights against a dark background
- Keep your ISO as low as possible. Ideally ISO 200, but try not to go above 400 or you’ll risk noise shooting in this low light.
- Whether you’re indoors or outside, shooting artificial light in low ambient light is going to cause problems with colour balance. Your camera’s Auto White Balance option will generally do the job, but if you find it’s not accurate bring a piece of white paper with you and manually set your white balance in the lighting conditions you’re going to shoot in.
- Set your camera to its Aperture Priority mode in the exposure modes menu.
- How much of the frame do you want in focus? You probably want enough depth of field to get all of the lights and house sharp, but you might want the background slightly defocused to help them stand out. In this case, start with an aperture of f/5.6 and see how it looks. Your camera will calculate the shutter speed accordingly.
- Take a test shot and review the image. Make any adjustments to focus or exposure as required.
- It’s often a good idea in low-light conditions like this – particularly if outdoors and the light is fading – to set your camera’s exposure bracketing feature to record three frames at different exposure values.
- If you are indoors, think about what other DIY lighting you can set up in the room to fill in shadows and provide more dramatic effects.
When to photograph Christmas lights?
The best time to photograph Christmas lights is a short time after the sun has gone down, when the sky is a dark blue rather than inky black. Shooting at this time lifts the image a little, making the sky more interesting and enabling a bit more detail to be seen.
Basically, you want enough light left in the sky to illuminate the background and provide some environmental context. But also, this little bit of light will also help your exposure. With the background lifted slightly, it will have an exposure value closer to the Christmas lights than if it was pitch dark.
How to photograph Christmas lights at night
For the best results you should mount your camera on a tripod and use a low sensitivity setting, but with a modern digital camera you can usually get away with bumping up the sensitivity (ISO) to allow you to use a shutter speed that’s fast enough to allow you to hand-hold the camera. Try ISO 1600 as a starting point and adjust as necessary.
A wide aperture setting will allow you to keep the sensitivity (ISO) down, but bear in mind it will restrict the depth of field so you need to focus with care.
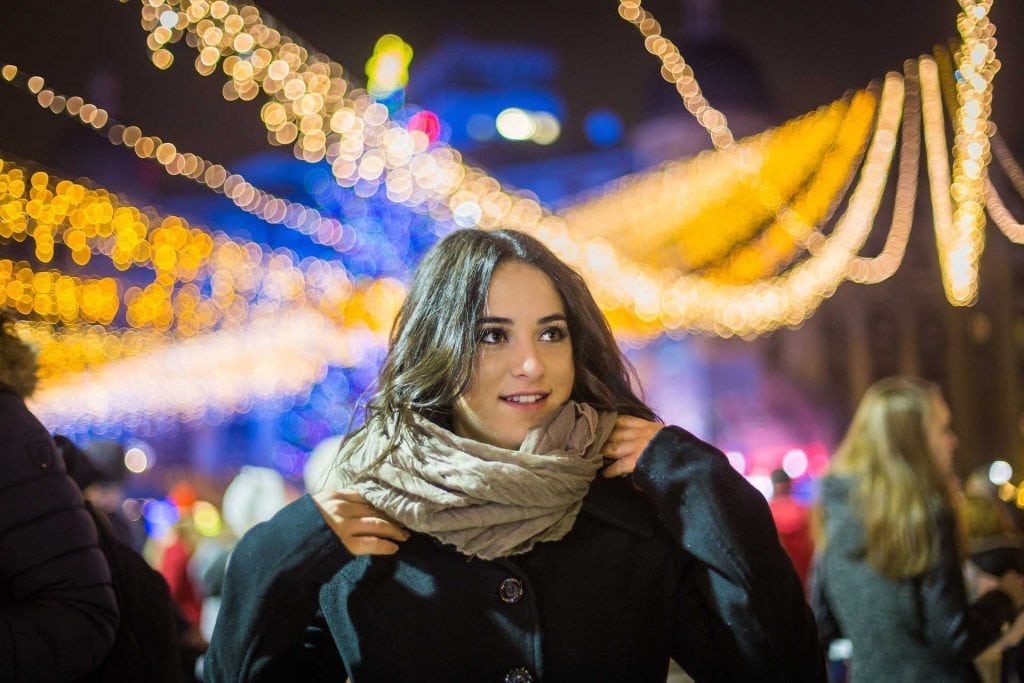
How to photograph Christmas lights with bokeh
Christmas lights can look very attractive in the background of images shot with a wide aperture because the bokeh means they are rendered as soft orbs of light. It’s particularly effective for portraits.
Throwing the light sufficiently out of focus requires a very wide aperture, close focusing or a telephoto lens or a combination of the three. Find a good subject, go in close and focus carefully, use a wide aperture and look around the background to check that you’ve got an attractive arrangement of lights.
Using flash when photographing Christmas lights
While you wouldn’t want to use flash to photograph Christmas lights as the main subject, it can be useful when you’re shooting a portrait with Christmas lights in the background.
Because flash intensity falls off very quickly the further away the subject is, the light will only illuminate your subject in the foreground.
Which white balance to use when photographing Christmas lights?
Using the daylight white balance setting will bring out the colours of Christmas lights, but it’s worth trying the automatic white balance setting if there’s a strong colourcast. Whichever option you go for, shoot raw files to give you more data to work with at the processing stage.
How to photograph Christmas lights indoors
Photographing Christmas lights outside on your neighbour’s houses is a more straightforward operation. Shooting them inside, such as on your Christmas tree, offers a bit more of a challenge. Mixed lighting at different temperatures can make it difficult to get a decent exposure. The following tips can help you make some instant improvements to your images.
- Mount your camera on a tripod and set a longer exposure. If possible, dim your overhead lighting. If your light switch doesn’t have a dimmer wheel, consider turning off your overhead light and moving some smaller lamps into the room to provide a bit of light.
- Set a wider aperture. This will give you a more shallow depth of field, which will help emphasise the tree within your image.
- A wider aperture will give you a faster shutter speed, so dial in an ISO of 100 or 200. In this low light, a sensitivity of this value will help you get a longer shutter speed to help saturate the colours from the lights.