


There are three aspects that photographers routinely use to control exposure; shutter speed, aperture and sensitivity (often called ISO setting). Shutter speed is used to control how movement is captured, aperture dictates depth of field (the size of the sharp zone) and sensitivity gives you the flexibility to use different shutter speed and aperture combinations as light levels vary. Neutral density filters, often called ND filters, offer another means of controlling exposure by reducing the amount of light that enters the lens.
What is a Neutral Density Filter?
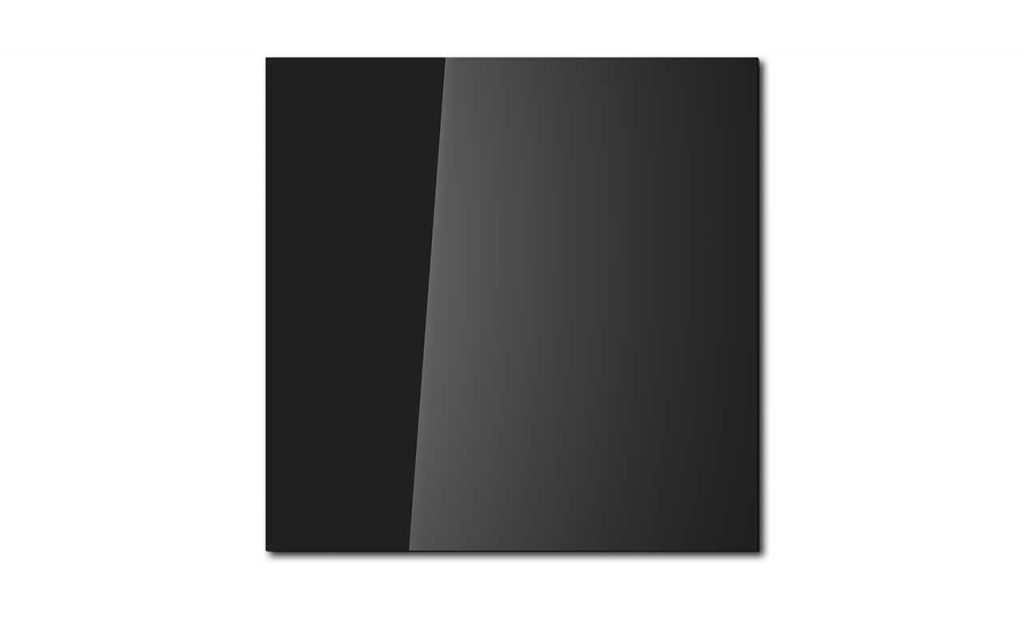
An ND or neutral density filter is a piece of glass or resin that appears grey or black and is mounted on the end of a lens to reduce the amount of light that enters a lens, thus changing the exposure settings required to make an image.
As their name implies, ND filters are (or should be) neutral in colour so they don’t have an impact on the colour of an image, they only influence the exposure. They also vary in strength or density with strong filters cutting out more light than weaker ones.
Round screw-in and square slot-in ND filters are available. If you use a screw-in filter you need to make sure you buy the right size for every lens that you use. If you buy a square filter you need to buy a filter holder and adaptor ring and ensure you have an adaptor ring for each lens that you use.
When should you use a Neutral Density filter?
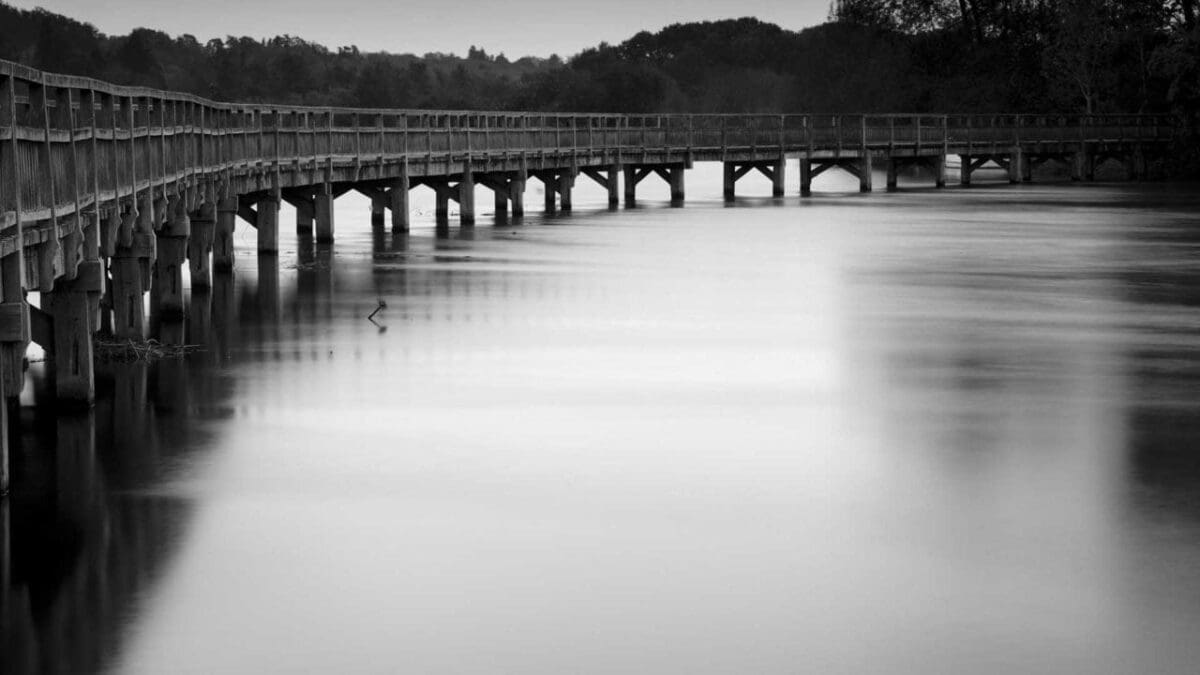
One of the most popular uses of an ND filter, particularly a strong ND filter, is to enable a long exposure time in daylight conditions. This allows you to blur the movement of clouds or water to give landscapes and seascapes a different look.
They can also be very useful if you want to shoot with a very wide aperture in bright sunny conditions. This is especially true for videographers who don’t want to use the fast shutter speeds that are readily available to stills photographers.
How do you use a strong ND filter?
Because strong neutral density filters like the Lee Filters Big Stopper and Super Stopper cut out a lot of light they are hard to see through. This means that it’s usually advisable to compose the image and focus on the subject before attaching the filter to the end of the lens. If you use autofocus, switch to manual focus once the subject is sharp to prevent accidental adjustments.
Next, switch the camera to manual exposure mode, set the aperture and check the shutter speed that’s required without the filter in place. Then mount the filter on the lens. Depending upon the lighting conditions and the density of the filter that you’re using, you may be able to see an image in live view mode of a DSLR and in the viewfinder or screen of a mirrorless camera.
Now set the shutter speed to take the filter into account. If this 30 seconds or less you should be able to set the correct exposure using the camera’s metering system. If it’s longer than that you’ll need to shoot in bulb mode and calculate the exposure using the strength of the filter.
If you’re shooting in Bulb mode, use a remote release (or your smart phone via a Wi-Fi connection) to trip the shutter and lock it open until the correct exposure time is reached and then close the shutter.
How do you calculate the exposure when using an ND filter?
In order to calculate the exposure to use with an ND filter in place you need to know the shutter speed that’s required without it as well as the strength of the filter in stops or EVs. Each stop of the filter doubles the length of the exposure.
For example, a 10 stop ND filter like Lee Filters’ Big Stopper extends shutter speed by 10EV, this means that a shutter speed of 1/125 sec without the filter becomes an 8 second exposure with it. If you don’t fancy calculating this in your head, there are lots of smartphone apps available that can do the job for you.
Neutral Density Filters explained: How to use an ND filter summary
- Compose the image and focus on the subject without the filter in place.
- Switch to manual focus mode.
- Switch to manual exposure mode, set your desired aperture and take an exposure reading.
- Fit the filter on the lens
- Set the shutter speed to compensate for the filter or select Bulb mode.
- Using a remote release, trip the shutter and if using Bulb mode time the exposure before closing the shutter again.
- Check the image on the camera screen and adjust exposure if necessary before reshooting.