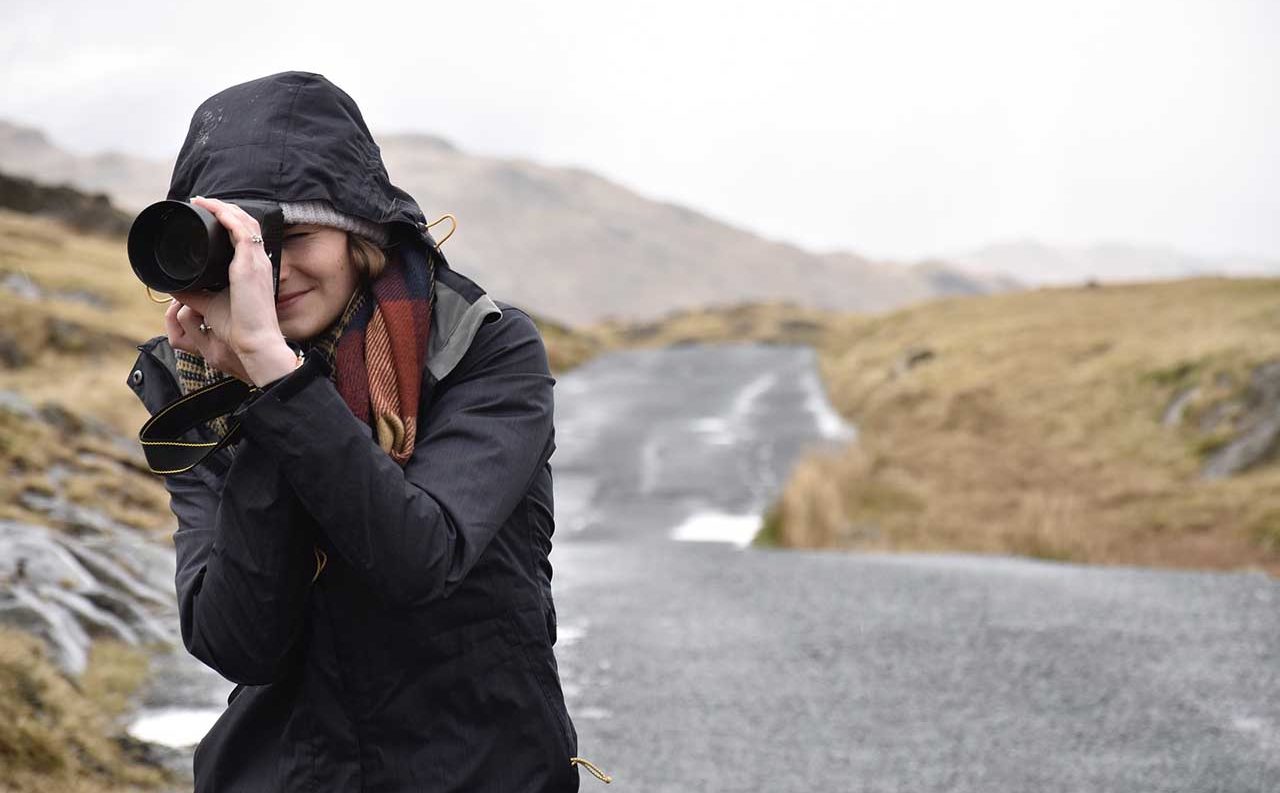

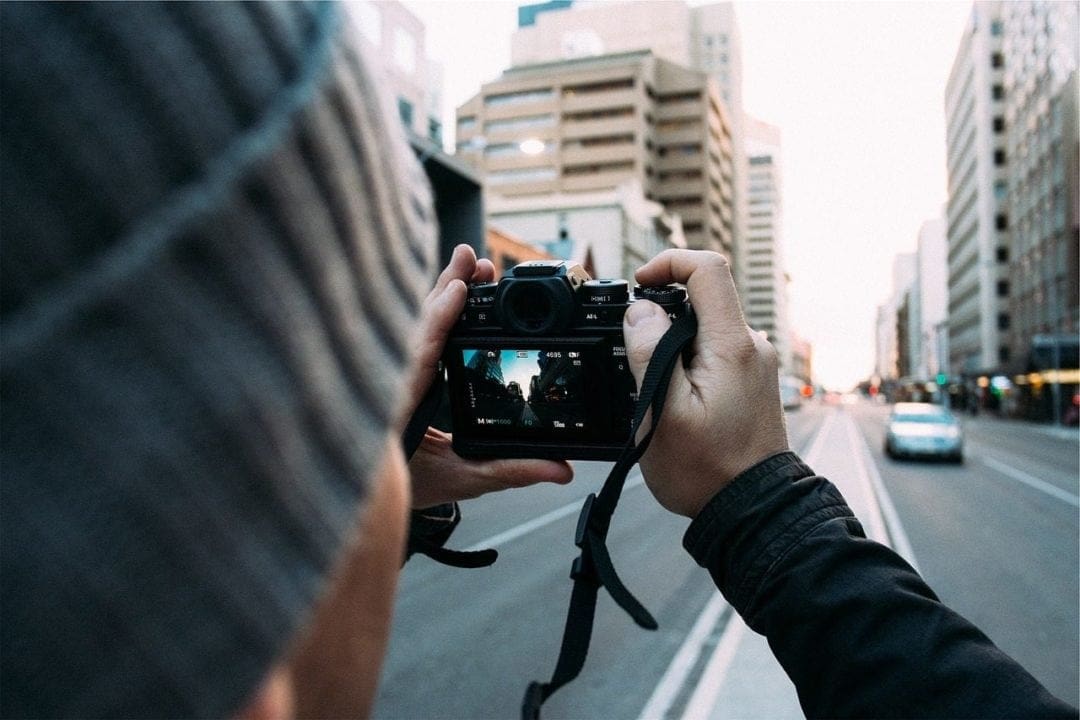
If you’re new to photography you are probably feeling a little impatient right about now. We’ve all been there. You have this great, creative tool at your disposal, but it’s wealth of features and settings take time to learn.
Likewise, you’ve probably seen images you admire or beautiful scenes you’ve wanted to capture and the results just haven’t been up to your satisfaction.
We’re here to help! If you’re itching to learn photography faster there’s something to be said for taking as many pictures as possible. But we know work and family life sometimes gets in the way!
To help you along we’ve put together some of our best advice to fast-track your understanding and improve your photography.
01 Start using aperture or shutter priority modes
It’s all too easy to rely on your camera’s fully automatic mode or one of the scene modes. Cameras are so sophisticated these days that you’re guaranteed to get pretty decent results most of the time when you simply let the camera do it’s job.
But what about those times when you want to get a bit more creative? It might be time to take a bit more control.
Manual mode will give you all the control you need, but being solely in charge of your exposure can seem intimidating to many new photographers. The good news is your camera also has Aperture and Shutter priority modes that let you take control of the appearance of an image while still giving control of the exposure to your camera.
So how do you know which exposure mode to use? The first step is to decide what you want to emphasise most in your scene and what element of exposure you need to take control over to do it. For instance, is your seascape dependent upon water movement?
Then Shutter Priority mode will allow you to set a slow shutter speed and adjust the aperture accordingly.
Likewise, if you are shooting a landscape and want lots of depth of field, or a subject against a busy background that you want to blur, Aperture Priority mode is the best choice as it will allow you to set an aperture to take control of your depth of field.
02 Use a lens hood
A lens hood on its surface doesn’t look like much. It’s the plastic bit that comes in the box with your lens. But a lens hood is actually quite a powerful tool as it shields the front element of your lens from stray light, reducing the risk of flare in your images.
Sometimes it helps to think about it in another way: a lens hood works in the same way that the brim of a baseball cap shields your eyes from the sun. It prevents flare which can reduce contrast and cause aperture-shaped hot-spots in your image.
And even beyond the effect it has on your images, a lens hood also protects your optic from being physically damaged. When mounted, a lens hood prevents the front element of the optic from being knocked as you carry it. What’s more, a lens hood will help protect your optic from rain and snow.
03 Switch to manual focus
Most of the time your camera’s autofocus system is the fastest way to get a subject sharp. However, there are time when you’ll need to take more control and switch to manual focus.
For instance, if you’re trying photograph a subject that’s close to you – and if it’s moving around the same point – you’ll typically find that it’s quicker to focus manually at the point that where you want to capture the subject.
Then it’s simply a waiting game. Once you’ve manually focused on the point where you want to capture your subject, you only have to wait for the subject to enter that area of the frame and be prepared to press the shutter button.
Let’s give you a real life example. Imagine a clump of flowers swaying in the breeze.
If you rely on your camera’s AF system what will likely happen is that the flowers will sway away from the point where you want them to be before the camera has finished focusing the lens.
However, if you use manual focus you can eliminate such focusing delay. All you then have to do is focus on where the correct position is and wait for the flowers to sway into place, then press the shutter button.
SEE MORE: Manual focus: 3 modern technologies that make sharp images easier
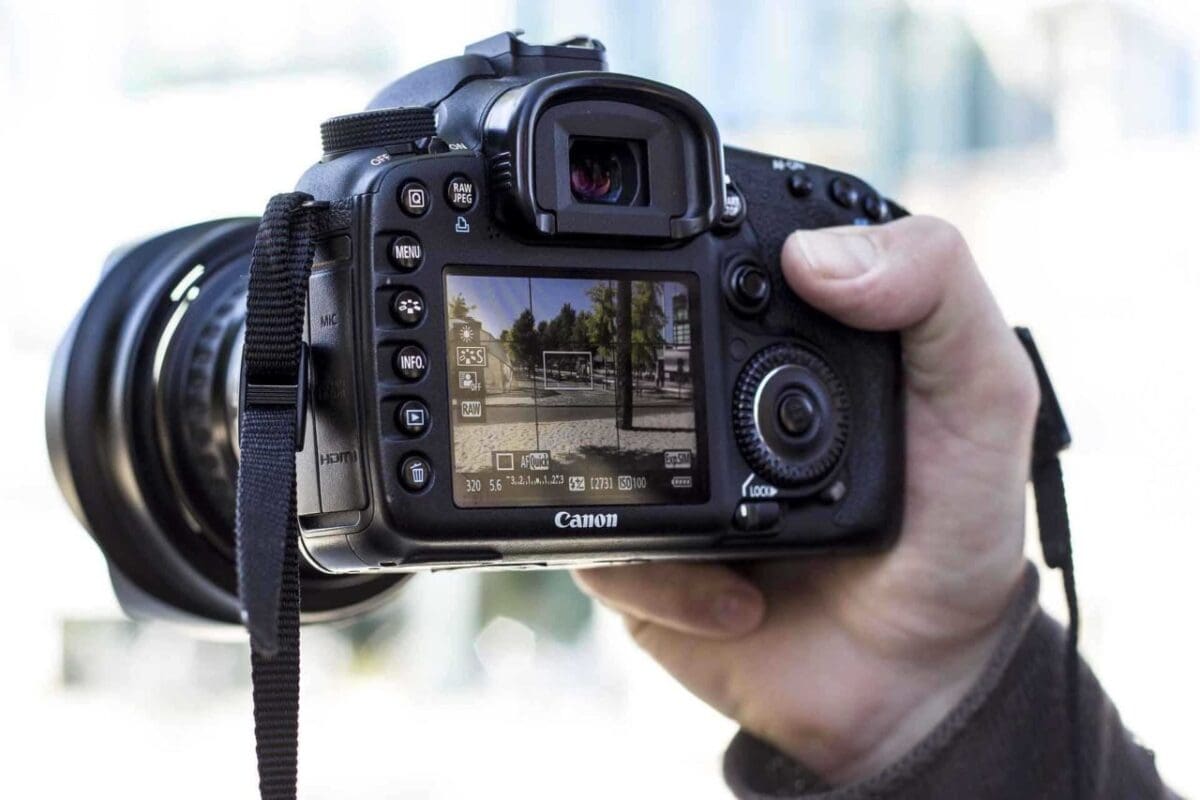
04 Use live view
It wasn’t that long ago that some photographers turned their nose up at their camera’s live view screen as a gimmick. But in recent years as LCD screens have improved, the live view mode has come into its own – particularly when focusing manually.
And the reason is simple: your LCD screen is larger than a viewfinder. Most now are about 3 inches, making them much easier to see than a viewfinder. But another bonus is their ability to magnify an image on-screen so that you can check your focus on the tiny details you’d never be able to see in a viewfinder.
This helps you to position the focus point more precisely than you can when using an optical viewfinder.
One thing we should note: if you shoot with a mirrorless camera and it has an electronic viewfinder, often these have the ability to enlarge your image in the viewfinder. Like your live view screen this allows you to better decide where to compose and focus the image manually.
And as always, remember to mount your camera on a tripod for best results when using live view and manual focus.
05 Try spot metering
In addition to the general-purpose metering system, often know as matrix, evaluative or multiple metering, many cameras also offer what’s called a spot metering mode.
We explain how to use spot metering in depth in this tutorial, but in general, when you select this metering mode your camera measures the exposure required for a very small section of the scene. This is often the centre point or the area under the active AF point (typically set via the menu).
Spot metering is an extremely useful option in high-contrast scenes and when your subject is in different lighting to its surroundings.
Once spot metering is selected position the metering point over the subject (or the point you want to measure the exposure for), set the exposure and you’re ready to take the picture.
One thing to remember: if your ‘spot’ is positioned over an especially bright or dark area in the scene, your exposure will probably be over- or under-exposed and you’ll need to dial in some exposure compensation – or meter from a midtone.
06 Lock the exposure
Many cameras have a button marked AE or AEL, which stands for auto exposure lock. When used alongside spot metering (see above) this can be a really powerful tool, as it lets you meter from a small area in your scene and lock those exposure settings.
You can typically lock the exposure for a few seconds with your AE button, and during this time you can quickly re-compose your image and press the shutter button.
07 Move or zoom in to spotmeter
Some cameras don’t offer a spot metering mode. And some cameras that do simply aren’t precise enough for the job at hand. In these instances, a tried and tested technique is to simply move closer to your subject or zoom in until it fills the frame, and then take a meter reading.
If you are shooting in manual exposure mode, first you’ll want to set the exposure and then recompose your image before taking the shot.
Otherwise, as we described above, press the auto exposure lock button to lock your desired exposure settings before recomposing and taking the shot.
If you move closer to your subject to measure the exposure, it’s worth remembering that your body can cast an unwanted shadow over your subject and dramatically change the light. This will mean those exposure settings your locked in will be incorrect for the light when you move back into position.
08 Be ready!
If you set your camera to manual exposure mode, the aperture to f/8, the shutter speed to 1/125sec (depending upon the focal length of the lens) and the ISO to its automatic setting you are pretty much ready to shoot anything in normal daylight conditions.
An aperture of f/8 is a safe option that gives reasonable depth of field yet doesn’t push the exposure. And a shutter speed of 1/125sec is fast enough to freeze most movement you’ll see on the city streets, while blurring anything faster.
The key to this is the automatic sensitivity setting; in Auto ISO your camera will select a value that gets the exposure right in most conditions.
Also, a lower ISO value will be used in normal daylight so noise won’t be a major problem.
What’s more, many cameras now allow you to set a maximum sensitivity setting and minimum shutter speed to use in auto sensitivity mode.
This is why we like to use our Aperture Priority mode. It’s reassuring to know you can change the aperture to control depth of field and know that your camera will get the exposure right without extending the shutter speed too far and blurring the image or using a very high sensitivity setting and capturing lots of noise.