
Luminar’s RAW Develop filter can transform the appearance of your RAW files – literally! In this step-by-step tutorial we’ll show you how to use the Luminar RAW Develop filter to perfect your raw files’ tones and colours and correct lens and perspective distortion – how to perfect your RAWs ready for the next stage.
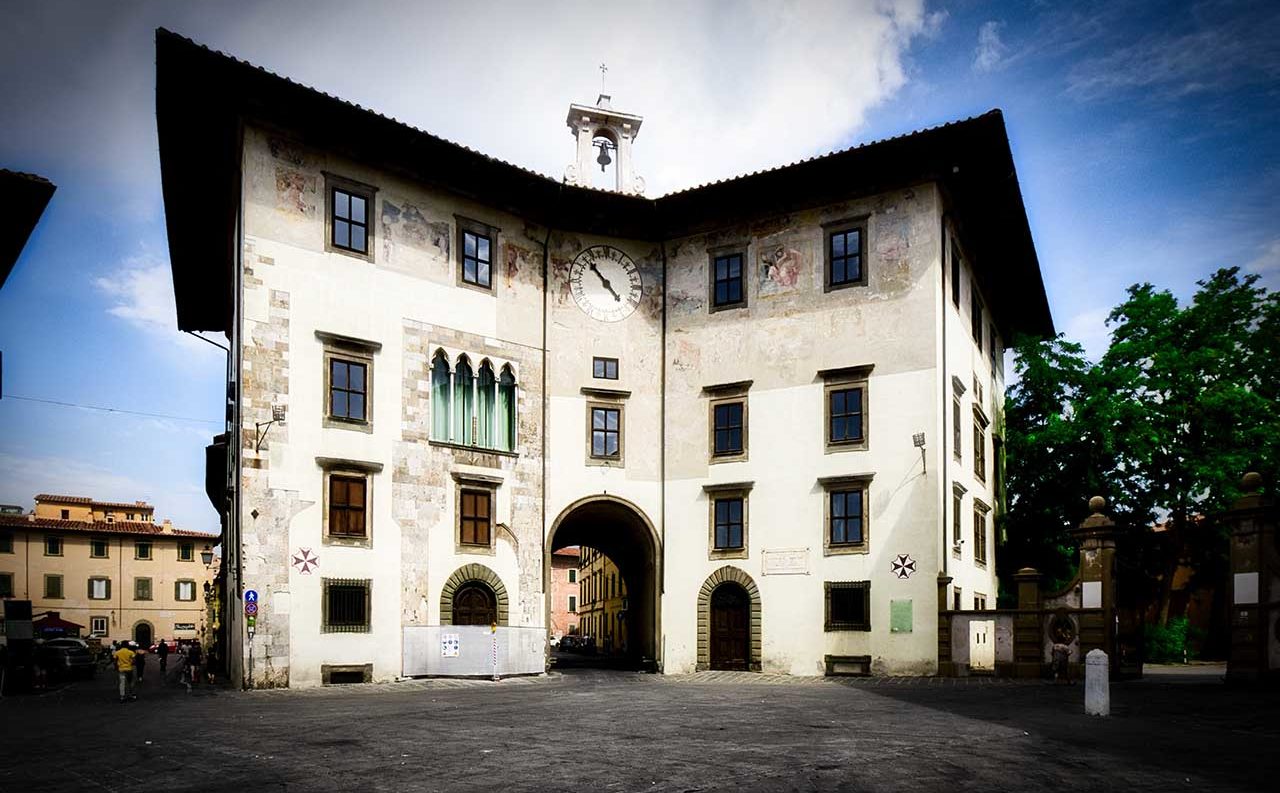
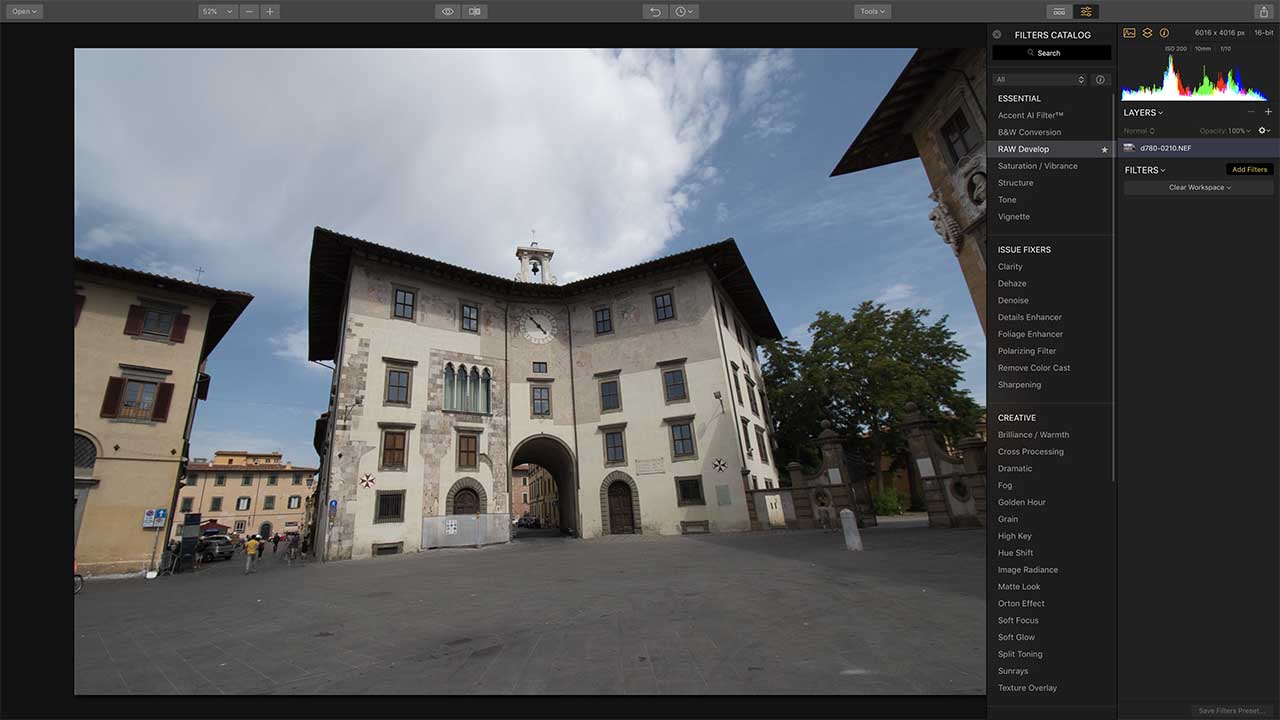
We took this photograph below of the beautiful Palazzo dell’Orologio in Pisa, Italy, but straight away you can see there are lots of problems. There’s a statue in the square so we had to get really close to keep it out of the frame, which meant we needed a super-wideangle zoom, and the whole shot has ended up skewed and horribly distorted.
Some of this is due to lens distortion – wideangle zooms are very prone to ‘barrel distortion’, where straight lines appear to curve outwards at the edge of the picture – but most of it is due to ‘perspective distortion’, which is our fault for standing so close we had to tilt the camera to get the full height of the building in the frame.
But Luminar 2018 can fix both of these problems, and at the same time enhance the colours, exposure and contrast in our RAW file to prepare it for any further editing we want to do later. That’s the point of RAW files – they contain extra colour and brightness information which JPEGs don’t.
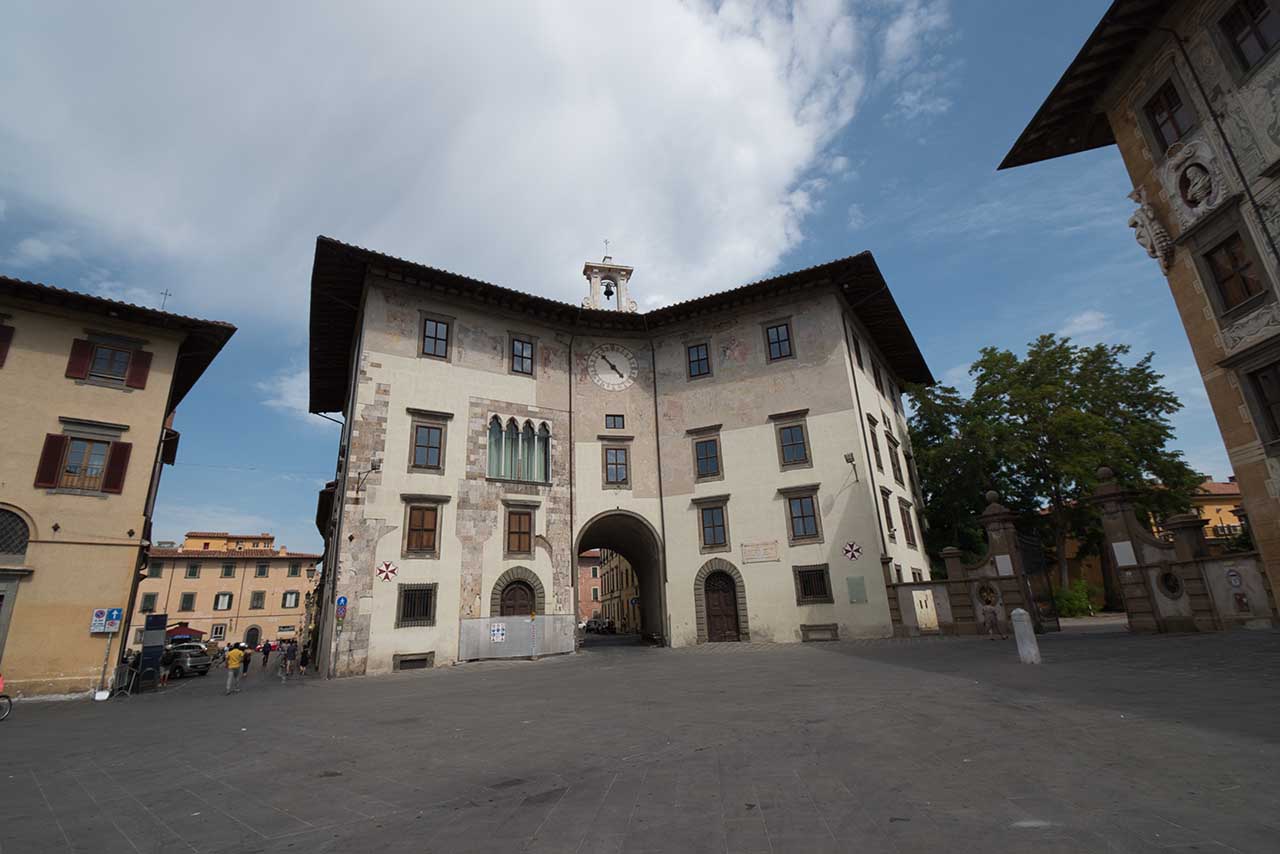
So here’s our finished shot. We’ve used the RAW Develop filter to apply a profile, correct the exposure and fix both the lens and perspective distortion. Now we can choose a preset to apply to our corrected photo, and we’ve picked one of our favorites, ‘Dark Moon’.
Now ordinarily the RAW Develop filter is used in amongst all the other Luminar filters, but this can make it difficult to separate out your RAW pre-processing steps from later adjustments. So let’s start by choosing Clear Workspace from the workspace menu, then clicking Add Filter to select the RAW Develop filter on its own.
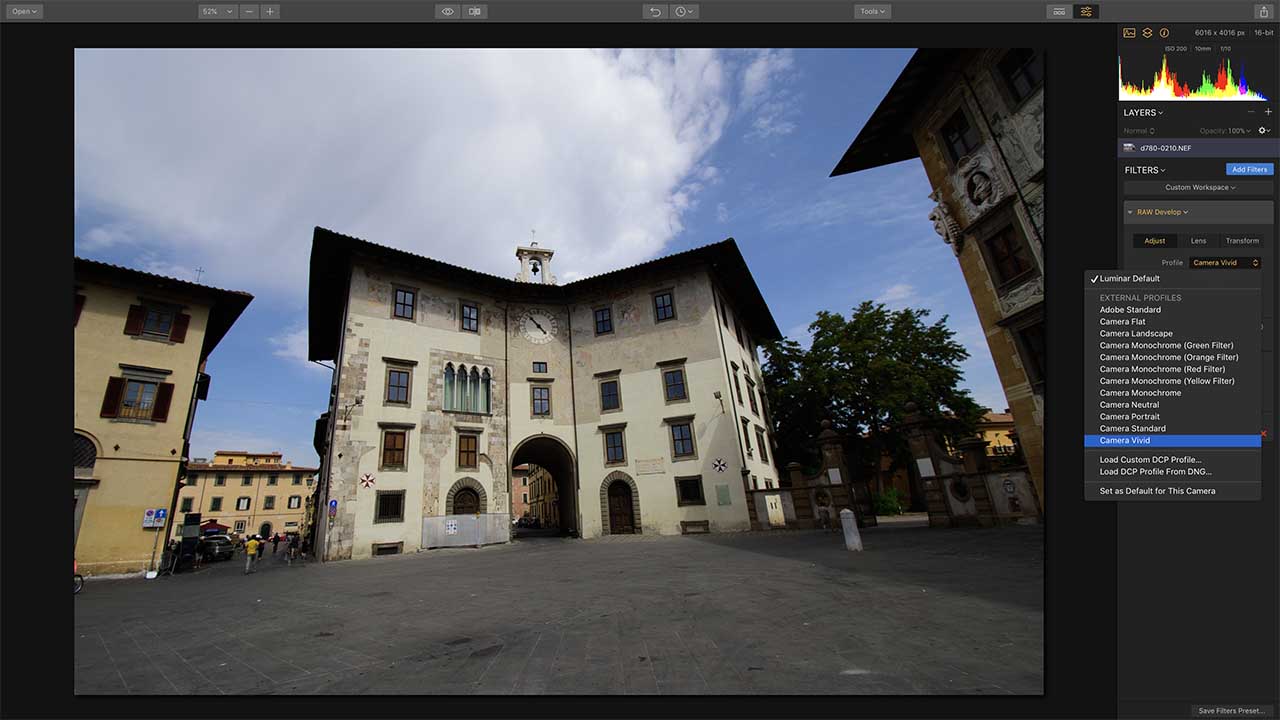
Luminar 2018 1.3 comes with a whole bunch of updates, including better and faster RAW processing and support for camera profiles. So if we select the Adjust tab in the RAW Develop filter, we can use the Profile menu to select one that matches our camera’s Vivid mode.
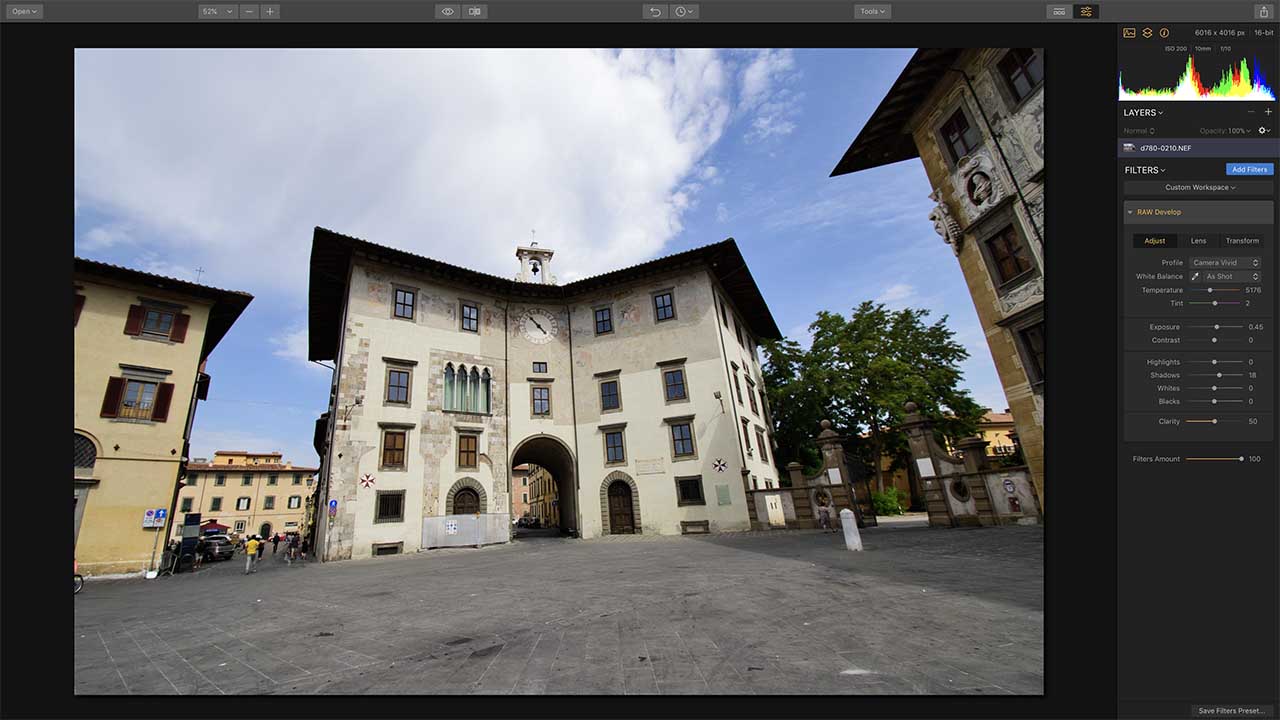
Now we can set about tweaking the tones in our picture. The original looks a little dark and flat, but we’ve fixed that by increasing the Exposure value, lifting the Shadows slightly and applying some Clarity. (Keep an eye on the histogram at the top while you make adjustments like these.)
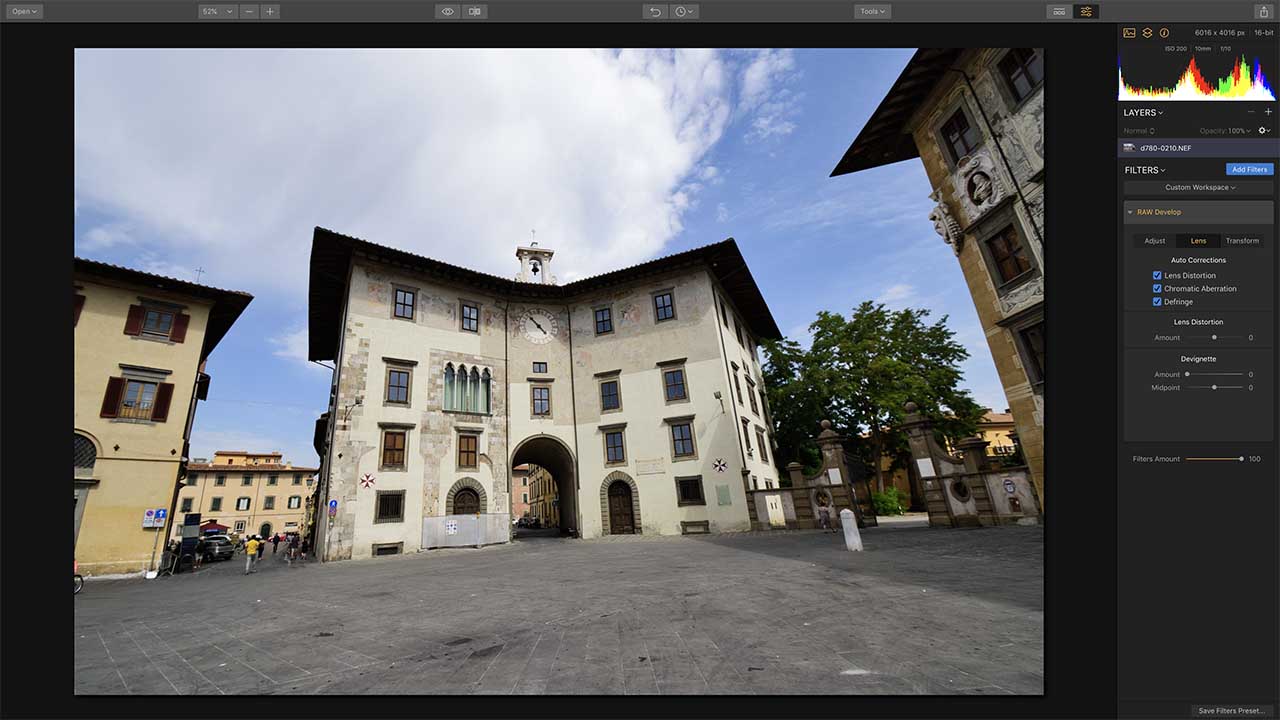
We’ve got the tonal rendition about right, so now’s the time to sort out this picture’s distortion problems. First, swap to the Lens tab and check all three of the boxes – Lens Distortion, Chromatic Aberration, Defringe. If Luminar has a correction profile for your lens, it will apply it now.
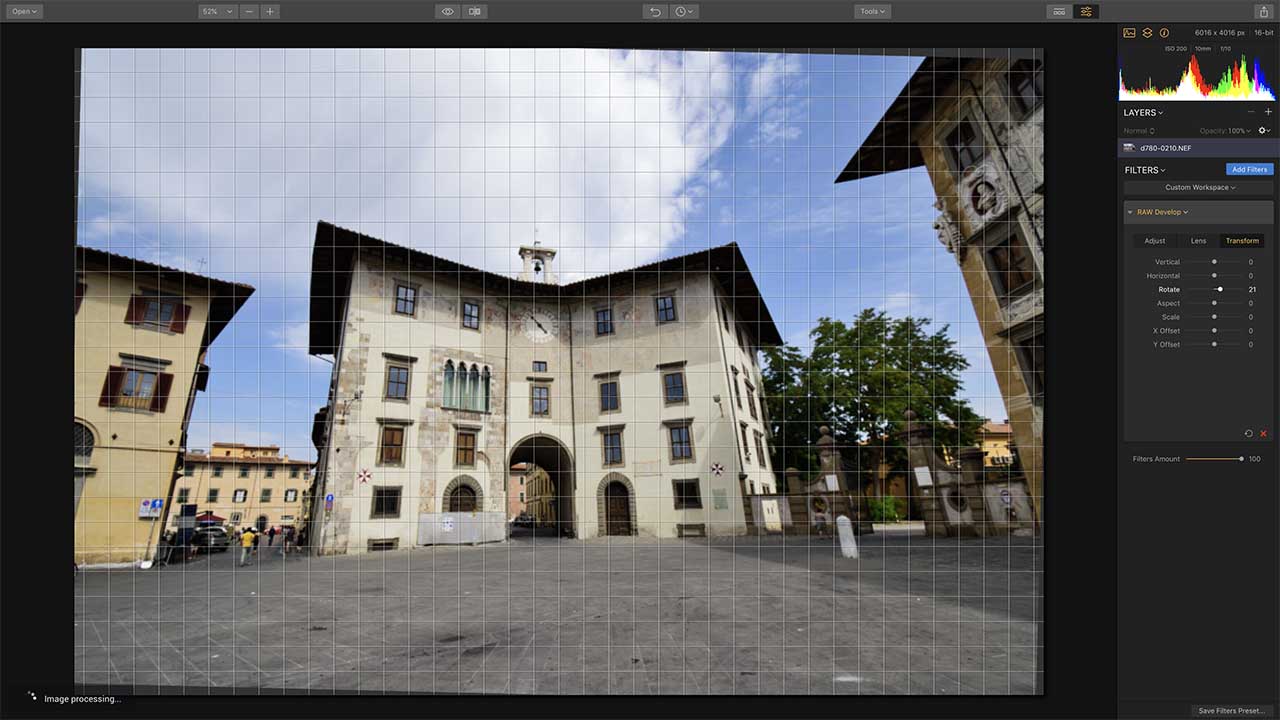
That last step should have sorted out any lens/barrel distortion, so now’s the time to fix the perspective, using the Transform tab. First, use the Rotate slider to get the image looking as level as you can. This will make it much easier to judge the perspective correction in the next step.

The way to correct converging verticals, or ‘keystone’ distortion in tall buildings is to drag the Vertical slider to the left. This will create blank ‘wedges’ around the picture, but don’t worry about those for now – just concentrate on getting the walls straight with the Rotate and Vertical sliders.
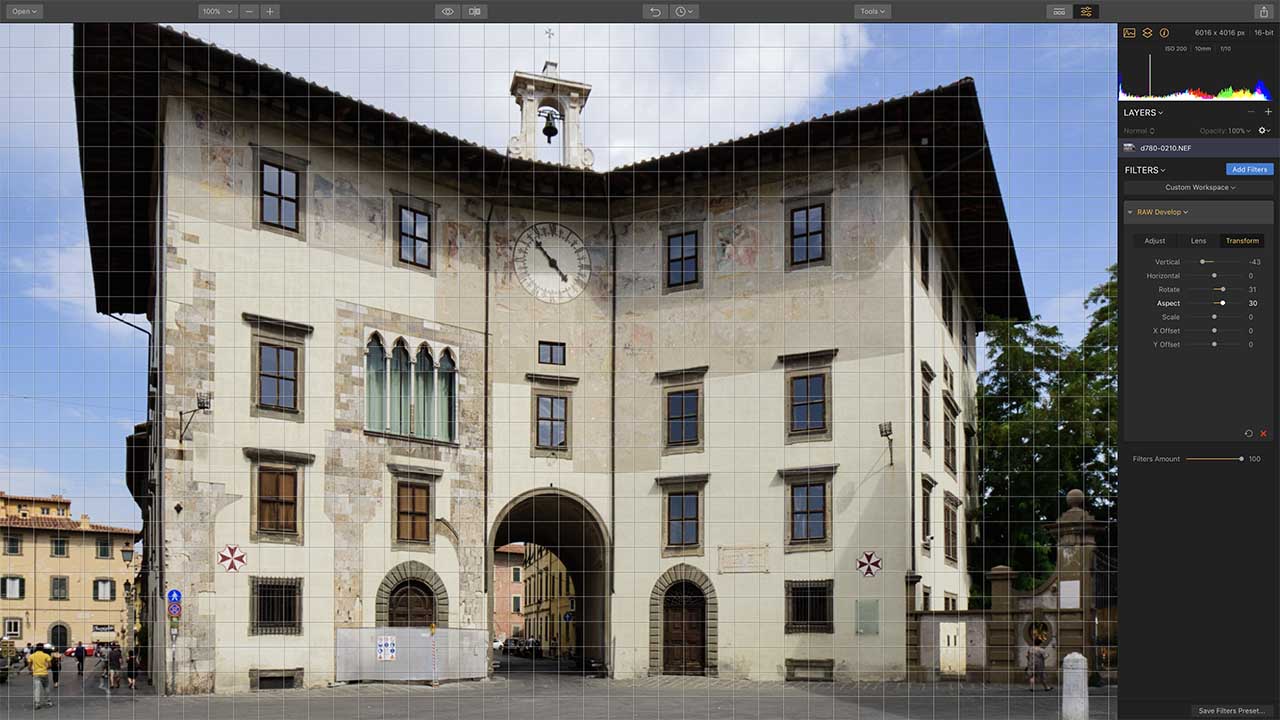
Now one of the things that can happen with strong perspective correction is that images get ‘squashed’ vertically. So we’ve zoomed in to check the clock face on the palazzo as a guide and we’ve used the Aspect slider to restore its circular shape (and hence correct the whole image).
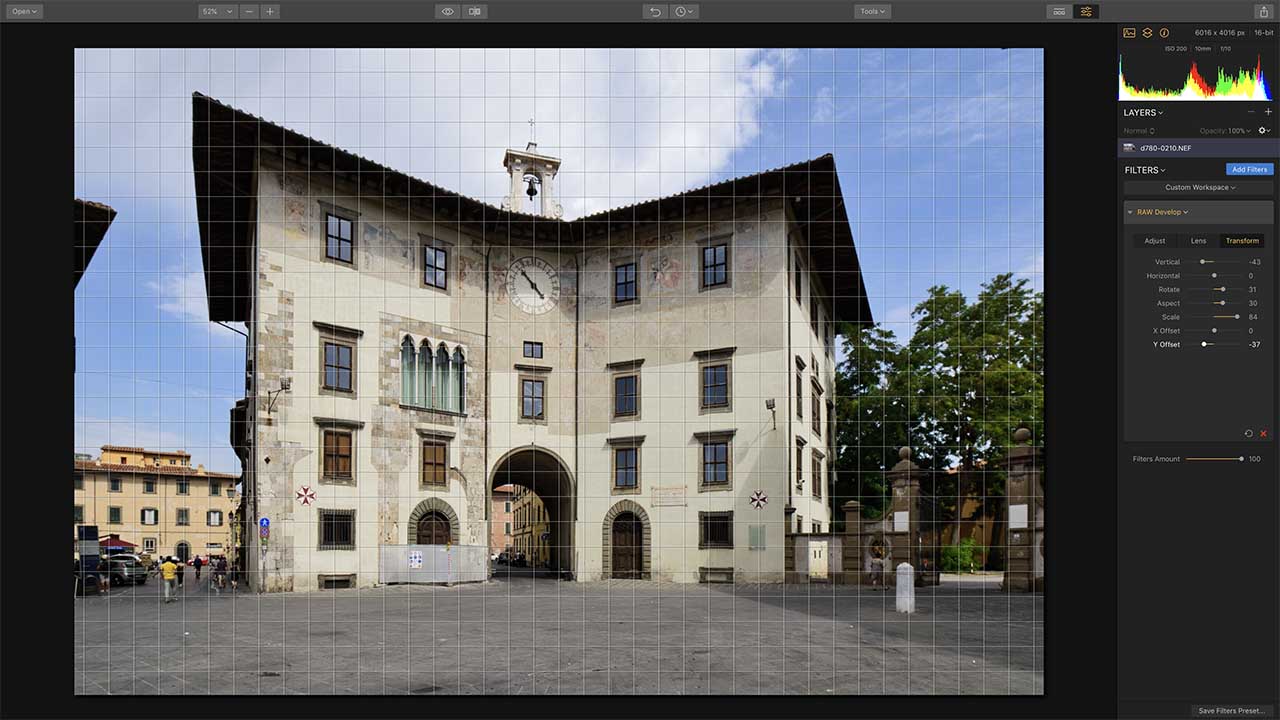
OK, so let’s get back to the problem of those blank wedges around the picture. You could use the crop tool, but you’d end up with a smaller image – and there is another way. You can use the Scale slider to expand the picture to fill the frame and the Y Offset slider to adjust its vertical position.

We’ve done everything we need to do in the RAW Develop filter, and our picture is now ready for any preset effects we want to apply – but not before we’ve carried out one essential step! Before you do anything, click the ‘+’ button in the Layers panel and choose Add New Adjustment Layer.
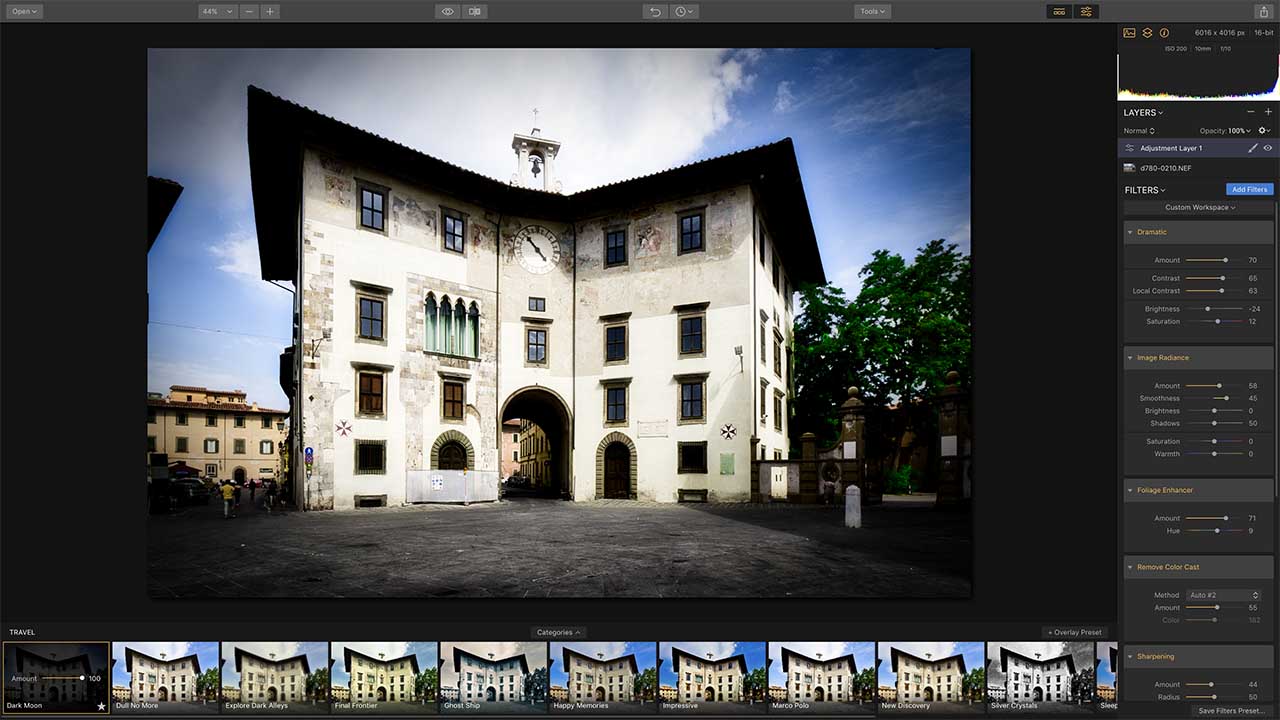
Now, your RAW Develop adjustments are protected on the background layer and you can choose any preset without overriding them (many apply RAW Develop) adjustments of their own. If you do it this way, the Presets panel will even preview effects with your ‘corrected’ image, not the original!