


Shooting outdoors, even the sturdiest of tripods are susceptible to vibrations, especially in a strong wind. Add a long exposure to the equation, and it might feel like an impossible situation. But there’s always a solution!
In these conditions, you can better stabilise your tripod by adding some weight. One way to do this is to hang your camera bag from the central column. Many tripods have a hook at the base of the centre column while others may feature a D-ring where it’s possible to attach the ba. By hanging a bag from this hook or ring, the additional weight will give the tripod a lower centre of gravity, creating a much firmer base.
Sometimes when it’s really windy, such as during a gale storm, you can attach a bungee cord between the hook and the bag, then adjust its length so that the bag is just touching the ground. This ensures maximum stability and makes the tripod much less susceptible to vibration.
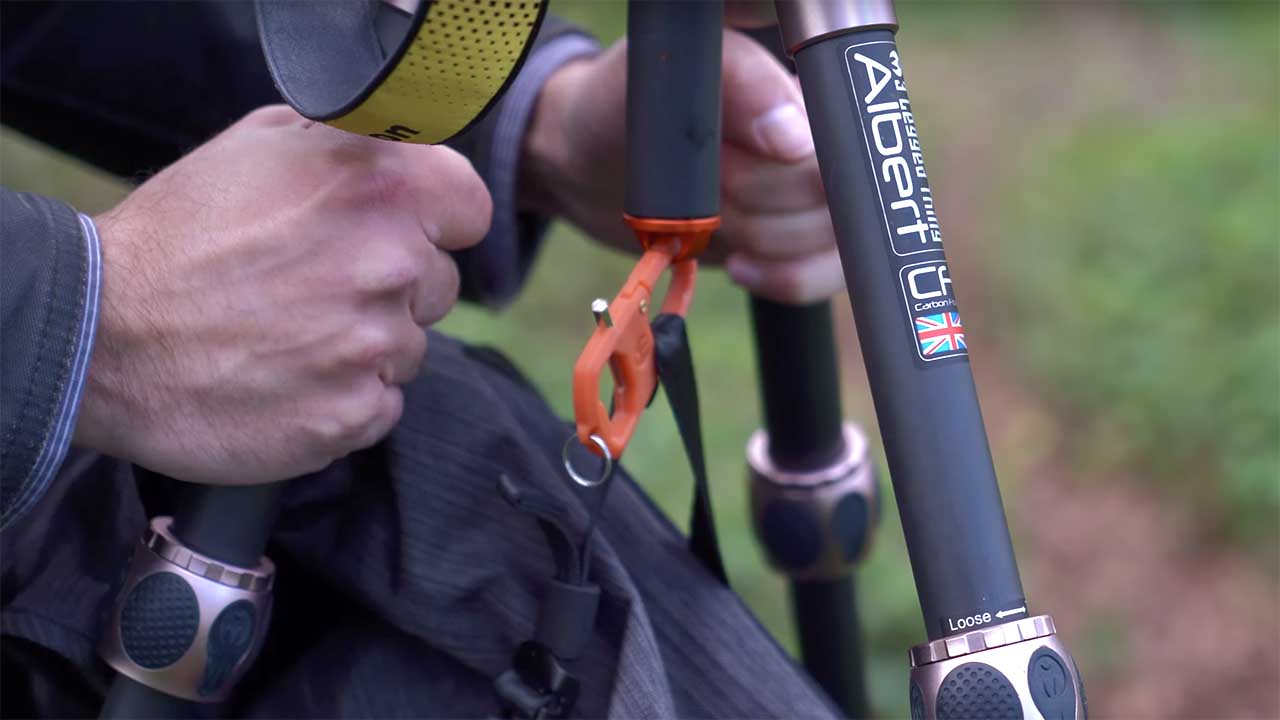
We’ve been using a 3 Legged Thing Albert which comes with a fabric bag. The bag itself is very lightweight and can be filled with rocks and stones to give it as much or as little weight as you require. You can then attach it to your central column using the Toolz carabiner that also comes with the kit or any standard carabiner.
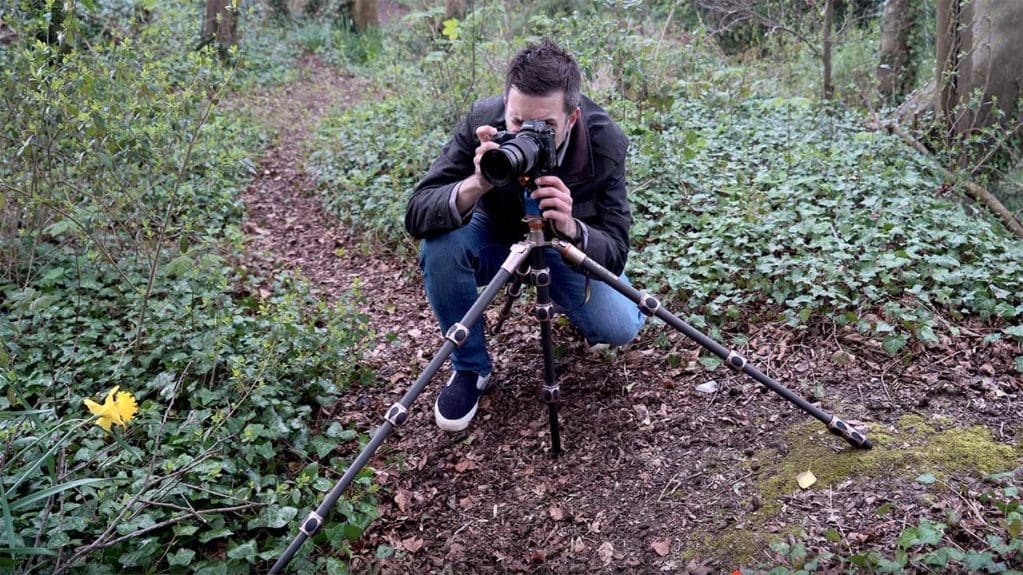
The Albert tripod has an additional trick for getting a stable base. By getting creative with its central column you can turn the Albert into a 4 Legged Thing! You do this by mounting the head on top of the Tri-mount plate. This is only possible with 3 Legged Thing’s Albert tripod, but it is a nice option to have.
When adding extra weight to your tripod, there are a few things you need to know.
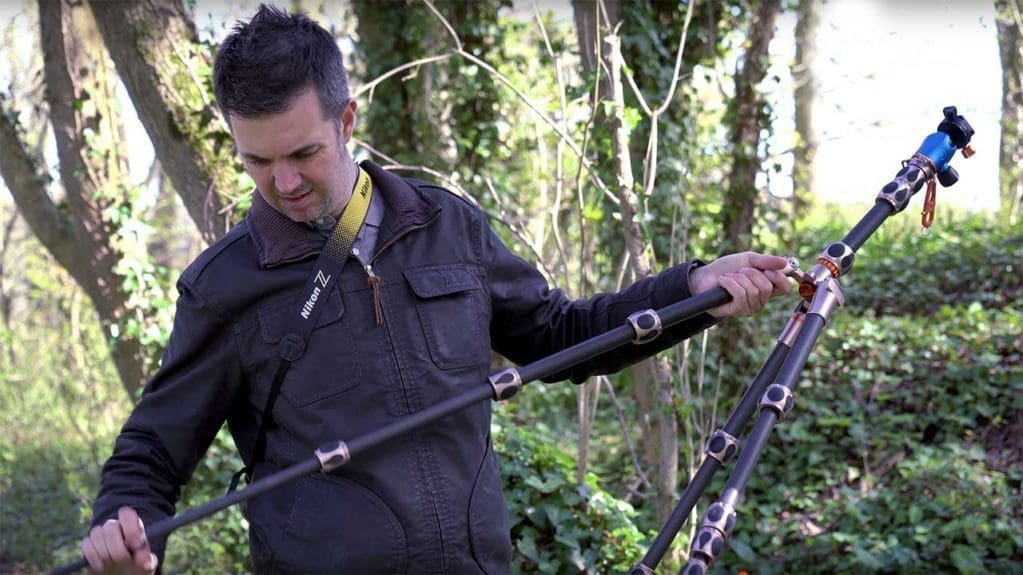
First, always extend the fat legs first, then release the smaller leg sections in succession until you get the tripod to your desired height. When hanging a heavyweight from the central column, the fat legs ensure a more even distribution of that weight.
Next, make sure that all three of your tripod’s legs are on firm ground. Give them a slight push to make sure they don’t move. Then you’ll want to adjust their length individually to ensure that the central column is vertical, rather than tilting slightly one way or the other. The 3 Legged Thing Albert as with many tripods incorporates a spirit level into the crown and this will help you to ensure everything is straight.
Do these things first, and you’re now ready to hang your bag and start shooting in any conditions!