


Nature provides one of the most powerful photographic tools: sunlight. With a little know-how it can easily be harnessed and will instantly help you to improve your outdoor portraits with stunning effect.
Utilising natural light will give your portraits a more natural look and gives both you and the model the freedom to move without the constraints of studio lighting and backgrounds.
In this feature we’re keeping things simple. It’s the best way to be, especially when starting out. Just you, the model, camera, lens and a reflector thrown in for good measure.
What you’ll learn
- What lens and focal length to use for outdoor portraits
- Shooting mode and settings
- How to position the model in relation to the light
- Reduce the effect of busy backgrounds
- Correctly frame the model
- Get the wow factor
What kit you’ll need
- Camera or
- Mobile with Halide or similar app
- Reflector
- Model
With your camera bag packed and your model ready, it’s time to get started. A camera with an interchangeable lens or even a mobile will do the job. The principles of shooting outdoor portraits are largely the same whatever camera you’re using.
Before you get started it’s always good to take a test shot to see where you are at the moment and then compare it with the shot you take once you’ve taken on board a few of the tips.
Take a picture of your model.
Now before we go on, tell them a joke and as they laugh take another picture.
Now, take a look at the difference. Already an improvement?
Maybe, or maybe not, what you’re trying to do is engage with your model, make them laugh; the better your interaction and relaxed attitude with them, the better the shots you’ll get.
Right, let’s take a look at our first photographic technique.
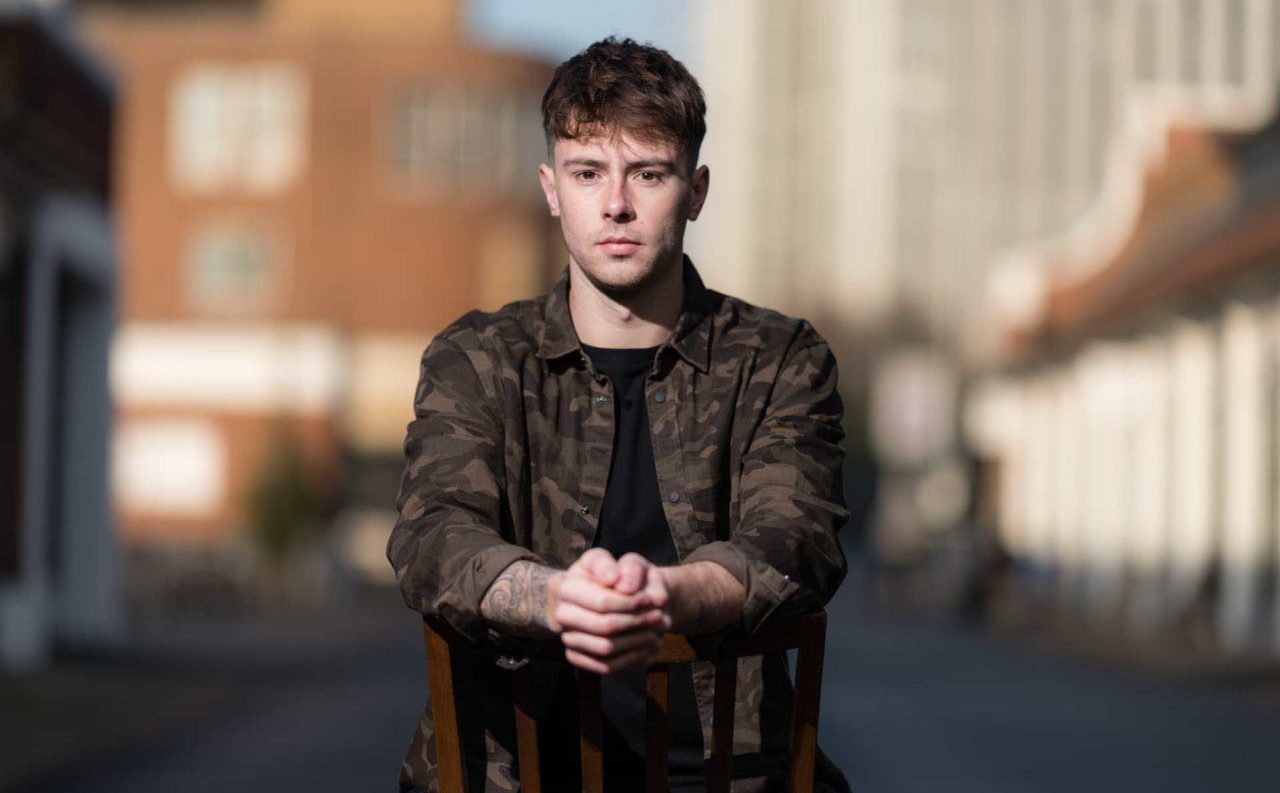
Fill the frame with your subject
Just photographing someone against any backdrop is really nothing more than a snapshot. Here we want to elevate the portrait beyond family snap into a true photographic portrait.
If you’re using and SLR or CSC then 85mm is traditionally the focal length for portraiture although 24-70mm zoom lenses seem to be the most common choice at present in which case zoom to the full 70mm. Once you’ve selected your focal length I want you to stick to it.
Which lens for outdoor portraits?
If you’re shooting with an SLR or CSC, you’ll want to select a lens with a focal length of between 50-85mm.
A short focal length, such as a 24mm, might seem like a natural choice but it means you have to get very close to the subject. And at such close proximity your subject will look distorted. His or her limbs will look overly long and their body misshapen. And even if you use an aperture of f/8, your background will still be recognisably in focus because you are so close to your subject.
Using a longer lens enable you to get some distance between you and the model, it will also create a more natural, flatter perspective. Try a focal length of 85mm with an aperture of f/8.
You’ll find many professional photographers taking a further step back and going to 120-150mm for outdoor portraits, which will give a very natural look to the image and help to blur out the background with an f/8 aperture while keeping the model pin sharp. Remember always focus on the eyes!
Try different angles
If you opt for the short focal length have a play with angles. A low perspective will increase the dynamics of the model making them look powerful.
Switch to a high perspective and the mood of the image will change to a more relaxed posture.
Shoot head on or with the model slightly turned away from you for a natural look
Introduce colourful clothing
Although the shot is all about the subject the clothing that they’re wearing along with make-up can have a dramatic effect on the quality of the shot.
A simple approach is just to ask your model to wear something colourful.
Full-frame f/2.8
Change backgrounds
Like any other form of photography, composition is key. OK, your model is the main subject, but take a look at the background. Is there a bin, toilet or profanity written on the wall?
As ever, checking the background for distractions is a key skill when composing an outdoor portrait. It’s perhaps the most important thing you should do.
Shoot into the sun
Shooting with the model facing the sun can result in them squinting and creating harsh shadows that fall across the face.
Move the model so they’re directly between you and the sun, then make sure you pop on your lens hood to reduce the effects of glare in your images. That said, sometimes glare can be a good thing used to creative effect.
Now move around to compose the shot, the models face will be in shadow but the backlighting will create stunning effects.
Add a refelector
Want to take portraits to the next level then it’s time to break out the reflector. My personal favourite at the moment is the Lastilite HaloCompact by Manfrotto as it packs down nice and small.
Keeping the sun behind the model, use the reflector to bounce back some of that light to lift shadows.
What is the best camera setting for outdoor portraits?
- Aperture of f/2.8
- ISO 200
- Daylight white balance
- Raw + JPEG
- Single-shot AF
Shooting outdoor portraits is more challenging because you have less control over the light. But with the right combination of camera settings you can get yourself to a good starting point from which you can experiment and find an exposure that suits your subject or scene.
First, set your exposure mode to Aperture Priority and dial in a large aperture of around f/2.8. This will help you throw the background out of focus and emphasise your subject.
Next, set your Single-shot AF (S-AF) and set your focal point on your subject’s eyes.
You’ll want the lowest sensitivity value possible, so if the light is strong dial in ISO 200. Go up to about ISO 800 depending on light levels. If you have a tripod, you can keep the ISO at its lowest setting. If shooting handheld, you’ll want to go as high as you can on the sensitivity scale to allow you a shutter speed fast enough to shoot handheld, but know that higher ISO values will introduce noise into your images.
By shooting in Av mode, your camera will give you an appropriate shutter speed according to your aperture and ISO values. If this needs tweaking, dial in some negative or positive exposure compensation to darken or lighten the image, respectively.
Finally, ensure that you are shooting JPEG + Raw images on your camera. Shooting outdoors, light conditions can change and contrast can be high between the sky or background and foreground. Having that raw file gives you the latitude to make adjustments later on your computer.